
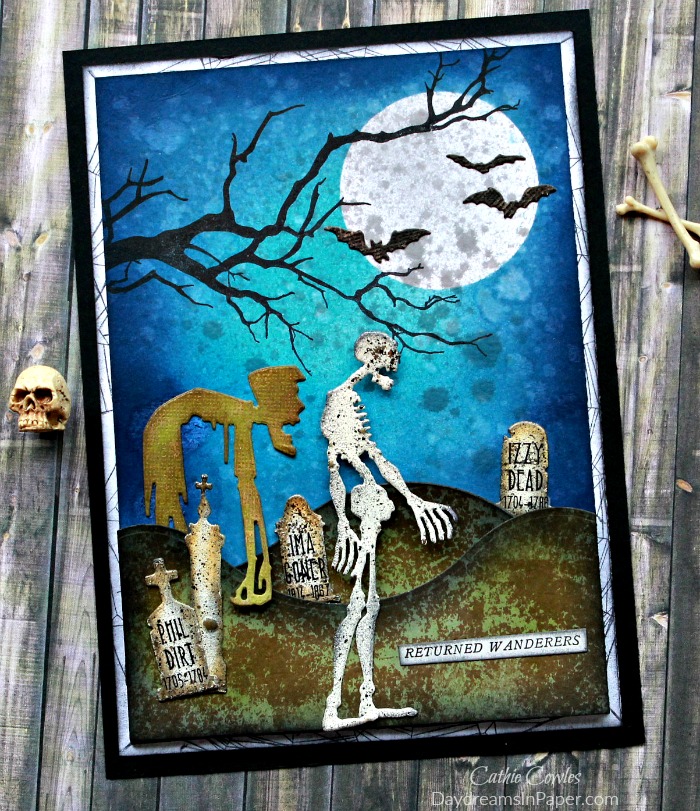
Hi Friends! One of my favorite things is creating scenes for cards. Scene building looks difficult, but when you see it broken down into steps, it’s not quite so intimidating. To create the scene, all you need are a few Distress Inks, some masking paper and a couple of stamps. That’s it! Check out the tutorial below to see just how fun and easy this moonlit Halloween night was to create. Enjoy!
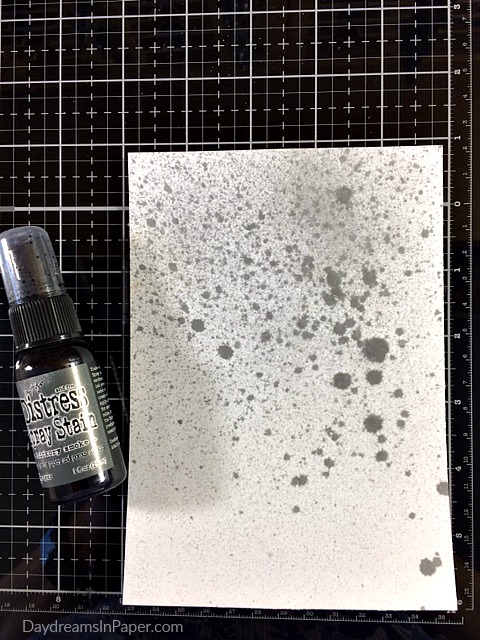
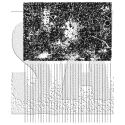
To begin, cut a piece of watercolor paper and spray with Hickory Smoke Distress Spray Stain allowing the spray to create different size splatters. Dry completely with heat tool.
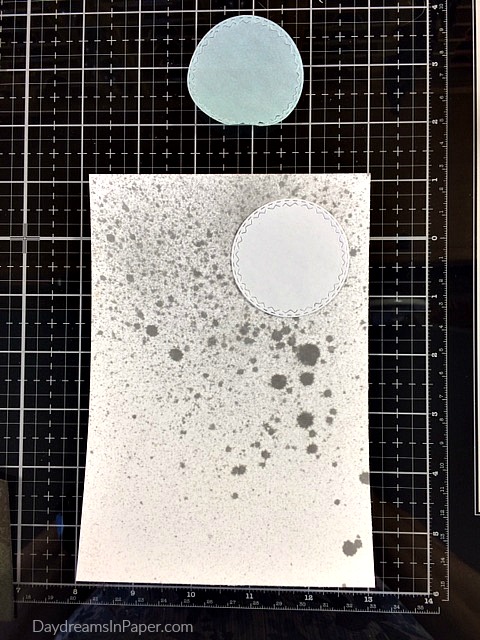
Next, create a mask for the moon by simply cutting a circle out of masking paper and placing it in the area where you want it to go. I used the second smallest size circle from the Tim Holtz Stitched Circles die set, but you can use whatever you have on hand to create the circle mask.
,
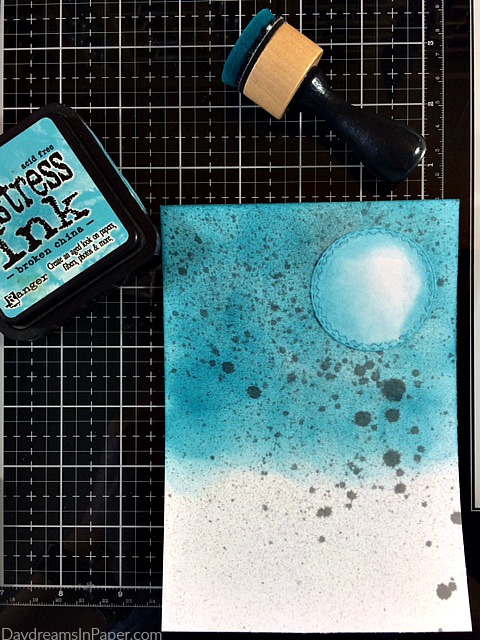
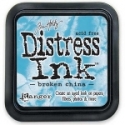
Next apply Broken China Distress Ink in the areas as shown above using a mini ink blending tool.
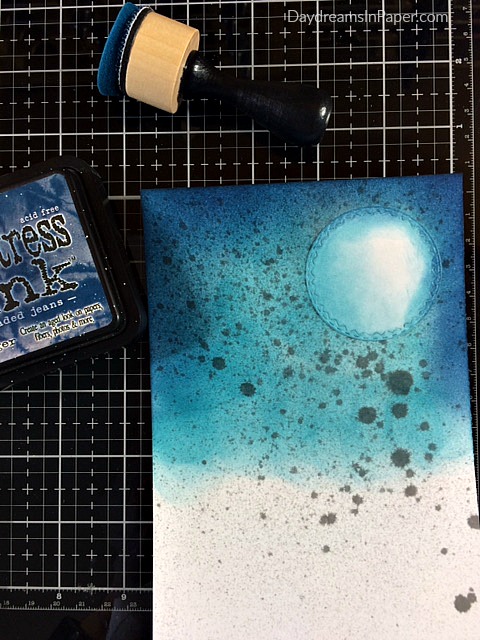
Blend Faded Jeans Distress Ink along the edges of the panel blending the ink slightly toward the center.
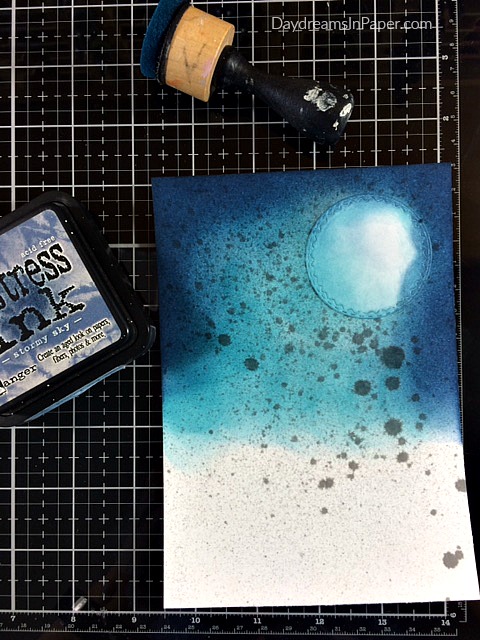
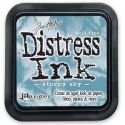
Next, apply Stormy Sky Distress Ink to the edges and slightly toward the center.
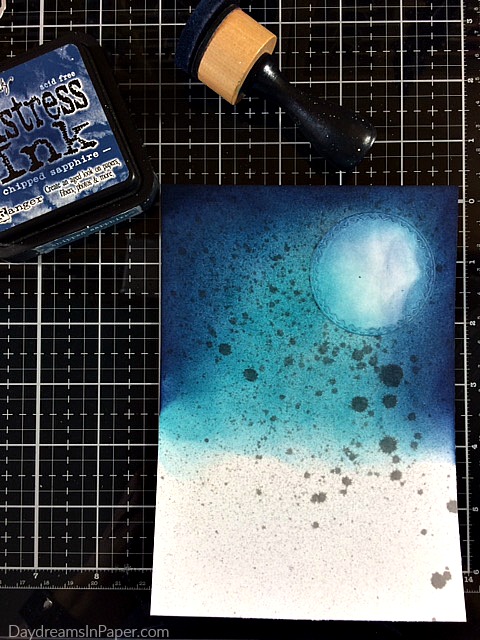
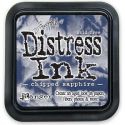
For the final color, apply Chipped Sapphire Distress Ink to the edges. Blend all the edges together with Broken China Distress Ink.
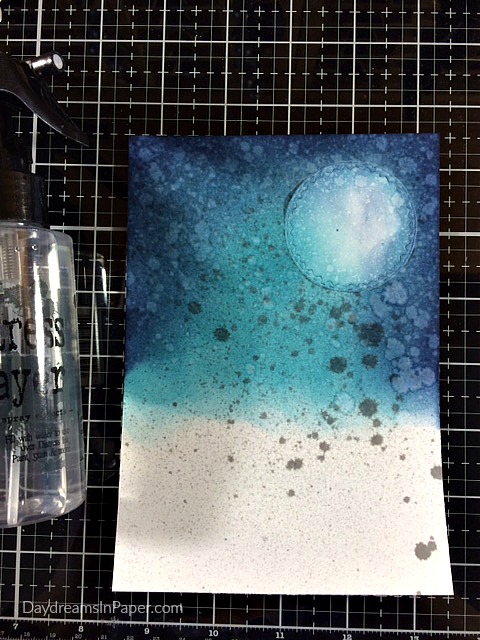
While the ink is still wet, spritz the panel with water. Completely dry the entire panel with a heat tool.
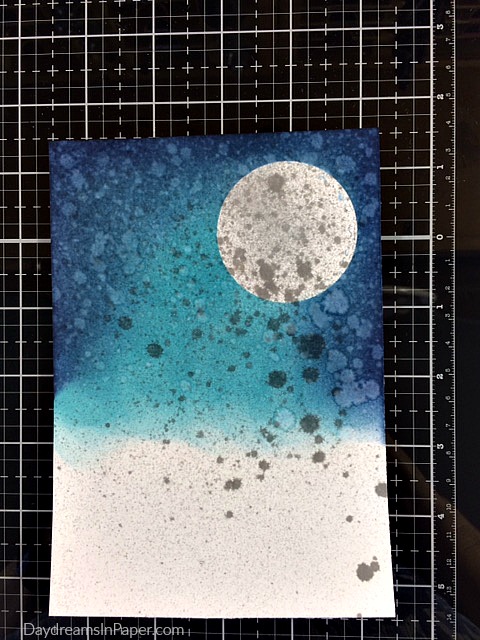
Remove the mask to expose the beautiful moon hidden underneath.
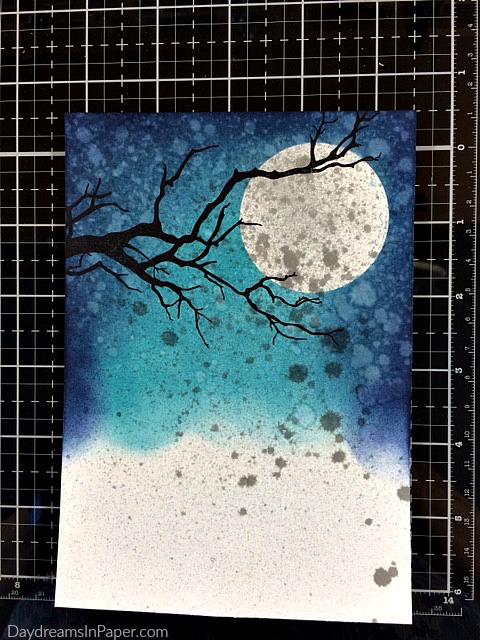
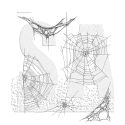
Using the stamp platform, ink on the tree branch from the Tim Holtz Mr. Bones stamp set with Black Soot Archival Ink.
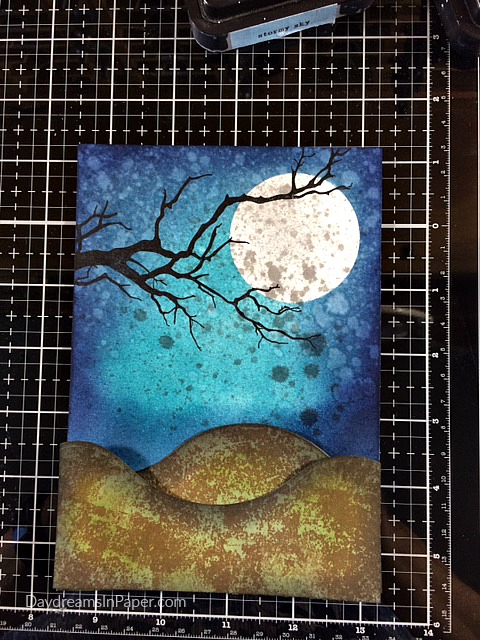
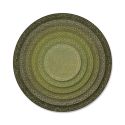
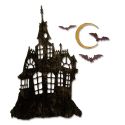
Next, create some hills using the Tim Holtz Home For The Holiday die set. Cut them out of white cardstock, spray them with Peeled Paint Distress Spray Stain and dry them completely with a heat tool. Next, ink on some “dirt” using the Tim Holtz Composition background stamp with Vintage Photo Archival Ink. Adhere them to the moonlit sky scene using 3D foam tape to give the scene dimension and depth.
That’s it! Wasn’t that easy? I told you when you see how it’s done in steps, it’s not as difficult as it looks.
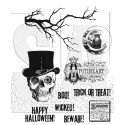
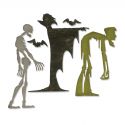
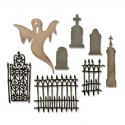
To finish the card, I created some creepy characters using the Tim Holtz Ghoulish die set and a few tombstones from the Village Graveyard die set. I added some remnant rubs to the tombstones, a die cut bats and a sticker from the Halloween Clippings Sticker set.
I hope you enjoyed seeing how I created this fun and creepy Halloween card. Thanks so much for stopping by!

 |
 |
 |
 |
 |
 |
 |
 |
 |
 |
 |
 |
 |
 |
 |
 |
 |
 |
 |
 |
 |
 |
 |
 |
 |
 |
 |
 |
 |
 |
 |


Thank you for such wonderful inspiration. I love how easy this card is to create, something I am capable of doing. Ha! Love the colors used to create the sky. Thanks!
Oh my… this scene is so very cool … I must try this ! Love the masking technique for the moon !