
Hi Friends! I took a much needed week off last week to get caught up on a few things and to get through a few things that came about unexpectedly. I hope you had a good week and that you’re ready for a tutorial on how I made this sweet card with dimensional flowers and several Tim Holtz products. I love this time of year when everything is blooming and the flowers are brightly colored. It won’t be long until the hot Arizona sun fades them a little but for some reason I always think of this time of year when everyone is enjoying the warmer weather and planting their gardens. I long to plant an outdoor garden and have that on my to do list. Anyway….. Enjoy!
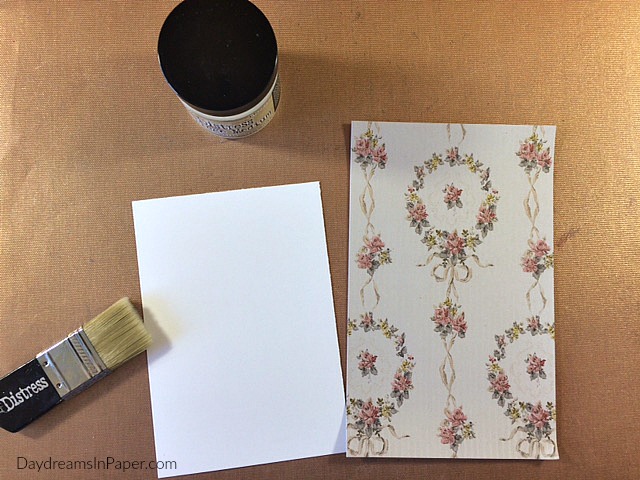
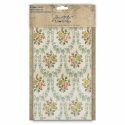
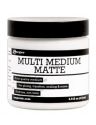
To begin, cut a piece of sturdy cardstock and cover with multi matte medium. While glue is wet, place the wallpaper over the cardstock and brush surface with layer of multi matte medium. Allow to completely dry.
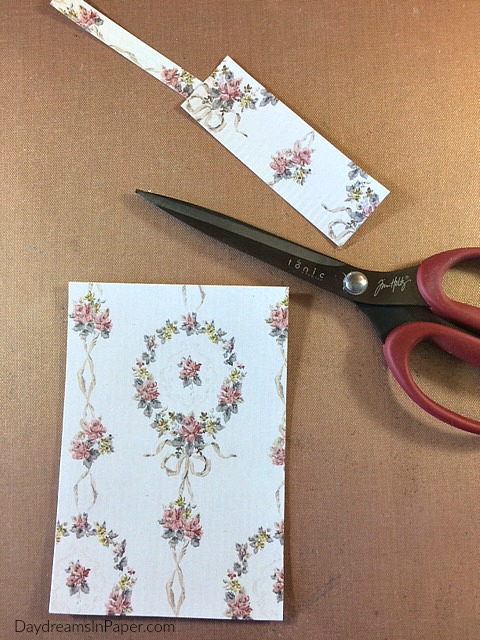
Cut off excess wallpaper hanging over the cardstock.
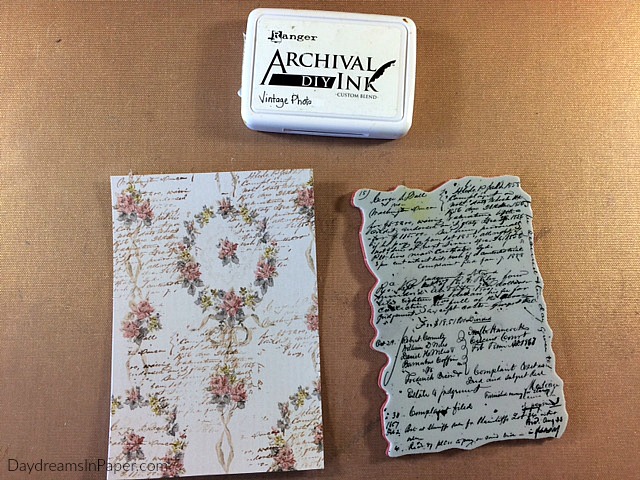
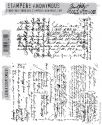
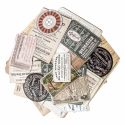
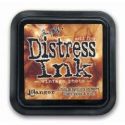
Stamp on the Tim Holtz Script background stamp in random areas with Vintage Photo Archival Ink.
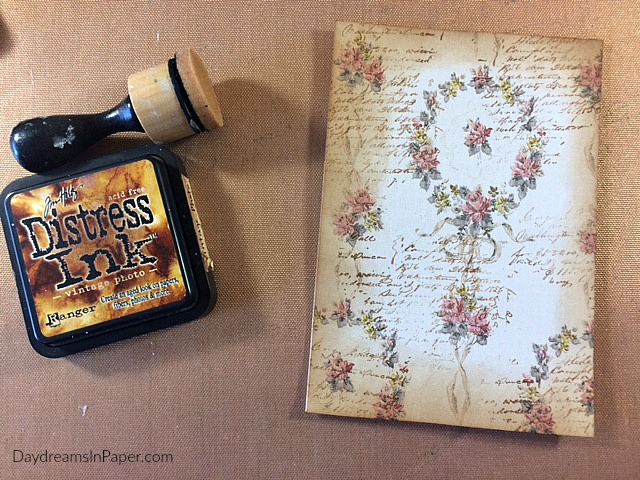
Ink the edges with Vintage Photo Distress Ink using a mini ink blending tool.
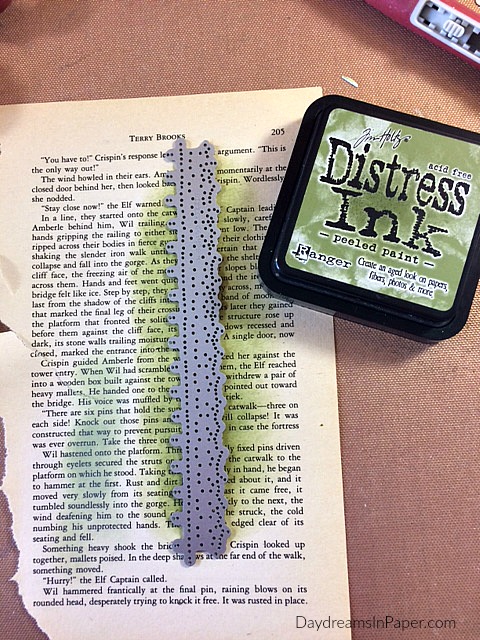
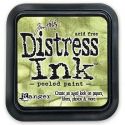
To create some interest to the background, ink book page with Peeled Paint Distress Ink. Place one of the Tim Holtz Lace dies over the inked area and cut.
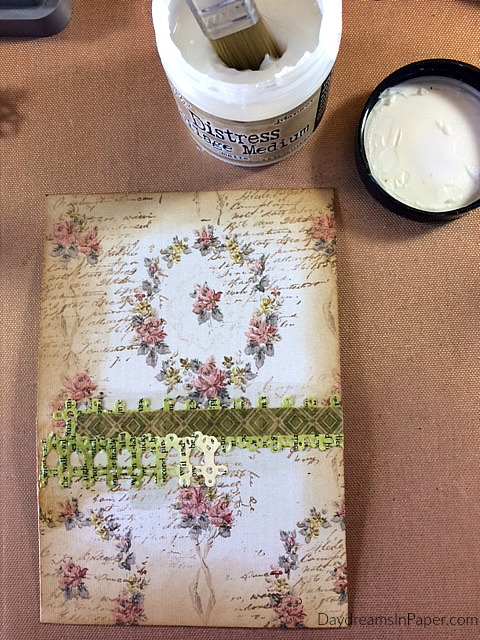
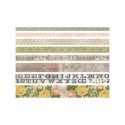
Adhere cut out lace along with some Tim Holtz design tape in lower center area of panel.
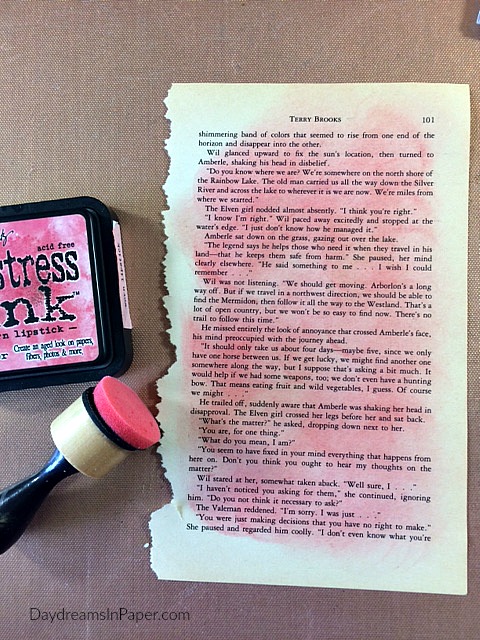
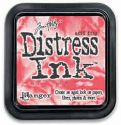
Ink another book page with Worn Lipstick Distress Ink.
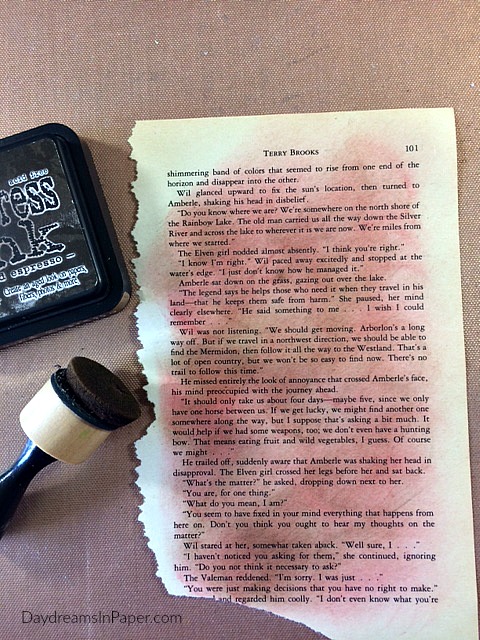
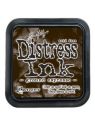
Ink over the page again with Ground Espresso Distress Ink.
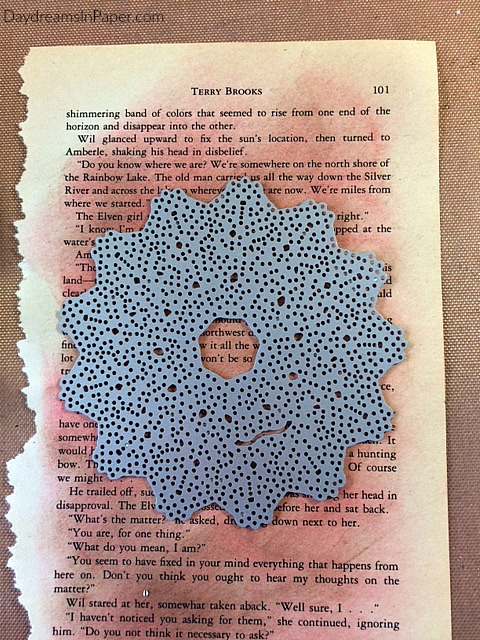
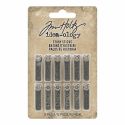
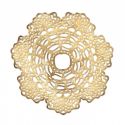
Place the Tim Holtz Doily #2 die over the inked area and cut out.
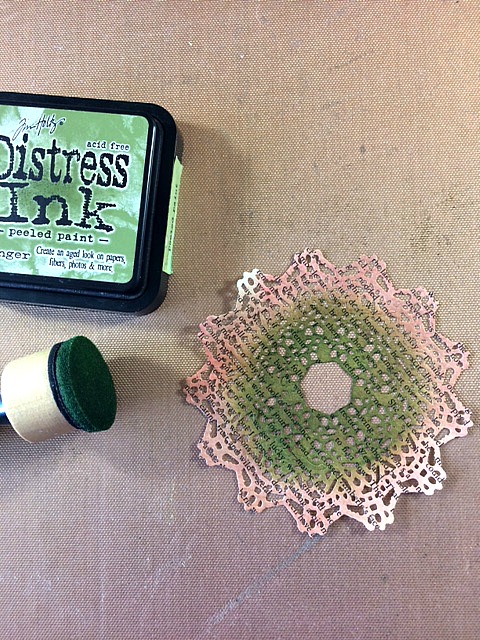
Gently pounce Peeled Paint Distres Ink with a mini ink blending tool in the center area of the doily.
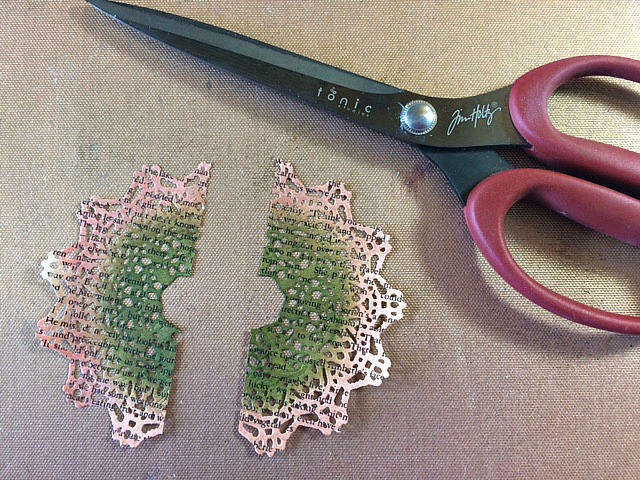
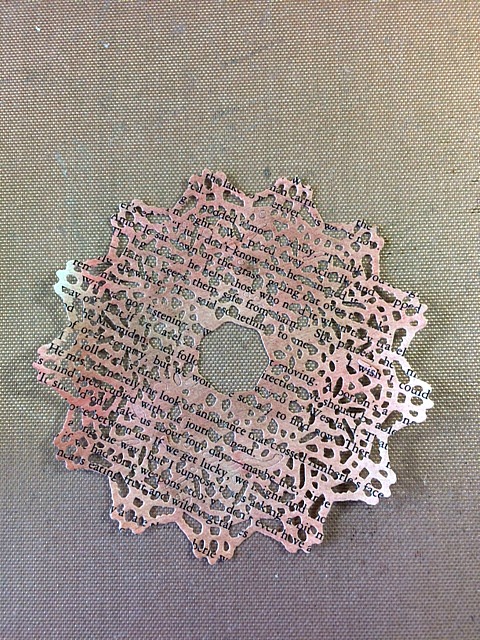
Cut the doily in half.
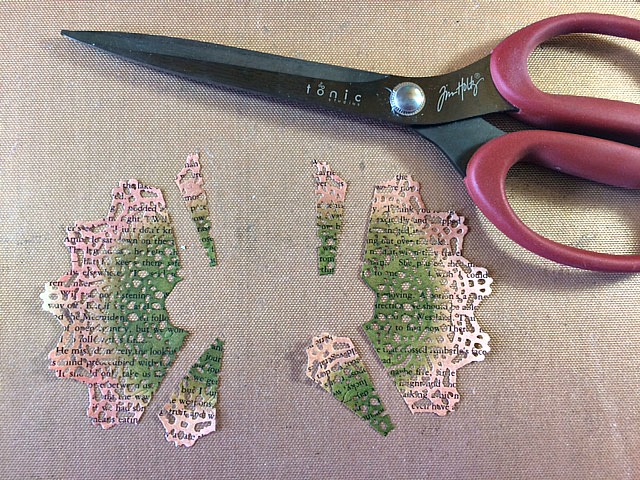
Cut the ends off of the halved doily pieces so there are only 5 points on each side as shown in the picture.
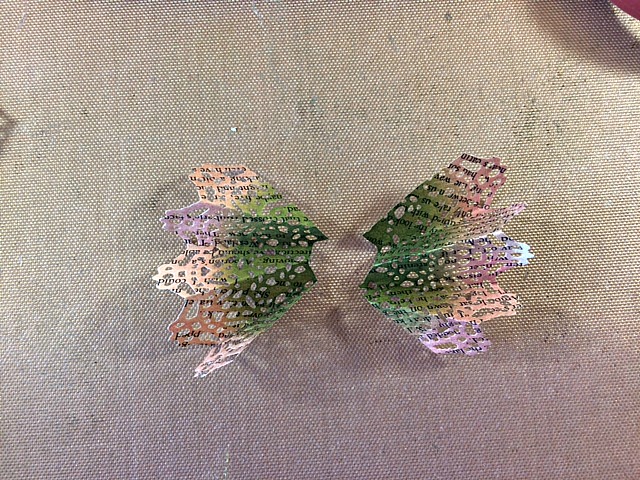
Fold the two doily pieces accordion style.
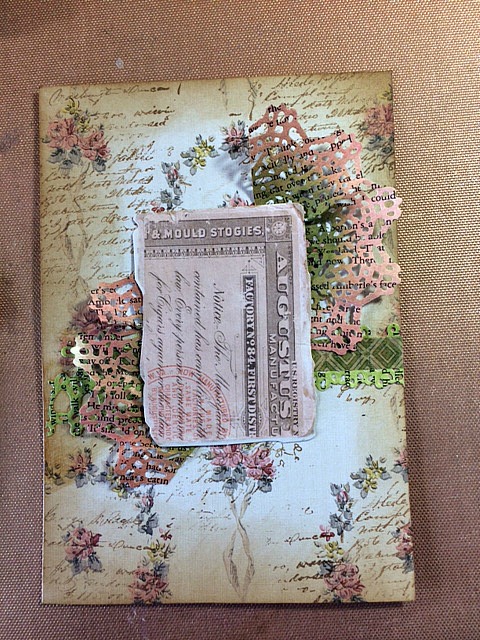
Retrieve main card panel and place a piece of Tim Holtz Collector Layers in the center of the panel and tuck doily halves underneath. Set aside,
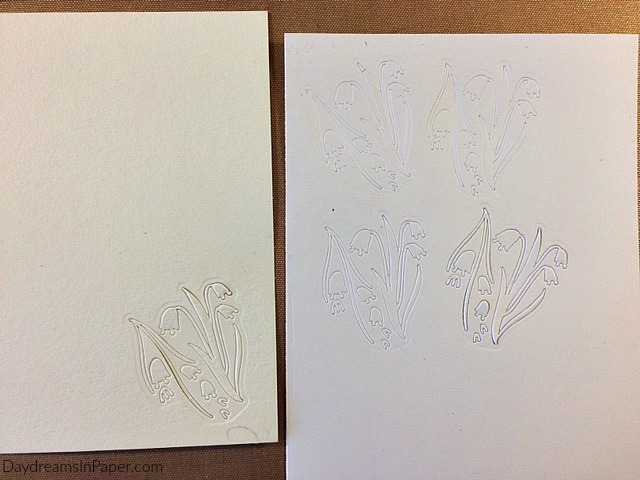
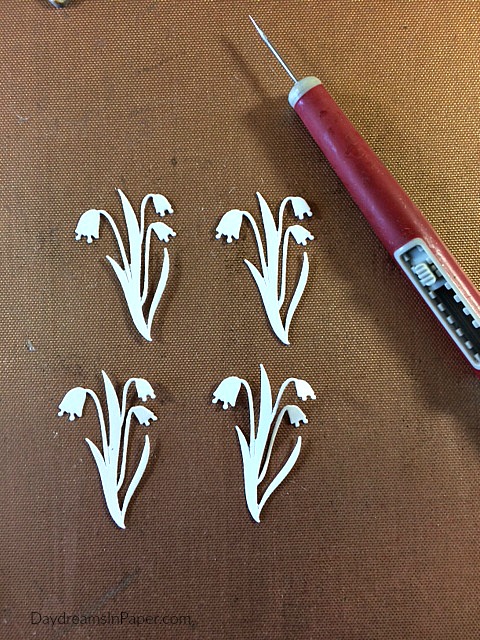
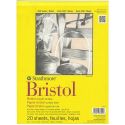
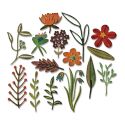
From Neenah Solar White 110 lb. cardstock, cut out 4 flowers from the Tim Holtz Funky Floral #2 die set. From watercolor paper cut one of the same flowers.
Taking the four flowers cut from the Neenah cardstock, begin to stack them together.
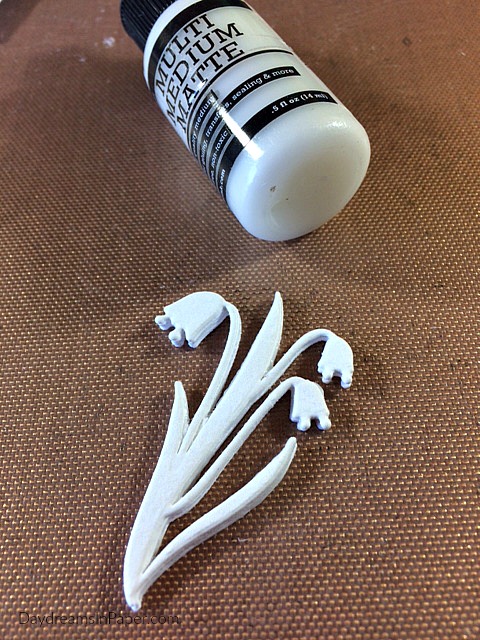
Adhere each layer together with Ranger Multi Matte Medium.
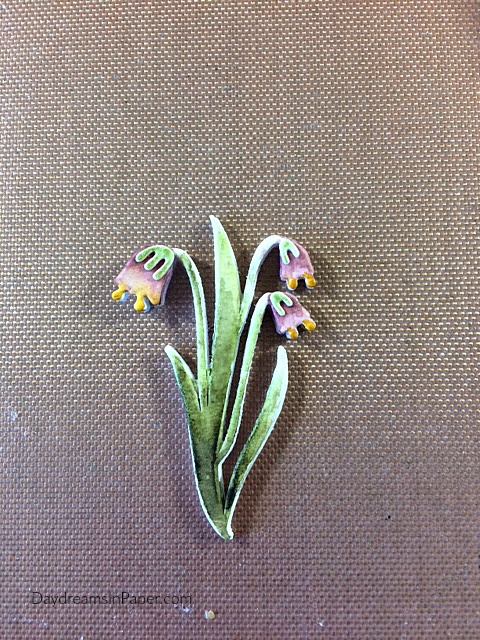
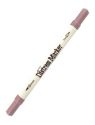
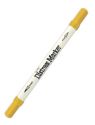
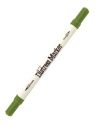
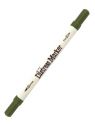
Adhere the watercolor paper die cut flower on top and color with Distress Markers. I used Peeled Paint, Forest Moss, Victorian Velvet and Fossilized Amber Distress markers along with a water brush.
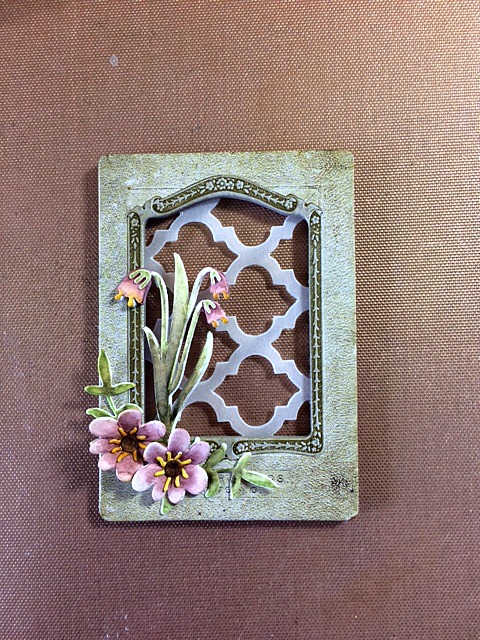
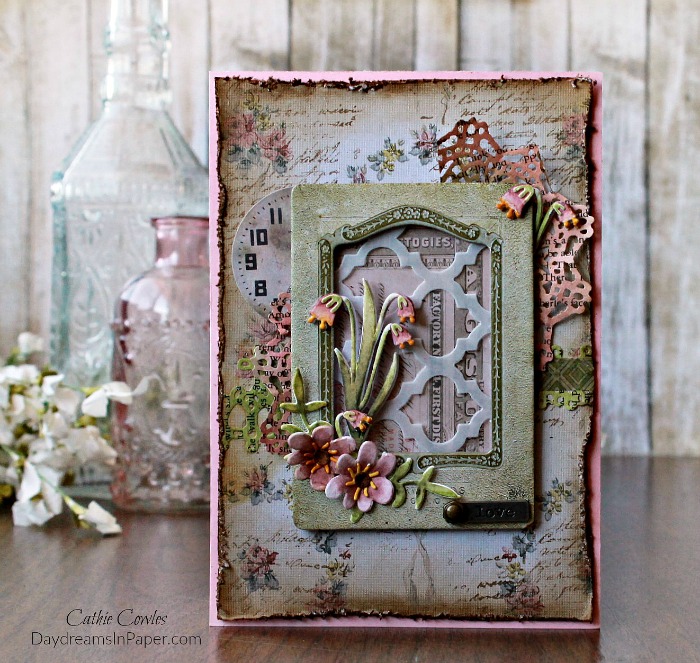
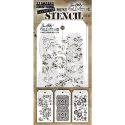
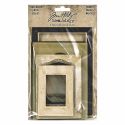
To create the main focal point, I cut the Tim Holtz Trellis die out of vellum paper and placed it behind a baseboard piece from the Tim Holtz Baseboard frame set. I created more flowers from the Funky Floral #2 die set along with some greenery and adhered those pieces to the corner of the frame along with the dimensional flower pieces I created. I now have all the pieces to put the card together.
To finish the card, I distress the edges of the main card panel and ink the edges with Ground Espresso Distress Ink. I adhere the window frame to the center of the card panel, add an clock face ephemera piece and a Tim Holtz Story Stick fastened with a hex fastener and adhere the main card panel onto a 5×7 pink card base.
I hope you enjoyed seeing how I put together this sweet card and that it inspires you to get out your Tim Holtz products and play. Thanks for sticking with me to the end and enjoy the rest of your week!

 |
 |
 |
 |
 |
 |
 |
 |
 |
 |
 |
 |
 |
 |
 |
 |
 |
 |
 |
 |
 |
 |
 |
 |
 |
 |
 |
 |
 |
 |
 |


Very inspiring… Am your new follower from France, just starting in the mixed media world! Best wishes,
Louise
Hi Louise! Thank you for your sweet comment. I’m so happy to hear you just started in mixed media. It’s so much fun and there’s a ton of inspiration and challenges online. My favorite is Simon Says Stamp’s Monday Challenge. It’s a weekly mixed media challenge with fun themes and amazing designers. You can check out all the details at: http://www.simonsaysstampblog.com/mondaychallenge/
All skill levels welcome and it’s a great way to learn new techniques and tricks. I do hope you’ll join in the fun. You’ll love it!
Cathie ♥