
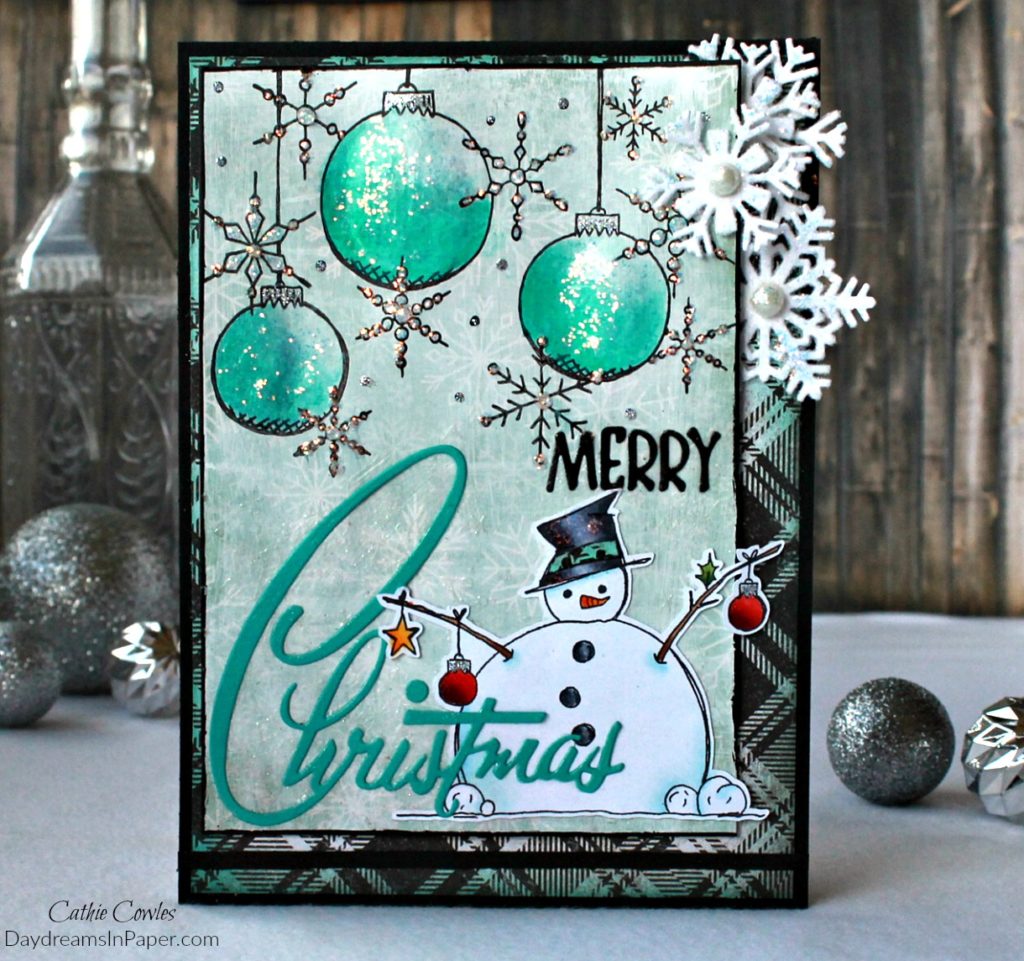
Welcome! I’m so happy you stopped by for our new Monday challenge at Simon Says Stamp. This week we’re featuring Paper Artsy products and our theme is, Icy Photo Inspiration. I created a cute card with my favorite, a snowman, and added sparkle and shine with Ranger Diamond and Disco Ball Stickles. Come on along and see how I put everything together. Enjoy!
Also, please welcome our December guest designer, Valerie-Jael from Bastelmania, Stop by and see what she’s created for this week’s challenge and send her some love.
![]()
![]()
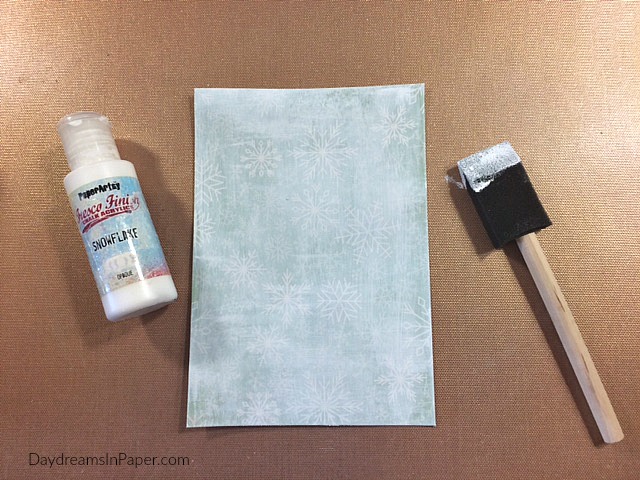
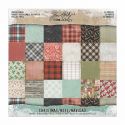
I create the background by cutting a 4-3/4″ x 6-3/4″ piece of cardstock from the Tim Holtz Christmas paper stash and lightly paint over the top with a sponge brush using Paper Artsy Snowflake Fresco Finish Paint.
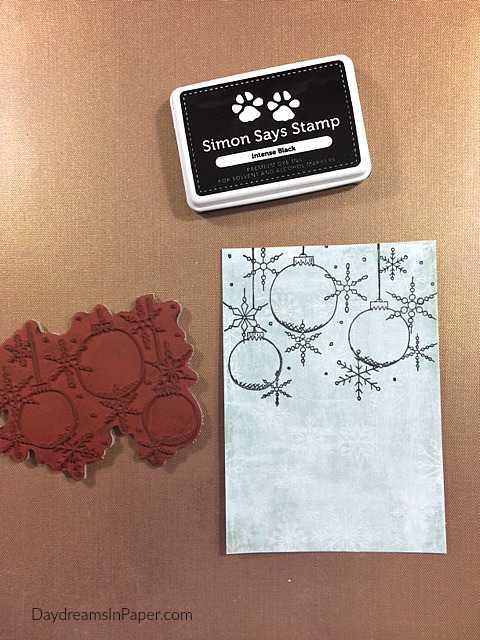
When the paint is completely dry, I stamp on the snowflakes and Christmas bulbs from the Paper Artsy Jofy 58 stamp set with Simon Says Stamp Intense Black Ink.
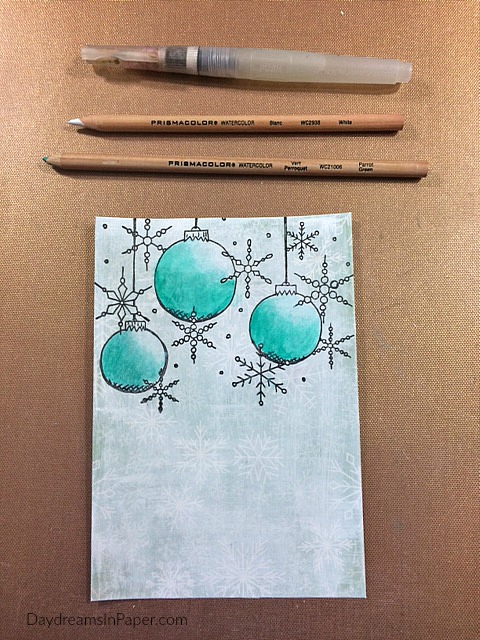
I color the Christmas bulbs with Primacolor Watercolor Pencils and a Ranger Detailer Waterbrush.
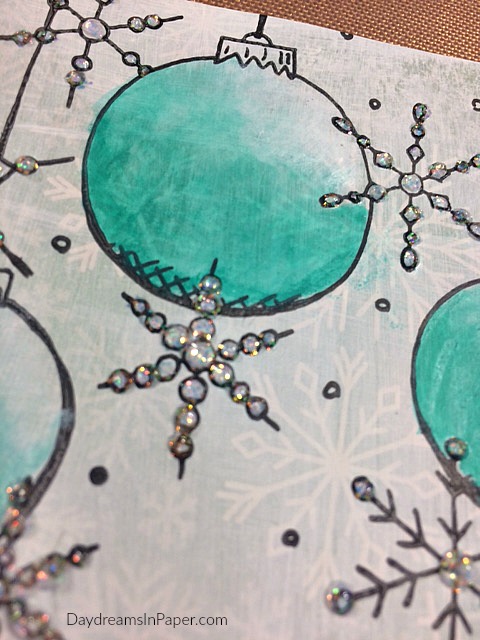
I add Ranger Diamond Stickles to the snowflakes to give them an icy look.
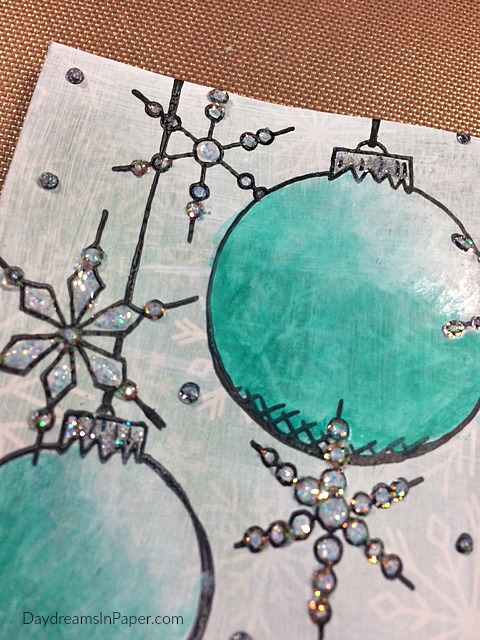
Next, I add Ranger Disco Ball Stickles to the ornament caps.

To give the Christmas bulbs a glowing shine, I brush on Ranger Diamond Stickles with a small paintbrush. I set my main card panel aside to completely dry.
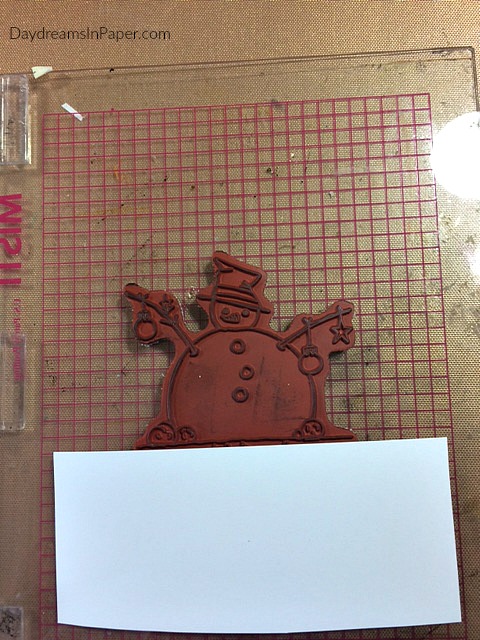
I begin working on the snowman image for the card by placing a scrap piece of cardstock over the sentiment beneath the snowman. You could cut the sentiment off, which is something I frequently do when images and sentiments are all incorporated into one stamp. I ink the snowman with Simon Says Stamp Intense Black Ink and then remove the piece of cardstock before stamping the image. I use the Misti tool and complete this process a couple of times.
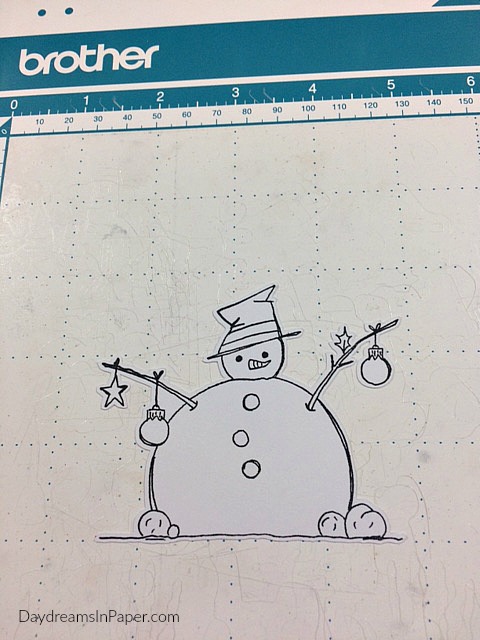
I use the Brother ScanNCut to cut out the image. In case you’re wondering I used the 0.04″ border setting to leave a little border around the image.
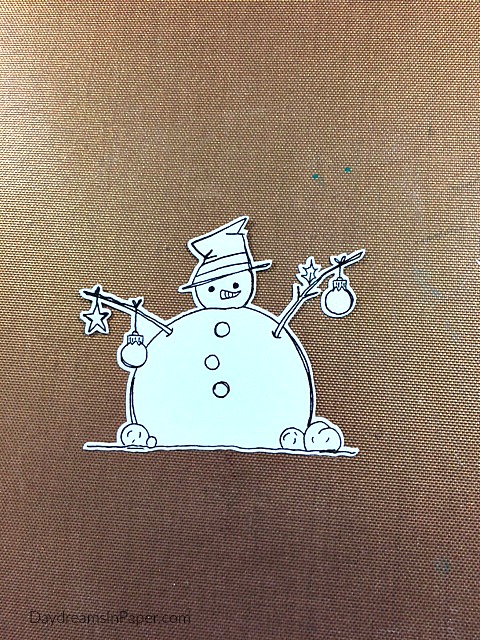
Here is a better look at the snowman after cutting it out with the ScanNCut.
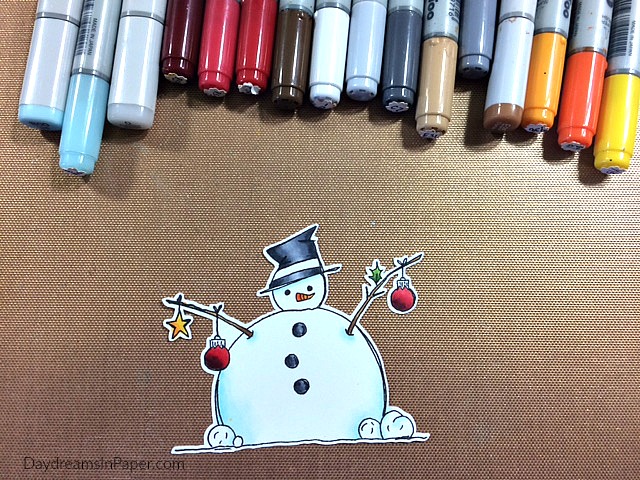
Here is a list of the Copic colors I used to color the snowman:
- Hat: C-1, C-3, C-5 and C-7
- Nose: YR68 and YR15
- Star: Y38 and YR68
- Christmas Ornaments: R35, R46 and R59
- Buttons: C-3, C-5 and C-7
- Leaf: YG25, YG63 and YG67
- Snowman Body: B000, B00 and Colorless Blender
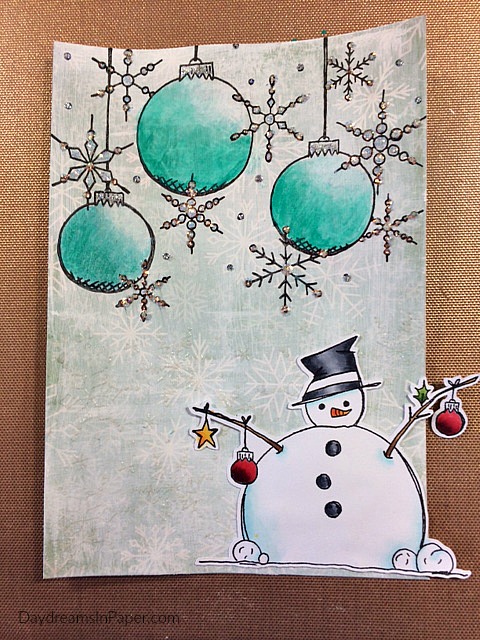
My background is dry and my snowman is complete, so I adhere him with Ranger Multi Matte Medium to the bottom right corner of the panel.
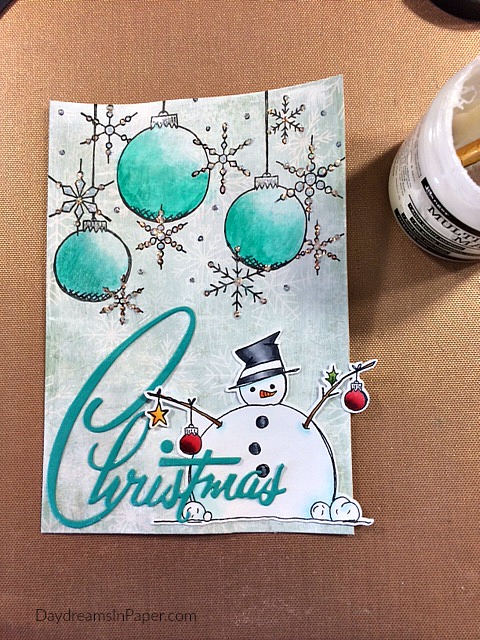
I cut the Tim Holtz Retro Merry Christmas out of Bazzill Candy Necklace cardstcok and Simon Says Stamp Black Cardstock. Here, I adhere the word Christmas with multi matte medium to the bottom left corner overlapping the snowman.
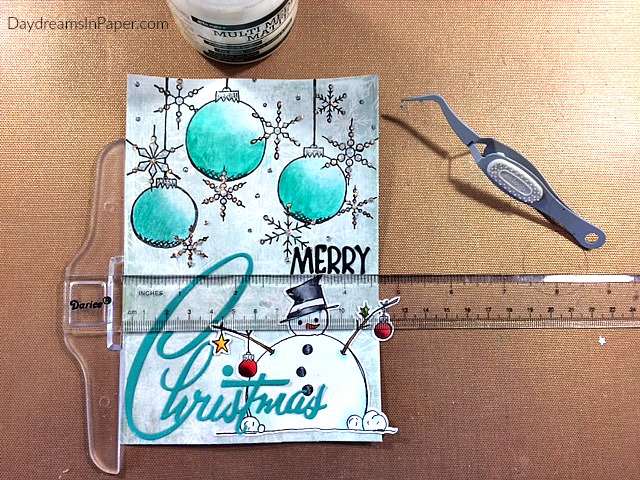
I add the word Merry, and to make sure it’s straight I use a Westcott C-Thru T-Square Ruler.

I go over the edges with Black Soot Distress Paint to finish the focus panel.
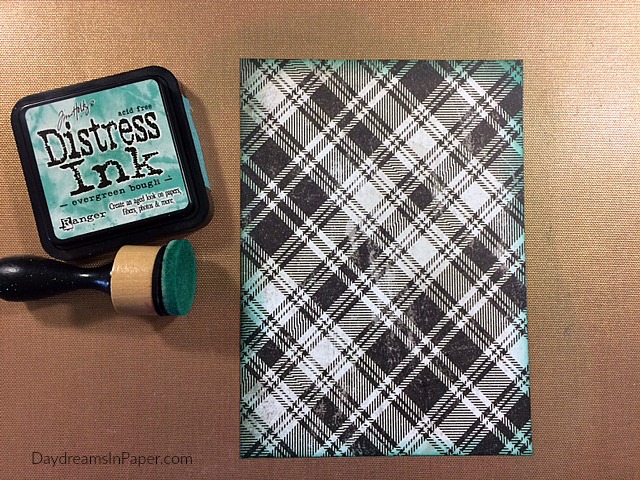
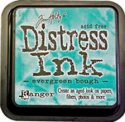
I create the base to the focus panel by cutting a piece of plaid cardstock from the Tim Holtz Christmas paper stash and ink the edges with Evergreen Bough Distress Ink.
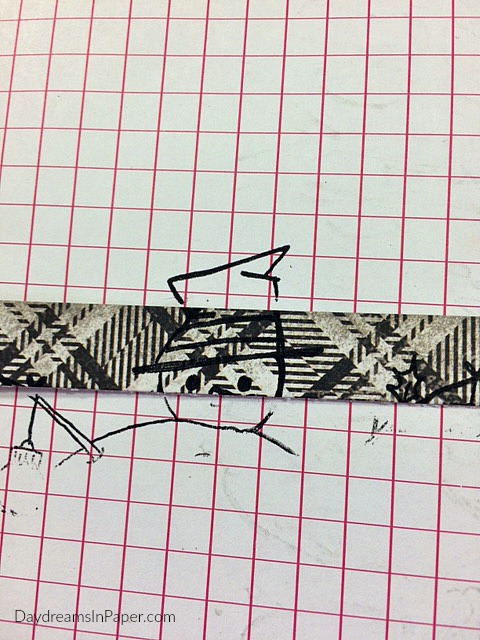
To create the banner on the snowman’s hat, I use a piece of leftover cardstock from cutting the focus base panel and stamp the part of the hat I need using the Misti tool.
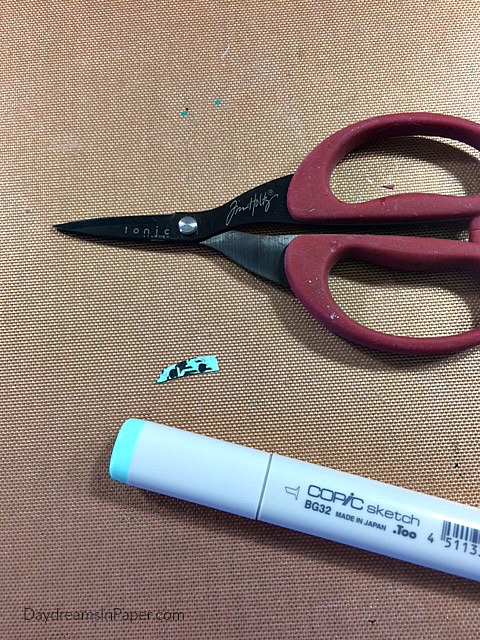
I cut out the banner portion from the hat and color it with a Copic BG32 marker.
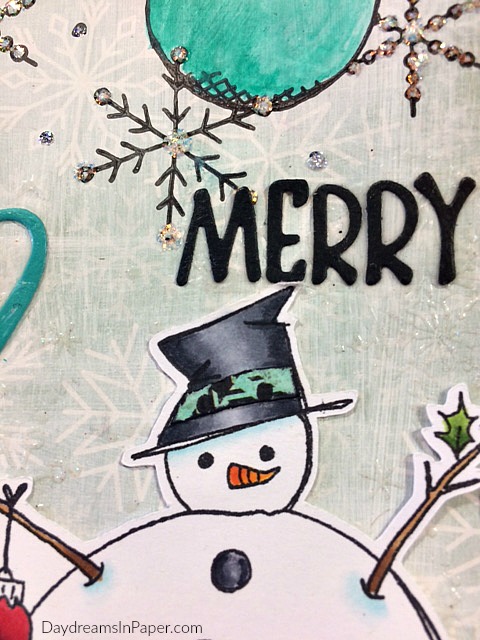
I adhere the banner to the hat and Mr. Snowman has a hat that coordinates with the card. It’s a nice little touch that ties things together.
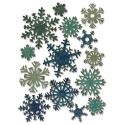
To complete the card, I adhere the plaid panel to the base panel that I created out of Simon Says Stamp Black cardstock. I then adhere the focus panel onto the plaid panel with 3M double-sided foam tape. I add a few snowflakes from the Tim Holtz Mini Paper Snowflakes that I brushed with glossy accents and dusted with clear rocky candy dry glitter. I add a small, thin strip of black cardstock to the bottom of the card and I’m done.
I hope you enjoyed seeing how I put my Merry Snowman Christmas card together and that you join us on the challenge. Remember, you could win a $50 gift voucher to Simon’s amazing store. Thanks for sticking with me to the end. I really appreciate it!!


&nb
 |
 |
 |
 |
 |
 |
 |
 |
 |
 |
 |
 |
 |
 |
 |
 |
 |
 |
 |
 |
 |

sp;


Pingback: Simon Says: Icy Inspiration - Simon Monday Challenge Blog
Adorable card Cathie 🙂 The snowman is super cute and I love the colours and sparkle, the whole design is gorgeous 🙂
Luv
Lols x x x
Gorgeous card, love the colours, and that the snowman goes over the edge. Hugs, Valerie
AMAZING! The stamp set is totally stunning. Why haven’t I seen it? I love everything you did here, from painting the patterned paper through coloring the adornments to coloring the snowman with copics! Love the way you gave the colors to the stamps and the plaid background is so cool! Hugs! Marzena
This is such a beautiful card! I love how dimensional and shiny you made the ornaments look. I wanted to reach out and touch one! I also love the clever layering details and how you have your snowman hanging just a bit over the edge of your card. Clever, clever!
Cathie, your snowman is adorable! I love that image and what you’ve done with him. Everything on your card is just yummy – from the gorgeous greens to the snowflakes to the ornaments. Beautiful!! hugs, Maura
Oh, Cathie! I totally love the design, colors, and touch of sparkle on the ornaments!! 🙂
*mwah*
Steph
SImon Says Stamp!
beautiful card Cathie, love how you mixed the gorgeous baubles with that adorable chubby snowman …enjoy your weekend hugs kath xxx
Love your fabulous Christmas card, Cathie. The embellishments and your coloring are fantastic! 🙂
This looks amazing Cathie! Love the gorgeous color and love the way you created so much detail in the cute snowman! So pretty! Hugs, Sandra
Such a fun card Cathie! Love the stamp you used!!! So fun!!