Hi Everyone! I’m so happy you stopped by to check out my latest project for Simon Says Stamp’s Monday Challenge. This week’s theme is, The Great Outdoors and we’re featuring PaperArtsy products. Anyone who knows me, knows how much I love PaperArtsy! I created an outdoor garden using many of their stamps, fresco finish paints and Infusions pigment powders. Join me below to see how I put together this flower filled card.
Also, please welcome our guest designer for the month of May, Dr. Sonia. She’s amazingly talented and I learned how to make beautiful roses from one of her entry’s to our challenge. Isn’t it wonderful how we all learn from each other. I bet when you add your entry to the SSS blog you don’t think you’re inspiring us too, but you are! Please check out her blog, Cards, Crafts, Kids Projects. You will really be amazed.

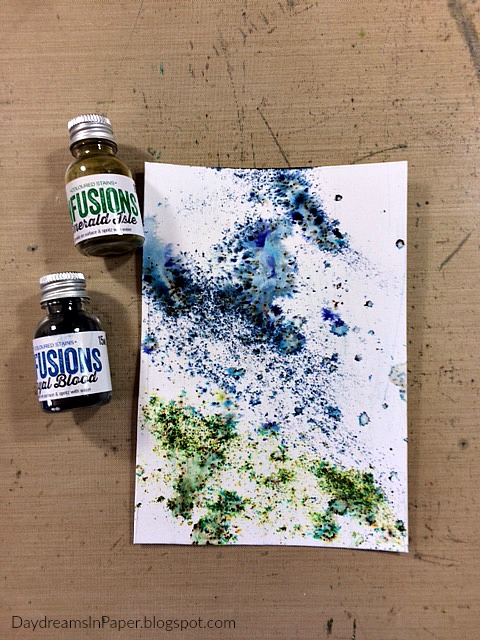
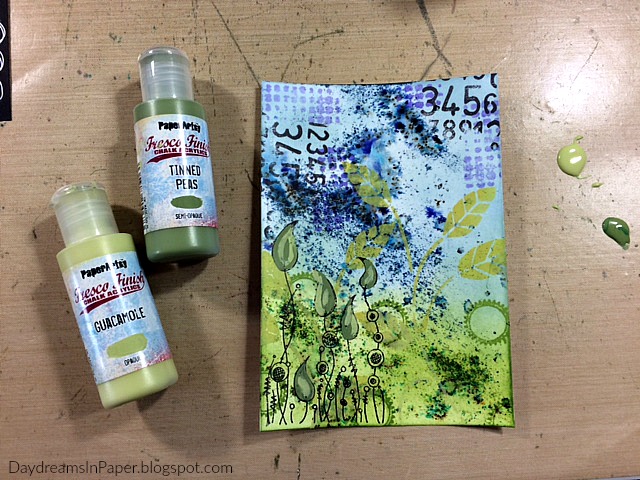
I begin my background with a 4-5/8″ x 6-1/2″ piece of Neenah Solar White 110 lb. card stock and spray a little water onto the card stock. After spraying the card stock, I sprinkle on Royal Blood and Emerald Isle Infusions pigment powders. Infusions are a pigment powder consisting of dye color and a walnut crystal. They both dissolve at a different rate so by spraying a small amount of water onto the card stock, I get more of the dye color to come through. By adding more water, the walnut crystals start to dissolve and you get a much different look. Here’s a video from PaperArtsy explaining this in great detail with examples of all the colors.
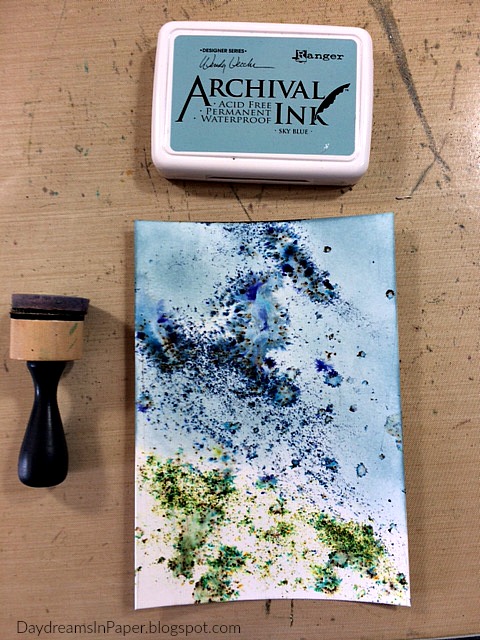
Now that the pigments are dry, I ink on Sky Blue Archival Ink with a mini ink blending tool to the sky area.
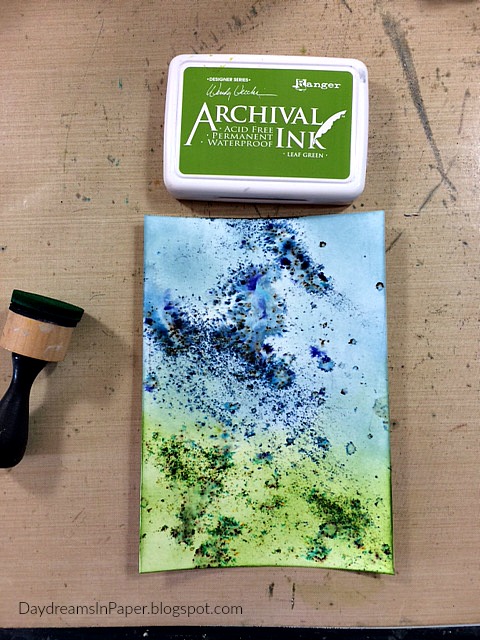
Next, I ink Leaf Green in the garden area on the bottom of the card stock piece.

I apply some stamping in random areas in the background with two of the images from the PaperArtsy EEV06 stamp set in Simon Says Stamp Jelly Bean hybrid ink and Violet Archival Ink. The numbers image is from the Dylusions Basic Backgrounds stamp set stamped in Black Soot Archival ink.
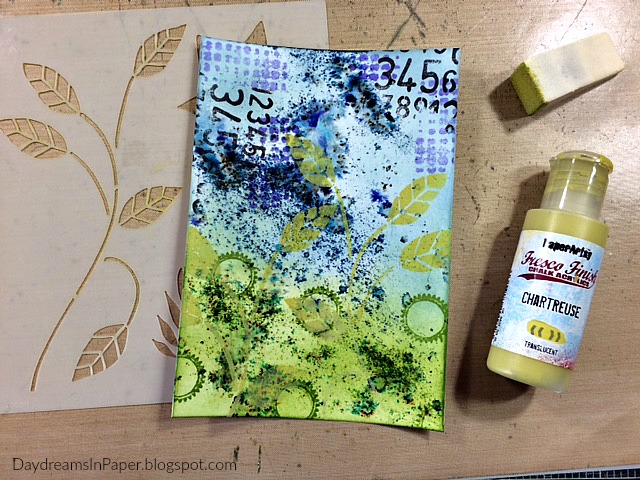
I begin building the garden by stenciling on some leaves from the PaperArtsy PS002 stencil set. I apply the image with a sponge dipped in a small amount of Chartreuse fresco finish paint and gently dab over the stencil. I set that aside to completely dry.

To create the large flowers for my card, I stamp two flowers using the Misti. These flowers are from PaperArtsy’s Jofy 45 and Jofy 32 stamp sets. After stamping the images DO NOT remove the stamps from the tool. You will be returning the paper back to the Misti to re-stamp the images.

I paint the flowers with Yellow Submarine, Tango and London Bus fresco finish paints not worrying about painting over the black stamp lines. When I’m finished painting the flowers and the paint is completely dry, I return them to the same position in the Misti as I originally stamped them and re-stamp the flowers.
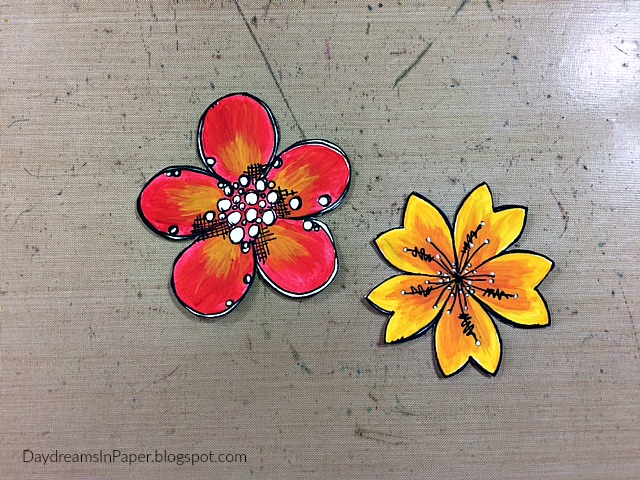
Here are the flowers after re-stamping them and adding white gel pen dots to the flowers.
I return to the background and stamp on the garden image from the PaperArtsy Jofy 33 stamp set. I use the same technique with the Misti by stamping the image onto the background and leaving the stamp on the Misti so I can re-stamp the image when I’m finished painting the leaves and flowers.
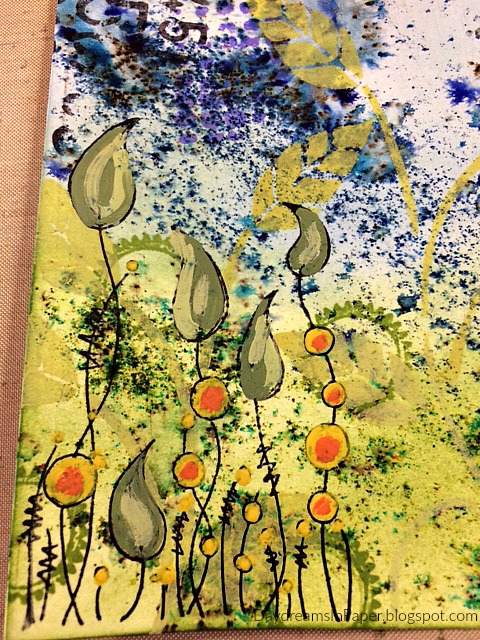
Here you can see one side of the background finished after I’m finished painting it. I return it to the Misti and re-stamp the image.
Here is the image after re-stamping.
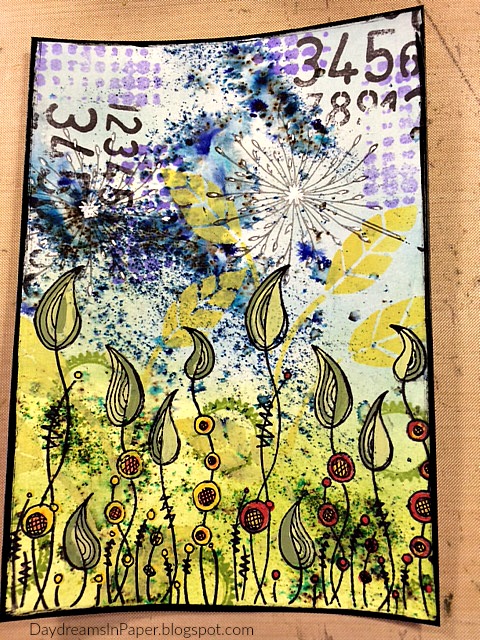
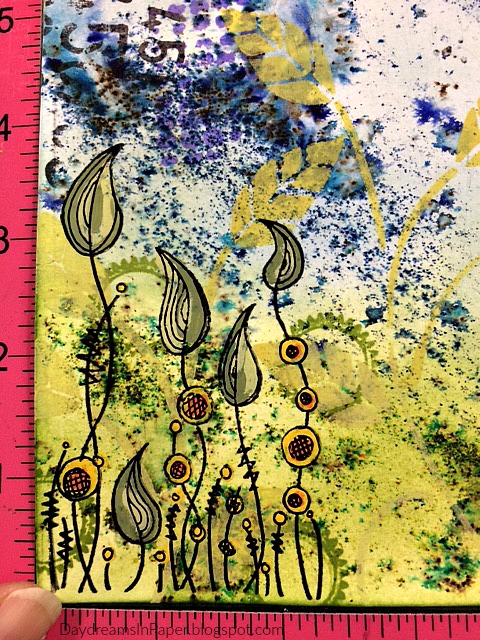
I add the same image all the way across the bottom of the background by stamping, painting and then re-stamping. Above is the finished background garden. I also add one of the flowers from the EKC02 stamp set using second generation stamping.
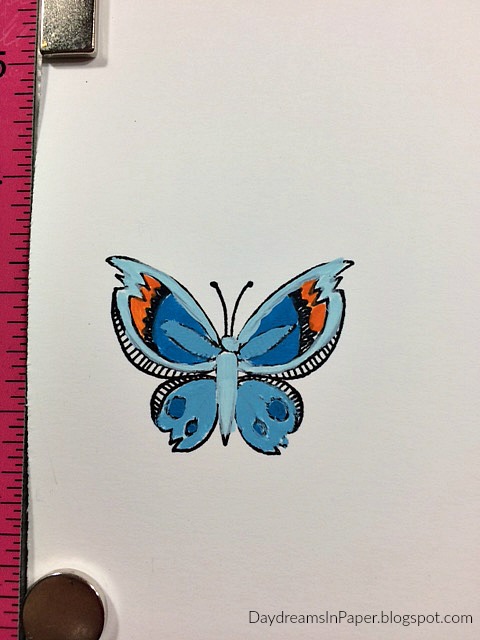
I stamp the butterfly from the PaperArtsy Jofy32 stamp set and paint it after stamping with the Misti.

After painting, I re-stamp the image.
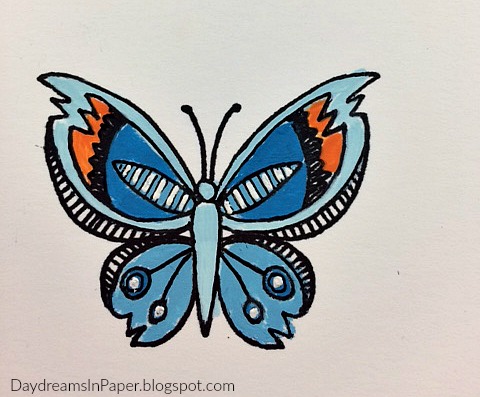
I add some white with a gel pen in some of the decorative areas of the wings.
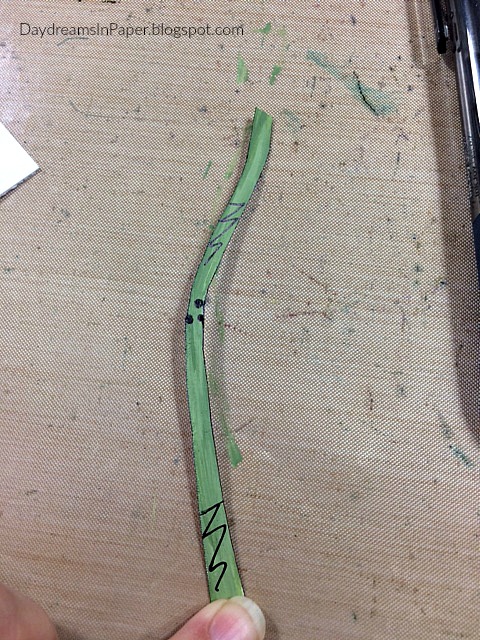
To create the stems for the large flowers, I draw two stems with a pencil onto white card stock and paint them with Tinned Peas and Guacamole fresco finish paint and add some doodles that match the doodles from the garden scene stamp set.

To complete the card, I add the large yellow flower directly onto the background using double-sided tape. The large red flower and butterfly are attached with 3D foam tape for dimension. I add my handmade stems to the large flowers and stamp out some leaves from the Jofy 33 stamp set, paint them, re-stamp them and then fussy cut them out. I add those to the large stems with 3D foam tape. The sentiment is from the ELB24 stamp set stamped in Black Soot Archival ink and cut out with scissors and I draw some lines for interest around the word. I attached the background to a 5″ x 7″ piece of Pineapple Bliss Bazzill card stock and attach that onto a 5-1/2″ x 7-1/2″ piece of Simon Says Stamp Black card stock and my card is done!
I hope you enjoyed seeing the process I used to create my Great Outdoors project and that you join us for this fun challenge by adding your project to Simon Says Stamp’s Monday Challenge Blog for your chance to win a $50 gift voucher to their amazing store.

For more inspiration, tips and tricks for all types of papercraft creations, follow Simon Says Stamp on:


You can find all the following supplies I used to create this project at Simon Says Stamp: