


Hi Everyone! Are you ready for another challenge on the Simon Says Stamp Monday Challenge. This week our theme is, Heavy Metal. Add a little metal to your project, be it metal pieces, metallic paint or however you interpret the challenge having metal in mind. I hope you join us for this fun challenge. For my project I created a pretty panel with lots of metal, handmade flowers and a super easy background. Below is a quick tutorial on how I put it all together. Enjoy!
Please remember to stop by our September Guest Designer, Carol Harper from Carol Stamps. It’s her last week with us on the challenge, so please check out her amazing talent.


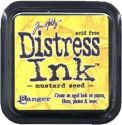
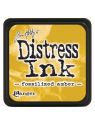
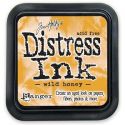
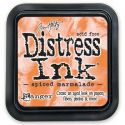
Begin by making the handmade flowers for the panel. I used pieces of white cardstock leftovers from my stash and inked them with Mustard Seed, Fossilized Amber, Wild Honey and Spiced Marmalade Distress Inks. I applied the ink with a mini ink blending tool. Don’t worry about blending the inks smoothly, it isn’t necessary to take your time to be careful to blend the colors perfectly. It’s okay if the blending tool leaves marks on the cardstock.
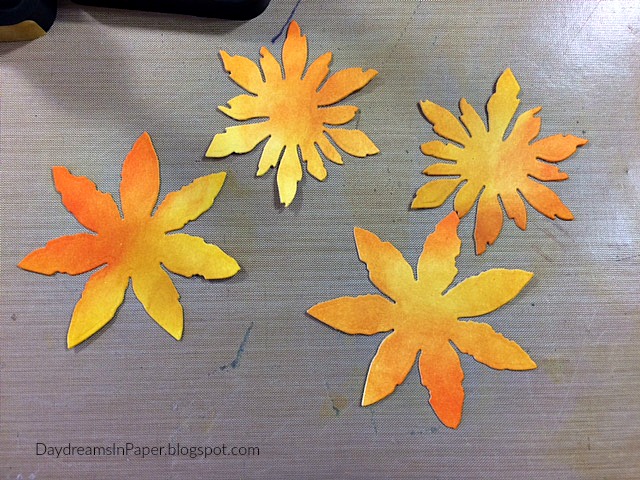
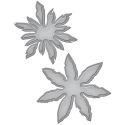
Using the Spellbinders Tammy Tutterow Designs Frayed Posies die set, cut the petals from the inked cardstock. I cut two large and two small petals for the large flower and four of the small petals for the smaller flower.

Use a flower shaping tool kit to shape the petals.

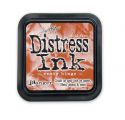
Ink the edges with Rusty Hinge Distress Ink.
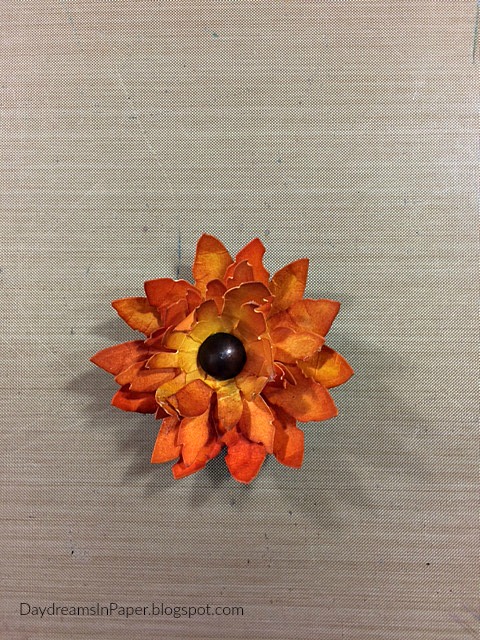
Build the flower by stacking the petals one on top of the other starting with the largest petals. Make sure to offset the petals as you build the flower. Add a flower center when you’re done building the petals.
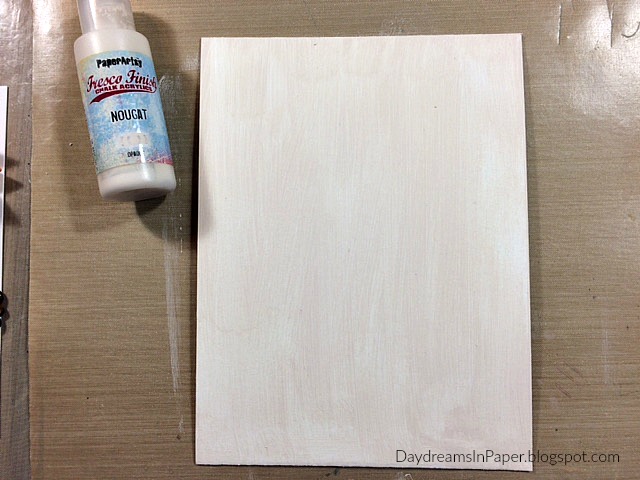
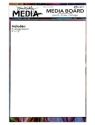
Cut a 6″ x 8″ piece of media board and cover the entire piece with gesso. Allow the gesso to completely dry and then add a coat of PaperArtsy Nougat Fresco Finish Paint. Allow to completely dry.
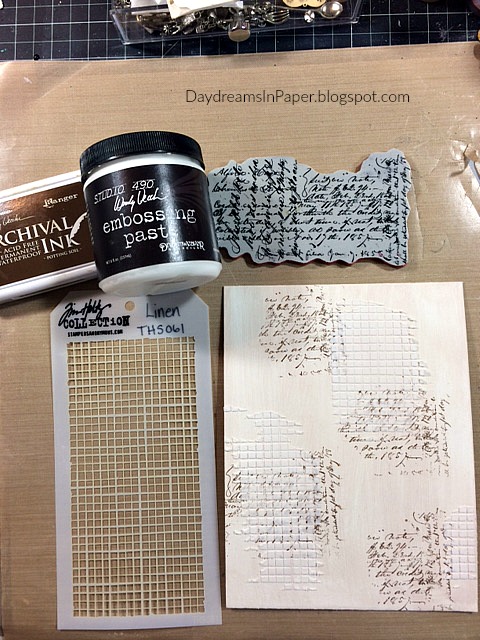
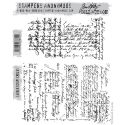
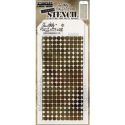
Add script stamping to the background in random areas and stencil on the Tim Holtz Linen layering stencil with white embossing paste and allow to completely dry.
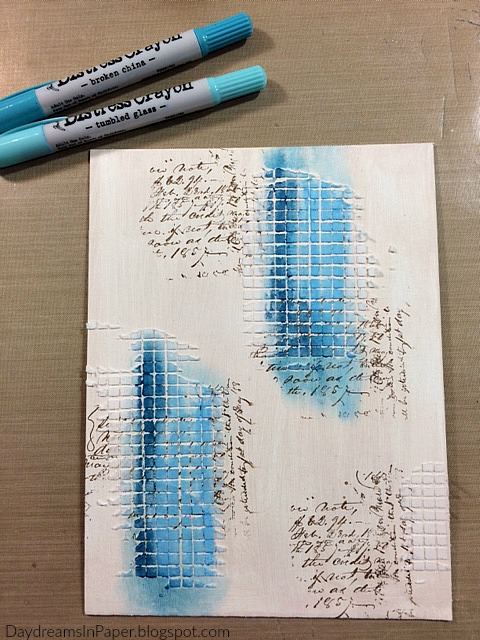
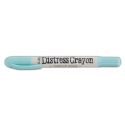
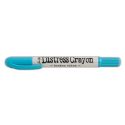
On the left and right of the center focal point, color on Tumbled Glass and Broken China Distress Crayon over the stenciled area. Rub in with finger tips. To move the pigment around easily spray on a little water before rubbing pigment around.
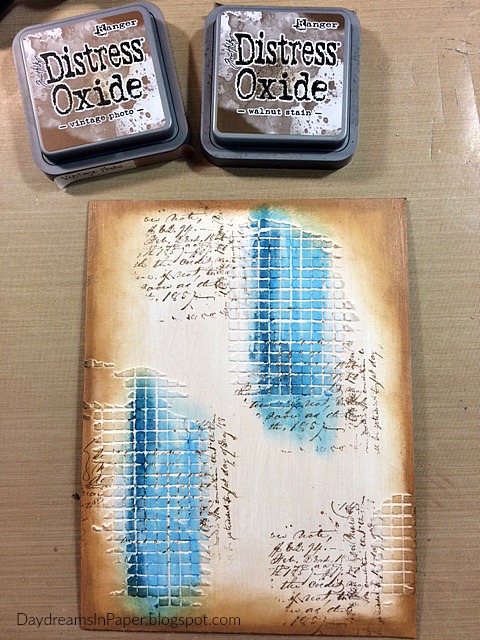
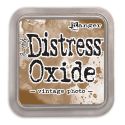
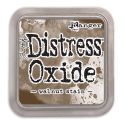
Ink the edges of the panel with Vintage Photo and Walnut Stain Distress Oxide applying with a mini blending tool.
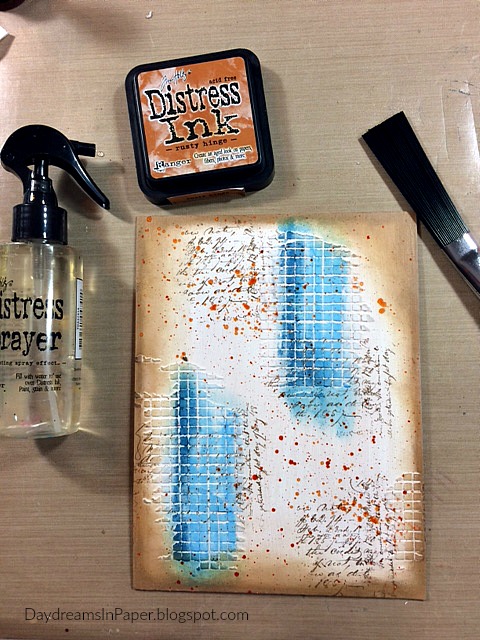
Mix together Rusty Hinge Distress Ink and water onto a craft sheet. Apply with a splatter brush by flicking the bristles over the entire panel.
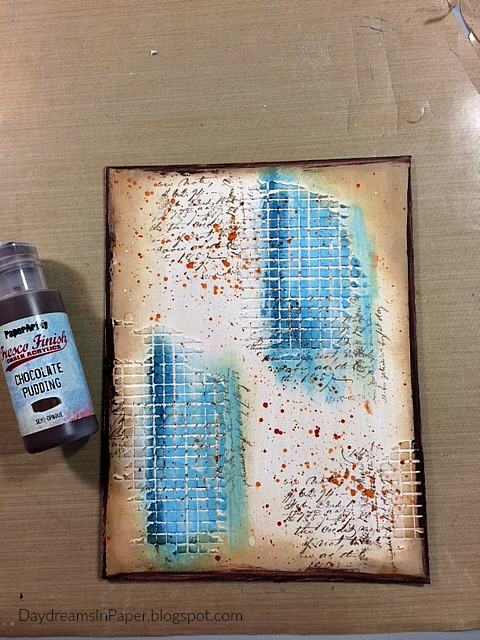
Apply PaperArtsy Chocolate Pudding Fresco Finish Paint along the edges of the panel and allow to completely dry.
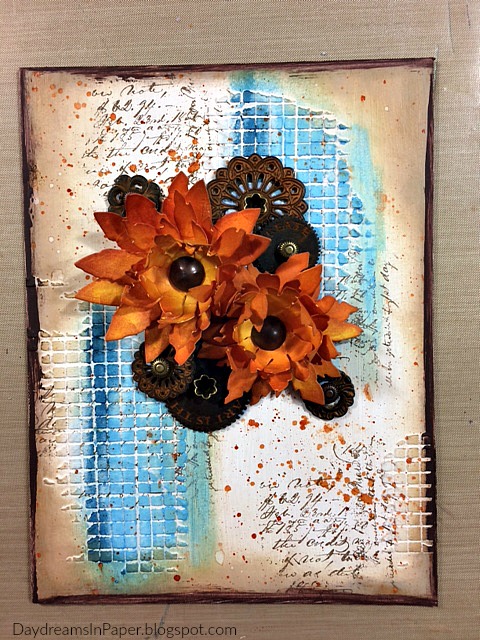
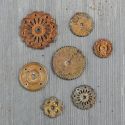
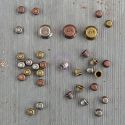
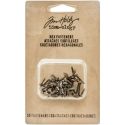
Adhere the flowers and metal pieces to the center of the upper center of the panel.
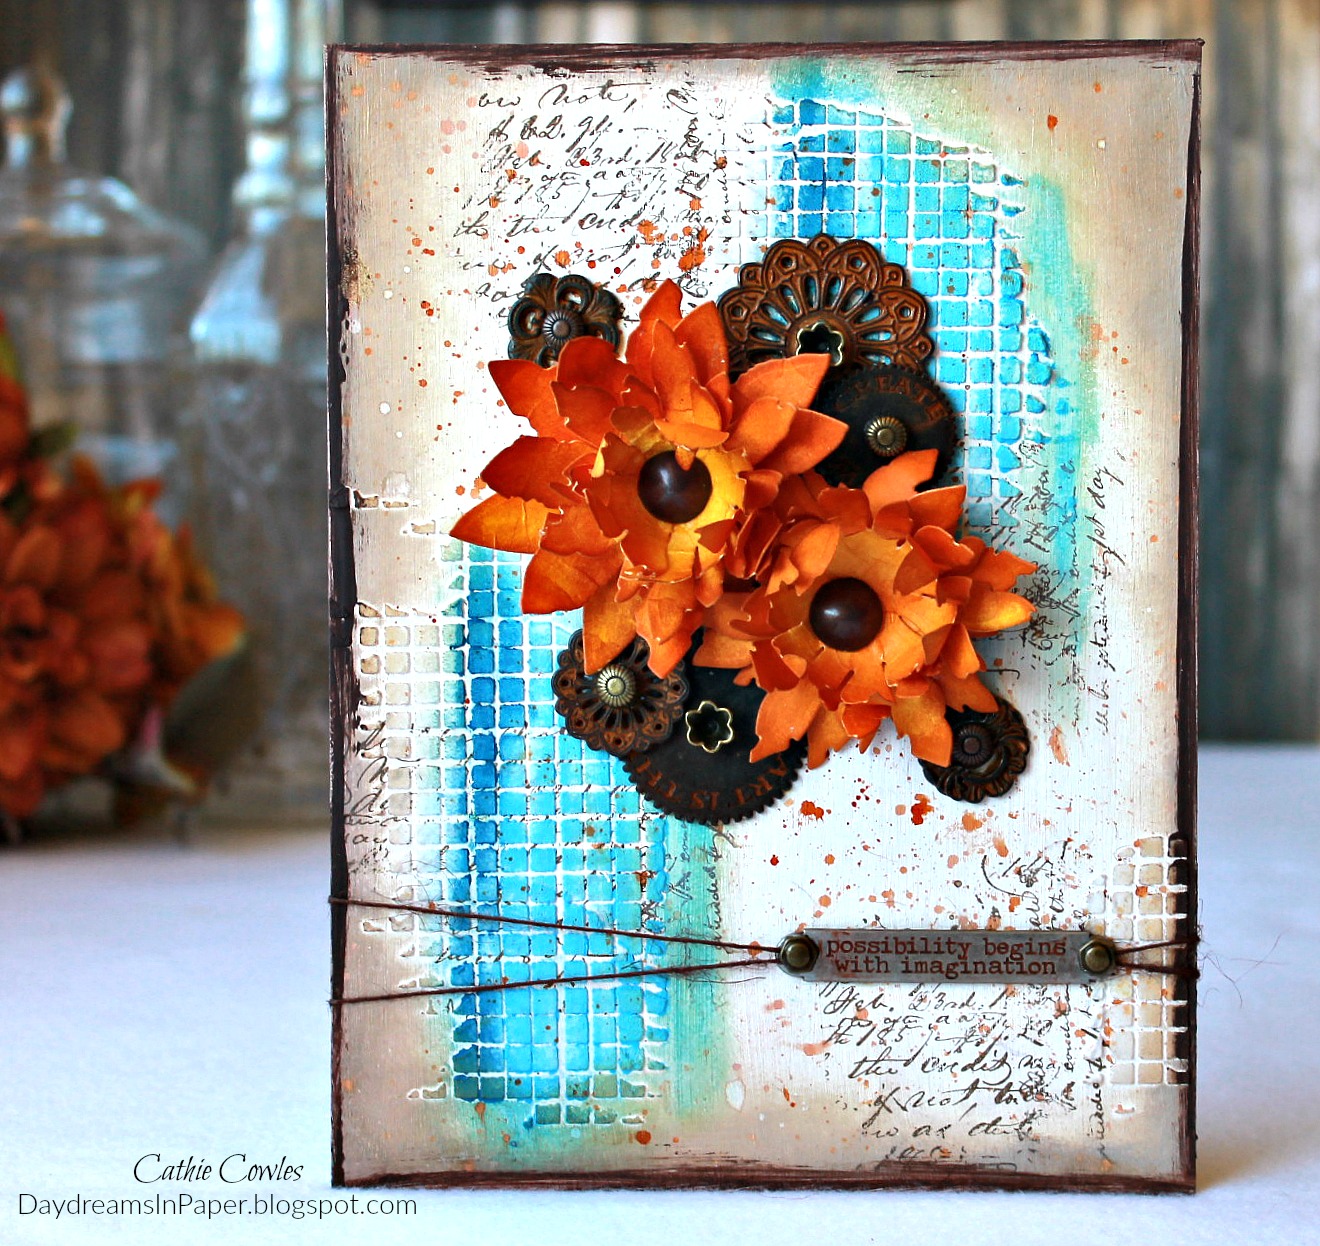
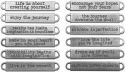
To complete the panel, add a Tim Holtz Word Band colored with a Rusty Hinge Distress Crayon and attach with May Arts Brown Burlap String.
I hope you enjoyed seeing the process I used to create my panel for the Heavy Metal challenge and that you join us for this fun challenge by adding your project to Simon Says Stamp’s Monday Challenge Blog for your chance to win a $50 gift voucher to their amazing store.

For more inspiration, tips and tricks for all types of papercraft creations, follow Simon Says Stamp on:


You can find all the following supplies I used to create this project at Simon Says Stamp:

 |
 |
 |
 |
 |
 |
 |
 |
 |
 |
 |
 |
 |
 |
 |
 |
 |
 |
 |
 |
 |
 |
 |
 |
 |
 |


beautiful work, really love the colour combination,
Thank you so much, Eleanor! I love blue and orange together, I think it’s one of my favorite combinations.
What a gorgeous colour combo, Cathie … and such fantastic texture and dimension … this is fabulous! Anita 🙂
Thank you for the sweet comments, Anita!