Hi Everyone! Thanks for stopping by. It’s a brand new week and a brand new challenge on the Simon Says Stamp Monday Challenge. This week our challenge is, Touchy Feely. What is that you ask? Well, it’s a fun challenge where we ask you to put some texture on your project. I created a fun card and experimented with a technique that I have never tried before. I hope you enjoy the tutorial I put together to show you how I created the background for my card.
See all the inspiration from the DT, by clicking on the link below ↓

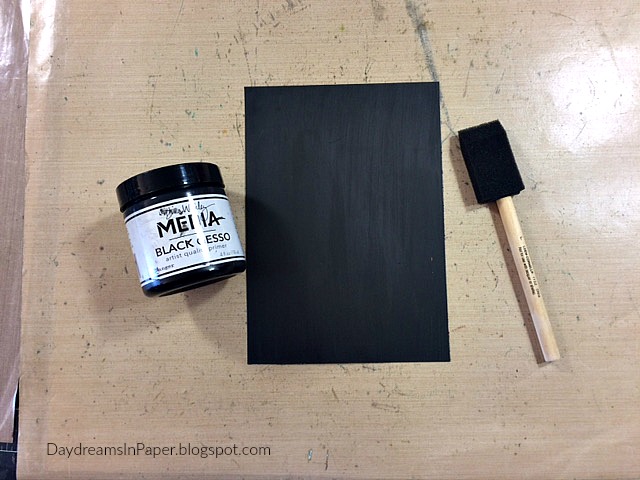
To create the background for the card, I begin with a 4-7/8″ x 6-7/8″ piece of Neenah Solar White 110 lb. card stock and brush the entire surface with Dina Wakley Black Gesso. I allow that to completely dry before moving on to the next step.
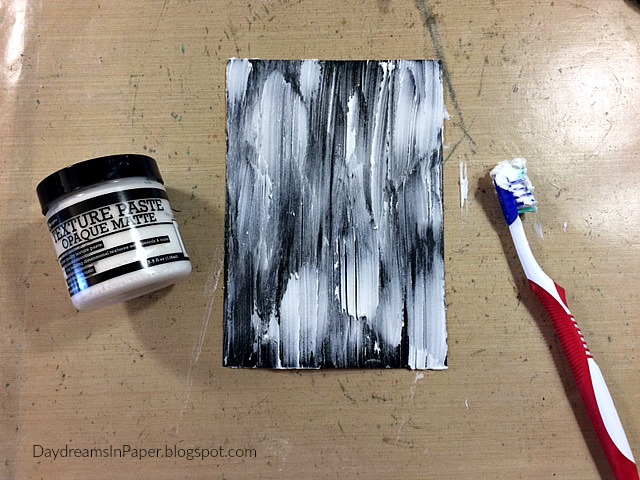
When the gesso is completely dry, I add Ranger Texture Paste with a toothbrush using downward strokes. I apply thicker layers in some areas and thinner layers in others. The process is totally random, just have fun creating texture with the paste. I allow that texture paste to completely dry.
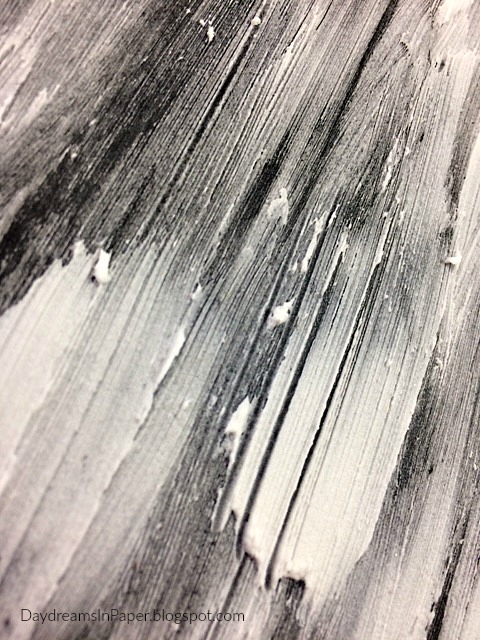
Here is a close-up of the texture created with the paste and toothbrush.
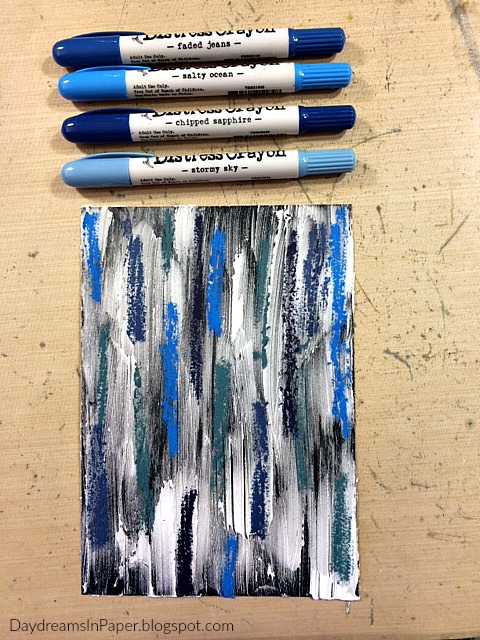
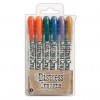
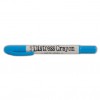
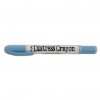
Now that the texture paste is completely dry, I add color using Faded Jeans, Salty Ocean, Chipped Sapphire and Stormy Sky Distress Crayons. I color the pigment on in random areas over the textured areas in small patches.
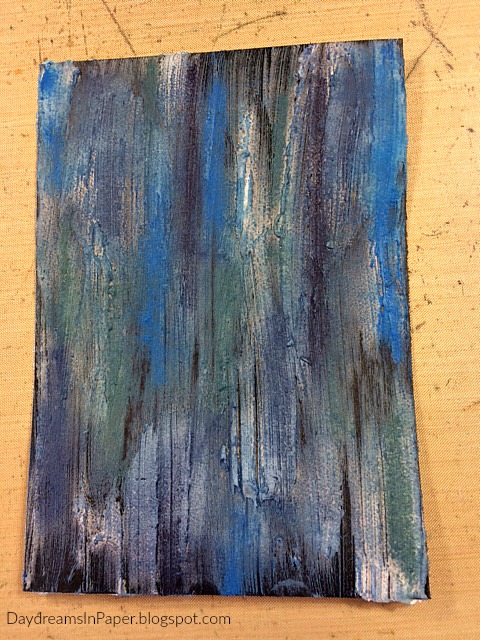
Next, I spritz the background with a little water and begin moving the pigment around with my fingertips. I try to keep some of the colors separate and others I blend together. Again, this is a totally random process, just have fun with it.
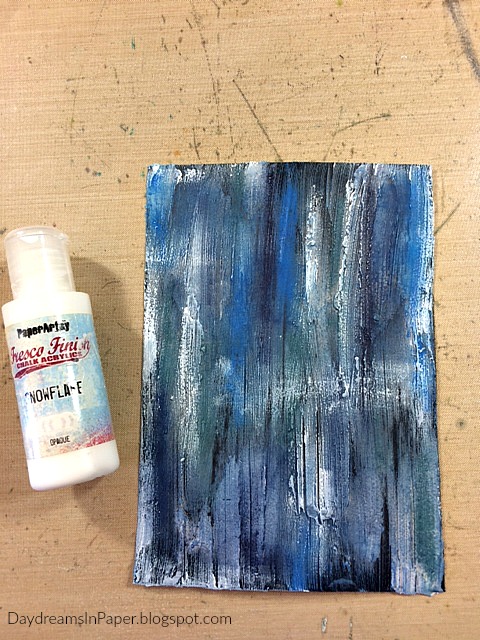
Now that the Distress Crayon pigments are completely dry, I add some white on the panel with my fingertips. I apply Paper Artsy Snowflake Fresco Finish paint over the areas that have the most raised texture. I allow the paint to completely dry before moving on to the next step.

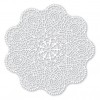
I place the Simon Says Stamp Circular Lace stencil over half of the background and tape it down so it doesn’t move while I apply the embossing paste.
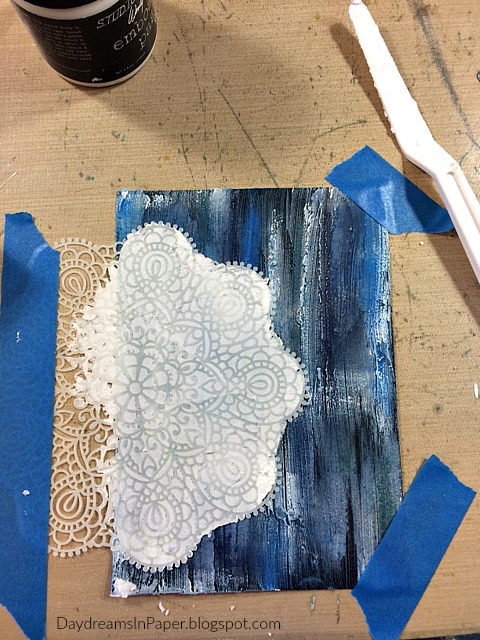
I carefully apply Wendy Vecchi white embossing paste over the stencil.
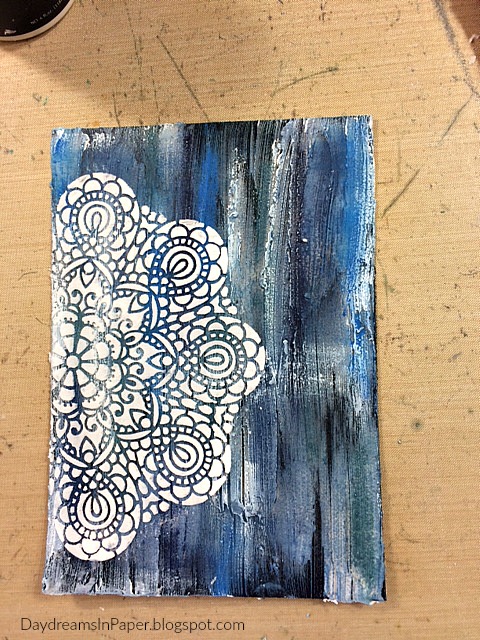
Here, is what it looks like after removing the stencil. I set the panel aside to completely air dry.
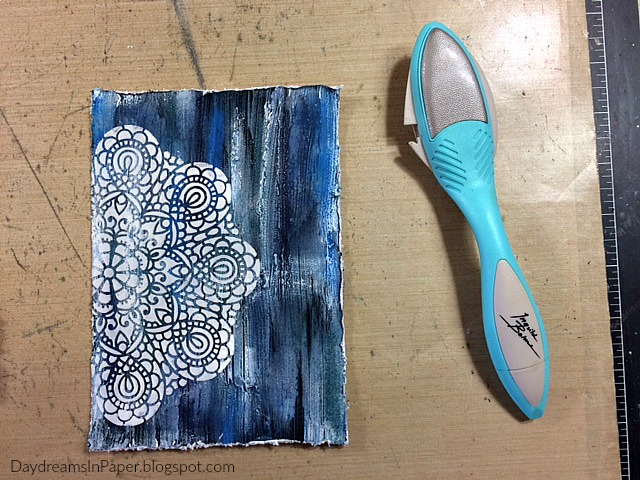
Now that the texture paste is completely dry, I distress the edges using the Prima Distressing Tool.

To give the background panel some depth, I ink on Chipped Sapphire to the distressed edges using a mini ink blending tool and this completes the main background for my card.

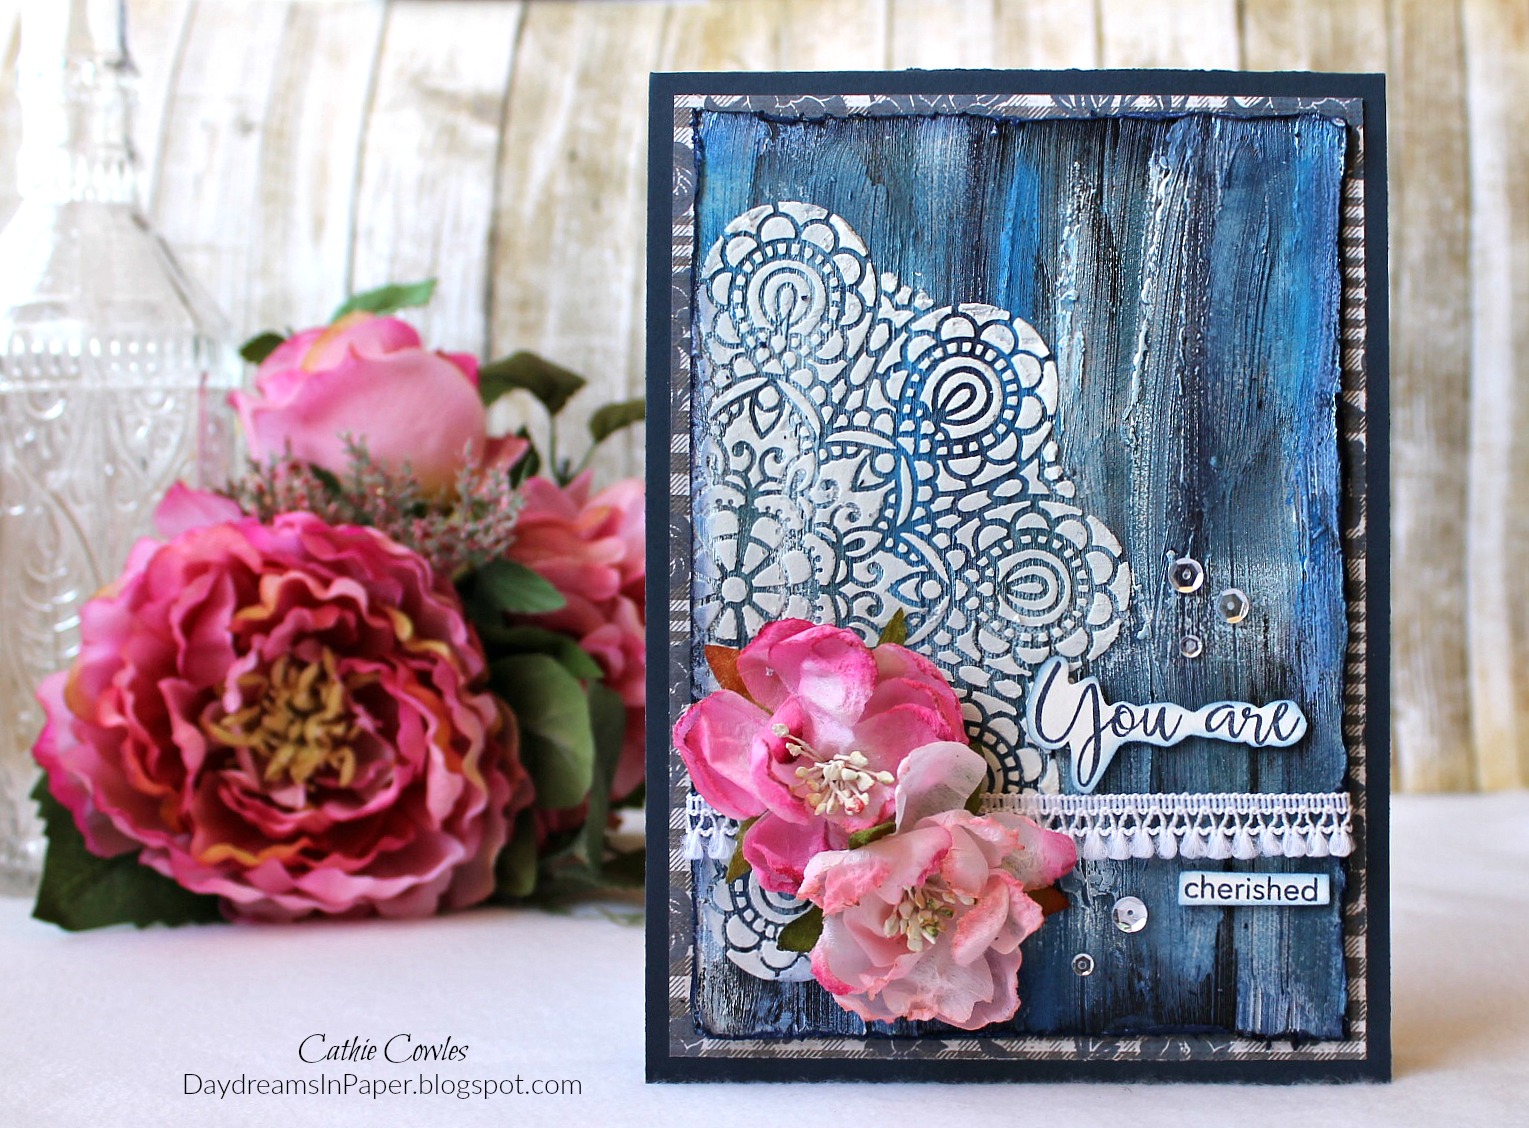
To finish the card, I add some Petaloo flowers and some pretty ribbon from my stash. I ink the “You are cherished” sentiment from the Simon Says Stamp Thoughtful Messages stamp set in Chipped Sapphire Distress Ink using the Misti tool and when the ink is dry I cut out the sentiment following the lines of the words. I ink the edges of the sentiments with Faded Jeans Distress Ink. I adhere the top panel to a 5″ x 7″ piece of card stock from the Tim Holtz Dapper paper stash and adhere that to a 5-1/2″ x 7-1/2″ piece of Blueberry Sour Bazzill card stock. I add a few crystal sequins and my card is done.
I hope you enjoyed seeing the process I used to create my card for the Touchy Feely challenge and that you join us for this fun challenge by adding your project to Simon Says Stamp’s Monday Challenge Blog for your chance to win a $50 gift voucher to their amazing store.

For more inspiration, tips and tricks for all types of papercraft creations, follow Simon Says Stamp on:


You can find all the following supplies I used to create this project at Simon Says Stamp: