
Hi friends! Today I’m sharing a card I created using Distress Paints, rub-ons and stenciling to create a fun and beautiful background. I ventured out with a different color palette than I’m use to and had a ton of fun. I’ve had my paints forever and couldn’t believe how fun it was to just play and see what developed. Join me below to see how I put it all together. Enjoy!
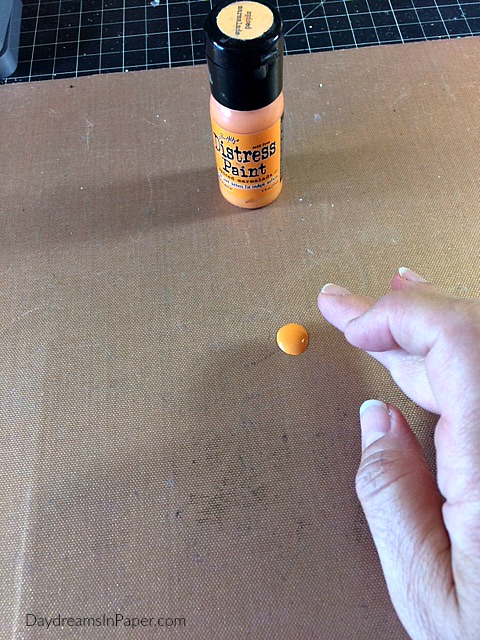
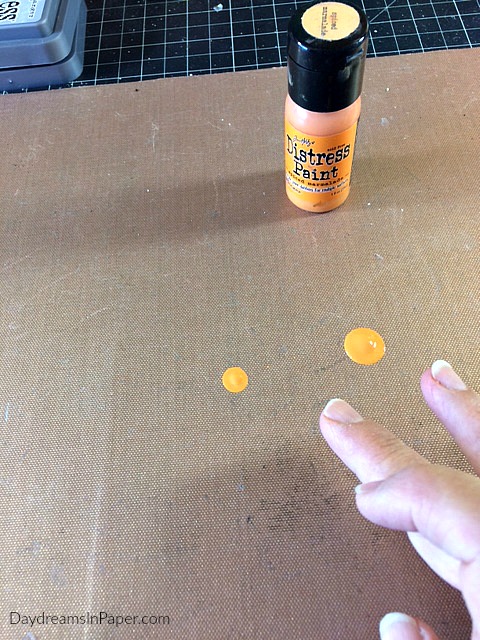
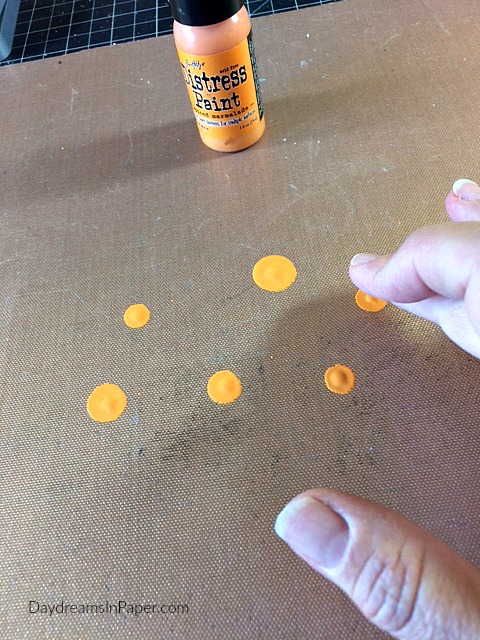
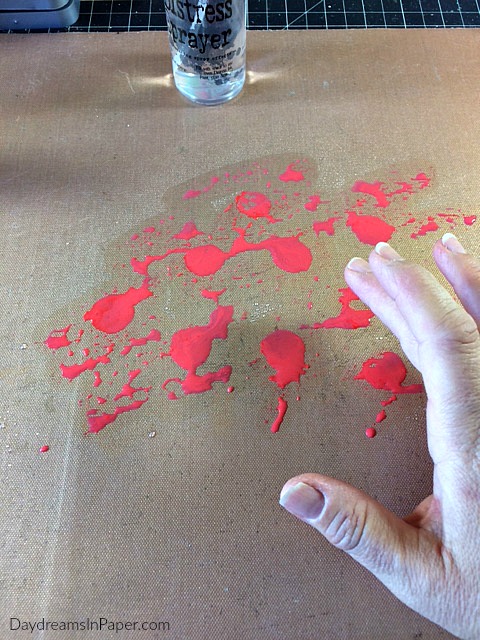
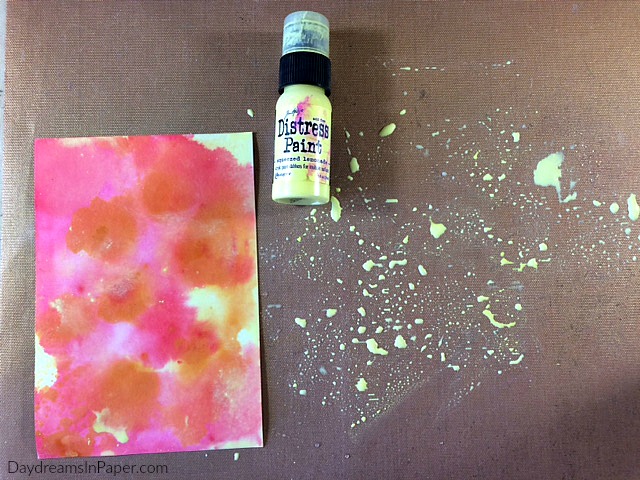
To begin, place drops of Distress Paint onto craft mat with fingertips.
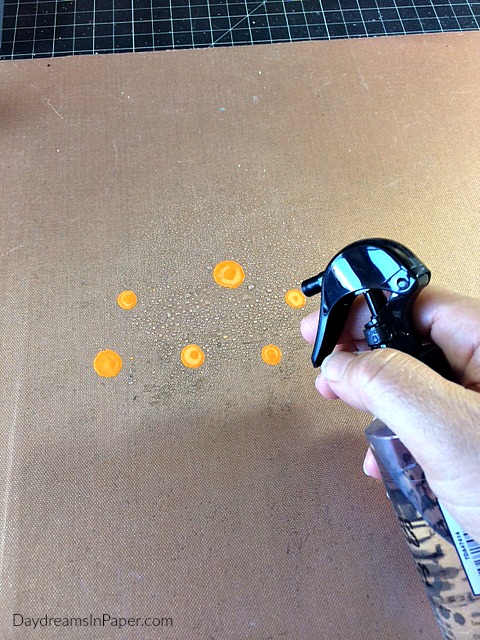
Spray the Distress Paint with water. Also, spray the cardstock with water.
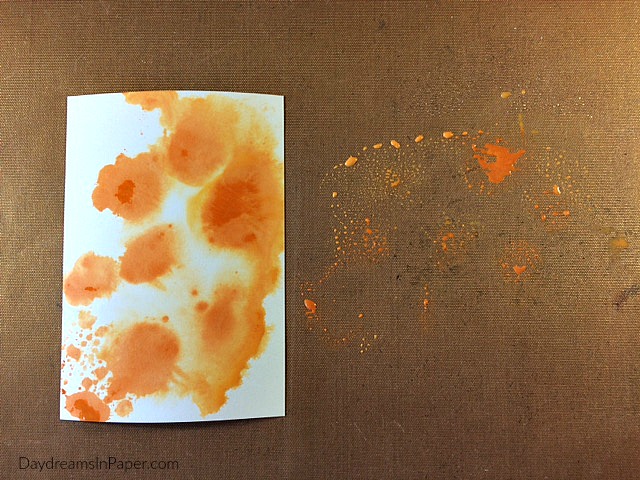
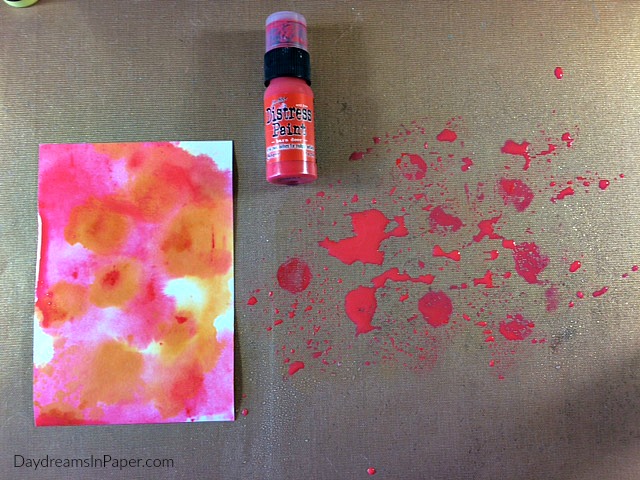
Run the moistened cardstock through the paint.
Go through the same process for each color you want to add to the background.
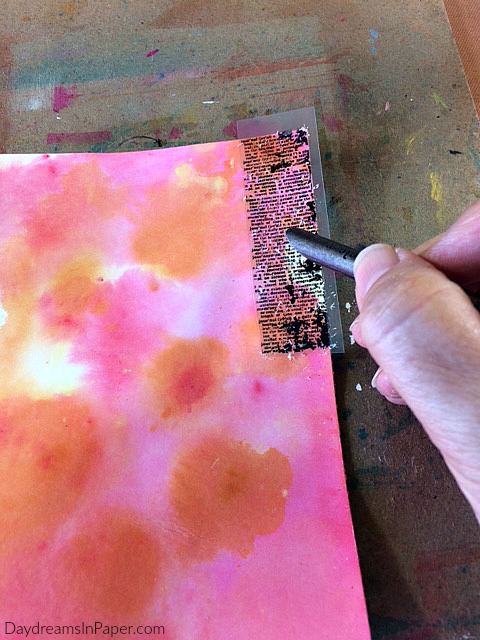
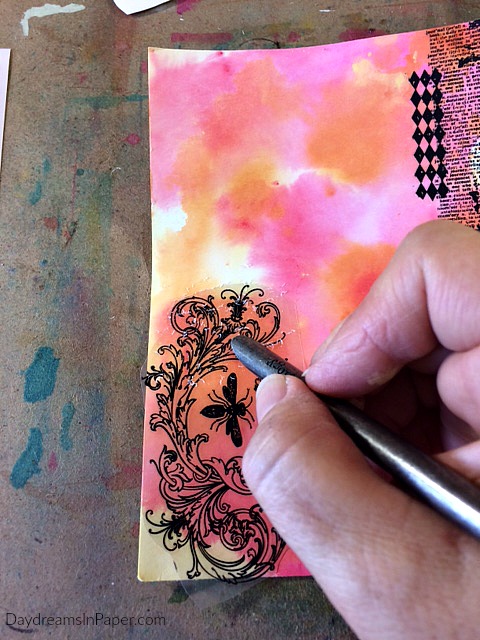
Making sure that the cardstock is completely dry, begin adding rub-ons to the background.
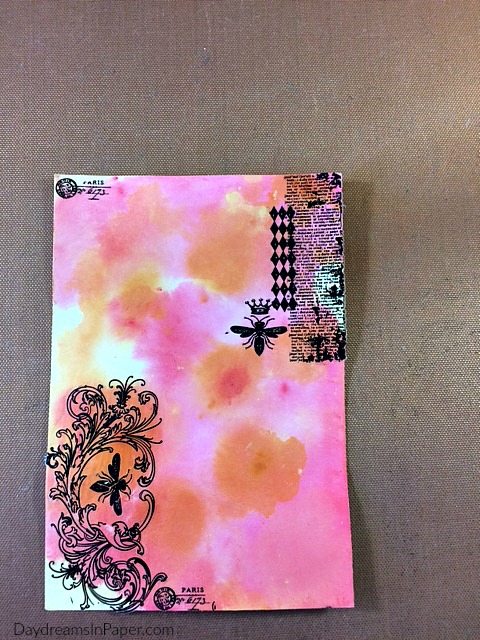
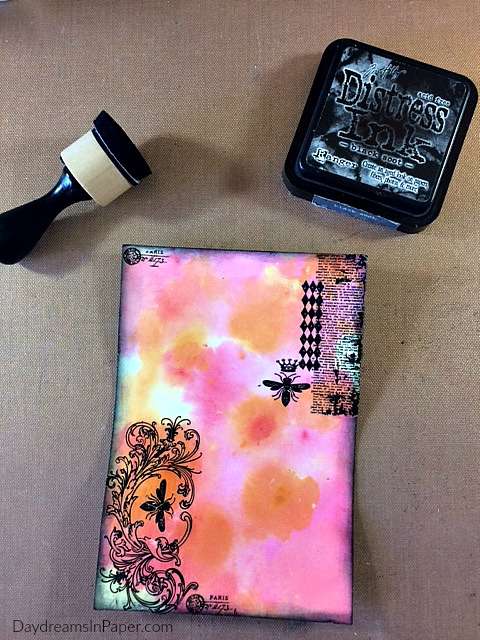
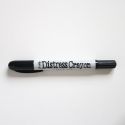
To pull everything together, ink the edges with Black Soot Distress Ink.
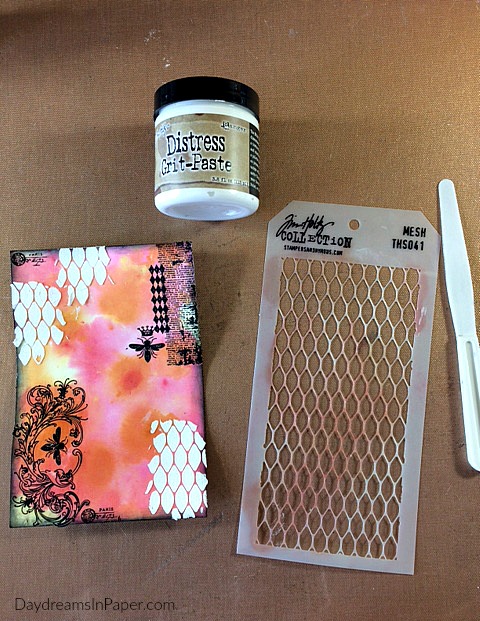
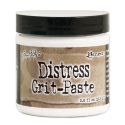
Add a stencil of your choice with Distress Grit-Paste.
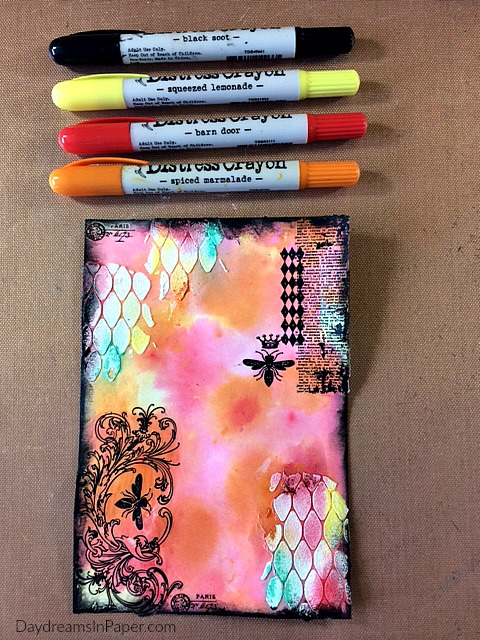
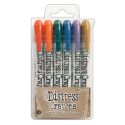
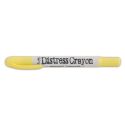
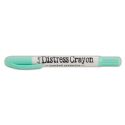
Add color to the stenciling with Distress Crayons and deepen the edges with a Black Soot Distress Crayon making sure to rub in the colors with your fingertips. Add a bit of water to easily move the pigment around.

Splatter on some Black Soot Distress Ink with a splatter brush.
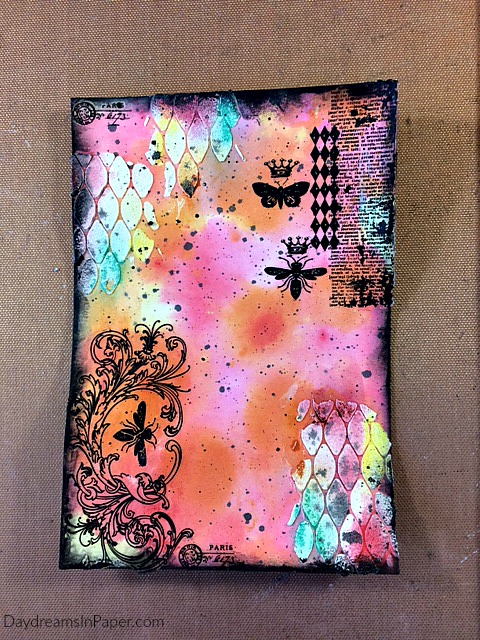
I decide to add another run-on because my main focal point will mostly cover the bee.
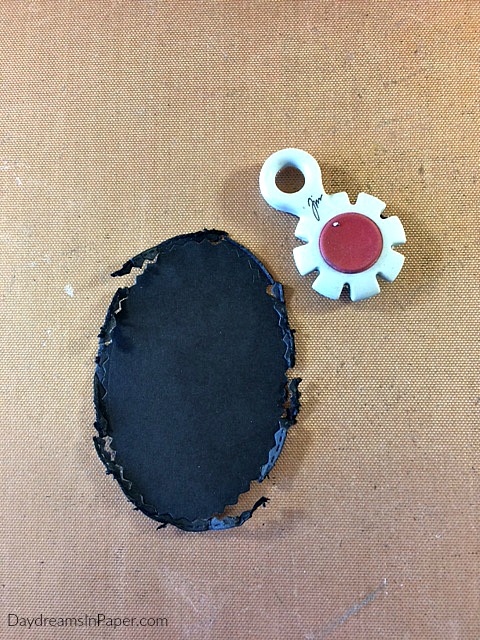
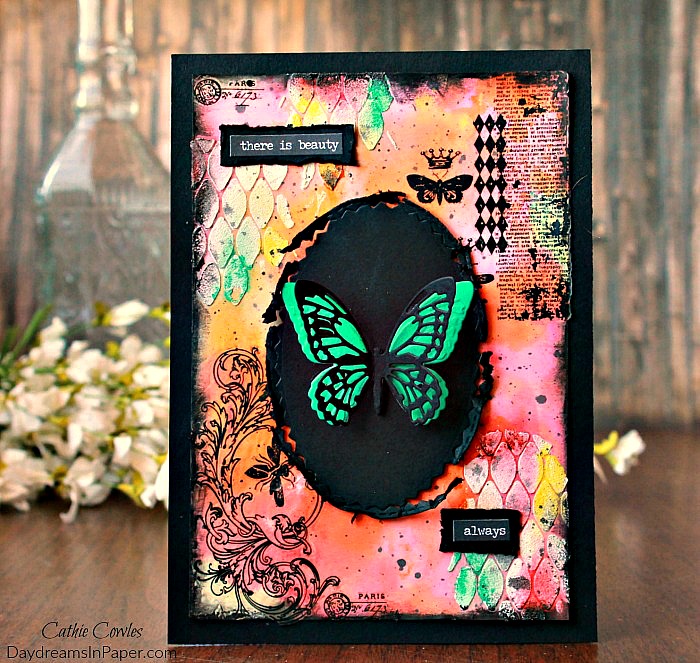
To create the centerpiece on the card, I cut a Tim Holtz Stitched Ovals and distressed the edges with a distressing tool. Because the die cuts the oval with a perforated design on the edge, distressing them creates the perfect distressed edge. Be gentle and let the tool do all the work.
To complete the card I attach the distressed oval to the center of the card, add a Tim Holtz Detailed Mini Butterfly and a quote from Tim Holtz Small Talk stickers attached to distressed pieces of Simon Says Stamp Black cardstock. The entire panel is adhered to a 5″ x 7″ piece of Simon Says Stamp Black cardstock.
Thanks for sticking with me to the end. I hope you enjoy your upcoming weekend and thanks for stopping by!

 |
 |
 |
 |
 |
 |
 |
 |
 |
 |
 |
 |
 |
 |
 |
 |
 |
 |
 |
 |
 |
 |
 |
 |
 |


This is beautiful. Colors are vibrant and each step is easy to follow. Now you’ve made me curious about using run-on’s. 😉
This is beautiful. Colors are vibrant and each step is easy to follow. Now you’ve made me curious about using rub-osn’s. 😉
Love the colours; thanks so much for sharing. You’ve inspired me to get my paints out!
Such a beautiful and colorful card. Good work!
Yes, it is beautiful and full of creative design. I’m love it!
Beautiful card! Grungy meets beautiful and bright!
WOW I love the bright colors you picked for your amazing card! I’m also inspired by your use of rub-ons.
Curious about the choice of Rub-one versus black emboss or stazon ink. Were the rub ones like peel offs or such. Lovely technique. Thank you for sharing
Hi Christina. Yes, the rub-ons are from the Tim Holtz Element Remnant Rubs collection. You place them on your project where you want them to go and transfer them onto your project with a remnant tool. I just chose these rub-ons as opposed to black emboss or stazon ink because I wanted to try something different. Thanks for stopping by!
Cathie ♥
A really great card and inspiring!
So gorgeous, I never think to get my paints out when making cards…