
Hi everyone! I hope you had a wonderful Easter weekend with family and friends. I love this time of year when the weather is beautiful and school is nearing a close.
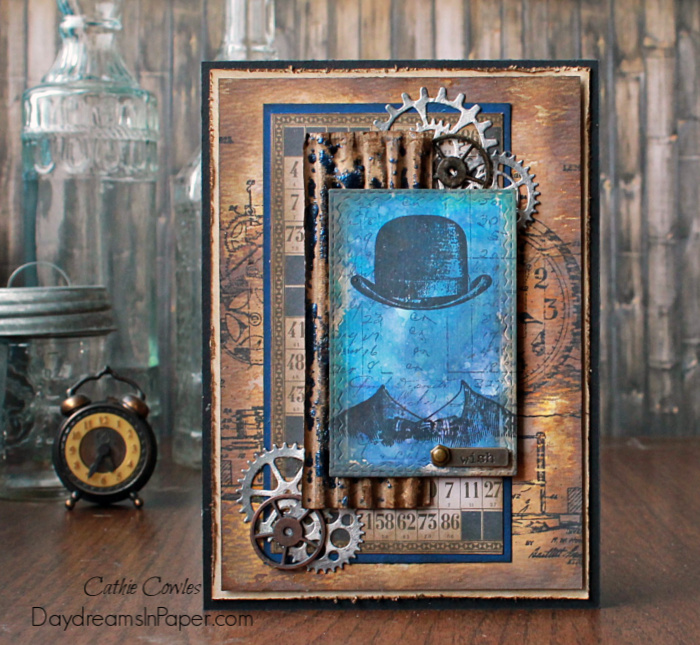
Today, I created a masculine birthday card. I love the colors and the different layers that give this card interest. So many times when I create a masculine card, it looks flat and doesn’t have any personality. I’ve put together a tutorial on how I created the focal , middle and bottom layers. Enoy!
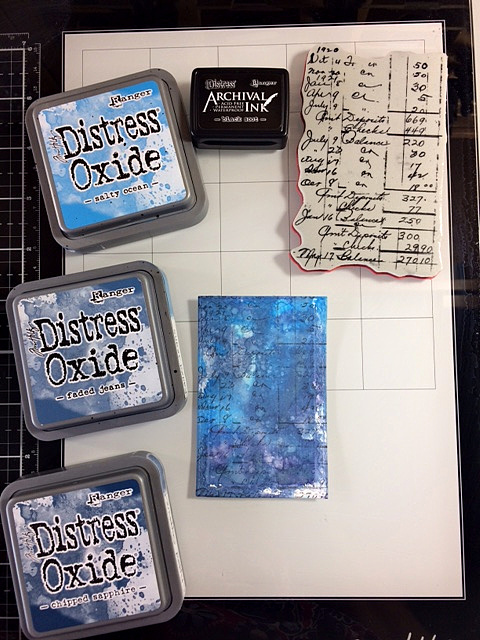
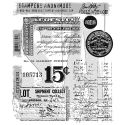
Cut a piece of watercolor paper using one of the Tim Holtz Stitched Rectangles dies. Next, smudge Salty Ocean, Faded Jeans and Chipped Sapphire Distress Oxide inks onto a glass media mat and spritz them with a little water. Spritz the watercolor piece with water and tap it into the Oxide colors. Dry this first layer with a heat tool and spritz the piece with a little water as it dries under the heat of the tool. This will allow some amazing effects to the background. Repeat this process three times. When you’re pleased with the colors and the piece is completely dry, stamp the background with the script ledger stamp from the Tim Holtz Etcetera stamp set, (CMS302), using Black Soot Archival Ink.
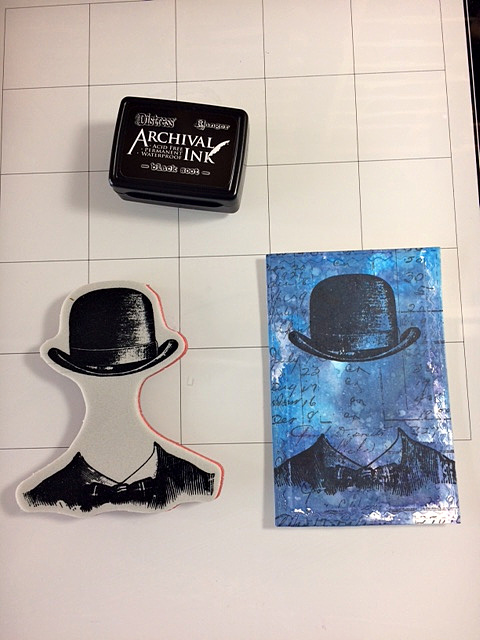
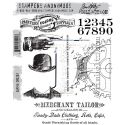
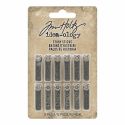
When the background is completely dry, Stamp the gentleman from the Tim Holtz Dapper stamp set, (CMS267), onto the piece with Black Soot Archival Ink. Set this piece aside.
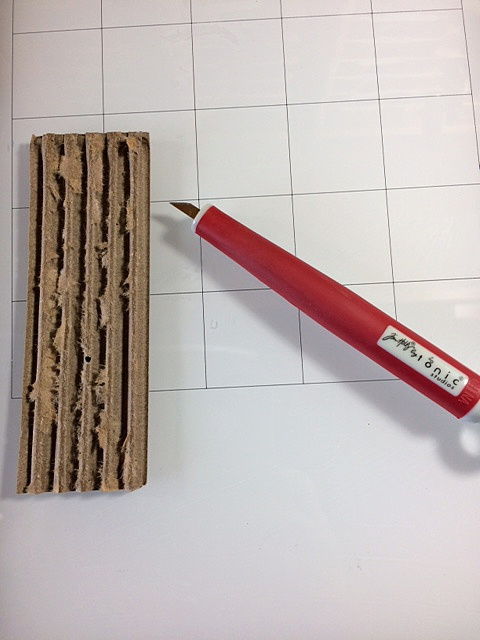
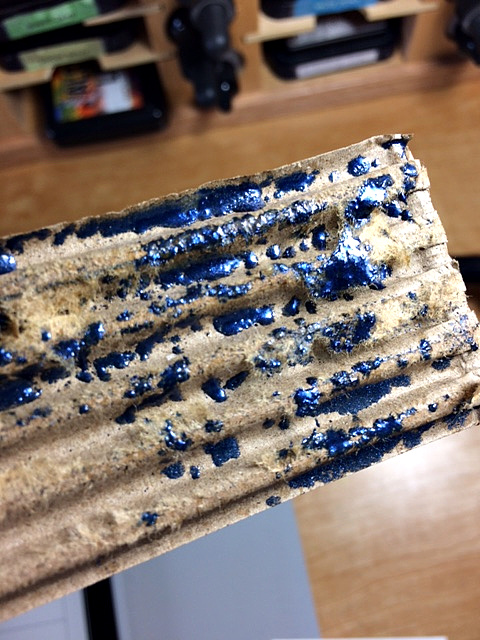
One of the layers uses a recycled cardboard box that I cut into small pieces. I remove the top layer of paper exposing the corrugated layers below with the Tim Holtz Retractable Craft Knife.
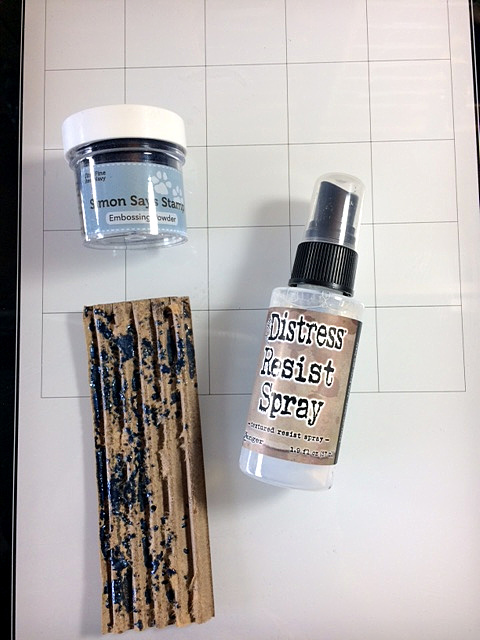
Spray the corrugated piece with Distress Resist Spray and sprinkle on Simon Says Stamp Steel Navy Embossing Powder and set with a heat tool.
Set this piece aside.
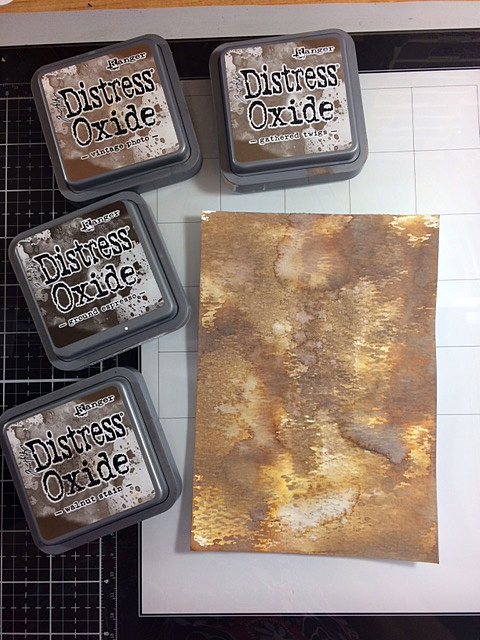
For the bottom layer, color a piece of watercolor paper with Vintage Photo, Gathered Twigs, Ground Espresso and Walnut Stain Distress Oxides. Follow the same steps above that were used to create the blue background for the Dapper stamp.
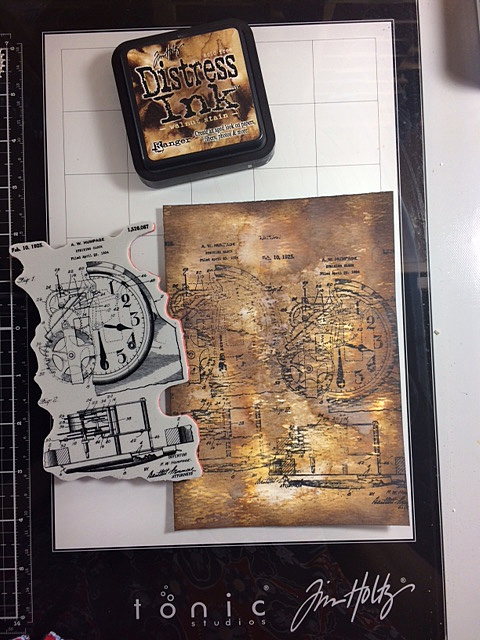
Stamp the clock from the Tim Holtz Inventor 1 stamp set to the background creating a gap in the middle. Set aside and begin assembling the card.
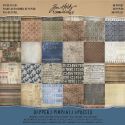
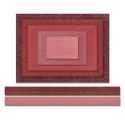
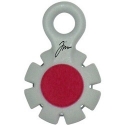
To assemble the card, distress the edges of a 4-3/4″ x 6-3/4″ piece of Desert Storm cardstock using the Tim Holtz Paper Distressor and ink the edges with Ground Espresso Archival Ink. Adhere this piece onto a 5″ x 7″ piece of Simon Says Stamp Black Cardstock. Adhere the Inventor stamped layer onto over the Desert Storm distressed cardstock. Create an oblong background piece using a piece of cardstock from the Tim Holtz Dapper paper stash and layer that onto a piece of blue cardstock. Now adhere the corrugated cardstock piece to the bottom layers as shown above. Adhere the “Wish” story stick to the Dapper layer with a Idea-ology Hex Fastener. Now, adhere that piece to the center of the card. Add a few gears cut out of Tim Holtz Silver Metallic Kraftstock and a couple of the metal Idea-ology gears and the card is finished!
I hope you enjoyed seeing how I put this masculine card together. Thanks so much for stopping by and sticking with me to the end. Have an awesome week!

 |
 |
 |
 |
 |
 |
 |
 |
 |
 |
 |
 |
 |
 |
 |
 |
 |
 |
 |
 |
 |
 |
 |


