
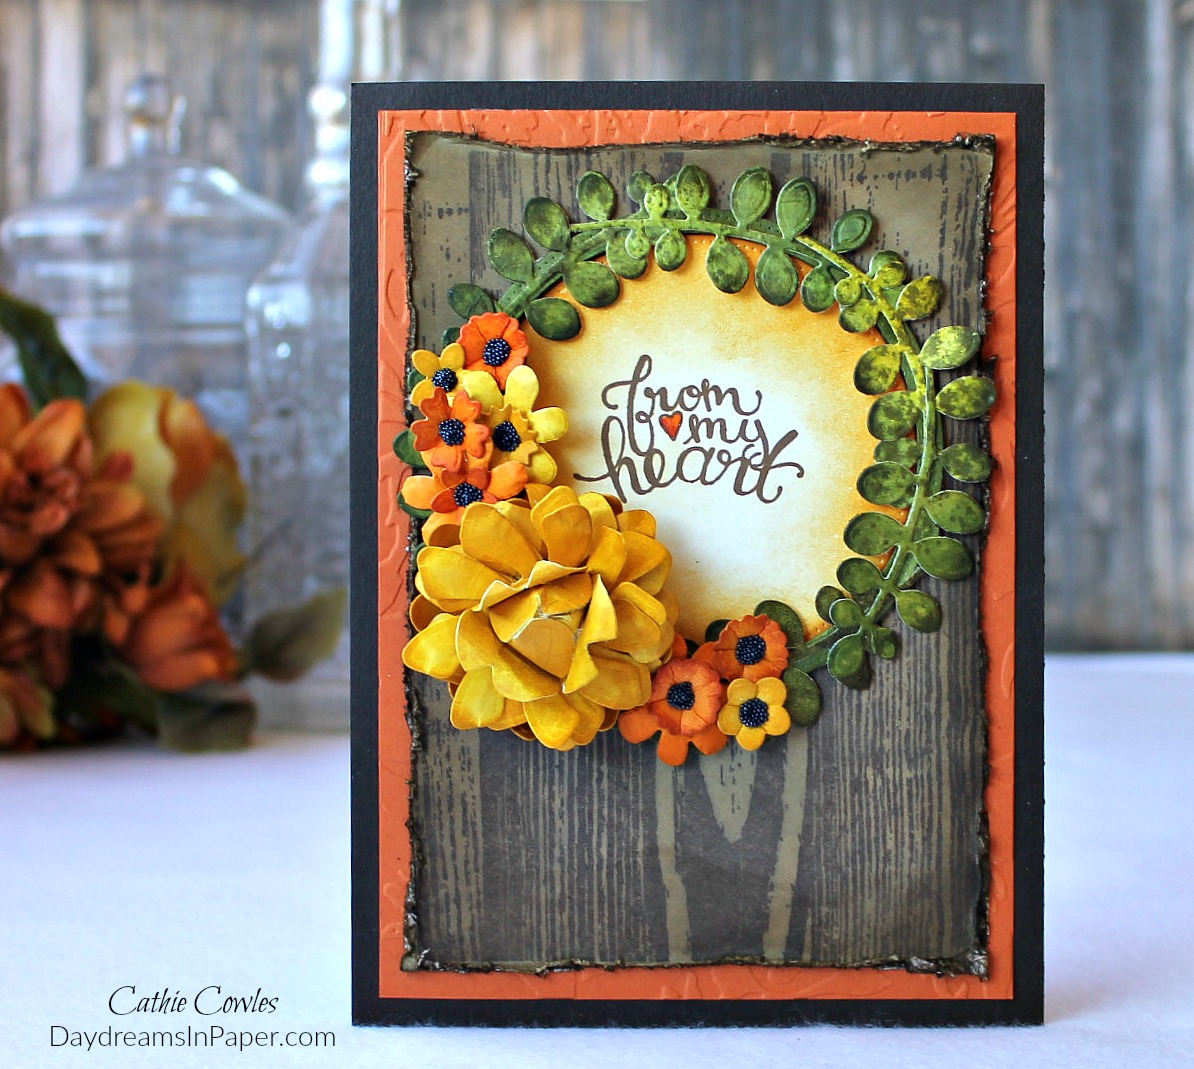
Hi Everyone! I’m here today with a card that I created for Tammy Tutterow Designs. I love to make handmade flowers and Tammy’s dies are perfect for making some of the prettiest. I chose an Autumn color palette and used several of Tammy’s sets to create the wreath and flowers. I’ll show you how easy it is and how I put this card together below. Enjoy!
![]()

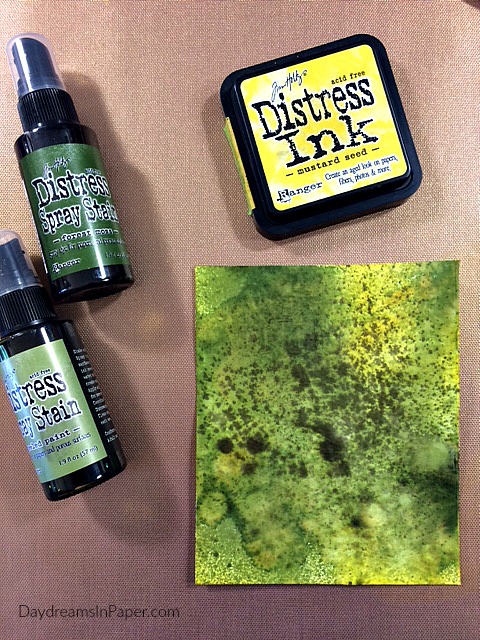
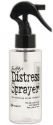
Begin by creating the wreath. Spray a piece of Neenah Solar White card stock with water and spray on Peeled Paint and Forest Moss Distress Spray Stain onto surface. Allow colors to blend together and completely dry. When dry, use a mini ink blending tool to apply Mustard Seed Distress Ink in light areas of the background.
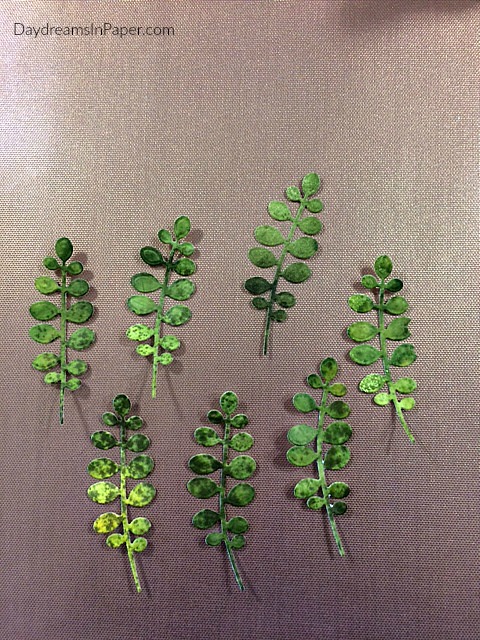
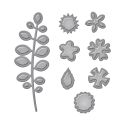
Using Tammy Tutterow Designs Bitty Posies die set, cut out 7 fern type leaf patterns.
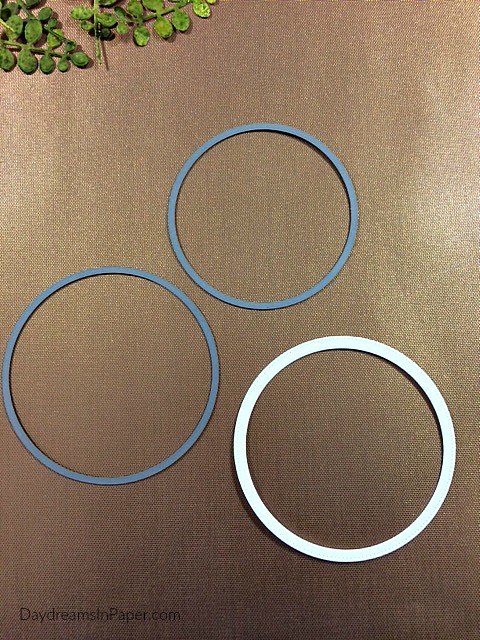
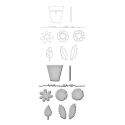
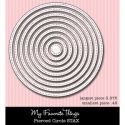
To create a form for the wreath, use a nested circle die set to create the form. Here, I’ve used My Favorite Things Pierced Circle Stax. Make sure to reserve the large center circle piece that is left over after cutting the circle frame.
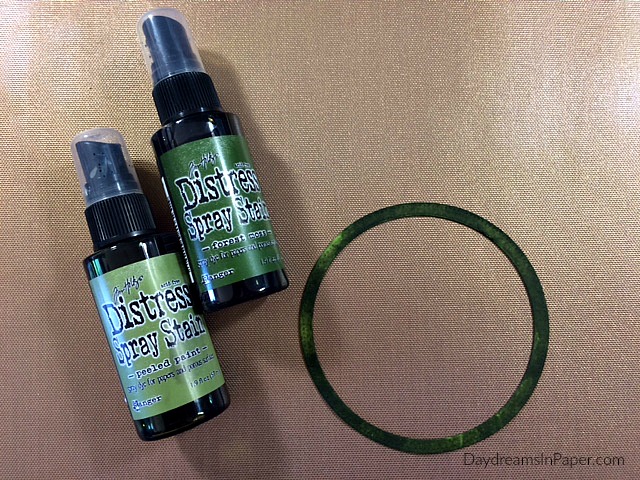
Spray circle with water first, then spray with Peeled Paint and Forest Moss Distress Spray. Just make sure to spray the circle with the same colors you used to color fern type leaves.
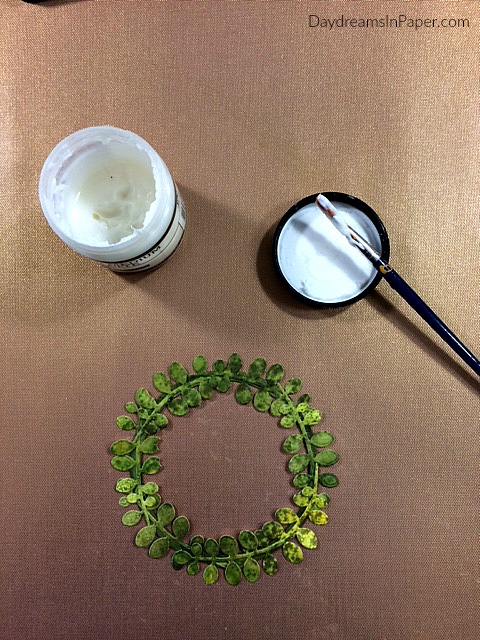
Attach leaves to the circle using a small paint brush and Ranger Multi Matte Medium. Set aside to dry.
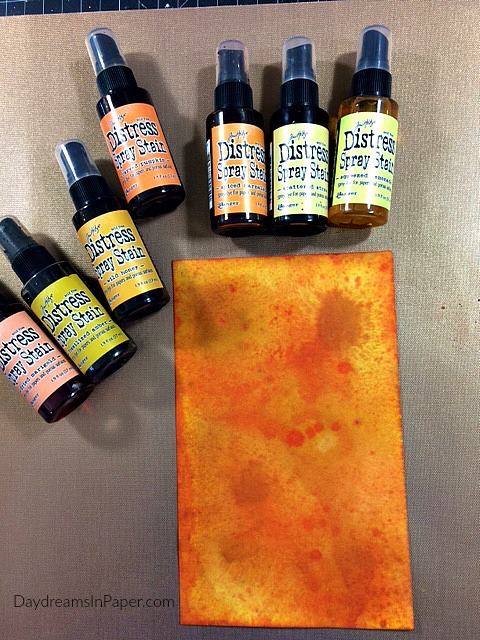
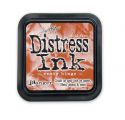
To create orange flowers, spray a piece of Neenah Solar White 110 lb. cardstock with water, then spray Spiced Marmalade, Carved Pumpkin, Dried Marigold, Scattered Straw, Squeezed Lemonade and Fossilized Amber Distress Spray Stains onto wet the cardstock. Allow inks to blend together by tipping the cardstock in all directions and allow to semi-dry. Lightly spray on Wild Honey to give the blended colors some depth.
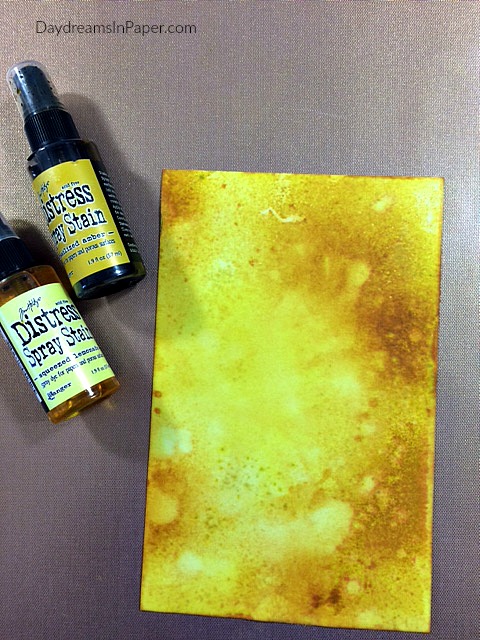
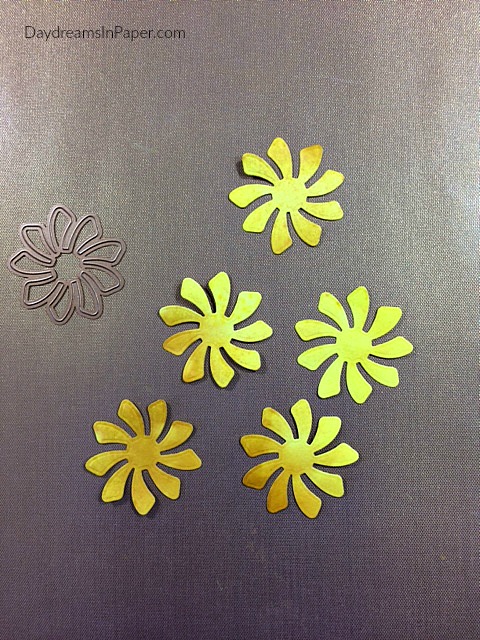
For yellow flowers, spray a piece of Neenah Solar White 110 lb. cardstock with water, then spray with Squeezed Lemonade and Fossilized Amber Distress Spray Stains. Allow to dry.
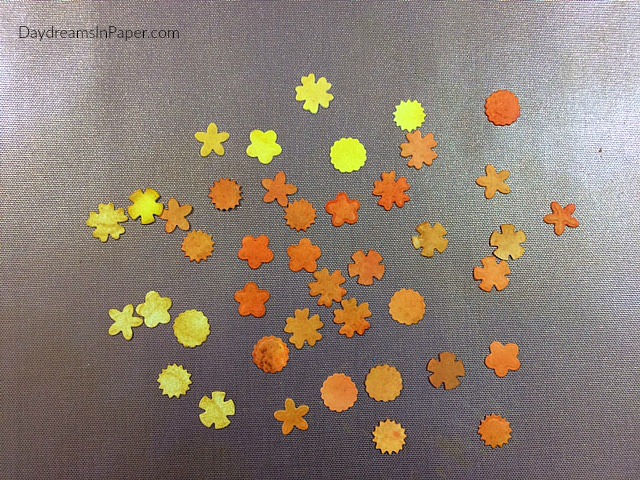
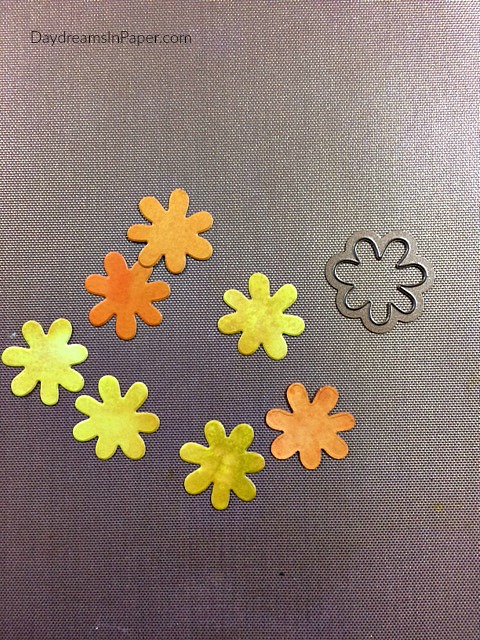
Cut out several flowers from Tammy Tutterow Designs Bitty Posies die set.
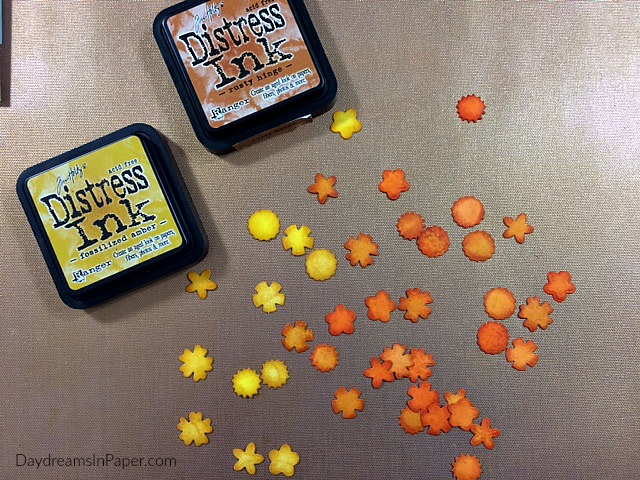
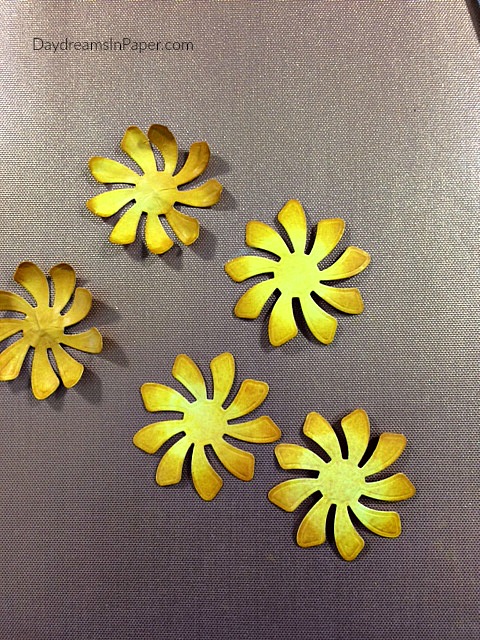
Ink edges of orange posies with Rusty Hinge Distress Ink and edges of yellow posies with Fossilized Amber Distress Ink for depth of color.
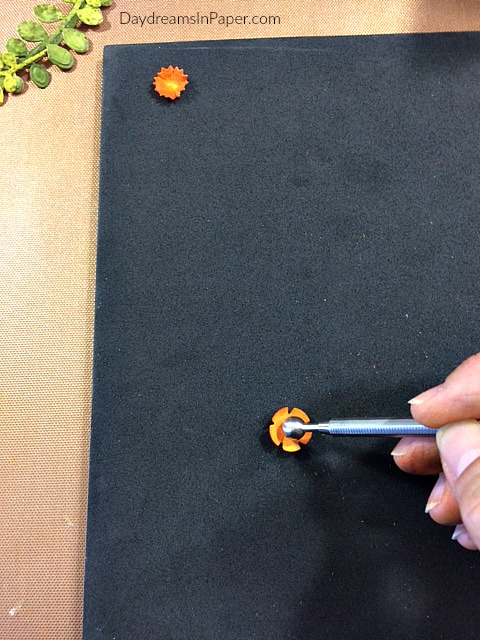
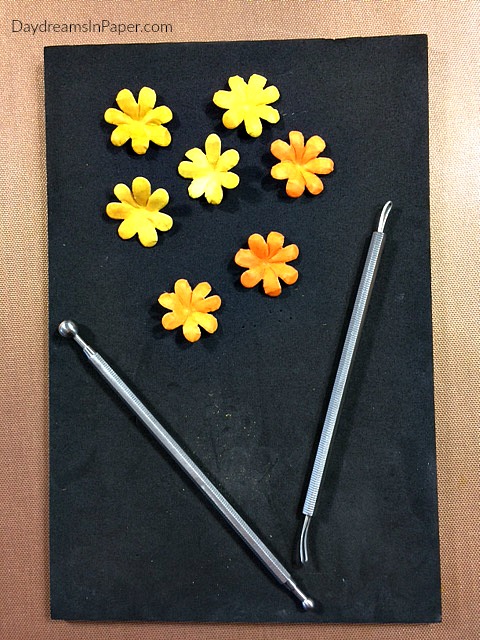
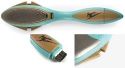
Shape flowers with flower shaping tools on back side of posie. McGill and Sizzix both have nice tool shaping sets.
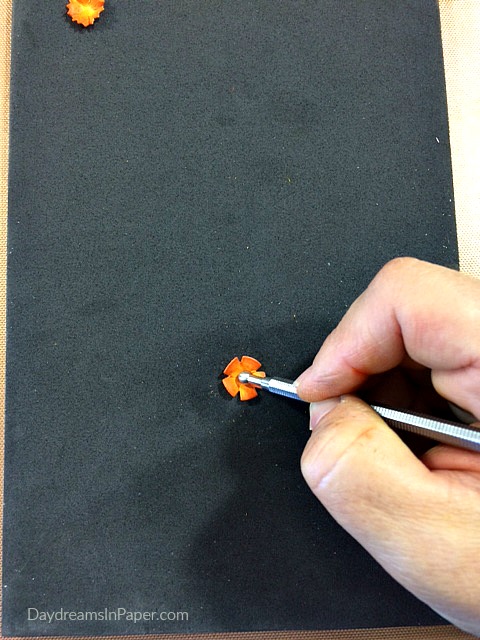
Turn the flower around and push down on center of flower so the petals curl upward.
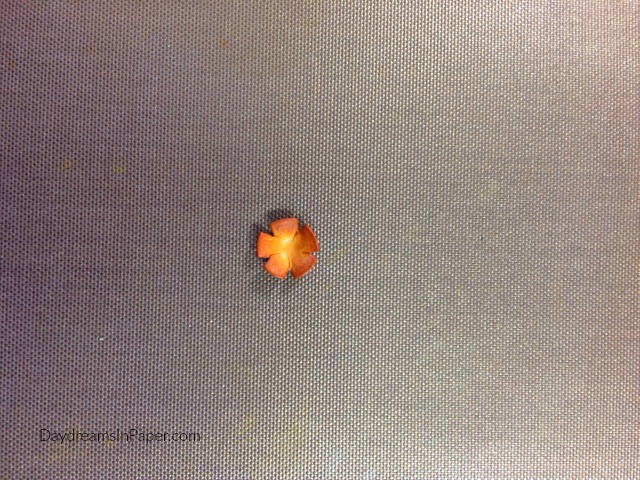
This is how the posie should look when you are finished shaping them.
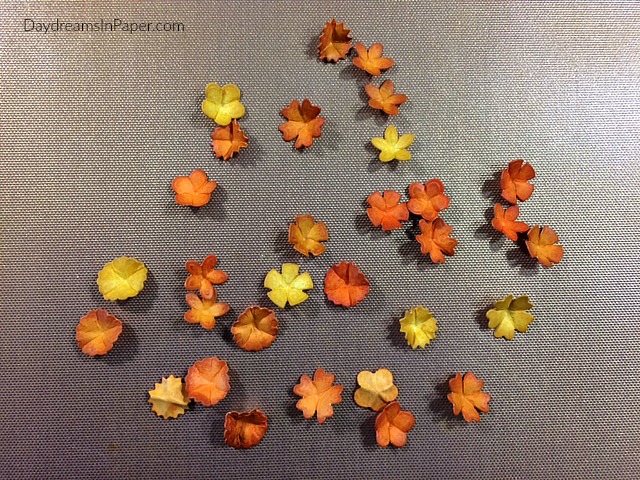
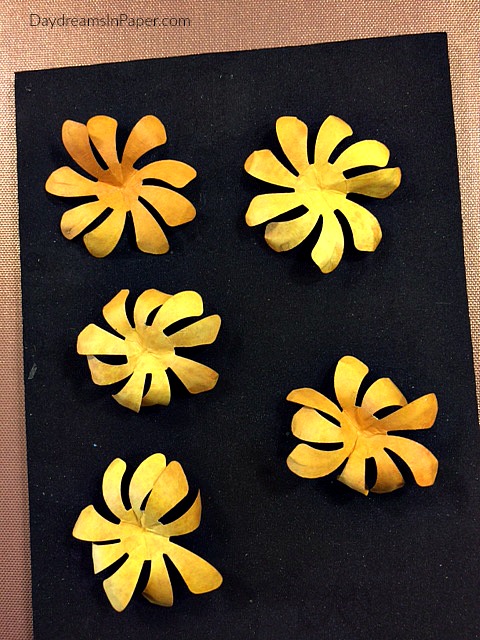
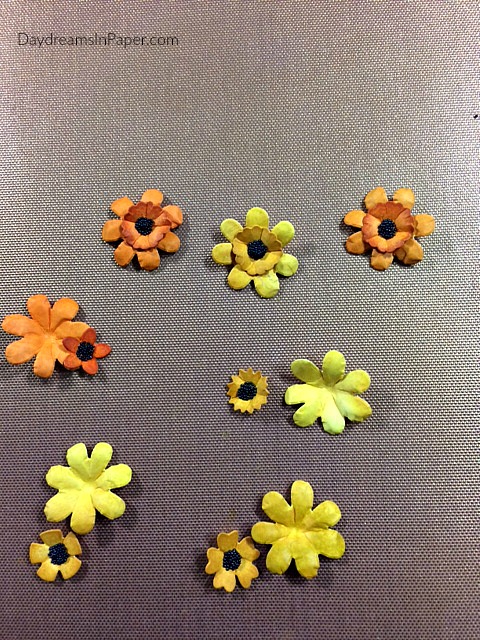
Here are all the posies formed and ready for their centers to be added.

To add centers to the tiny posies, add a drop of Ranger Multi Matte Medium.
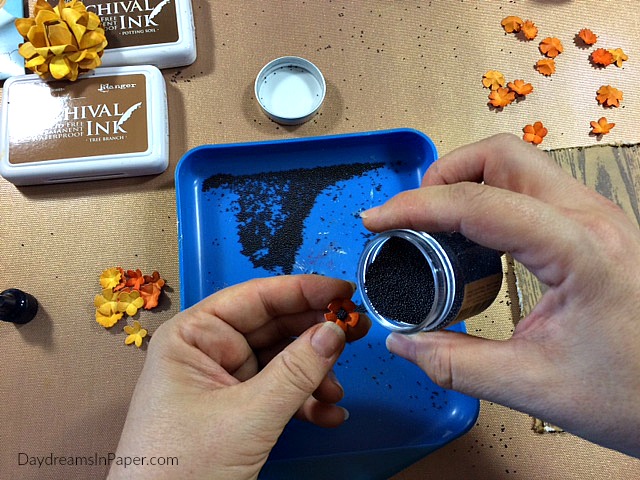
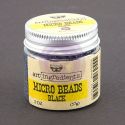
Next, gently sprinkle on some Prima Black Micro Beads. Set flowers aside until the centers completely dry.
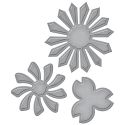
For the large flower, cut 5 medium size petals from the Tammy Tutterow Designs Pinwheel Posies die set.
Ink edges with Fossilized Amber Distress Ink.
Shape petals with a flower shaping tool kit. Stack petals one on top of the other adhering them together with hot glue or multi matte medium.
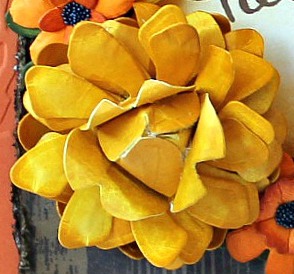
Create flower center that comes with the die set and adhere to center of the flower petals.
For medium size flowers, cut several petals from Tammy Tutterow Designs Posie Parts stamp and die set.
Again, shape petals with a flower shaping tool kit.
Adhere bitty posies to centers of the larger posies.
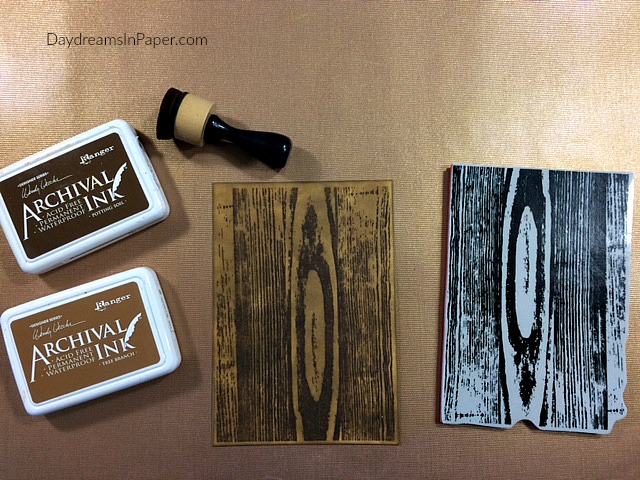
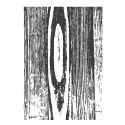
To create the wood panel, stamp on Tammy Tutterow Desgins Big Woodgrain background stamp onto a 4-3/4″ x 6-3/4″ piece of Neenah Solar White 110 lb. cardstock with Potting Soil Archival Ink. Allow to dry. When the woodgrain image is dry, using a mini ink blending tool, apply Tree Branch Archival ink to the entire piece. (Not shown: Distress the edges with a distressing tool.)
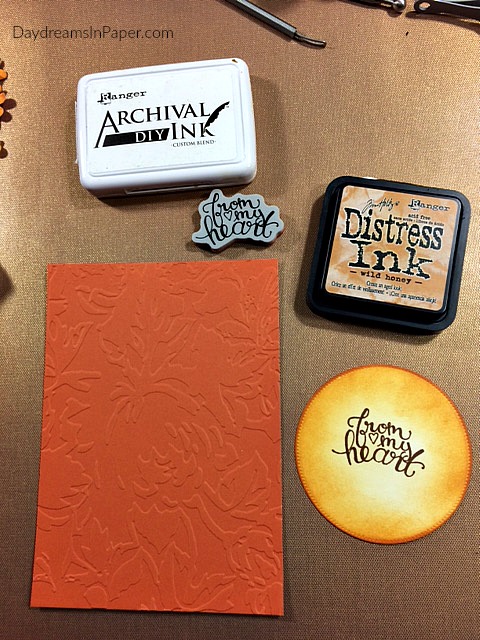
For the base panel, emboss a 5″ x 7″ piece of Bazzill Candy Corn cardstock with the Tammy Tutterow Rose Tablecloth embossing folder. Stamp the sentiment, “from my heart” from the Tammy Tutterow Designs Tiny Sentiments stamp set onto center of circle with Vintage Photo Archival Ink. Ink edges of the circle with Wild Honey Distress Ink.
To complete the card, adhere circle to center of the woodgrain panel and then adhere all panels one to the other as shown above. Last, adhere wreath around the circle and then arrange flowers on the wreath and adhere with multi matte medium. Attach to a 5-1/2″ x 7-1/2″ card base and the card is done.
I hope you enjoyed seeing how I put together my card and that you found some inspiration on fun ways to use Tammy Tutterow Design products. Thanks for stopping by and sticking with me to the end. I really appreciate comments so don’t be shy, leave a comment below, I’d love to hear from you. Have a wonderful day!

 |
 |
 |
 |
 |
 |
 |
 |
 |
 |
 |
 |
 |
 |
 |
 |
 |
 |
 |
 |
 |
 |
 |
 |
 |
 |
 |
 |
 |
 |
 |
 |
 |


Beautiful!!!
Thank you, Wanda! ♥
This is
One amazing card! Love seeing how it all came together!
Thank you, Vicki! <3
Oh wow!! Your entire composition is perfect. The way you made the beautiful yellow flower is awesome- I can’t wait to try one!
Thanks, Terri! <3
What a fantastic mix of Tammy’s goodies, Cathie! I ADORE your card!
Thanks, Lin! ♥
Wow, wow, wow! I am so in love with the way you’ve used the Bitty Posies here! What a gorgeous gorgeous project with so much texture and dimension. I love the way you find ways to be innovative with product. You inspire me!
Aw, thanks Kath! ♥