
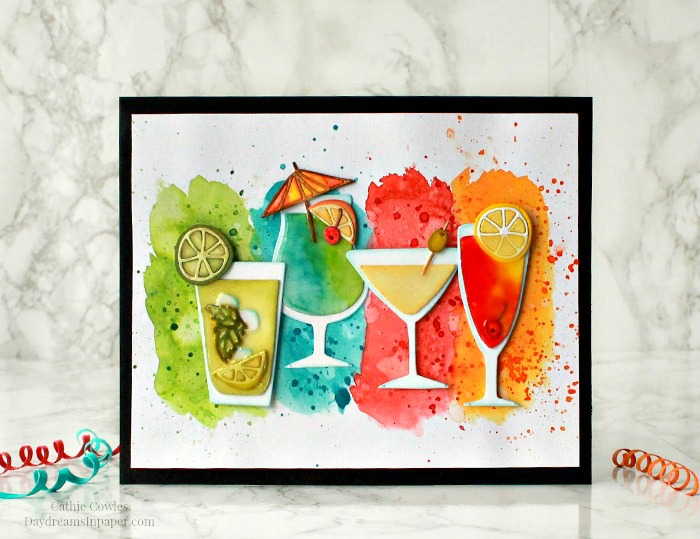
Hi Friends! I’m here today to share a project I made for the Tim Holtz Sizzix Chapter 2 release. I wanted to create something fun and colorful with this set so I got out all the bright Distress Ink colors and just started to play. Below I’ll try to explain how I created a swirling cocktail and how I created a Mojito with a floating lime wedge, mint spring and some ice cubes. Enjoy!
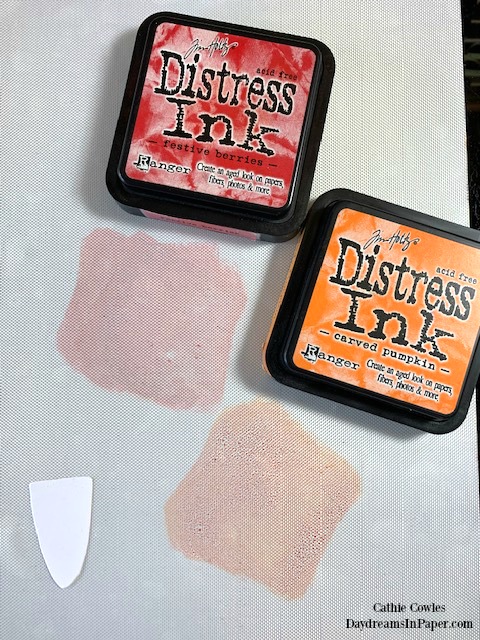
To create swirling cocktails, smoosh Festive Berries and Carved Pumpkin (or whatever complimentary colors you choose) onto a craft mat.
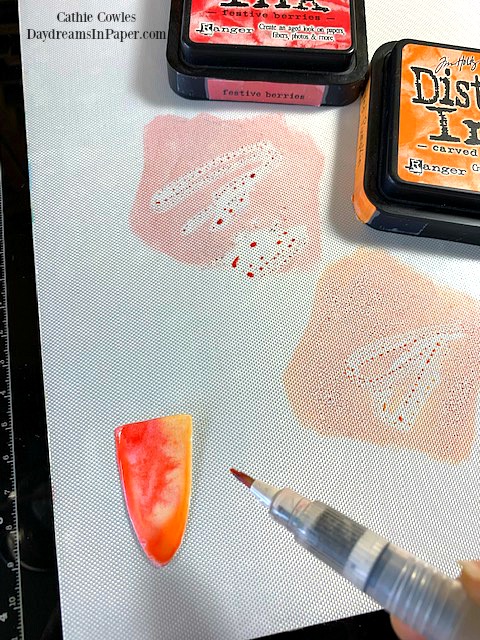
Using a waterbrush, add the inks onto a piece of mixed media paper that has been lightly spritzed with water. The trick is to allow a good amount of water to flow from the waterbrush while applying the inks. Make sure the colors you use when mixed together will not create mud. As you add the color, you will see that they will naturally blend together and there is very little manipulation that needs to be done. Heat the first layer with a heat tool before adding more color. Continue this process until you are pleased with the results.
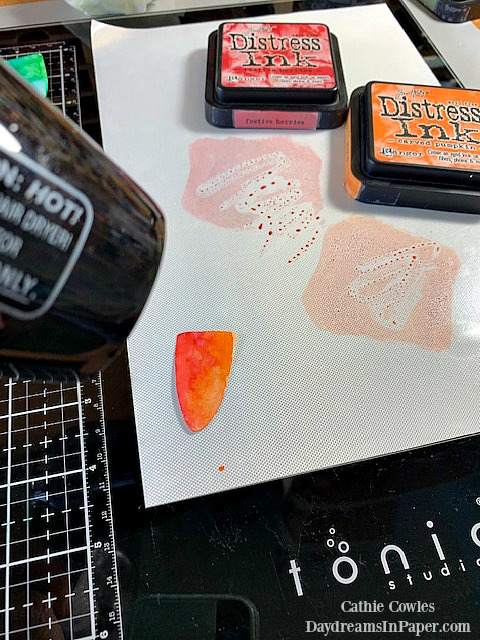
When you are pleased with how it looks, dry the last layer with a heat tool. You can adhere it to its base as is, or add other pieces such as ice cubes and fruit wedges. See below on how to add those pieces to your cocktail.
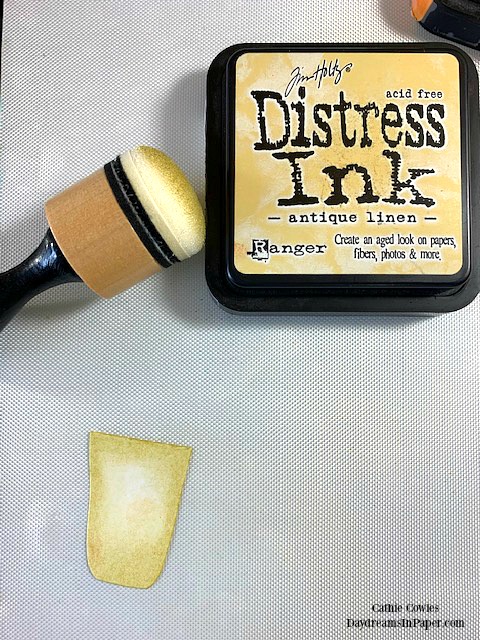
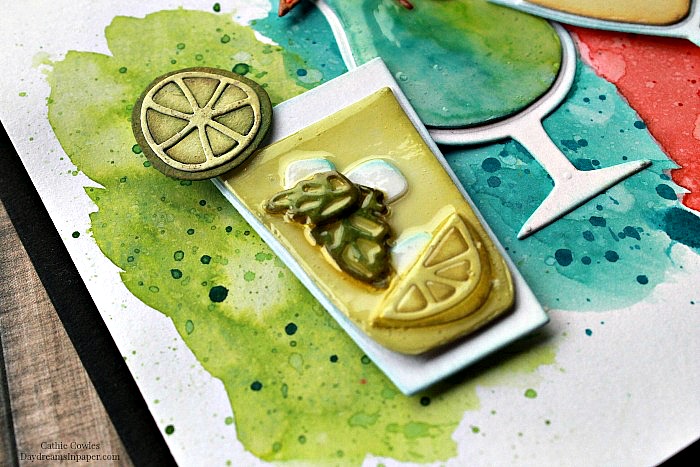
To create the Mojito, ink the base piece of the die cut with Antique Linen Distress Ink using an ink blending tool making sure to leave a center white area.
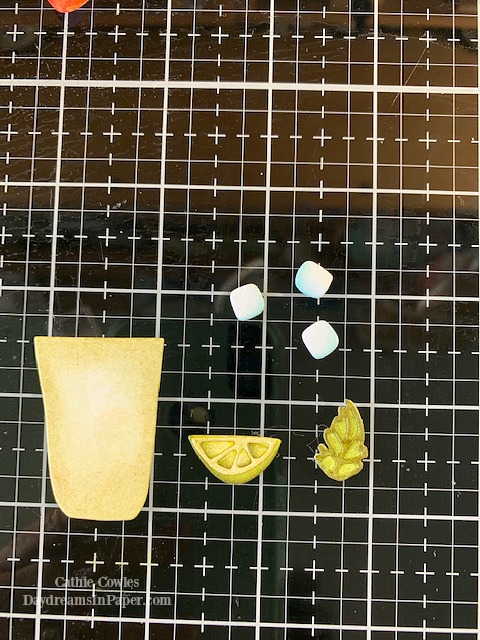
Create the ice cubes, lime wedge and mint leaf or whatever you want “floating” in your cocktail.
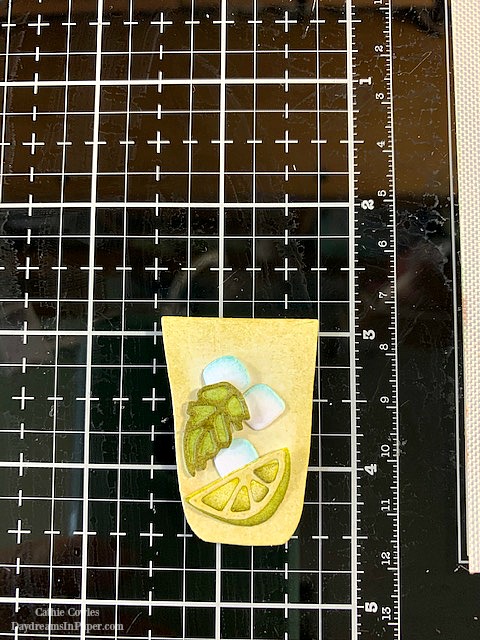
Adhere these pieces where you want them to go inside the base.
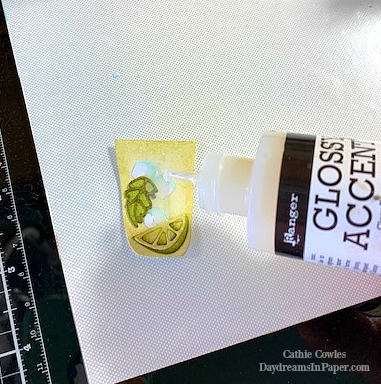
Working on a craft mat, apply Glossy Accents to the center of the die cut and move the glue to the edges using the tip of the glue applicator. If you need more glue, add it to the center and continue to use the tip of the applicator to move the glue to the edges. This will prevent the glue from oozing over the sides of the die cut.
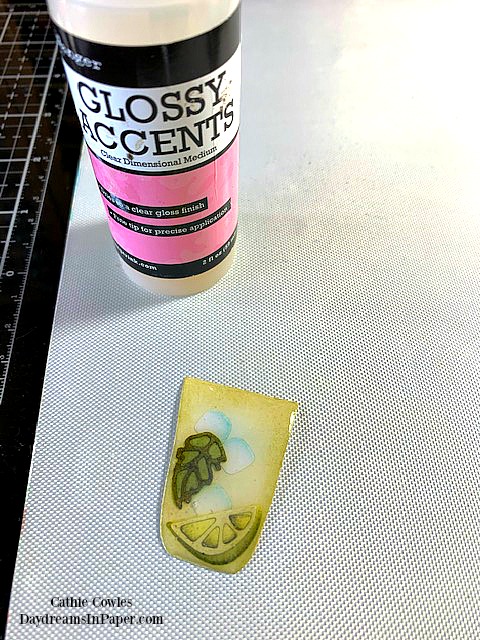
After you cover the piece with Glossy Accents don’t touch it. Leave it on the craft mat to completely dry. It will look a little cloudy at first but when it’s completely dry it will be clear.
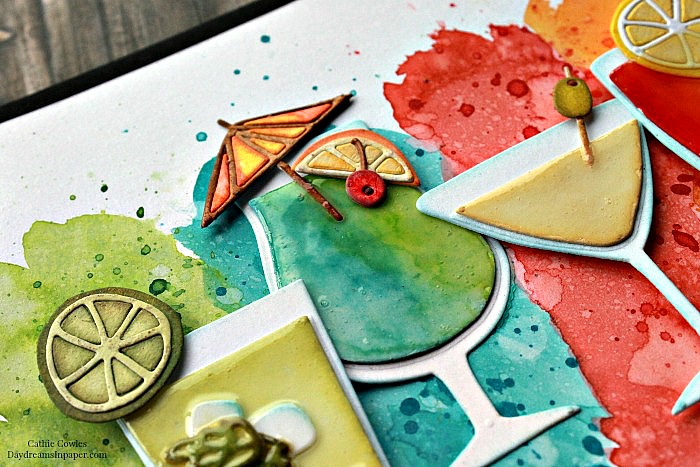
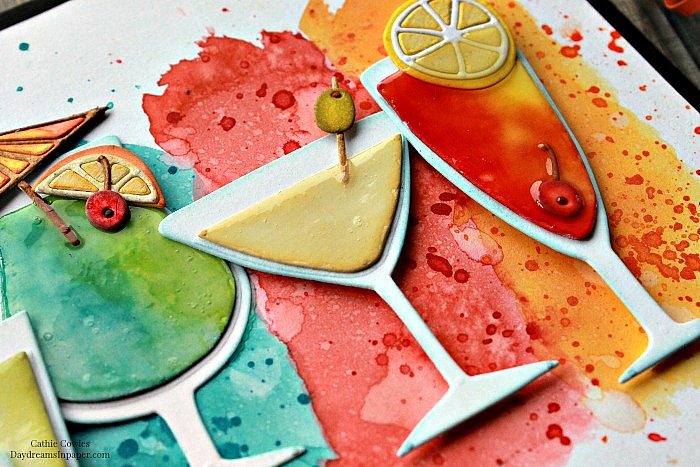
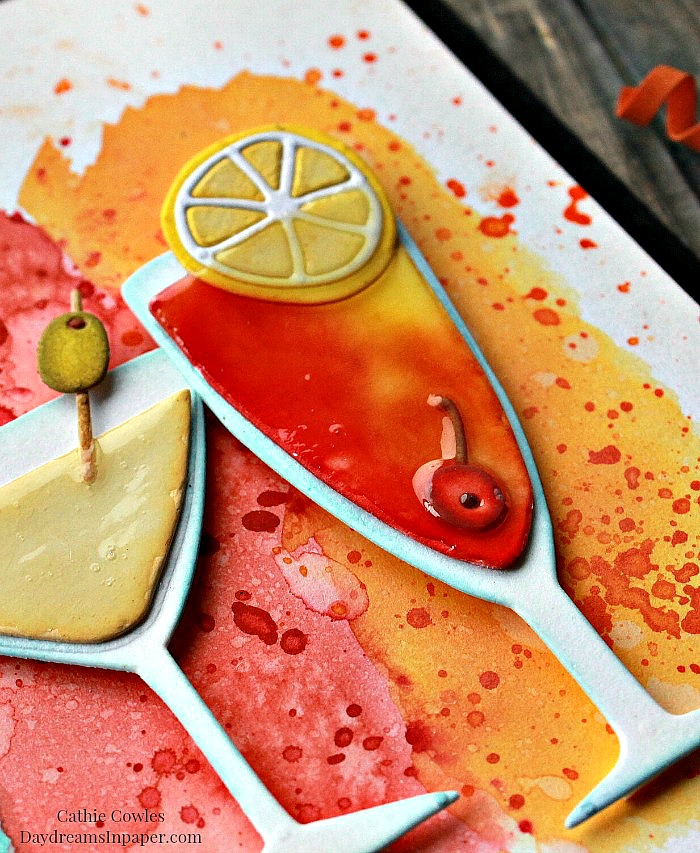
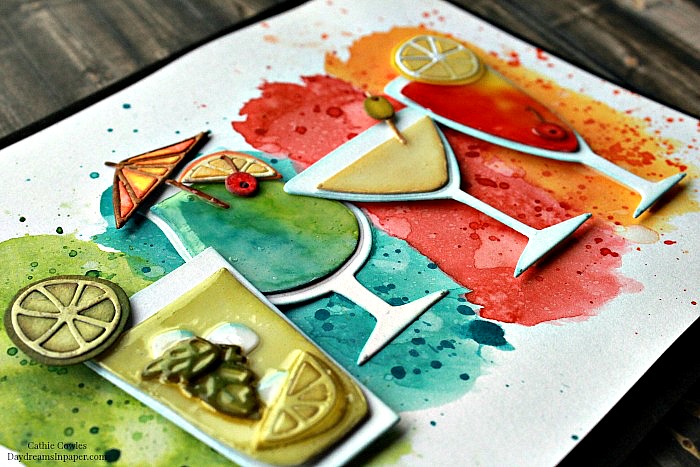
Below are some closeups of all the cocktails I put together for this card.
I hope you enjoyed this tutorial and thank you so much for stopping by! I really appreciate the time you take out of your day to pop on over and see what I’m up to. Many, many thanks!!


 |
 |
 |
 |
 |
 |
 |
 |
 |
 |
 |


