Hi Everyone! It’s time for some creative inspiration with beautiful Tammy Tutterow Designs products. I created this sweet card using some of Tammy’s new products. I love hearts and the shape of the Tammy’s Prim Hearts are my favorite. I love the longer cut of this heart because it so romantic to me. I wanted to use soft pink colors to go with the shabby chic style. I hope you enjoy seeing how I put this card together and that somewhere along the way you’re inspired to get inky and create fabulous. Enjoy!
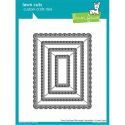
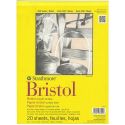
To begin, cut the largest size scalloped panel from the Lawn Fawn Fancy Scallop Rectangle Stackables die set out of Strathmore Bristol watercolor paper.
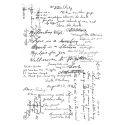
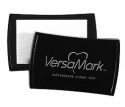
To prevent stamping on the scallop area around the frame of the panel, tape off the scallop edging and place it in the Misti. Place the Dear Ruby background stamp over the panel and close the door of the Misti to pick up the stamp. Ink the stamp with Versamark embossing ink and close the door of the Misti to stamp the image onto your panel. You can do this several times until you see that the image is completely stamped.
Sprinkle Hero Arts white embossing powder over the stamped image, tap off the excess and heat the image with a heat tool. Allow the image to completely cool before moving on to the next step.
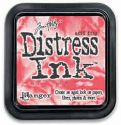
Now that the image is cool, spray panel with Spun Sugar Distress Spray Stain. Set this aside to completely dry.
To create the heart, color a piece of Strathmore Bristol watercolor paper with a mixture of water and Worn Lipstick Distress Oxide. To do this, smudge the ink oxide pad on a craft mat several times in over a large area and then spray with water. Spray the watercolor paper with water as well and run the watercolor paper through the oxide mixture. Do this several times but make sure to dry each layer completely before adding another layer.
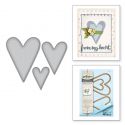
Cut the heart out of the watercolor paper using the largest Prim Heart from the die set. Next, stamp on the “I love you” sentiment from the Tiny Sentiments stamp set in Versamark embossing ink, sprinkle with Hero Arts white embossing powder and set with a heat tool. When the image is cool, lightly ink the edges with Vintage Photo Distress Ink.
Here is a close-up of the heart.
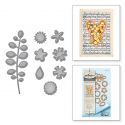
You can see how I create my shabby bows here. The flowers are from the Bitty Posies die set and cut from some of the left over watercolor paper I used to create the heart. The edges are inked with Vintage Photo Distress Ink and a couple of flower stamens are added to the center of each one.
To complete the card, I adhere the heart to the top center of the scallop panel with 3d foam tape. I add the shabby bow at an angle and adhere three bitty posies to the center of the bow. I cut a 4-1/2″ x 5-3/4″ piece of Neenah Solar White card stock and distress the edges with the Prima Distressing Tool and adhere the scalloped panel in the center. I adhere some pearl dots on the four corners of the scallop panel and my card is done.
I hope you enjoyed seeing how I put together this pretty card and that you found some inspiration for your next project. Thanks so much for sticking through with me to the end. I’m truly grateful to you for spending your precious time with me.


