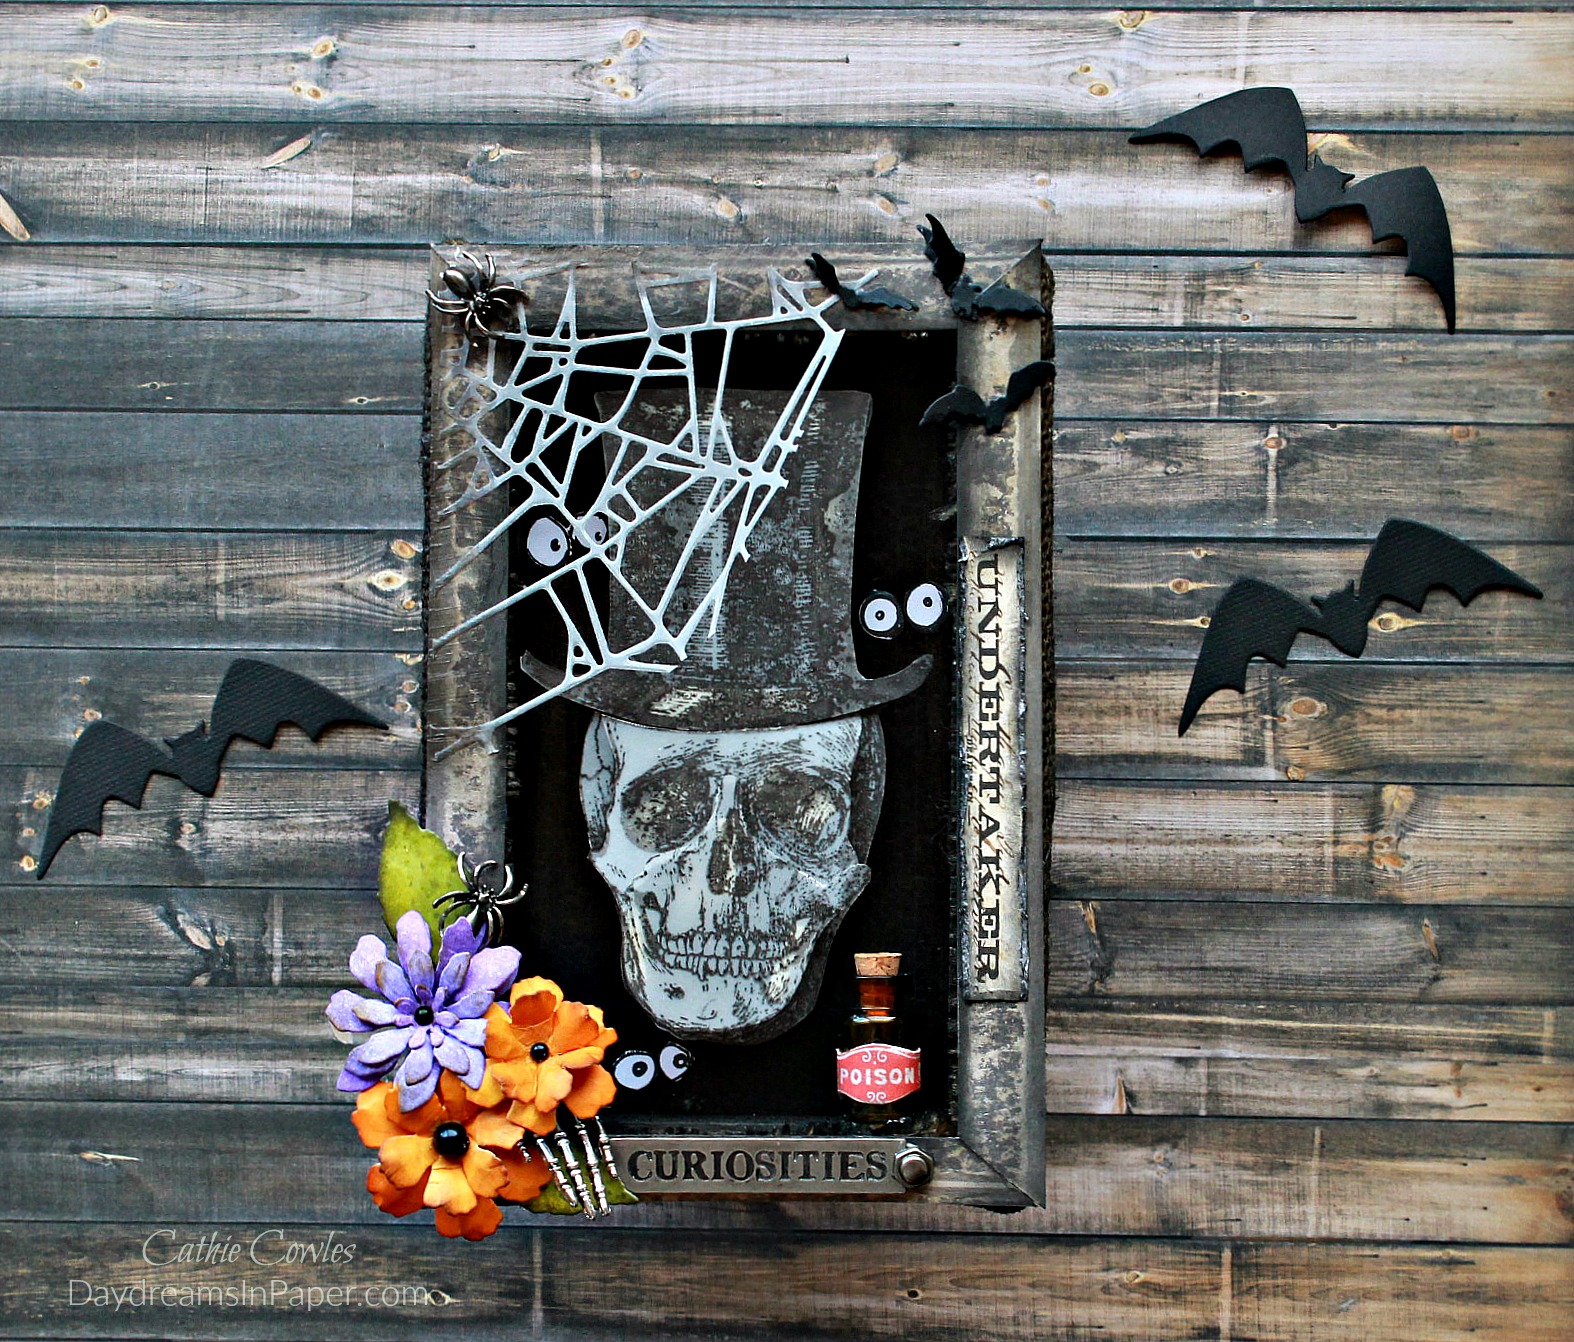
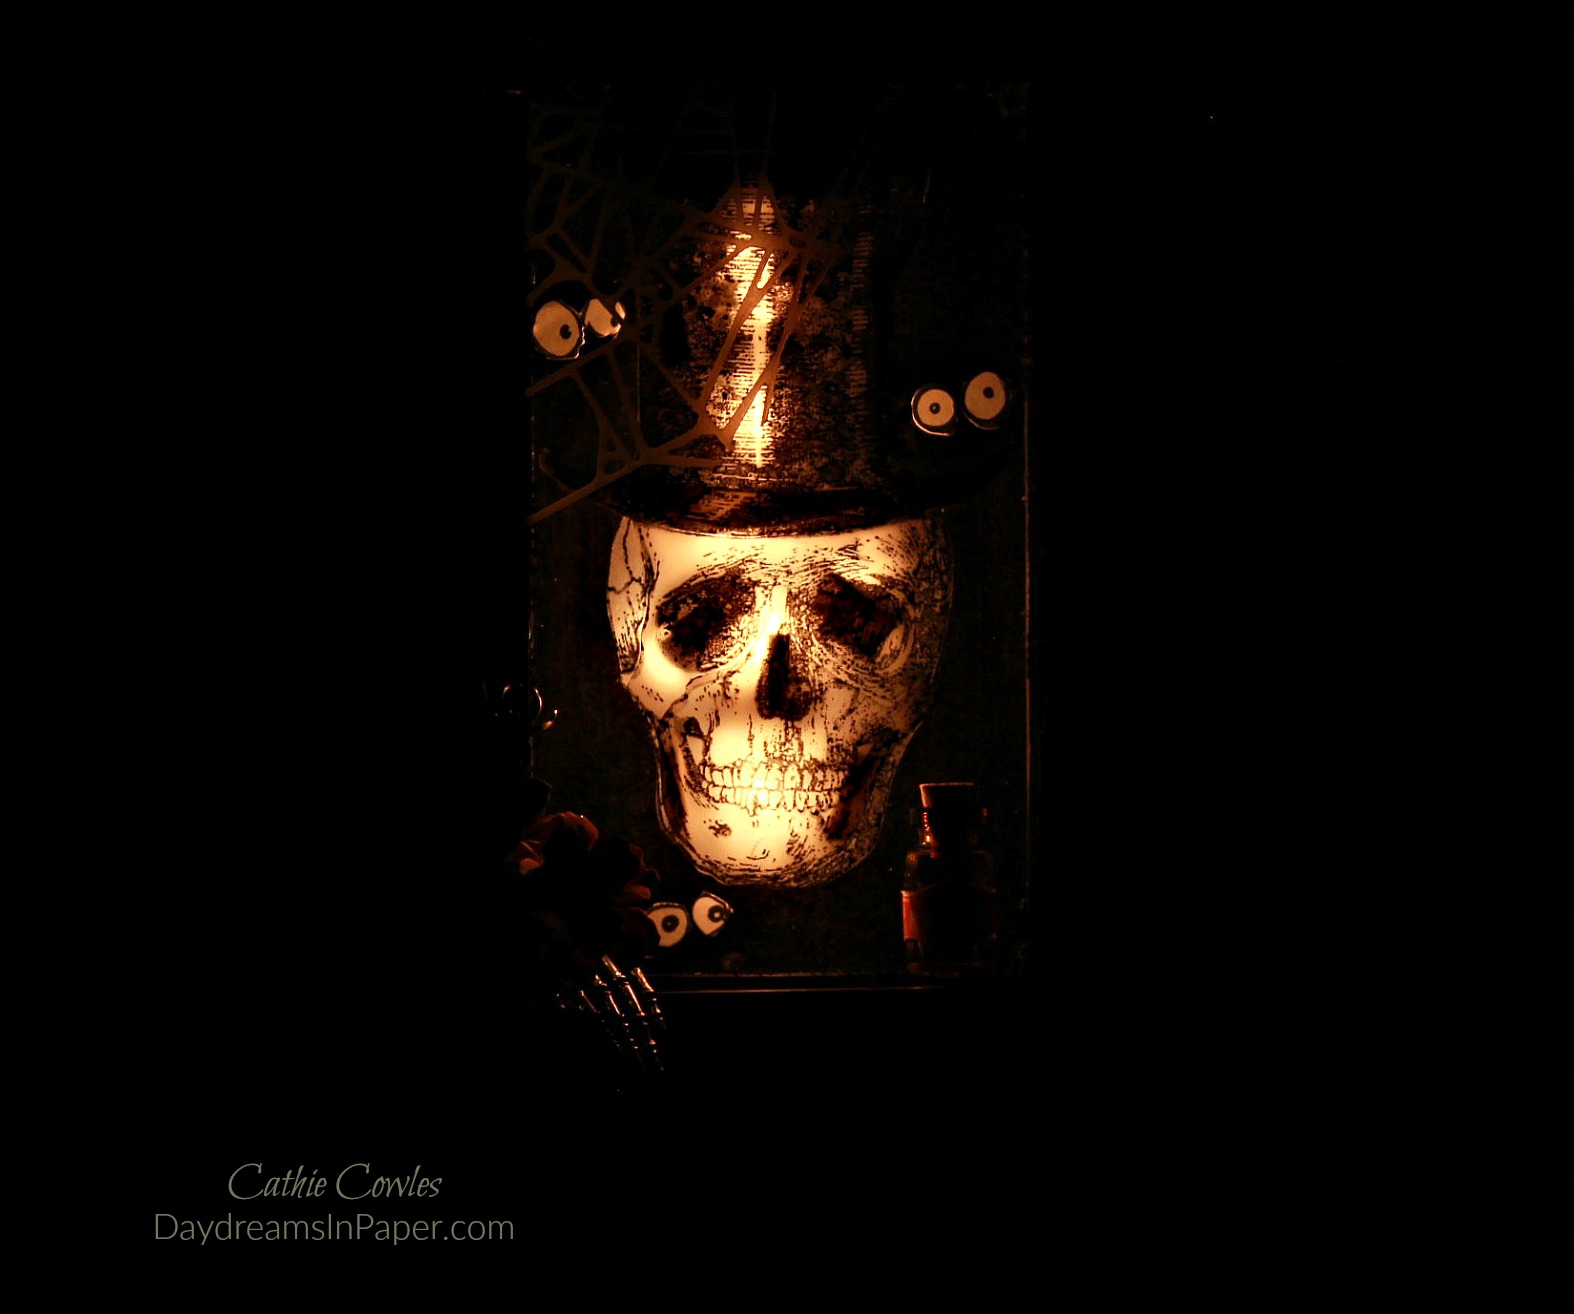
Hi Friends! I hope you had an awesome weekend and that you’re ready for another challenge on the Simon Says Stamp Monday Challenge. Our theme this week is, Not A Card. I decided to create a fun, yet spooky, shadowbox that glows after the lights go out. I used an older Tim Holtz stamp set that’s timeless and one of my favorites for Halloween projects. I hope you enjoy seeing how I put together the inner workings of my creation in the tutorial below. Enjoy!
 Don’t forget to check out our guest designer, Wanda Hentges, from Art By Wanda to see her latest creation. I know you won’t be disappointed, she’s amazing!
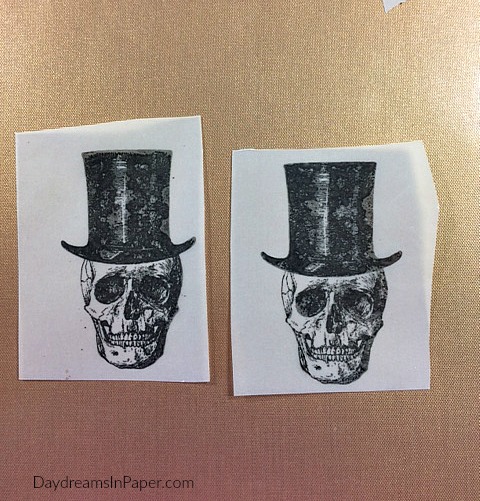
Stamp two skeleton images onto vellum with Simon Says Stamp Intense Black dye ink.

To create dimensional skeleton, cut one image in three pieces.
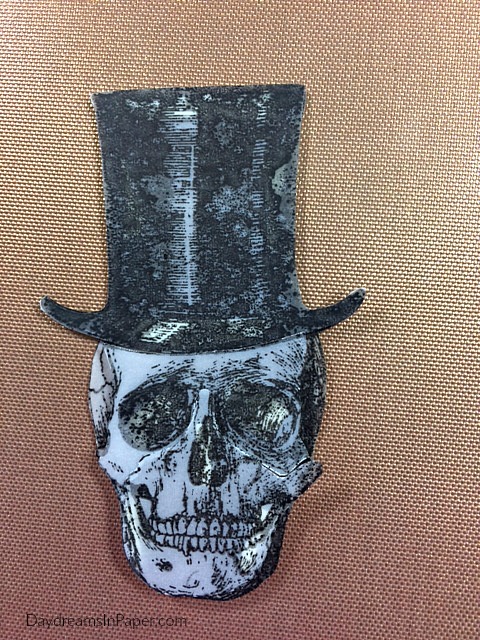
Adhere each cut section onto complete stamped skeleton image with small pieces of 3D foam tape.
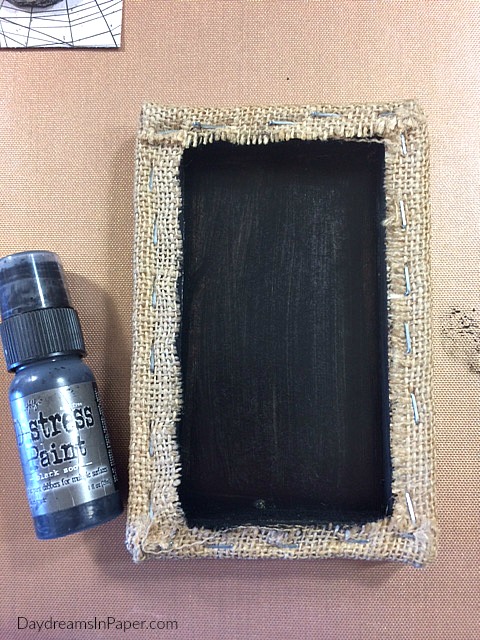
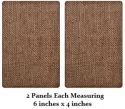
Create a shadow box by using a Tim Holtz 4″ x 6″ burlap panel and paint the inside with Black Soot Distress Paint.
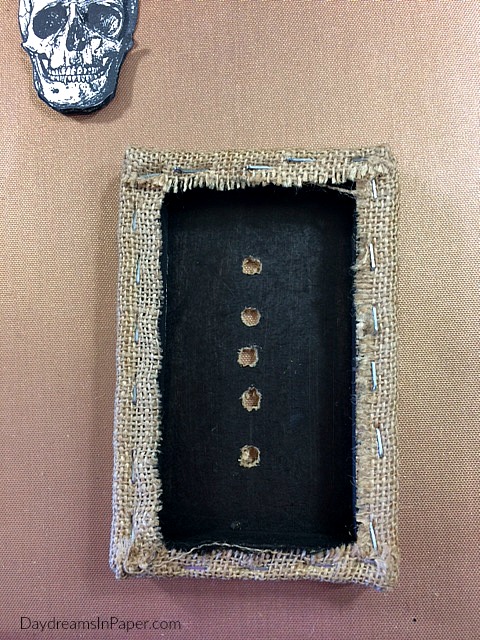
Drill small holes in back panel. (I ended up drilling two more holes so I could add more lights to fully illuminate the skeleton’s face.)
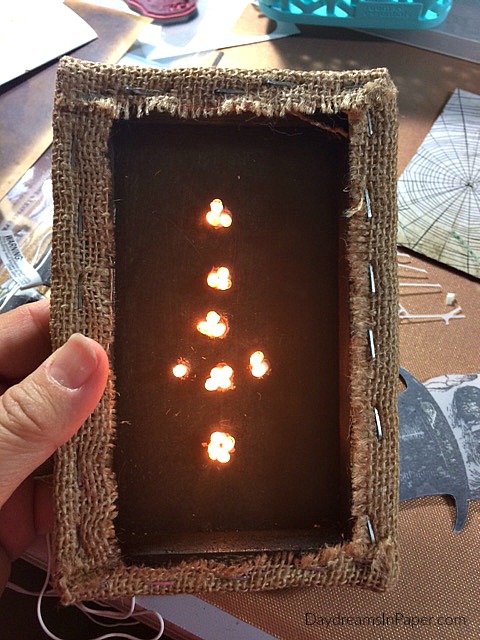
Insert tiny lights through drilled holes.
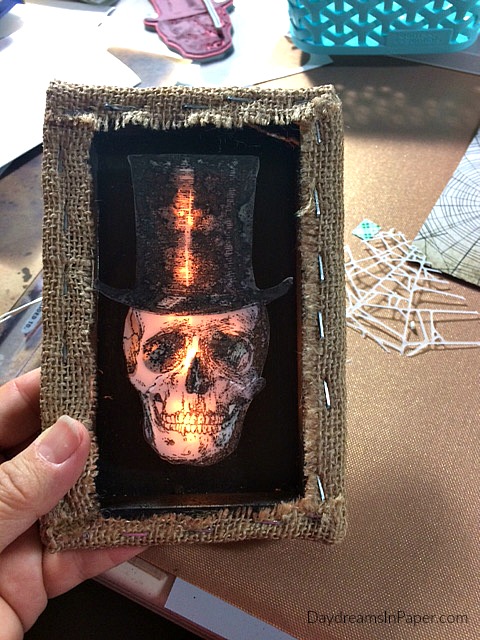
Adhere 3D foam tape between the lights and adhere skeleton on top of tape.
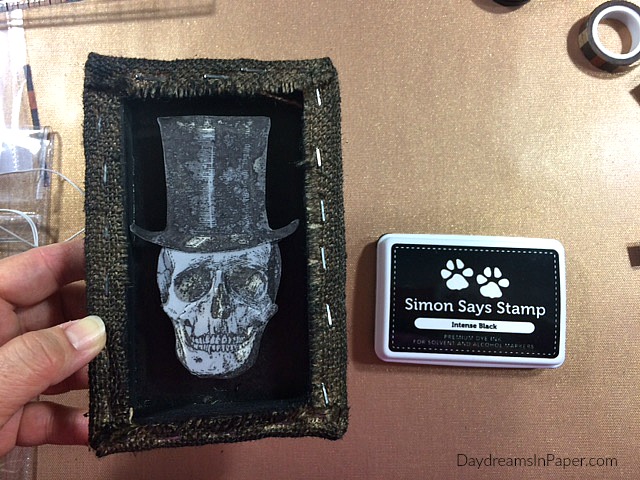
Ink burlap with Simon Says Stamp Intense Black Ink on top and sides of panel.
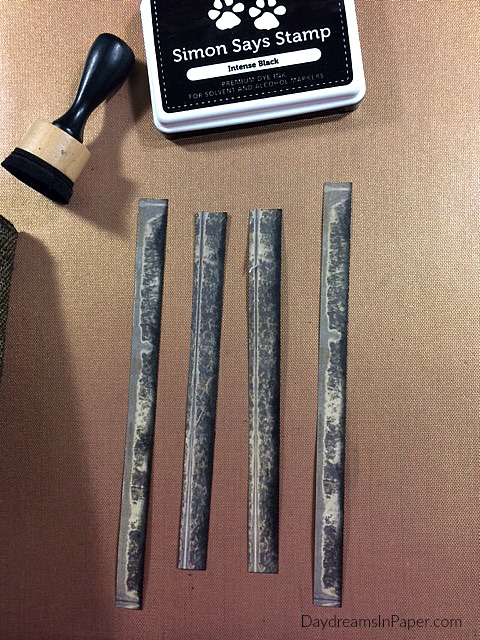
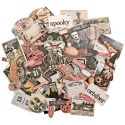
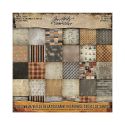
Cut four strips of cardstock from Tim Holtz Halloween Paperie and ink inside edges black.
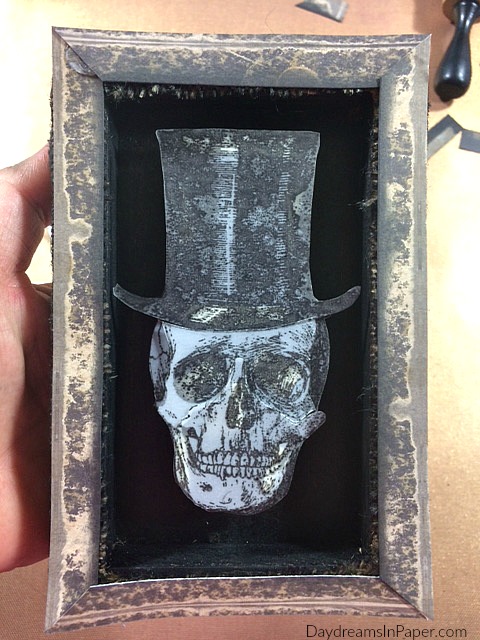
Measure cardstock strips to fit edges of shadow box and cut ends at angle. Adhere to edges of shadowbox.

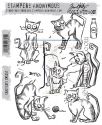
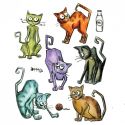
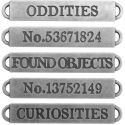
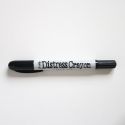
I completed my project by adding eyes behind the skeleton on the back panel of the shadowbox that I created from the Tim Holtz Crazy Cats stamp and die set. I added a spiderweb to the top corner with some idea-ology spiders, a creepy metal skeleton hand coming out from behind the small tattered florals, an apothecary bottle with a poison label, some bats and one of the Tim Holtz word bands colored with Black Soot Distress Crayon pigment.
I hope you enjoyed seeing how I put together my glowing Halloween shadowbox and that you’ll join us on the Simon Says Stamp Monday Challenge. Don’t forget you could win a chance to win a $50 gift voucher to their amazing store by linking your project to the challenge.















Pingback: Simon Says: Not A Card - Simon Monday Challenge Blog
ooh Cathie! this is so spooky!! the ‘light up’ skull is very scary and I love the spiders web and details, absolutely fabulous! 🙂
luv
Lols x x x
Very Spooky!!! And very creative with the lights, vellum, etc.!!
OMG! This is so creative! How cool is the skull with lights behind? Absolutely amazing and quite creepy! I love the frame with the blended black and the white web above! Great project. Hugs, Marzena
This is totally spooky and fabulous, Cathie! I love how you added lights for effect and the spider web on top of the skull looks really cool!
*mwah*
Steph
Simon Says Stamp!
Whaaaaa… This is awesome and inspiring!!!
this is awesome Cathie!! Thanks for all the step outs-much appreciated.
Such a stunner Cathie!!! I just want to try this at once…you did an amazing job…but shouldn’t be surprised about that…you are such an amazing artist! Huge hugs xxx Simona
I love this idea. It’s wonderful. Thank you for sharing the details.
What an amazing shadow box and I love how you incorporated the lighting so it glows in the night, it looks spook-tacular …lol 😉. It is so detailed too with the additions of the metal signs, pretty flowers, poison bottle and spider – perfect 😁. Wishing you a lovely weekend! J 😊
p.s. thanks for your lovely comments on my blog! J x
What a spooky cool idea Cathie! Your shadow box is awesome, and the way you light up the skeleton is brilliant! Then, I love how you added pretty flowers to dark and spooky. hugs, Maura
WOW! The moment I saw this project, I just loved it…it’s wonderful Cathie and I adore the clever idea of having it lit, the skull looks so cool shining brightly from inside the box! Love it… <3
Wow! This is amazing! I can’t believe the difference in how this looks when it’s lit up. I love the technique you used and how you always include the insightful step-by-step pics.
This is PHENOMENAL!!! WOW!!! i am amazed!!! Love the light behind the skull, so clever and so spooky!
wow Cathie, love your spooky glow in the dark shadow box…hugs kath xxx
Wow….. love this stunning creation, Cathie. The glowing shadow box is a brilliant and fantastic decor for Halloween! 🙂
This is so cool, Cathie! Love the glowing skull! So pretty, love the colorful flowers too! Hugs, Sandra
Wow wow wow! Cool project! love the lights! Fab works and so creative! Barbara
I think your idea will be useful for me.
I will let you know if its work for me as well. Thank you for sharing this amazing articles.
thanks a lot.