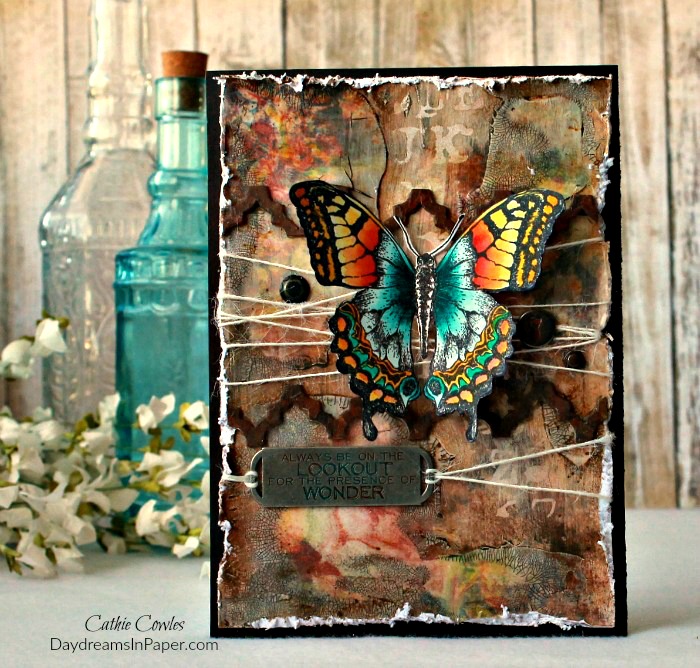
Thanks for stopping by everyone! I hope you enjoyed last week’s Simon Says Stamp’s Monday Challenge and now you’re ready for another fun challenge. This week our theme is, Resist It. I chose to do a resist effect with white gesso. I’ll show you how I put together the background for my project and hope it inspires you to join us this week. I can’t wait to see what you create!
Also, stop over to see what our guest designer, Amber Sheaves from Pieces of Me created this week. Last week she created a beautiful tag which inspired me to reach for a stamp that I love but haven’t used in a while. It’s her last week with us on the challenge, so be sure to stop by and let her know how awesome she is.
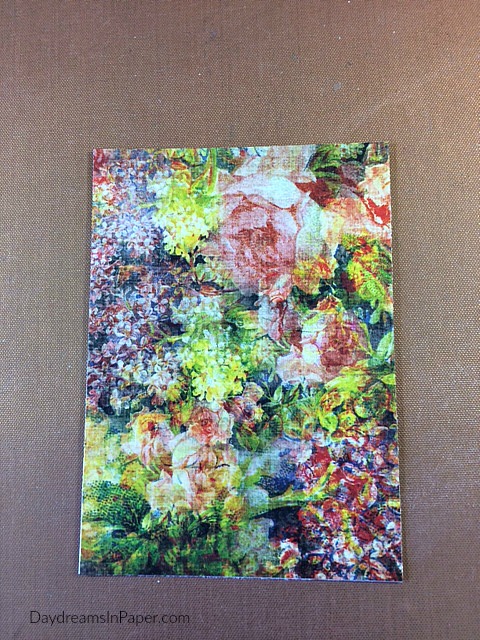
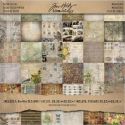
I begin with a 5″ x 7″ piece of cardstock from the Tim Holtz Menagerie paper stash.
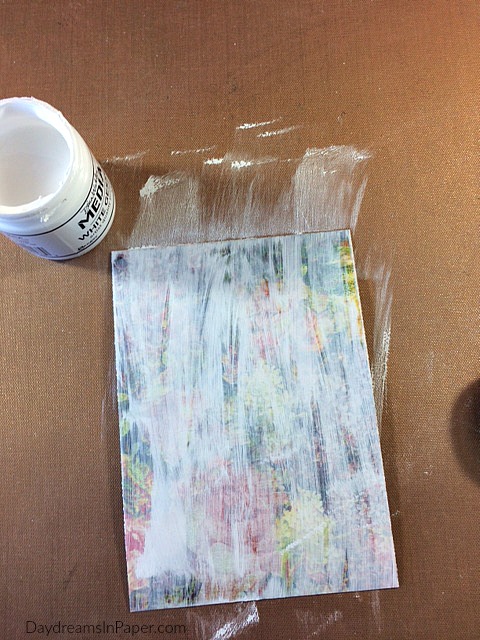
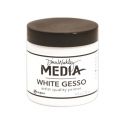
I cover the entire piece of cardstock with white gesso.

Before the gesso completely dries, I gently wipe away some of the gesso from random areas with a baby wipe. I allow the gesso to completely dry.
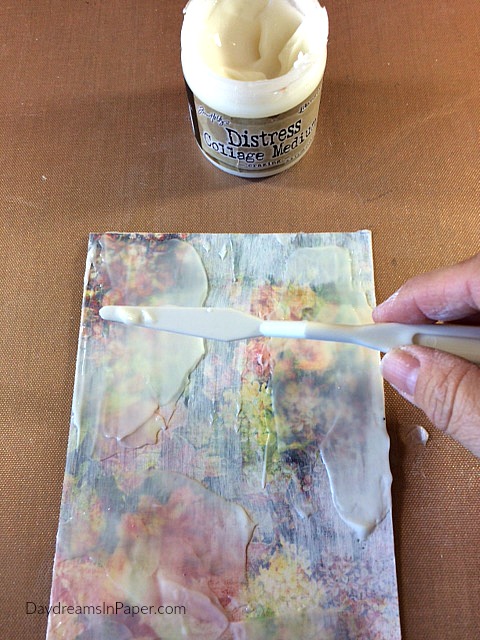
Now that the gesso is completely dry, I apply a layer of Tim Holtz Distress Collage Crazing Medium. I applied the medium in thin layers as well as thick layers. The thin layers will result in small tiny cracks and the thick layers will leave behind large elongated cracks. I allow this to dry over night.
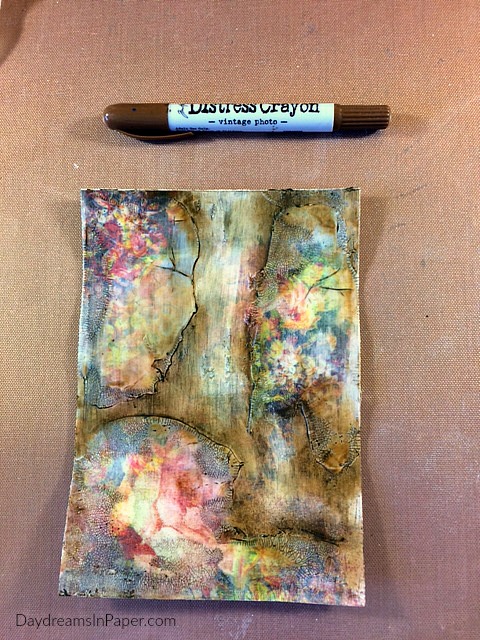
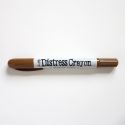
When the cardstock is completely dry, I apply Vintage Photo Distress Crayon pigment to the cracked areas by rubbing it in with my finger tips. I make sure to get the pigment into all the little cracks and crevices.
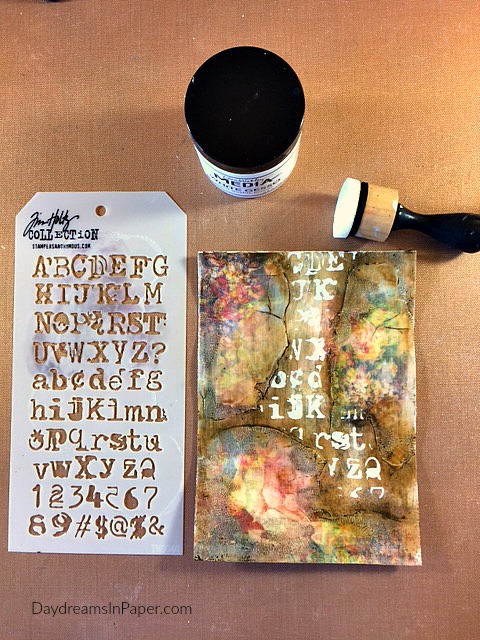
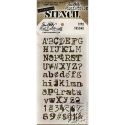
I mask all the areas except down the center and stencil on the Tim Holtz Typo stencil with white gesso using a mini ink blending tool.
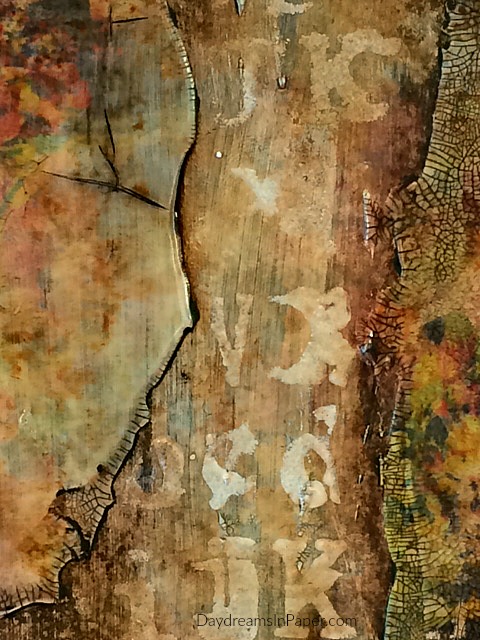
To push the letters into the background and darken the stark white gesso, I spray over the stenciled area with Vintage Photo Distress Spray. I then wipe over the letters with a baby wipe.
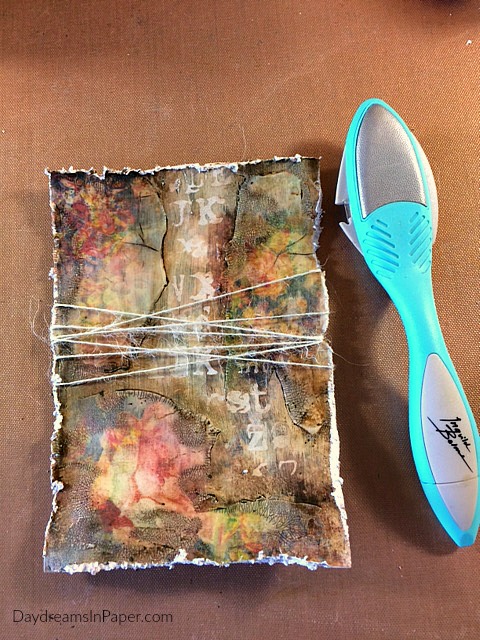
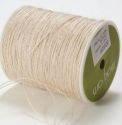
To finish the background, I distress the edges and add burlap twine where I will place the focal point.

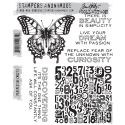
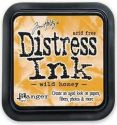
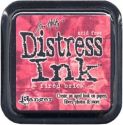
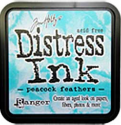
To finish the card, I add a large butterfly from the Tim Holtz Perspective stamp set that is colored with Peacock Feathers, Wild Honey and Fired Brick Distress Inks that I painted on with a waterbrush. The rusted borders are from the Tim Holtz Trellis Framework die that I cut apart and “rusted” with paint. I added a sentiment from the Tim Holtz Findnings Quote Bands. The entire panel is mounted onto a 5-1/2″ x 7-1/4″ piece of Simon Says Stamp Dark Chocolate cardstock.
This completes my Resist It project. I hope you enjoyed seeing the process I used to create the background and how I put everything together. Thank you for sticking with me to the end. I really appreciate you spending you time with me and hope you got some inspiration to join us on this fun challenge. Remember you could win a $50 gift voucher to Simon’s amazing store by linking your project to our challenge.













Pingback: Simon Says: Resist It - Simon Monday Challenge Blog
Gorgeous card Cathie! I love the background and the vintage feel to it so in contrast with the bright colours of the butterfly…which makes it a perfect combo! Hugs xxx Simona
I am in love with this background. I would never guessed you made it this way. Thank you for sharing the step by step. I always love to look at them and learn some new tricks. I love the colors of your vintage background and the rainbowed butterfly on it. Beautiful. Hugs, Macarena
This is beautiful Cathie! I love the background you created for the card. All the layers make for such a wonderful piece. So glad you shared this with us today. Totally inspiring!
Gorgeous card Cathie, the background is fabulous and I love the colourful butterfly, the whole design is so pretty! 🙂
luv
Lols x x x
cathie, each time your works impress and inspires me a lot
Wow, Cathie!! This gesso resist technique turned out SO gorgeous! I loved seeing the step out photos to really understand the process… just lovely! : )
*mwah*
Steph
Simon Says Stamp!
I really love how you developed this amazing background Cathie! Such stunning dimension, cracks & distressing . <3 Hugs, Autumn
Fabulous card, Cathie! What an awesome background! Love how you started with patterned paper and built on top of that. With the dark background, your butterfly just glows! Beautiful!! hugs, Maura
Wow, this is amazing, I love the colours! And that butterfly gives it that special effect. Great!
Cathie!!! This technique is fabulous and i?ll try!!For sure I’ll try! thanks for your inspiration, as always your tutorial is absolutely wonderful and this butterfly…… Stunning! Barbara
This is so beautiful Cathie and I love how you’ve made that background, it’s so textural and just works so well with that stunning butterfly! Gorgeous work, as always… xx
wow Cathie your background is amazing and I love love love that gorgeous butterfly, beautifully coloured…hugs kath xxx
The background texture and colors you created are stunning, Cathie. Love the gorgeous butterfly, too. 🙂
WOW! You have really outdone yourself on this one! I am in awe of the finished product and the technique you used in the process. The way the butterfly jumps off the background is extraordinary. This is a stunner and I loved seeing the steps behind the creation of this beauty.
I absolutely love the way you created your backrgound! This card is phenomenal! I love every little detail on it!
hugs x Zoey