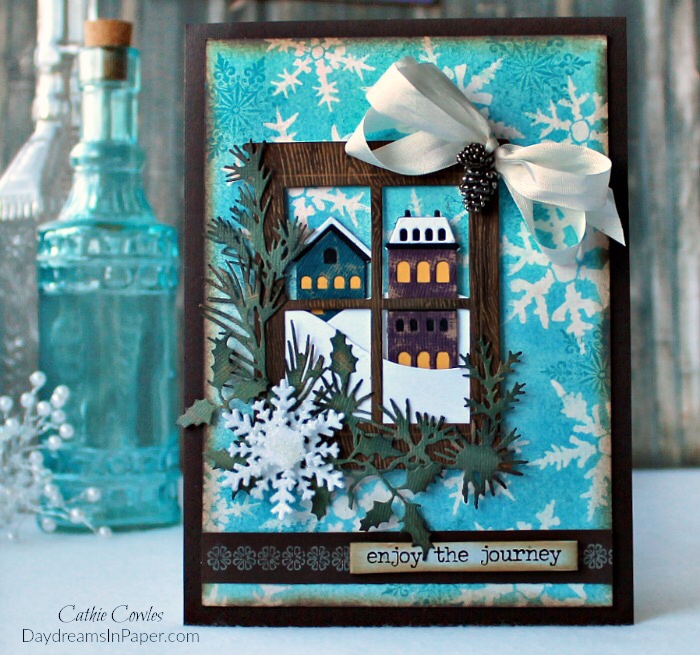
Hi Everyone! Are you ready for another new challenge this week on the Simon Says Stamp Monday Challenge? This week we’re featuring Tim Holtz products and our theme is, Whatever The Weather. I decided to create a pretty winter scene through a window for my card and I’ll show you how to put it all together. Enjoy!
Also, please join me in welcoming our guest designer for the month of March, Bonnie from My Stuff, My Life. She has such a fun style and I know you’ll enjoy her creativity.
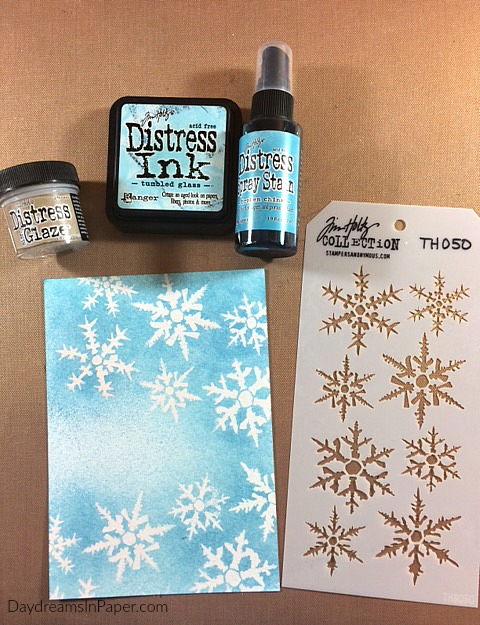
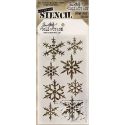
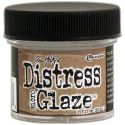
To begin, I start creating the background for the card. Using a mini ink blending tool I stencil on the Tim Holtz Snowflakes stencil with Distress Glaze. I spray the entire piece with Broken China Distress Spray Stain and then go over the edges with Tumbled Glass Distress Ink.
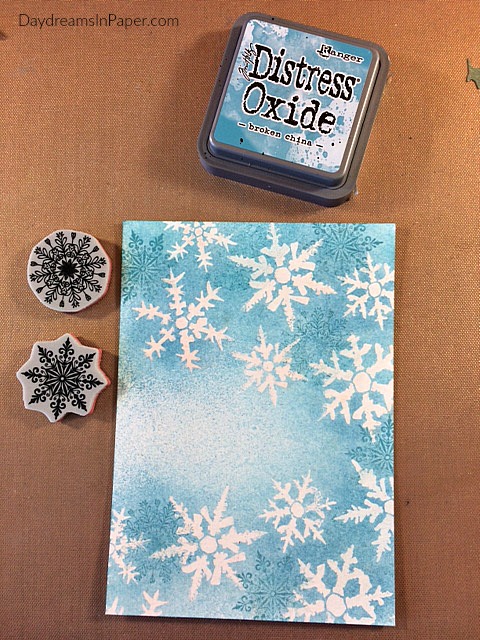
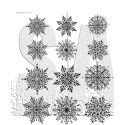
Next, I stamp on a couple of snowflakes from the Tim Holtz Mini Swirly Snowflakes stamp set with Broken China Distress Oxide in random areas. I set the piece aside to completely dry.
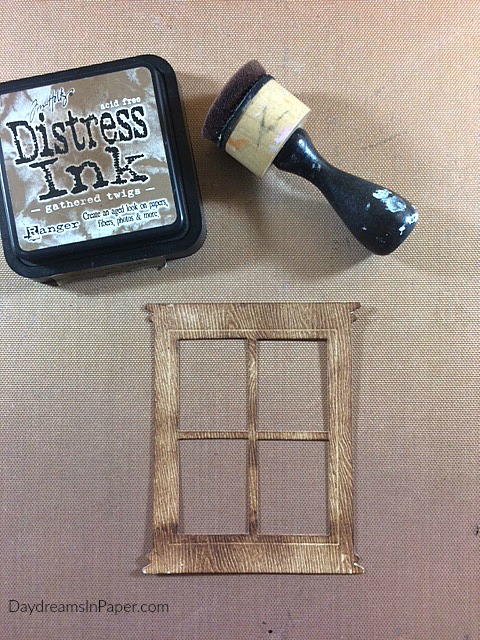
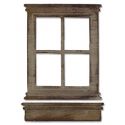
I begin building the scene by creating the window. I use the Tim Holtz Bigz Window and cut it out of woodgrain cardstock. Next, I pounce on Gathered Twigs Distress Ink with a mini ink blending tool.
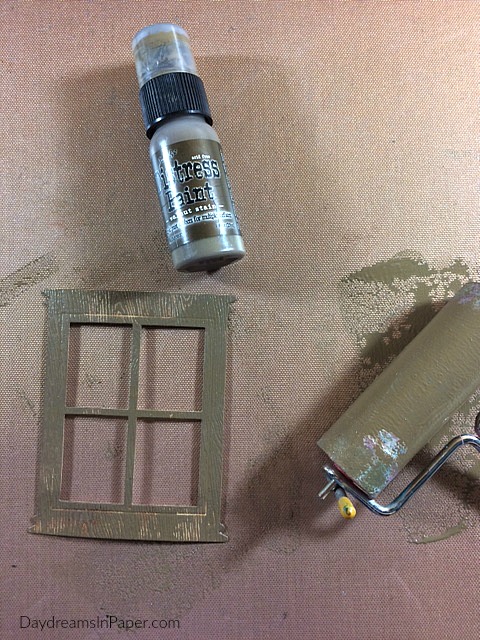
Using a small Ranger Inky Roller, I apply Walnut Stain Distress Paint over the window.
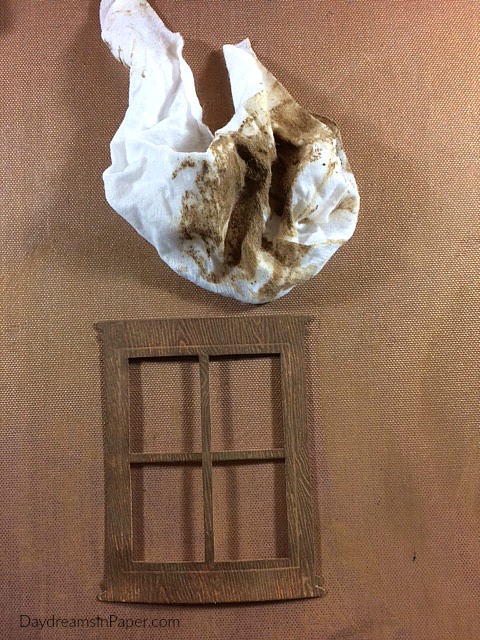
After waiting for only a few seconds, I use a baby wipe to wipe away some of the paint from the frame.
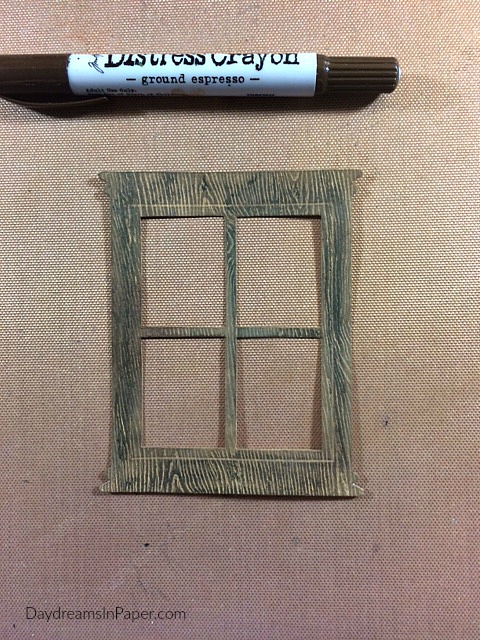
Next, I add Ground Espresso Distress Crayon pigment in random areas of the frame and rub it in with my fingertips. It helps to dip your fingertip into a small amount of water before rubbing the pigment onto the frame.
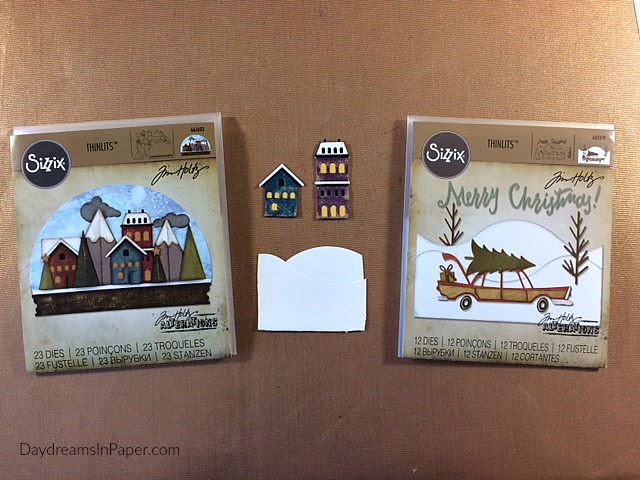
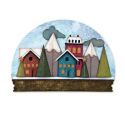
To create the snow scene that will be seen through the window, I build two houses from the Tim Holtz Snowglobe thinlits die set and the snow from the Tim Holtz Home For The Holidays die set. I cut the snow to the size of the window.
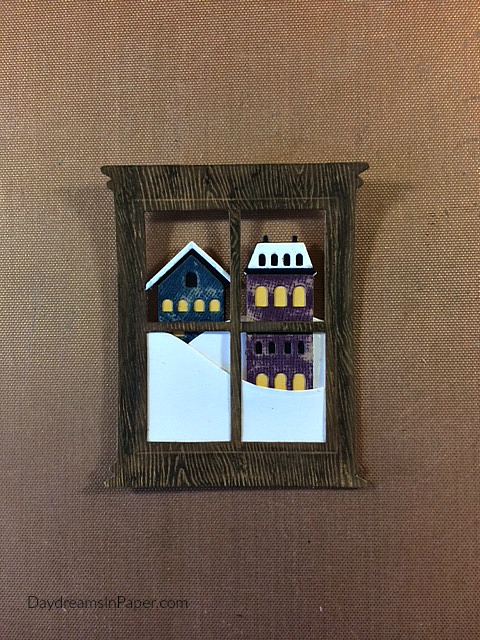
Next, adhere the houses and snow behind the window and set aside.
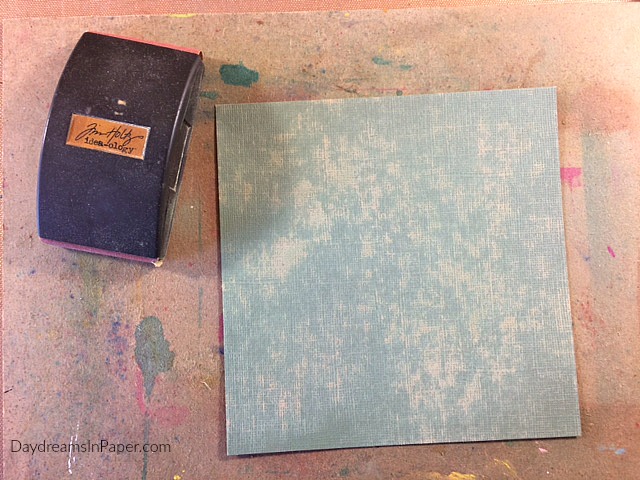
To create the greenery around the window, I use a piece of Tim Holtz Classic Kraft Stock Paperie and sand the entire surface with a sanding tool.
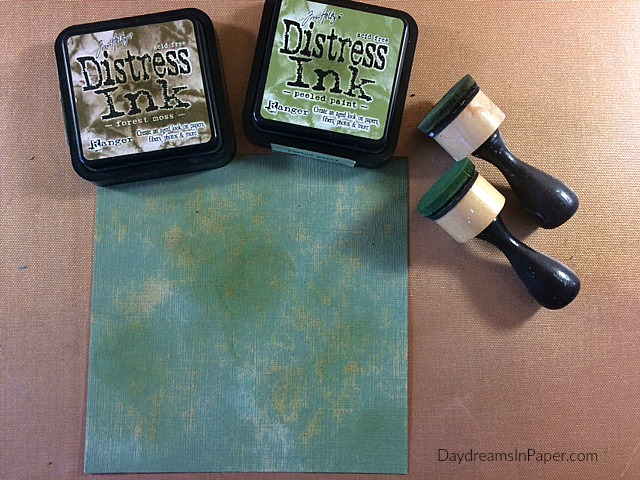
Using a mini ink blending tool I add some color back onto the cardstock in random areas.
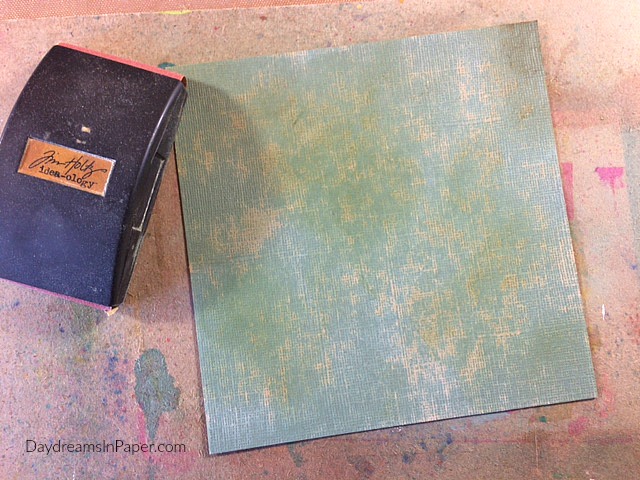
I sand the surface again, lightly.
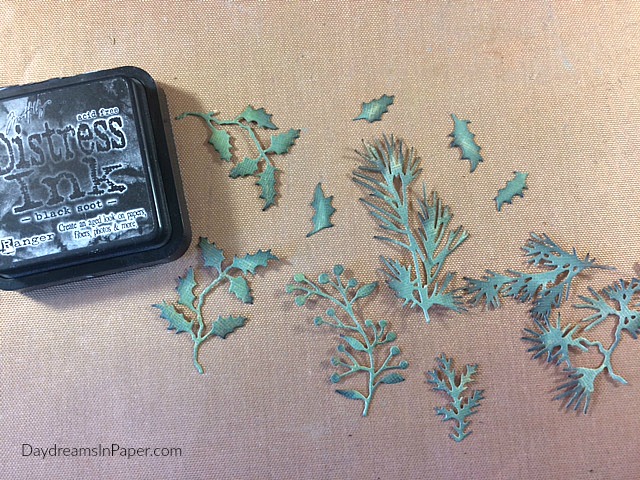
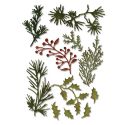
After cutting the Tim Holtz Holiday Greens from the kraft stock paper, I ink the edges very lightly with Black Soot Distress Ink. I’m now ready to put the scene together with all the pieces I’ve created so far.
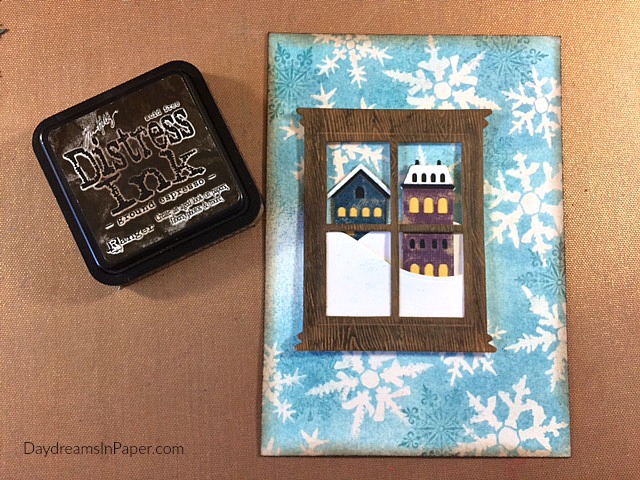
Adhere the snow scene window frame to the snowflake background with 3D foam tape and ink the edges with Ground Espresso Distress Ink.
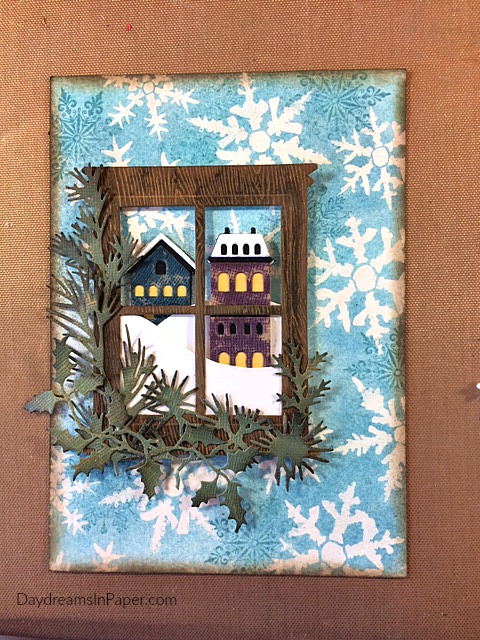
Adhere the holiday greens to the window frame.
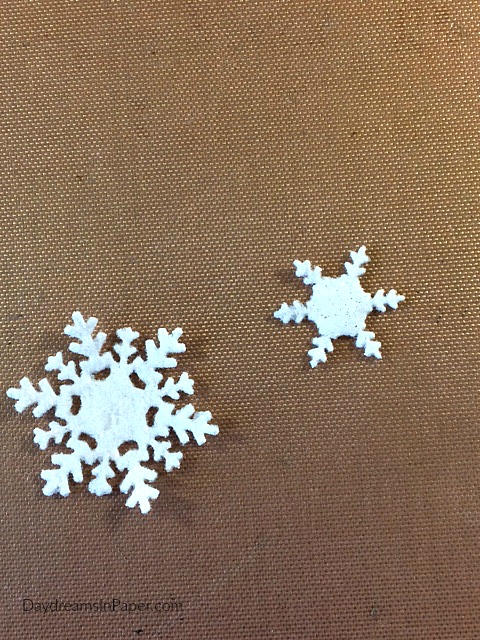
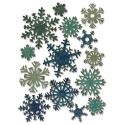
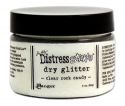
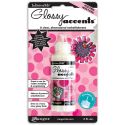
I want to add a snowflake to the bottom left corner of the window frame so I cut two snowflakes from the Tim Holtz Mini Snowflakes thinlits die set out of Neenah Solar White 110 lb. cardstock. I add glossy accents to the top surface of the snowflakes and sprinkle on Distress Stickles Clear Rock Candy Dry Glitter. Allow to completely dry.
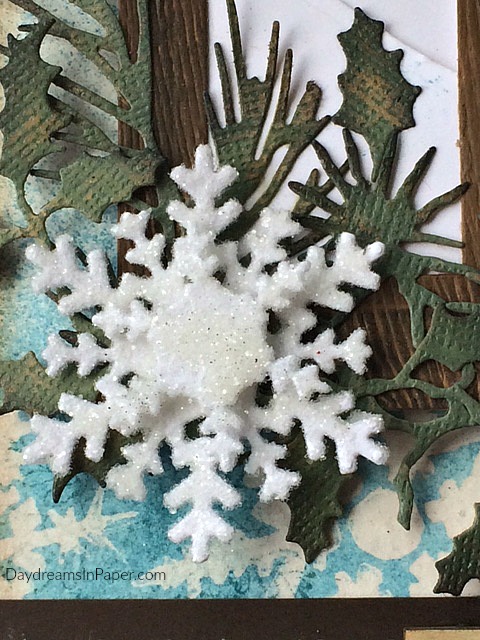 I adhere the small snowflake on top of the large snowflake with 3D foam tape and a little glue and add it the bottom left corner of the window frame.
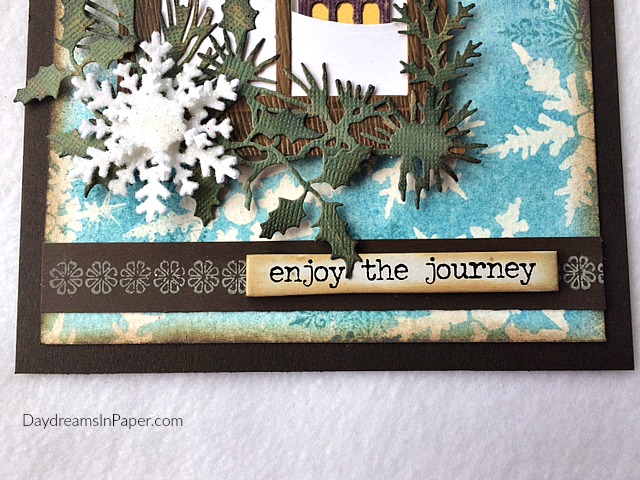
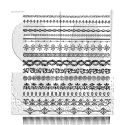
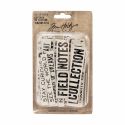
I stamp a strip of Simon Says Stamp Dark Chocolate cardstock with one of the trims from the Tim Holtz Ornate Trims stamps set using Antique Linen Distress Oxide ink. Next, I add one of the quotes from the Tim Holtz Quote Chips Paperie.

To finish the card, I adhere a shabby bow with a small and large Tim Holtz Pinecone Adornments. I then adhere the main card panel to a 5-1/2″ x 7-1/2″ piece of Simon Says Stamp Dark Chocolate cardstock and my card is done.
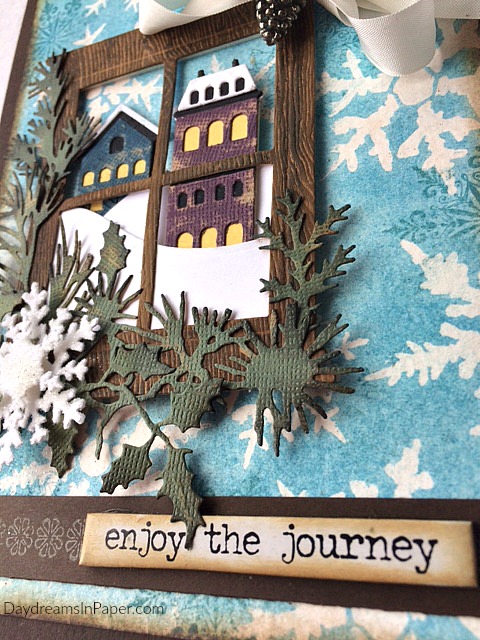
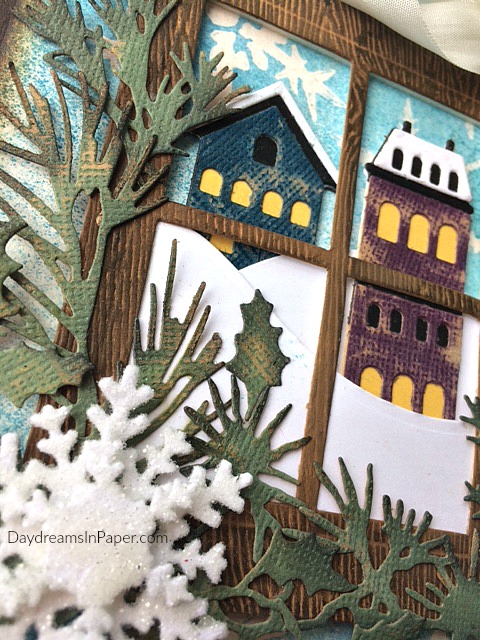
I hope you enjoyed seeing how I created my Snow Scene Window card and that you will join us in this fun challenge. Remember you could win a $50 gift voucher to Simon’s amazing store by linking your project to the challenge.















Pingback: Simon Says: Whatever The Weather - Simon Monday Challenge Blog
Gorgeous card Cathie 🙂 the snowy background is fabulous and I love the window scene and the beautiful foliage, the whole design is beautiful 🙂
Wow! I love the scene behind this fabulous window! This is so cute and cosy. The snowy background is beautiful and the fluffy snowflakes are so cool. Hugs, Marzena
Perfection!
Wow… this is such a gorgeous card, Cathie. The snow scene window frame is stunning! Love your fantastic design! 🙂
A miniature work of art, Cathie … such wonderful detailing … and fantastic depth and dimension on your framed scene! Anita 🙂
a gorgeous snowy scene Cathie looking through that window, hugs kath xxx
A really beautiful card and I adore the scene you’ve created, it’s so pretty, Cathie! I love it… <3
What a beautiful snowy scene, Cathie! Love your perspective looking out through the window. Great details, like the snowflake wallpaper, and your color combo is wonderful! hugs, Maura
This is such a sweet and quaint scene! I also loved the sentiment you chose. The weather has been really cold and awful here lately, but your project reminded me to enjoy the changes in season, so thank you for that reminder!
I’m in love with your winter card! Snowflakes is one of my favorite shapes! I adore the way you interpreted this challenge, colors and design are fabulous! barbara
What a pretty wintery card, Cathie! Love the gorgeous window die and the background is fabulous. Hugs, Sandra
Superb project dear Cathie! Love the wintery feeling — the window is amazing, the wood effect is wow!