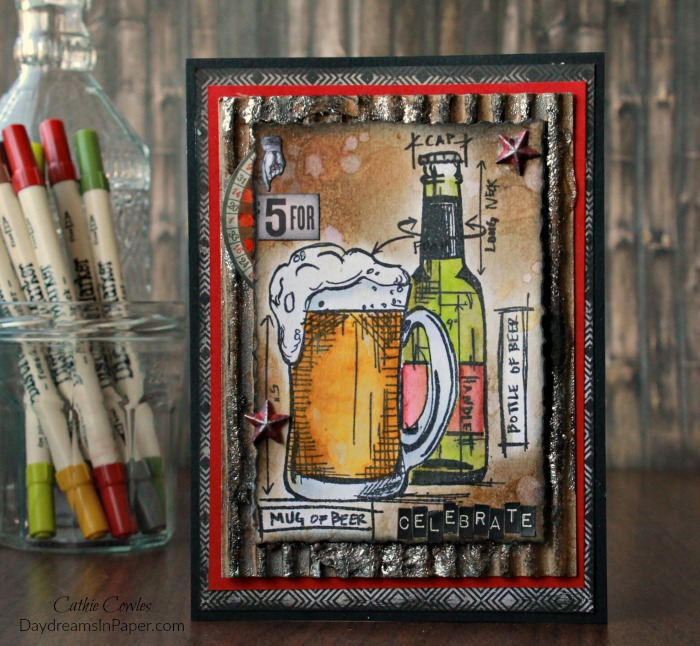
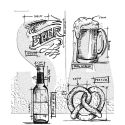
Hi everyone! Today I’m sharing a masculine card and I have to tell you, I’m getting a little more comfortable creating them. The Beer Blueprints stamp set from Tim Holtz makes it so easy. I used a masking technique to allow the mug of beer to appear as though it is in front of the bottle of beer. The card has a lot of dimension so by stamping the images this way, I’ll still be able to mail it in a small mailing envelope. I’ll show you how I put it all together below. Enjoy!
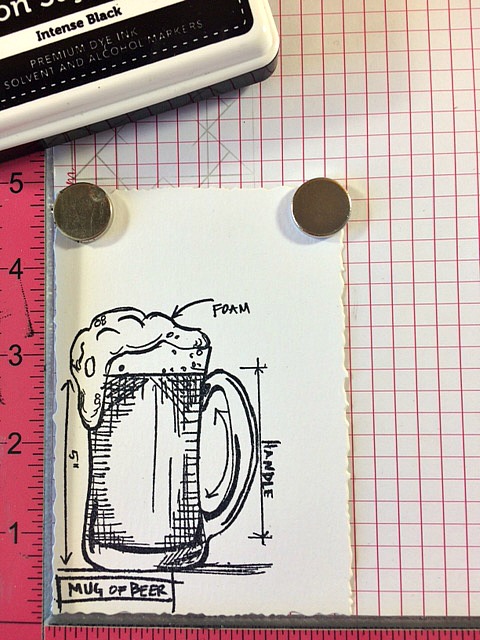
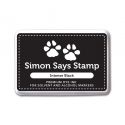
I begin by cutting a piece of Distress Watercolor Cardstock with the largest die from the Tim Holtz Stacked Deckle Thinlits die set. I stamp the image using Simon Says Stamp Intense Black premium ink.
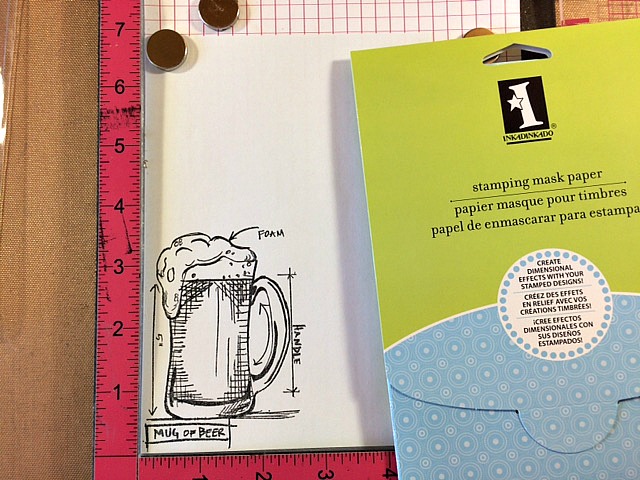
I stamp the same image onto a piece of stamping mask paper.
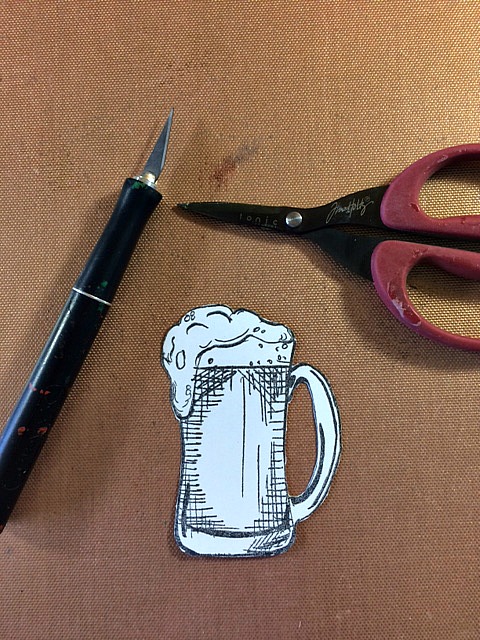
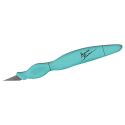
I cut out the mug of beer around the outer edges and then with an X-acto knife, I cut out the area inside the handle of the mug. (Remember to use a cutting mat under the image when cutting with the X-acto knife.)
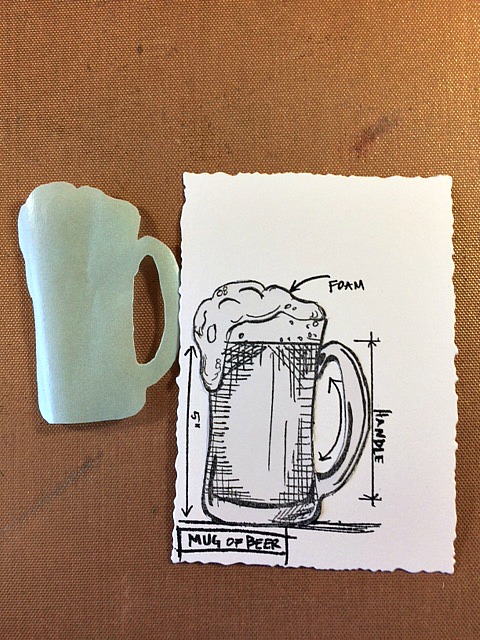
Peel the backing away from the image stamped on the masking paper and place it over the original stamped mug of beer. Return the panel back to the bottom left corner of the stamping tool.
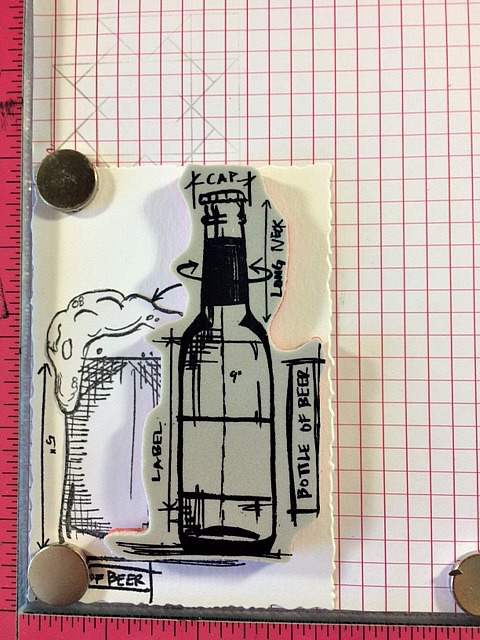
Place the Bottle of Beer image slightly over the Mug of Beer image where you want it to stamp and pick the stamp up with the door of the stamping tool. Stamp the image.
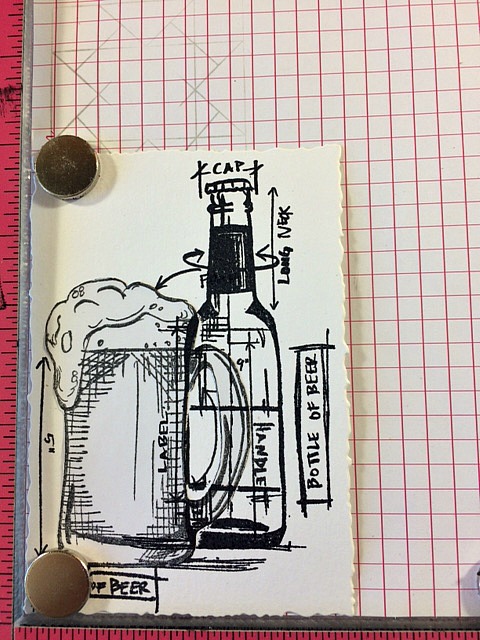
This is the image you should have so far.
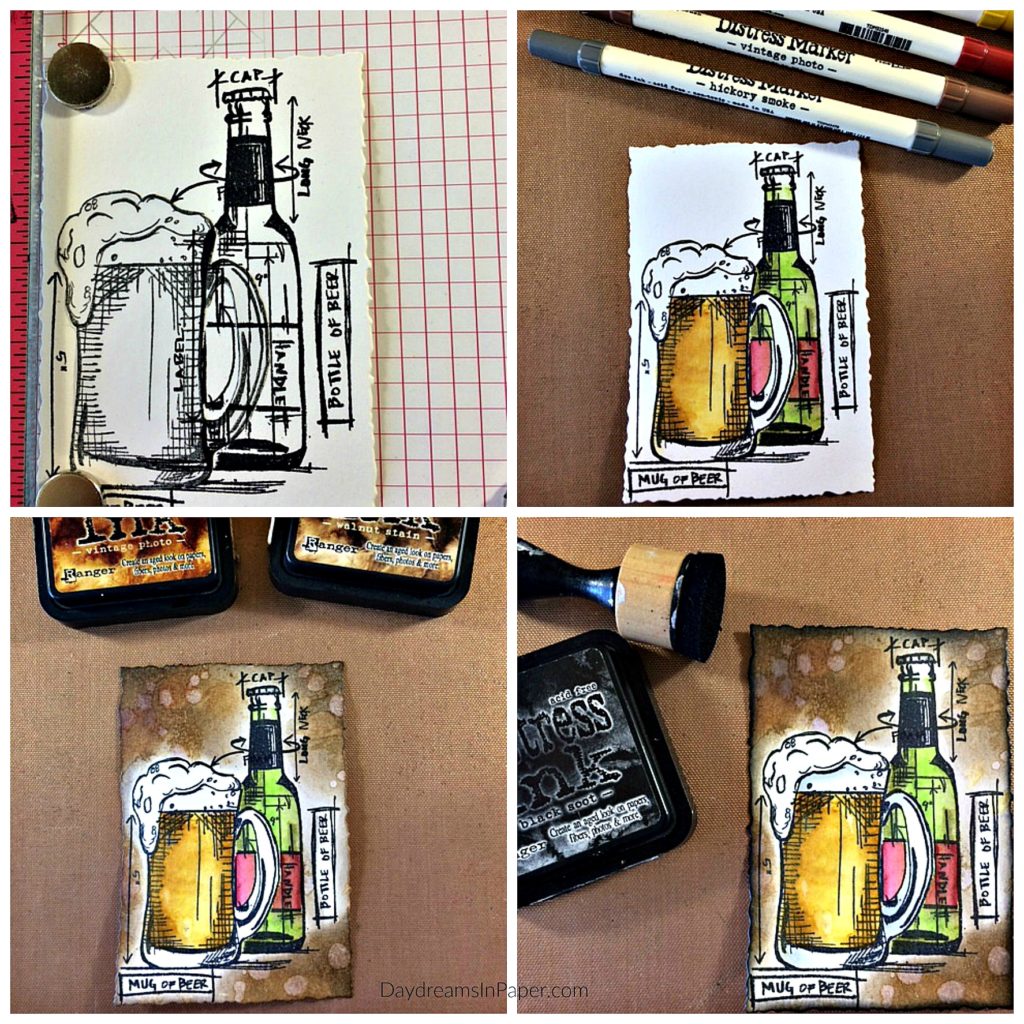
Remove the mask and color the images with Distress Markers. Ink the edges with Vintage Photo and Walnut Stain Distress Ink using a mini ink blending tool. Sprinkle water over the edges and lift off ink with a dry cloth. Lastly, gently go over the edges with Black Soot Distress Ink.
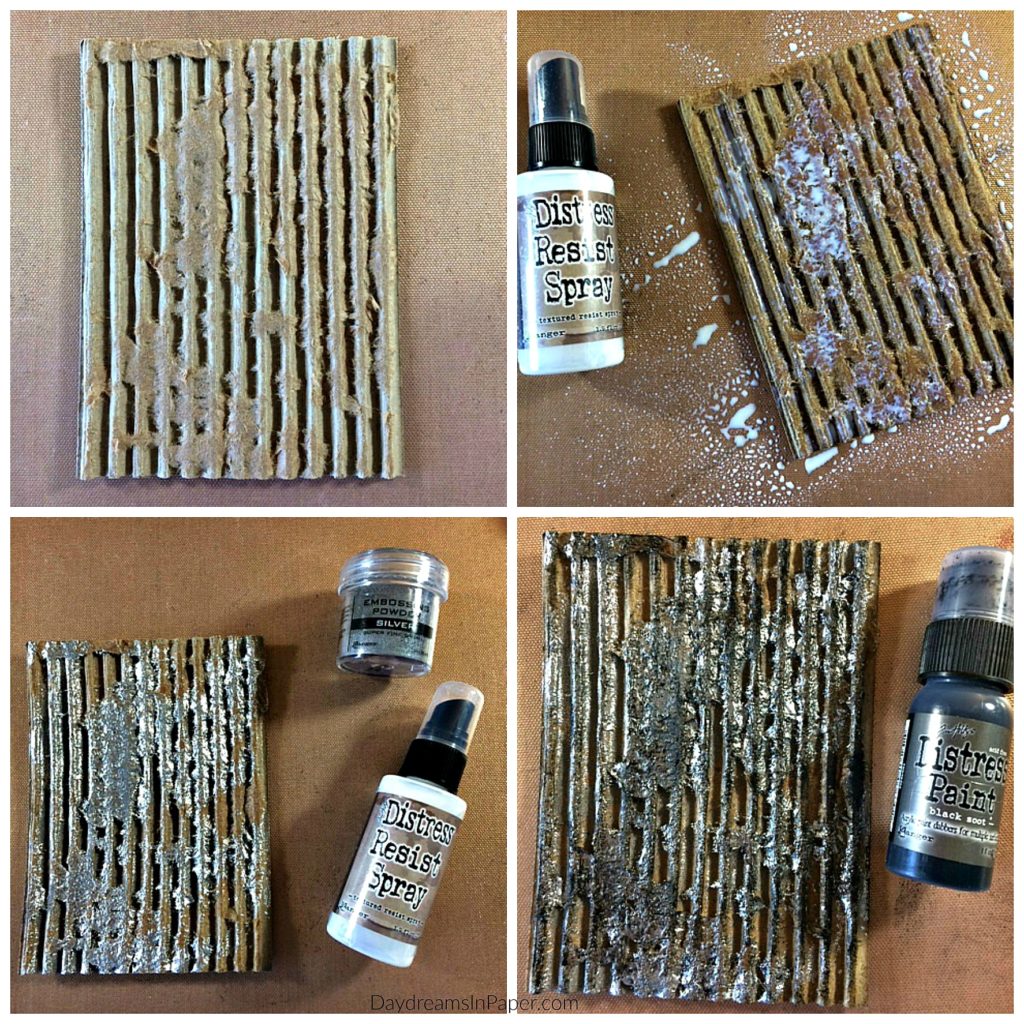
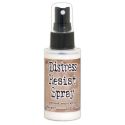
To create the panel directly beneath the main focus panel, I use an old cardboard box. I cut a piece of the box and tear off the top layer of paper to expose the corrugated section. I spray the corrugated panel with Distress Resist Spray in random areas and quickly sprinkle on Ranger Silver Embossing Powder. I heat the embossing powder with a heat tool and allow it to cool. When the panel is cool, I edge the piece with Black Soot Distress Ink.

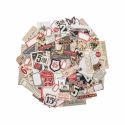
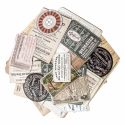
To finish the card, I adhere the main panel onto the corrugated panel and stick a piece of Tim Holtz Ephemera between the layers. I adhere those panels to a piece of Simon Says Stamp Schoolhouse Red cardstock, a piece of Tim Holtz Dapper cardstock and then finally onto a panel made from Simon Says Stamp Black cardstock. I paint two Tim Holtz Metal Stars with Fired Brick and Aged Mahogany Distress Paint and allow that to dry. I then go over the top of the stars with Brushed Pewter Paint. I add a couple of pieces of Ephemera to the top left corner of the card from the Tim Holtz Snippets ephemera pack and the word “celebrate” spelled out from the Tim Holtz Label Letters sticker set.
I hope you enjoyed seeing how I put this masculine card together and that you are inspired to play with this fun stamp set. Thanks for stopping by and have an awesome weekend!














Cathie this is such a cool card – thanks for the step outs so I could see how you did it. I gotta try that background.