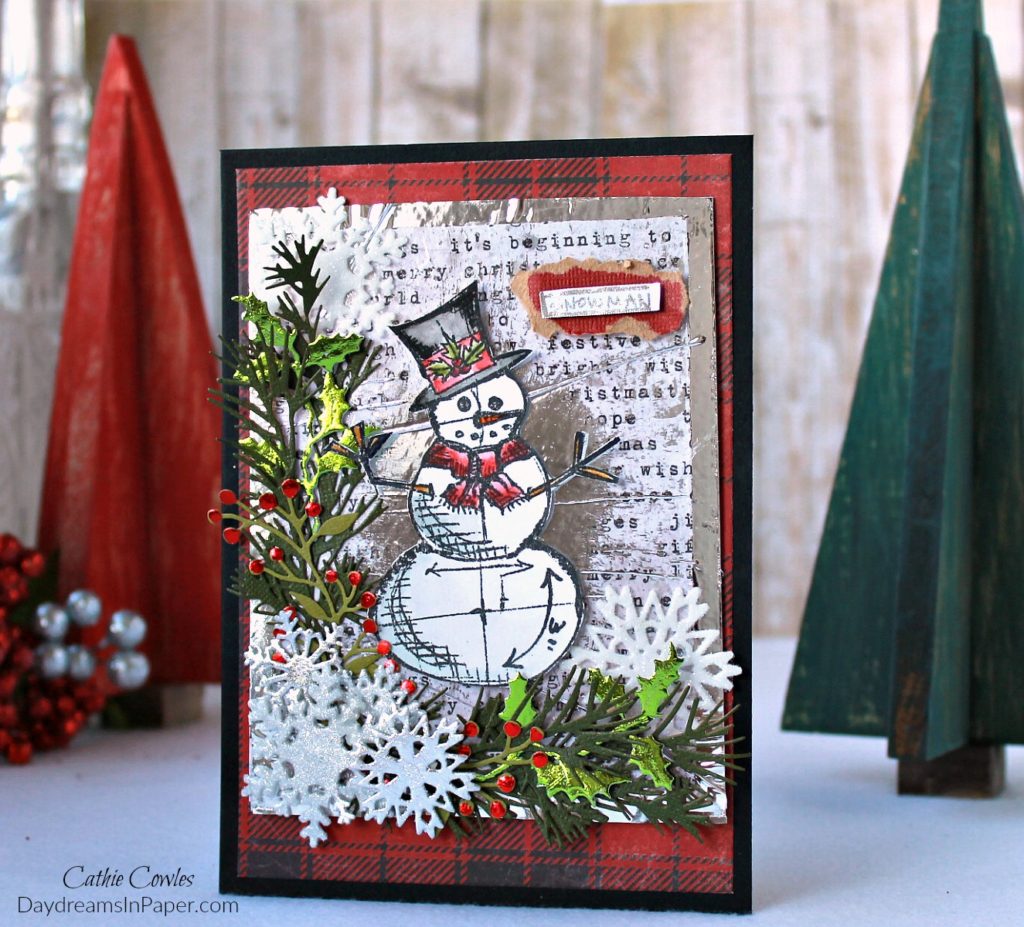
Hi Friends! I hope you had an awesome weekend and that you’re ready for a new challenge on the Simon Says Stamp Monday Challenge. This week our challenge is, Tear It Up. I chose to adhere my sentiment to a small torn piece of Kraft-Core cardstock but my tutorial this week focuses on how to use Deco Foil on mixed media projects. I’ve used several different products and tried to use them in ways you may not have seen them used before. I hope you like what I’ve created using these gorgeous foils and that you give them a try on one of your next projects. Enjoy!
Also, did you see our guest designer’s project last week? It was amazing! Please check out Suman Pandit from Imagine Create Art, you’ll be so glad you did. She’s awesome!
Creating a Deco Foil Background Using the Negative
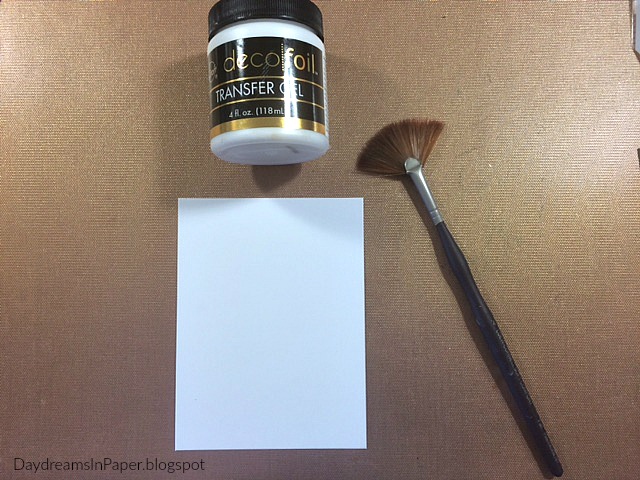
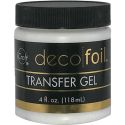
Using a fan brush, spread a small, thin amount of Deco Foil Transfer Gel along the edges of the cardstock piece sweeping the gel toward the center. Allow the gel to completely dry. The gel is white when applied and as it dries it turns clear and will be very sticky to the touch. (FYI: You can let this sit for days and come back to it later and it will still foil wonderfully.)
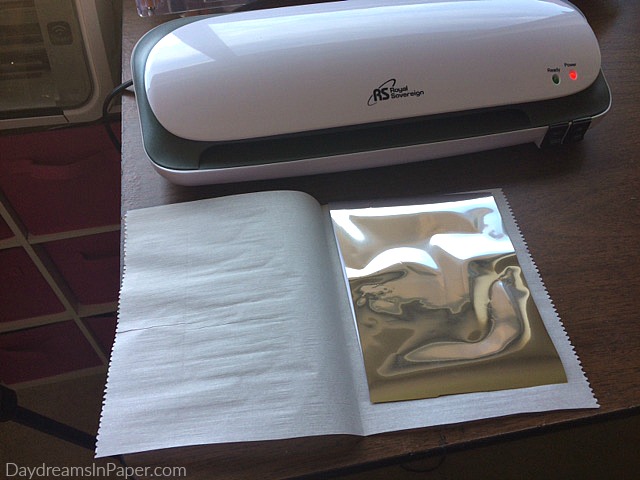
To begin foiling, make sure your laminator is very hot and that the gel you applied to your cardstock is completely dry. You will need to make a sandwich for the foiling process. Cut a piece of parchment paper folded in half and large enough to completely cover the piece that’s being foiled when folded over. On the right side, lay a piece of plain white cardstock the same size or larger than the background piece. On top of that, place the gelled cardstock piece with the gel side facing upward. Place the foil, pretty (shiny) side up, over the gelled cardstock piece. (Note: I wanted creases and crinkles in my background so I allowed the foil to fall on the gelled cardstock without worrying if there were bumps or creases. If you want a smooth background, make sure to apply the foil slowly with no bumps or creases.) Fold the parchment paper on the left over to the right side and you’re ready to foil. Now run the sandwich through the laminator.
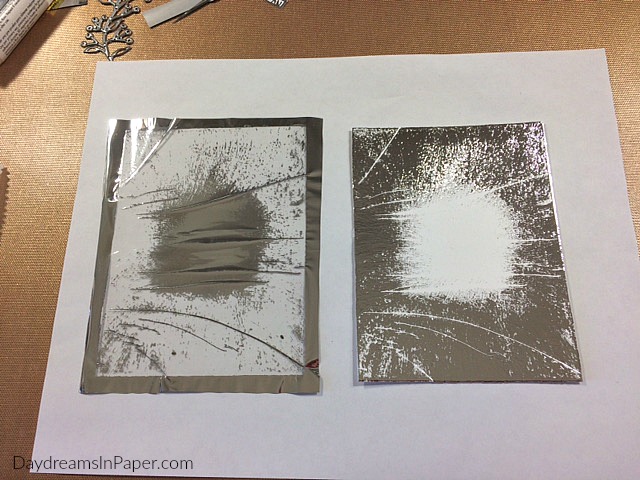
This is what I had after pulling the foil away from the gelled cardstock. I have the foiled cardstock and I have the actual piece of leftover foil. I will be using the leftover piece of foil. (Don’t throw the foiled cardstock piece away! You can use this on another project.)
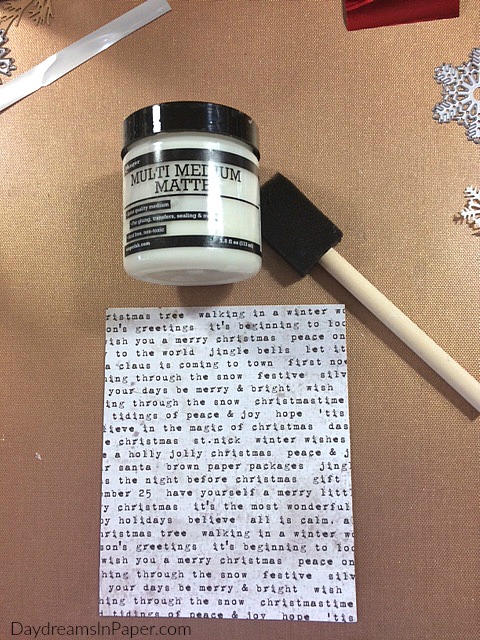
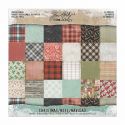
Next, cut a piece of cardstock from the Tim Holtz Tidings paper stash and apply a thin layer of Ranger Multi Matte Medium over the entire piece.
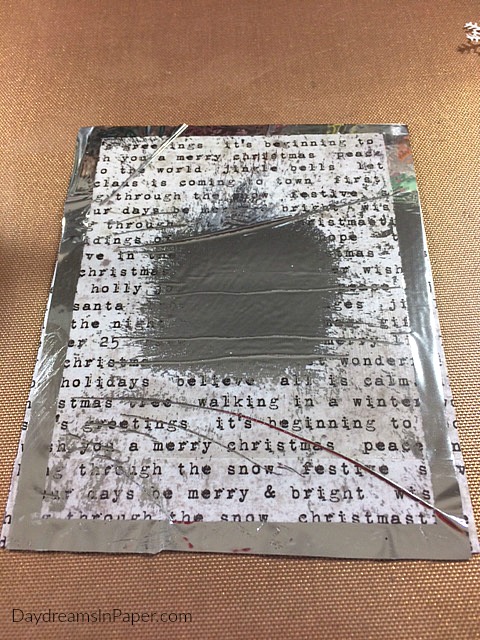
While the glue is still wet, gently lay the foil negative over the glued cardstock. Again, I’m not worrying about creases or bumps, this is exactly what I want for my background. I set it aside to completely dry and move on to other elements of my card.
Foiling Small Die Cut Pieces
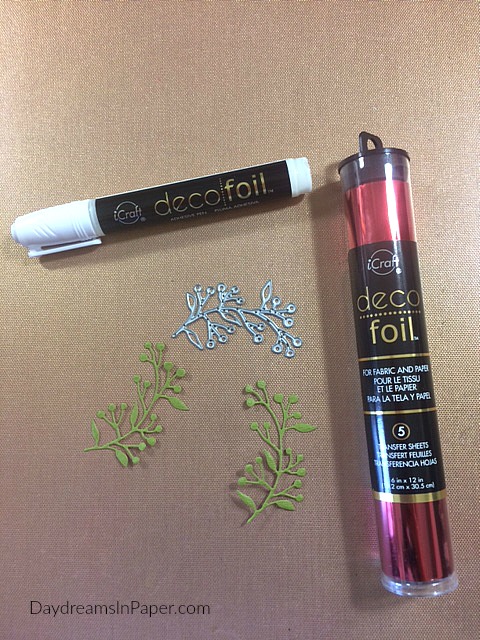
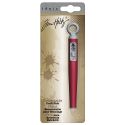
To add foiling to small die cut pieces, you will need a Deco Foil Adhesive Pen and colored foil of your choice. Here, I’m using Red Rouge Rojo Deco Foil.
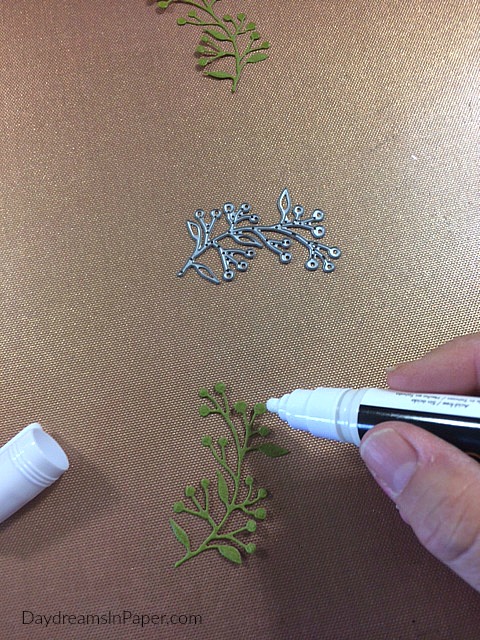
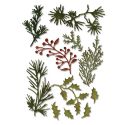
Apply the adhesive glue to the berry parts of the die cut.
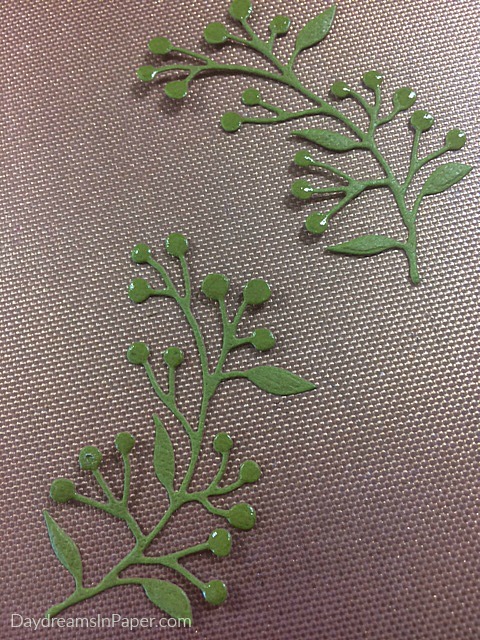
The glue will go on white and turn clear as it dries. Make sure the glue is completely dry before foiling.
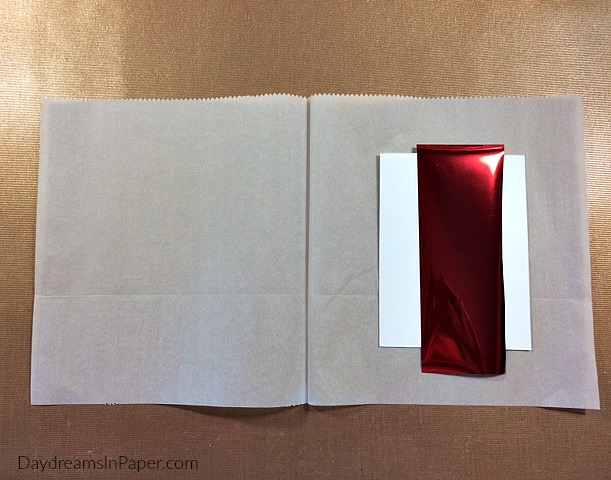
Create the same type of sandwich as created for the background piece, parchment paper, piece of plain white cardstock, die cut pieces with the glue side facing upward and pretty sided foil piece facing upward. Fold the parchment paper over and you’re ready to foil.
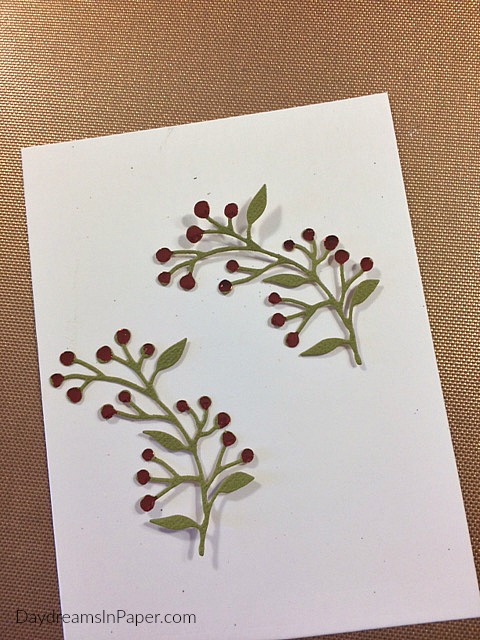
Here are the finished leaves with berries. The berries are so shiny and pretty but unfortunately the lighting didn’t pick this up. (You can see how pretty it is on the finished card.)
Creating Foiled Die Cut Pieces with Deco Foil Foam Adhesive
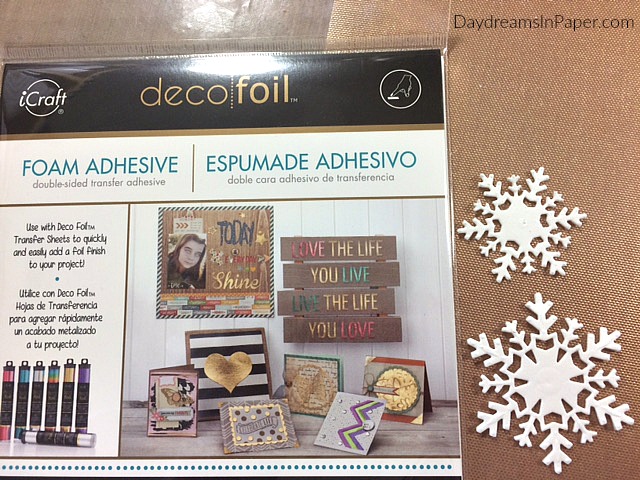
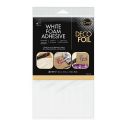
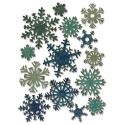
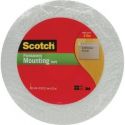
Using Deco Foil Foam Adhesive, you can create beautiful die cut pieces to add to your projects. I’m using the foam adhesive to create some pretty snowflakes. Cut the snowflakes out of a Deco Foil Foam Adhesive sheet. Both sides of the foam piece have adhesive on them but only peel off one side of the paper from the snowflake to expose the adhesive.
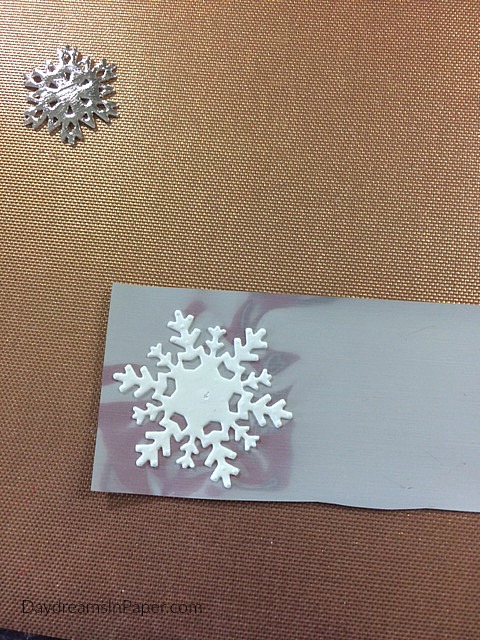
Adhere the sticky side to the gray (dull) side of the Deco Foil.
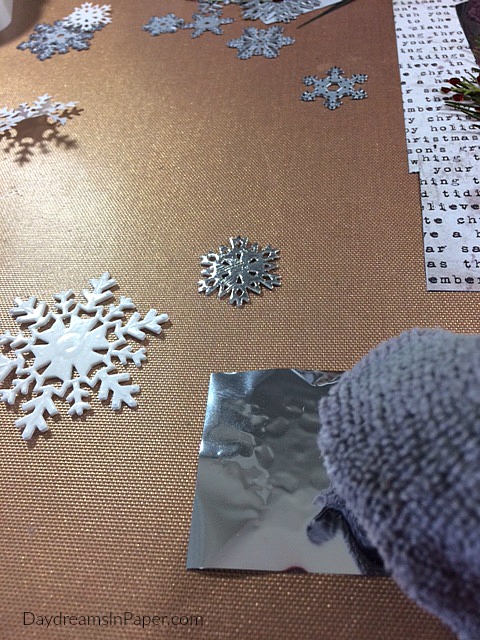
Turn the foil over to the shiny side and rub with a soft cloth over the entire snowflake. Apply a good amount of pressure when rubbing over the foil and then gently peel away the foil from the snowflake.
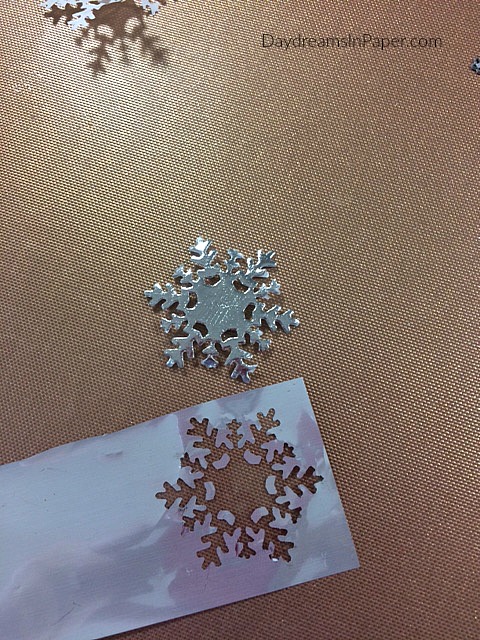
Here is the result. Isn’t it beautiful!
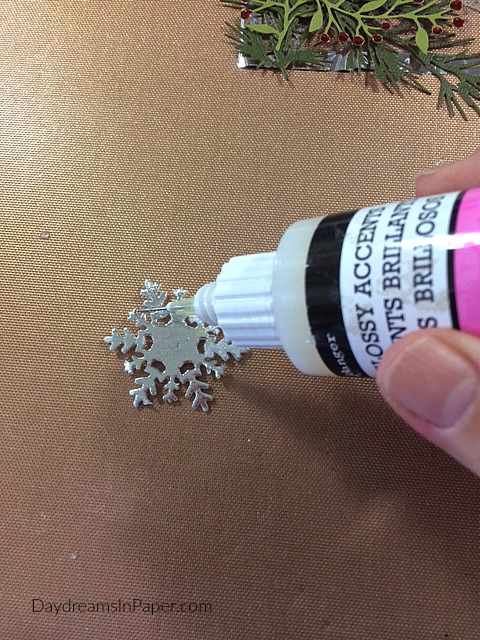
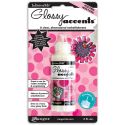
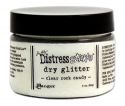
I want a variety of snowflakes on my project so I will leave some of them just foiled but for others, I add a bit of Glossy Accents to the edges and sprinkle Tim Holtz Clear Rocky Candy Dry Glitter over the glued areas. The combination of silver foil and glitter is so pretty.
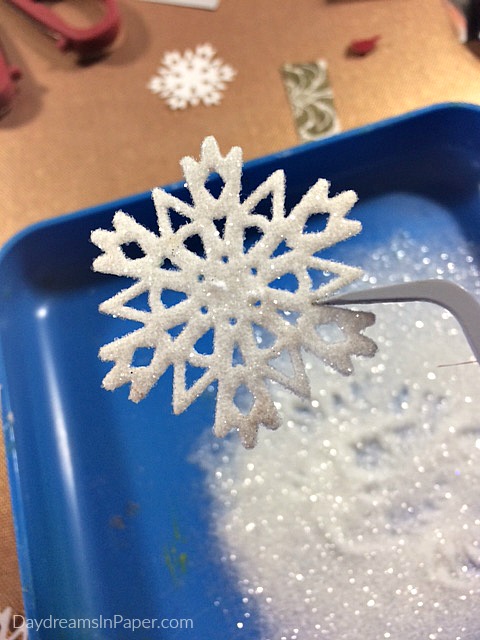
For this snowflake, I cut it out of the Deco Foil Foam Adhesive and instead of foiling it, I sprinkle Clear Rock Candy Dry Glitter over the adhesive side. I love it, it’s so pretty and glittery!
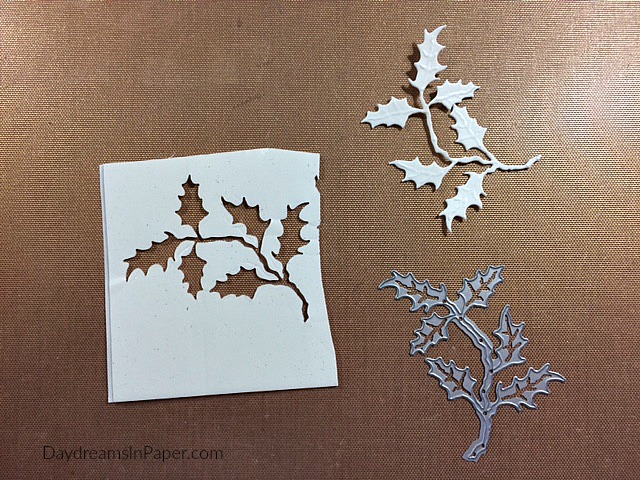
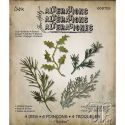
I also want different types of greenery for the card, so I cut some of the leaves from Kraft-Core cardstock and some from a Deco Foil Adhesive sheet so I can create foiled leaves.
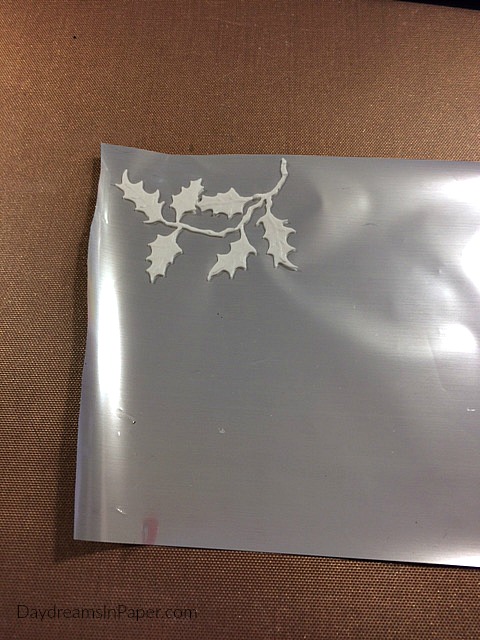
After cutting the leaves from the Deco Foil Adhesive Sheet, I peel off one side to expose the adhesive and place the sticky side down on the gray (dull) side of the foil.
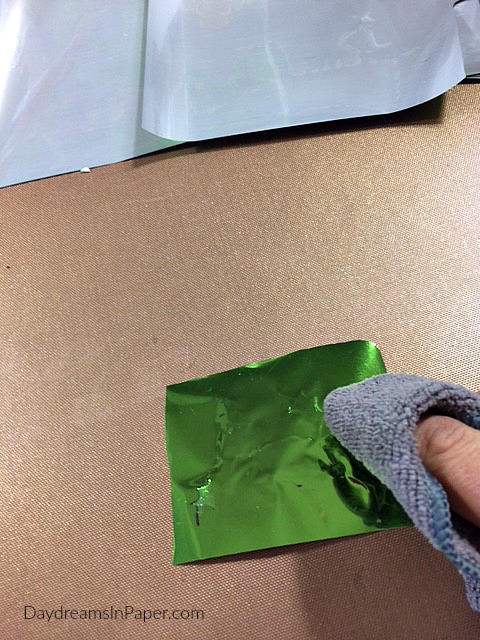
Turn the foil around to the pretty side and rub over the leaves with a soft cloth. Apply a good amount of pressure when rubbing over the foil and then gently peel away the foil from the leaves.
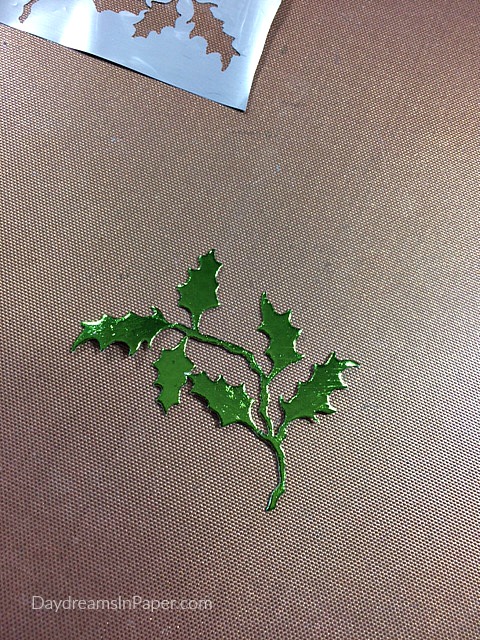
Here are the gorgeous results!
Here are some close-ups of my card.
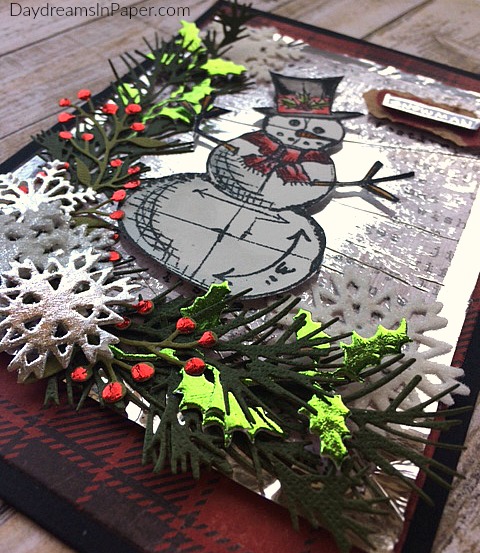
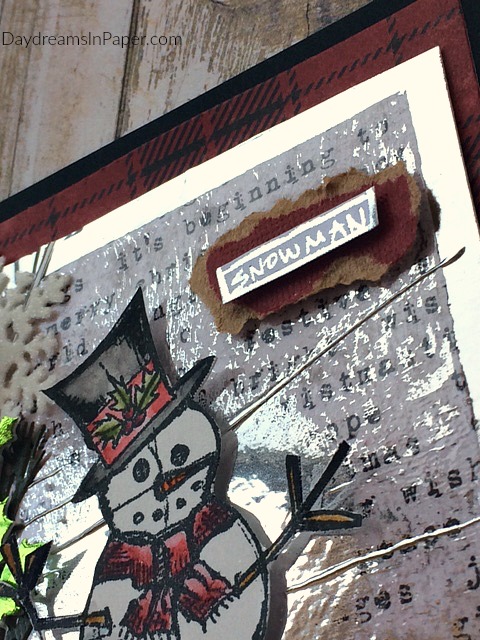
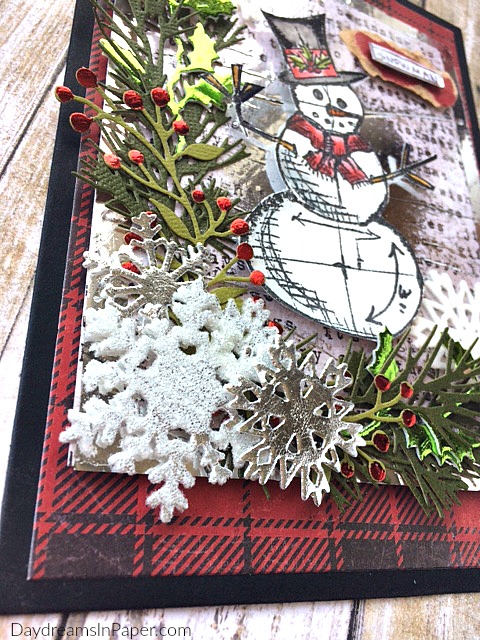
And again, the finished card.

I hope you enjoyed seeing how I used Deco Foil on my card. I have never used Deco Foil before and wasn’t sure if I would like the results for mixed media but I can tell you emphatically that I love the results. When mixed with the other elements like patterned paper, colored cardstock and even glitter, this foil is amazing.
Remember to link your project to our challenge and you could win a $50 gift voucher to Simon Says Stamp.
&nb









Pingback: Simon Says: Tear It Up - Simon Monday Challenge Blog
Gorgeous panel Cathie! my fave snowman and the foiled and glittered details are fabulous! I just love the whole design of this, absolutely stunning! 🙂
Happy Birthday!! I hope you’re having a wonderful day 😀
luv
Lols x x x
OMG! You’re impossible! I love all the things you made with the foli and each technique you showed me. What a fabulous effect on the backgroung, the stars and the leaves. Amazing! Hugs, Marzena
Awesome snowman Cathie! Love the snowflakes and greens you added in with your cutie! hugs, Maura
this is such a gorgeous card!! Thanks so much for sharing the techniques for the foiling too.
Wow, what a stunning card! The way you created the background is amazing, I love how you used the cardstock and foil negative 😁. The snowman stamp is one of my favourites and on my wish list, and you created so much detail with all the embellishments – beautiful! Wishing you a Happy Friday and Weekend! J 😊
Holy cow times a million! Where do you learn all of these amazing techniques? I feel like I get stuck in a rut with my creations, but you are always trying or inventing something new and awesome. I admire that about you and adore the way this turned out! WOW!
fabulous card Cathie, I adore your tutorial. I’ve Deco foil but I never used it, now I want to try, absolutely I want to try! Thanks so much to share your tips! barbara
What a gorgeous card, Cathie and I love all the layers and how you’ve used the Deco foil to create that touch of opulence and sparkle! It’s fabulous as always… <3
Your card is wonderful!!! I love how you created the background. I haven’t done that with foil yet, but I will.
This card is so beautiful Cathie! And I really love all the foil touches. What a great idea to glue down the left over foil sheet. I have a bunch of those from old projects.
This is such a gorgeous Christmas card! Cathie. I love the beautiful background and those fabulous snowflakes and leaves. 🙂
beautiful card Cathie, love the foil, that gorgeous blueprint snowman and gorgeous festive greenery…hugs kath xxx
What a stunning card, Cathie! Love all the foil elements, it gives it so much, and it’s really pretty! Hugs, Sandra
WOW, this is SO CREATIVE! love the way you created this card, and thank you for the step by step image, this made me want to take out all my foils and play !!!