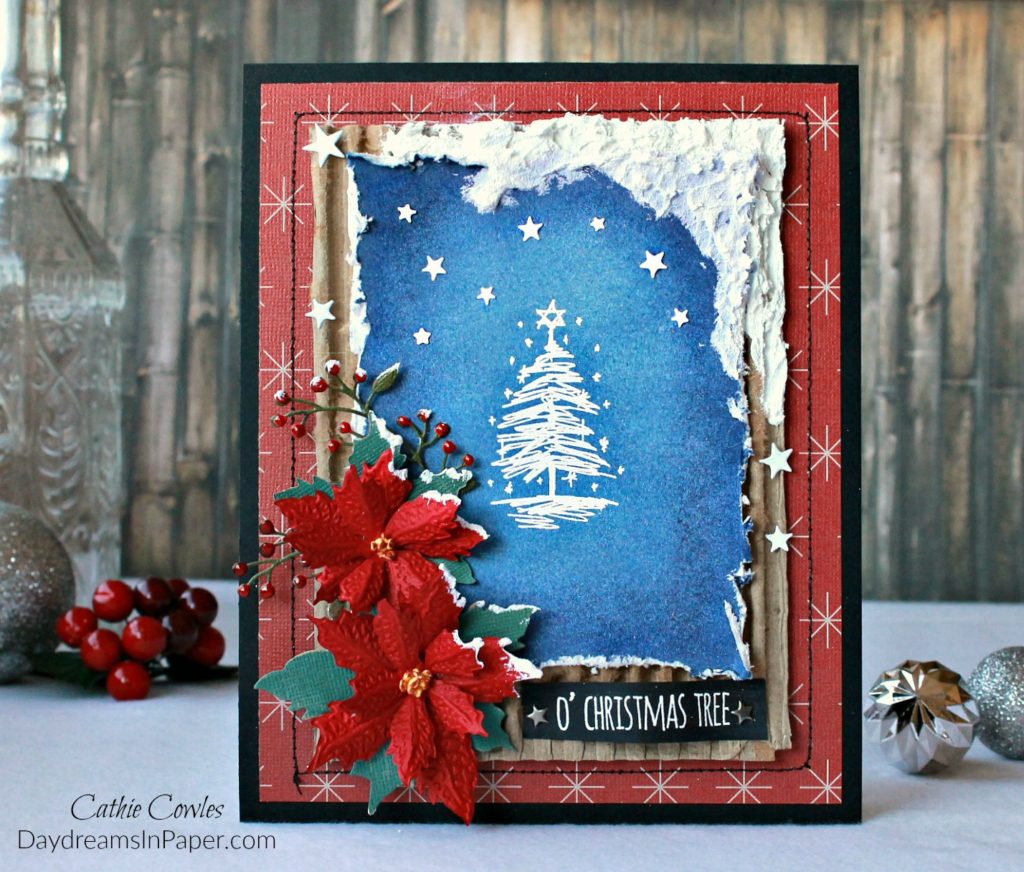
Hi Friends! I hope you all had a wonderful and restful Thanksgiving and now you’re ready to pick up those art supplies and join us in our latest Simon Says Stamp Monday Challenge. Our theme this week is, Star Light, Star Bright. I created a lovely Christmas snow scene using some flower and greenery dies, Ranger Grit Paste and a couple of stamps. I have to confess, while I was creating my project this week I only took one picture of the process and forgot to take photos for the remaining steps which I usually do every week. Well, I have a good excuse for my mind being somewhere else. My son and daughter-in-law are expecting their first child, my first grandchild, and they were at the hospital for a procedure to try to turn the baby. My thoughts were on them and I completely forgot to take photos along the way. I took some close-up photos and will try to explain as I go along with those photos. Enjoy!
Also, please join me in thanking Suman Pandit from Imagine Create Art for being an awesome guest designer this month. She did an amazing job! She’s so talented and I loved all the projects she shared with us. Stop by and send her some love.
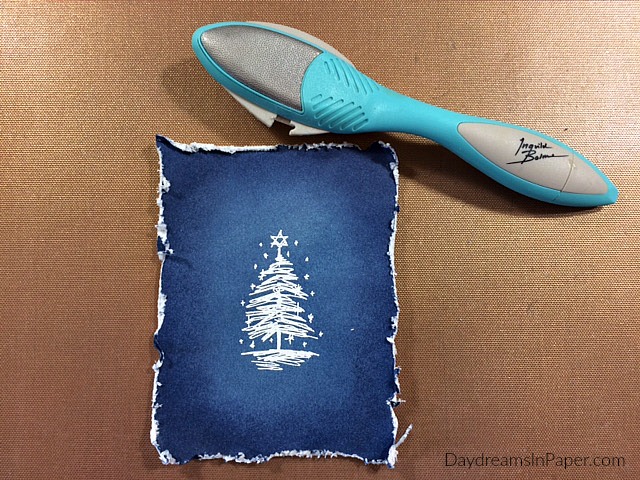
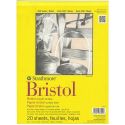
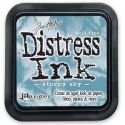
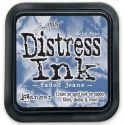
I begin with a 4-1/4″ x 5-1/2″ piece of Bristol watercolor paper and ink the entire panel with Broken China Distress Ink. I blend the ink all the way to the center of the panel. I then add Stormy Sky, Faded Jeans and Chipped Sapphire Distress Inks, in that order, toward the center. I stay closer to the edges as I use darker colors.
I allow the inks to completely dry because I will be using embossing powder and if the ink isn’t completely dry it will stick to them and not just the stamped image.
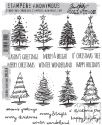
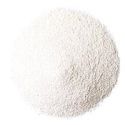
Test to see if the inks are completely dry by sprinkling embossing powder over top. If the powder sticks, the inks are not dry enough to add the embossed image. If the embossing powder falls off, the panel is ready for the embossed image. Using VersaMark Ink I stamp one of the Christmas trees from the Tim Holtz Scribbly Christmas stamp set and sprinkle on Hero Arts White Embossing Powder. I set the image with a heat tool and then distress the edges.
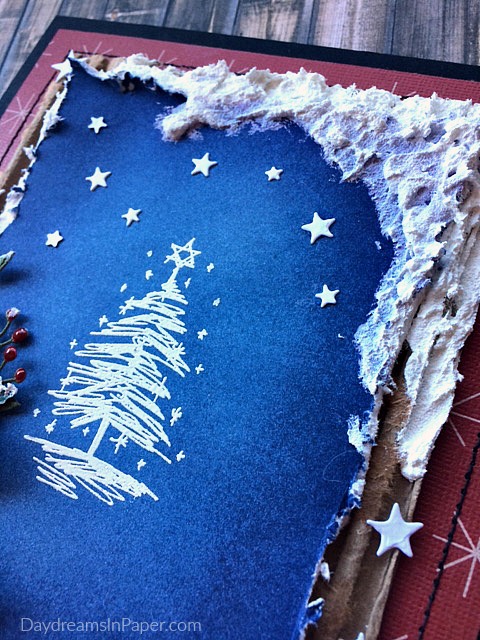
I adhere the Christmas Tree panel to a piece of corrugated cardboard and use Ranger Grit Paste to add “snow”.
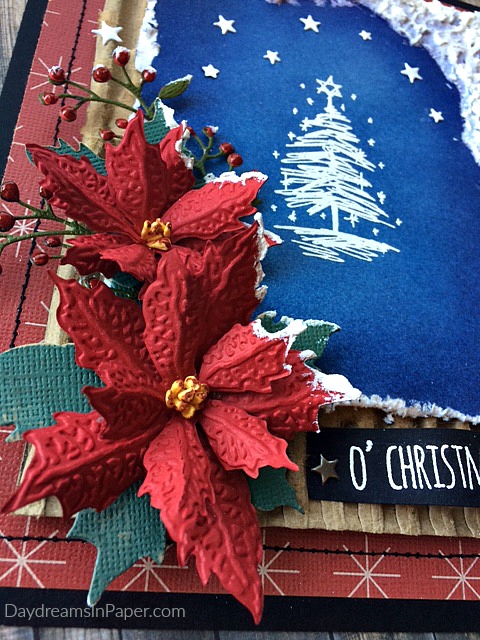
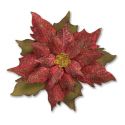
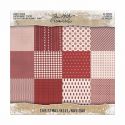
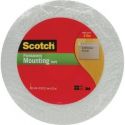
I stitch together a piece of cardstock from the Tim Holtz Christmas Kraft-Stock to a piece of Simon Says Stamp Black cardstock and adhere the two panel pieces together with 3M foam tape. I add some poinsettias I created from the Tim Holtz Layered Tattered Poinsettia die and embossing set and add a little snow to the edges on one side.
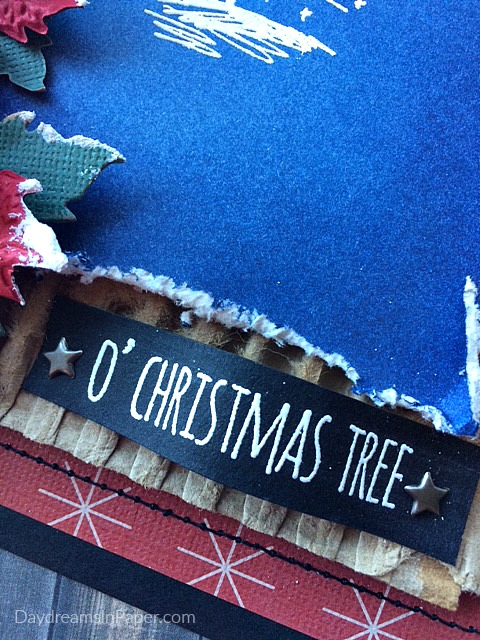
I add a sentiment from the same stamp set onto a piece of black cardstock and adhere it to the bottom of the corrugated cardstock with Tim Holtz Star Fasteners. (I completed this step before I adhered the two panels together.)
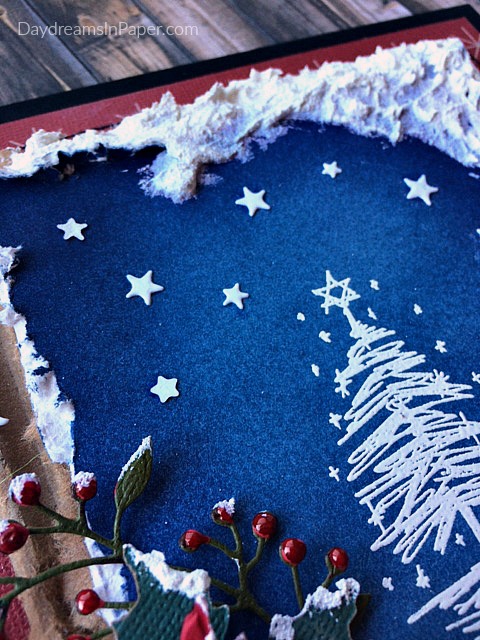
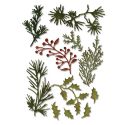
I add some greenery with berries and added a little snow to them.

I add some stars from the Tim Holtz Witchcraft die set along the edges and around the tree. I think it adds a magical element to the card.
I hope you enjoyed my project this week and again please forgive me for forgetting to take step photos. I’ll let you know when my first grandchild arrives! Thanks for sticking with me to the end, I really appreciate it! Don’t forget to link your project to our challenge and you could win a $50 gift voucher to Simon’s awesome store. Have an awesome week.












Wonderful composition, Cathie! Love it!
Pingback: Simon Says: Star Light Star Bright - Simon Monday Challenge Blog
Gorgeous card Cathie 🙂 the little tree is super cute and I love the way you framed it, the poinsettias and all the textures are fabulous! Very lovely 🙂
luv
Lols x x x
Gorgeous Card Cathie !! adore the little tree and the whole design and colors of the card !! thank you so much for all your lovely comments on my blog this November !! Hugs !!
this is a beautiful card Cathie! That blue background is stunning. Thanks for the tip on letting it dry completely before embossing.
Great mix of colors. All are deep and dark but you brightened them perfectly with the snow. Love the main stamp, so delicate and fancy. Lovely details. Hugs, Marzena
Love the ripped, torn and curled edges to your card, – it adds so much, Cathie! Lovely dimensional snow, and gorgeous colors! Maura
This is so very beautiful Cathie! I just picked up that Prima tool and love it! I really love your traditional color scheme and gorgeous poinsettias. Hugs, Autumn
Your wintery scene is amazing! The blue background looks so tactile like fabric and the Grit Paste worked beautifully to create the snow 😁. Those poinsettias are so pretty too! Wishing you a happy weekend! J 😊
A really beautiful card, the poinsettias are amazing and look so tactile and the colours you’ve used work so well together! Fabulous work as always, Cathie… <3
Love your fabulous holiday card, Cathie. The flower and the layered embellishments are so beautiful. 🙂
beautiful card Cathie, love the gorgeous scribbly tree as the focal point and those poinsettias are divine…hugs kath xxx
This is texture gorgeousness! You even did texture within texture on that beautiful poinsettia! I love your creative vision and how you did the grungy distressed edges on this.
Gorgeous card CAthie! love the simplicity of this background, in this way your tree is a wonderful focal point! Love the snow and the flowers!! Barbara
This is such a pretty card, Cathie! Love the cute Christmas tree and the poinsettias are beautiful! Hugs, Sandra
I absolutely love the ripped edge!!! Love love love it!