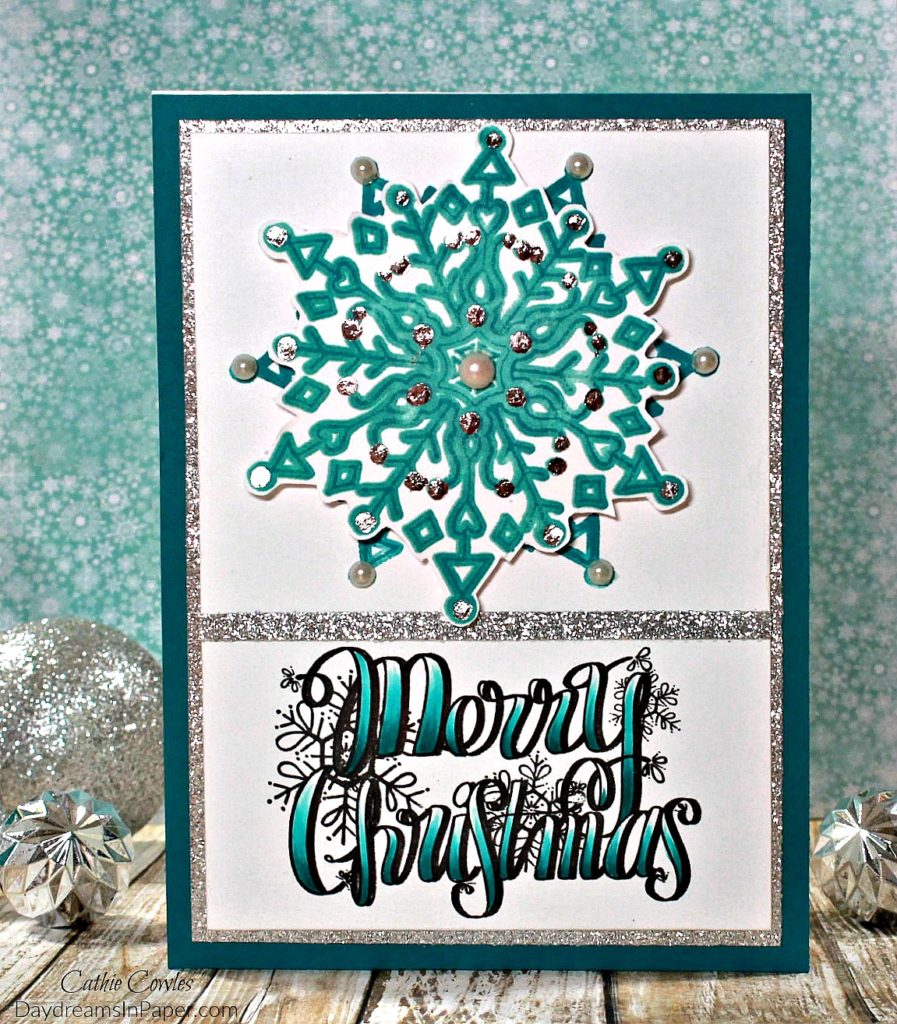
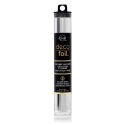
Hi Friends! I hope you all had a wonderful Thanksgiving and that you’re ready to get crafty. This week I created a card using a couple of Tammy Tutterow’s Christmas stamps. A beautiful large snowflake and Merry Christmas sentiment combined for a fun and sparkly card. I used Thermoweb Deco Foil to add sparkle to the snowflake and included a small tutorial on how I applied the foil. Enjoy!
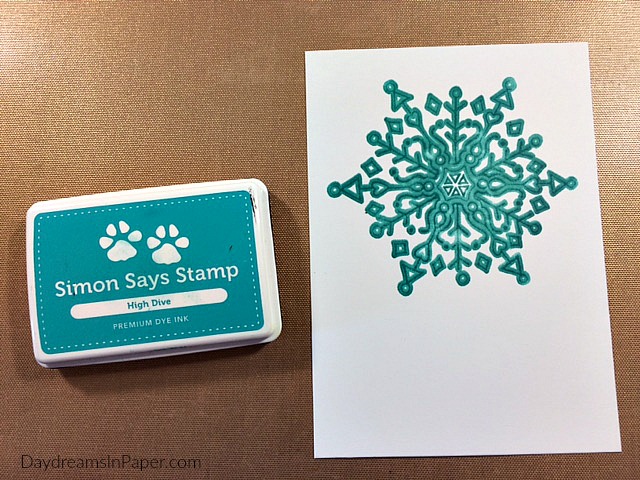
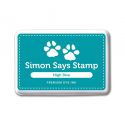
I begin by stamping the Tammy Tutterow Designs Snowflake stamp onto Neenah Solar White cardstock with Simon Says Stamp High Dive Premium Ink.
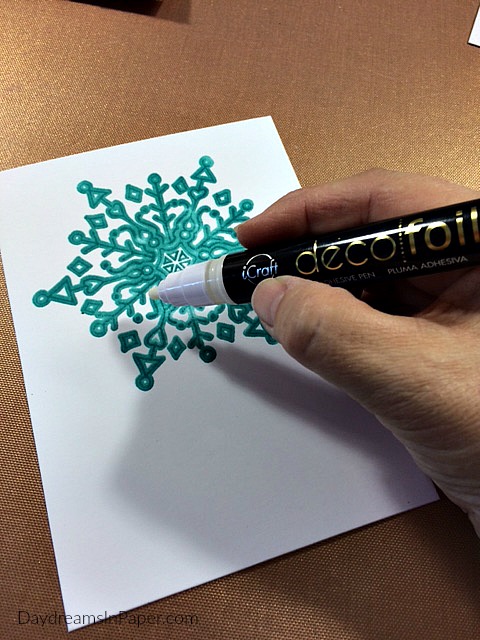
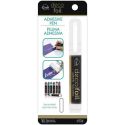
I add glue to the areas of the snowflake where I want there to be foil using the Deco Foil Glue Pen and allow it to completely dry which will take a minute or two. The glue goes on white and turns clear when it’s ready to foil. There is no special time frame once the glue is dry. It can sit for days before you foil the image but you do need to let it completely dry. It will be very sticky to the touch when ready.
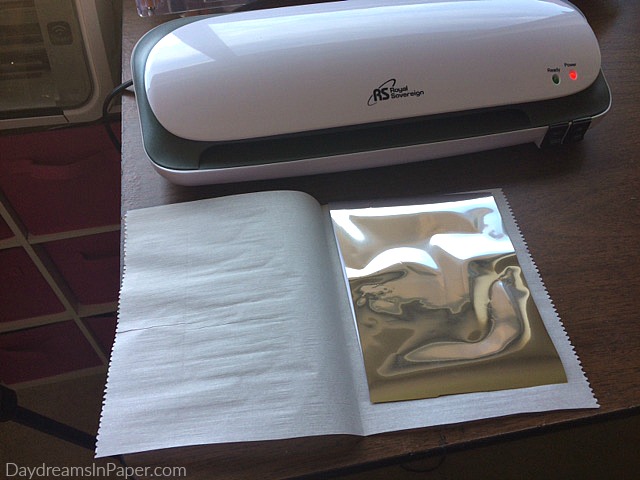
When the image is ready to foil, you need to make a sandwich before foiling using parchment paper, a piece of plain white cardstock, your stamped image and a sheet of foil. Create a folded piece of parchment paper as shown above. On the right side, lay down the piece of plain cardstock. On top of that lay your stamped image with the image facing upward and then gently lay the foil down on top of that with the pretty or shiny side facing upward. Fold the left side of the parchment paper over to the right side and you’re ready to foil.
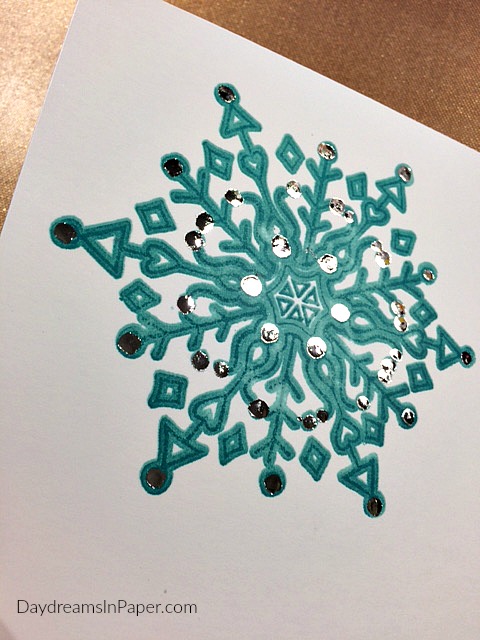
Here is the pretty snowflake after foiling is complete.
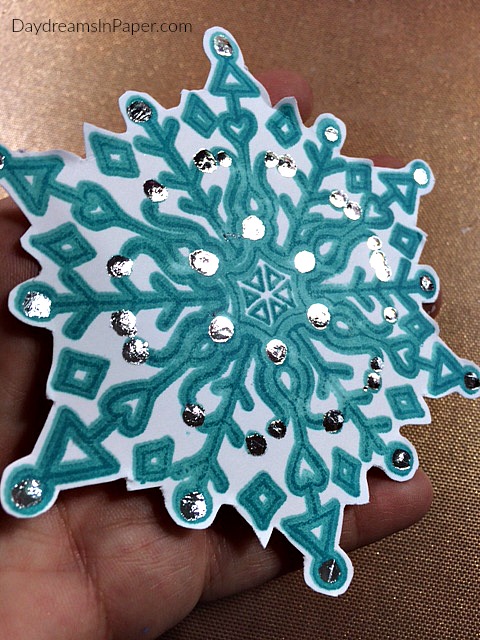
I fussy cut around the snowflake which will be adhered over another stamped snowflake for dimension.
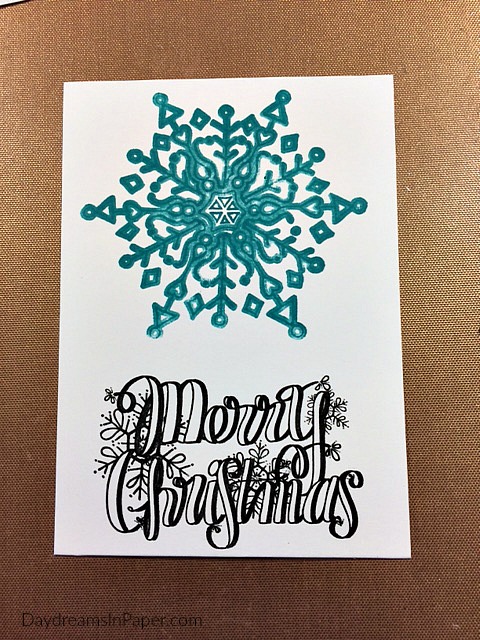
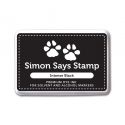
Now I stamp on another snowflake with the same Simon Says Stamp High Dive Ink and the Merry Christmas sentiment with Simon Says Stamp Intense Black Ink on a 4-3/4″ x 6-3/4″ piece of Neenah Solar White cardstock.
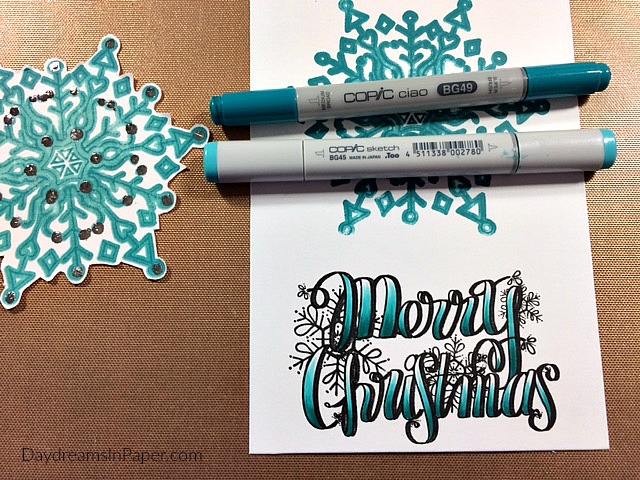
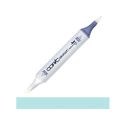
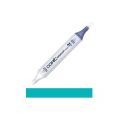
I color the Merry Christmas sentiment with Copic marker colors BG45 and BG 49.
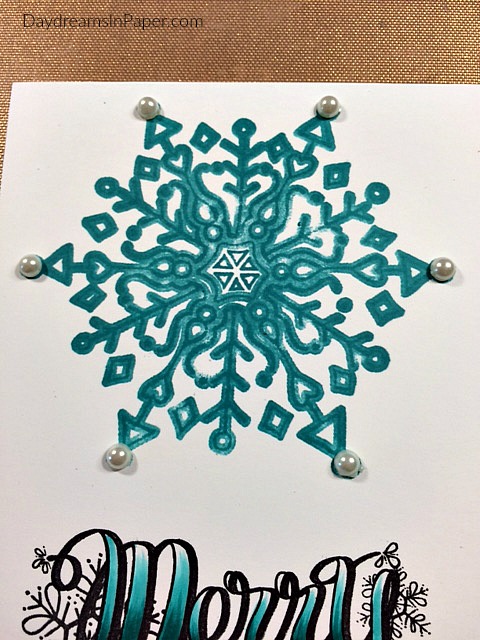
I adhere Hero Arts Pearls to the outer most parts of the snowflake.
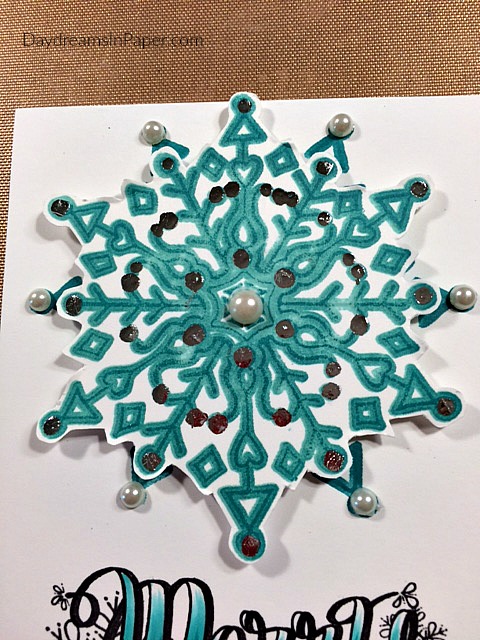
I rotate the Deco Foiled fussy cut snowflake and adhere it over top of the stamped snowflake.

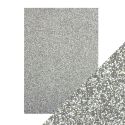
To finish the card, I add a strip of Tonic Silver Screen cardstock between the snowflake and the sentiment and also mount that panel onto a 5 X 7 piece of Silver Screen cardstock. I take that panel and adhere it to a 5-1/2″ x 7-1/2″ piece of blue/green cardstock and my card is done.
I hope you enjoyed seeing how I put together my card and that you’ll try this foiling technique to add shimmer and shine to Tammy’s beautiful stamps.







What a lovely effect the foiling gives to your card, Cathie! Thanks for showing us the process!
Cathie, I just love the color palette for this card! The foil accents give it a wonderful wintry feel! Thanks for the great tutorial, too! xo
This is gorgeous work Cathie! Love the colors~
Stunning card Cathie!! LOVE the technique and the COLOR!
This turned out just beautiful!!