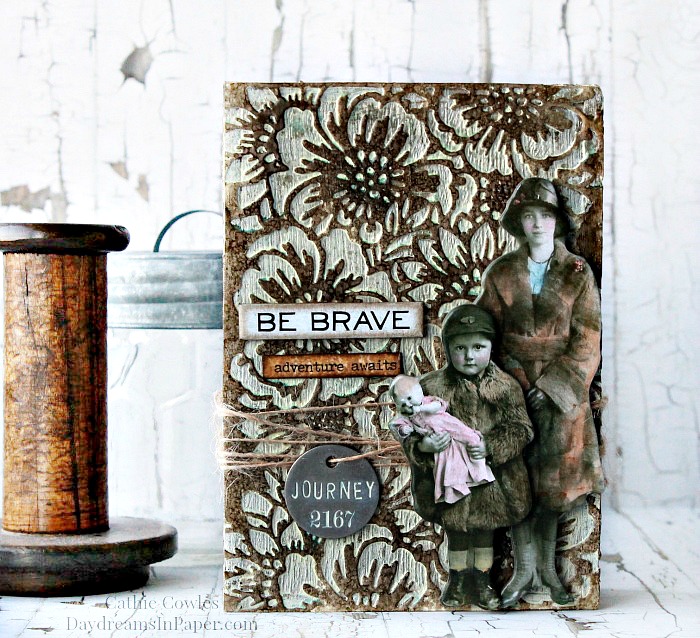
Hi Friends! I hope you are all having a great week. Today, I have a tutorial on how I created the faux etched wood for my Travelers Journal Vignette Box. You may have seen it on Tim Holtz’ Sizzix Chapter 1 Facebook Live. I can’t take credit for the design as it was given to me by the amazing Paula Cheney. I just put it together. I have step-by-step instructions below on how I created the faux etched wood design on the vignette box. This technique is one you may have seen a few months ago from Paula where she created gilded sides for her “Thanksgiving Tree” vignette box. The only difference between mine and hers is that I painted the entire box with gesso before painting. You can find Paula’s gilded technique tutorial here.
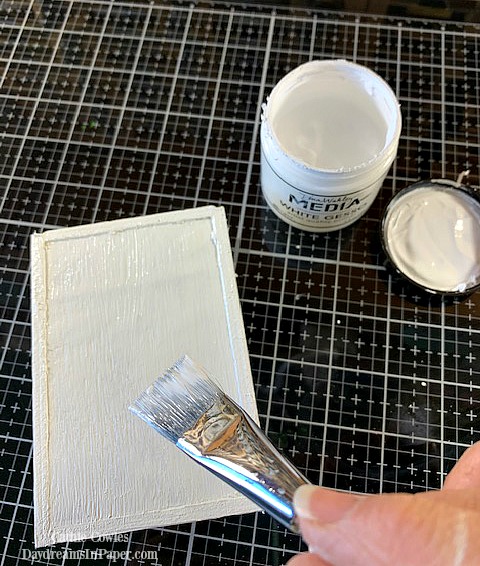
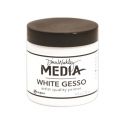
I begin by covering the entire box with a coat of white gesso because of the paint I selected. (By painting the box with white gesso first, it will allow the paint to stay on top instead of soaking into the wood. If you don’t use gesso, you will end up using twice as much paint to cover the box. The other reason is because it allows the true color of the paint you’ve selected to come through.) Allow the gesso to completely dry, before painting the box.
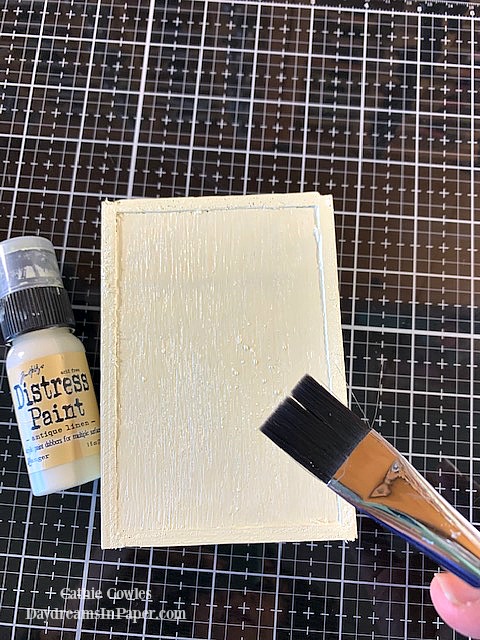
When the gesso is completely dry, paint the entire box with Antique Linen Distress Paint. Set the box aside to completely dry while you cut your die cuts.
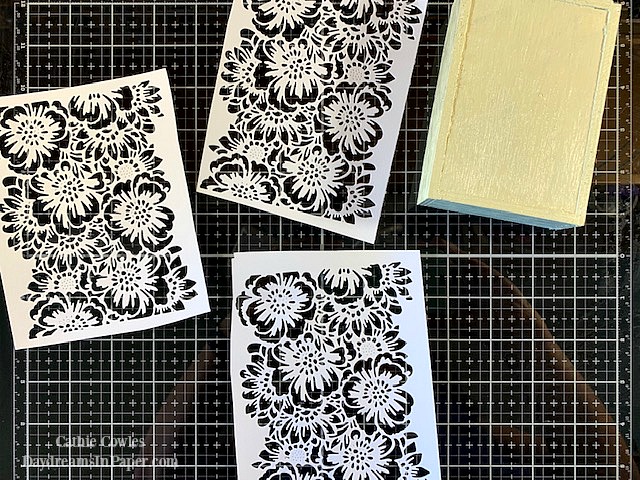
For this box you will need three of the bouquet die cuts to cover the box. Be sure to use mixed media paper for your die cuts. Regular cardstock will bubble and peel and will not hold up to the collage medium.
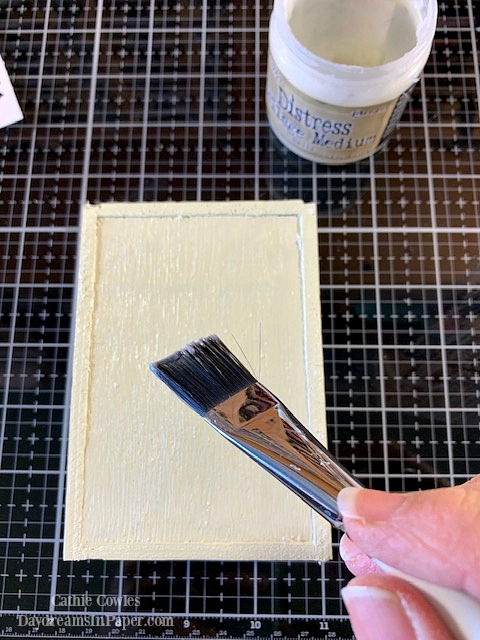
To apply the die bouquet design die cut, cover the front of the box with Distress Collage Matte Medium.
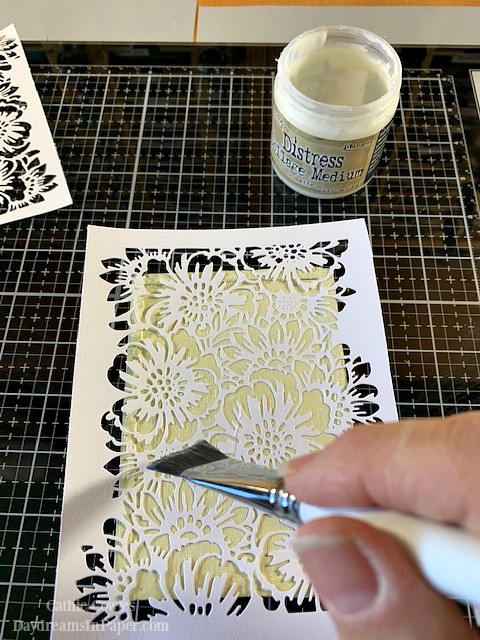
Next, lay the die cut over the front of the box and apply another coat of Distress Collage Matte Medium over the top of the design.
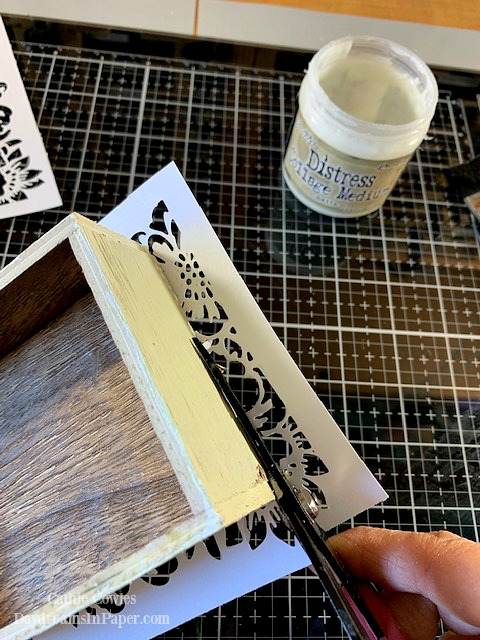
When the collage matte medium is dry, cut away the overlapping design following the edge of the box with a scissors.
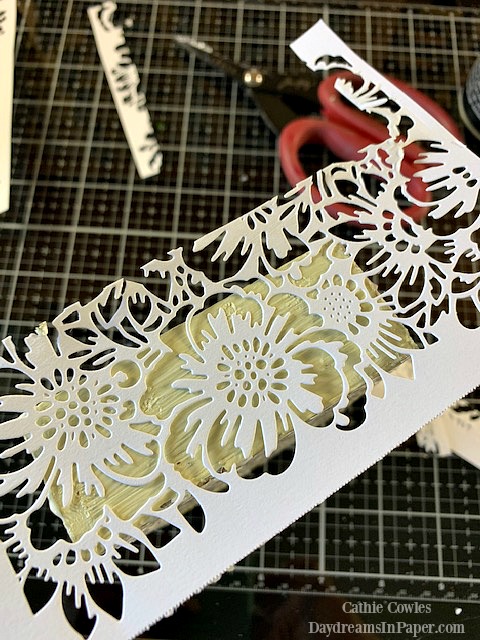
Now do the same with the top of the box and the left and right sides of the box.
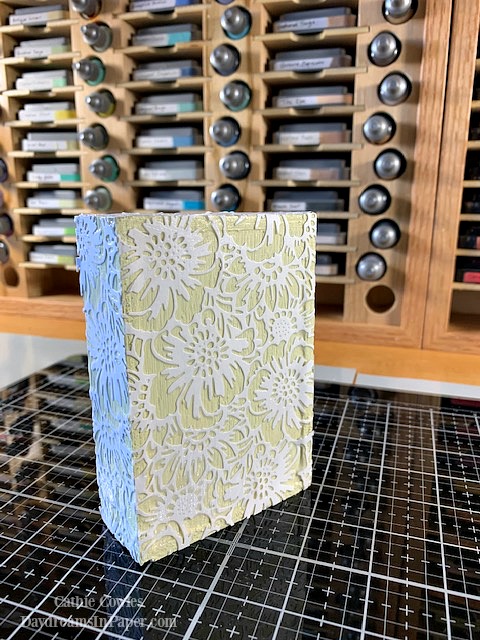
Now that all the sides, except the bottom, are covered with the bouquet die cut design, set the box aside to completely dry before moving on to the next step.
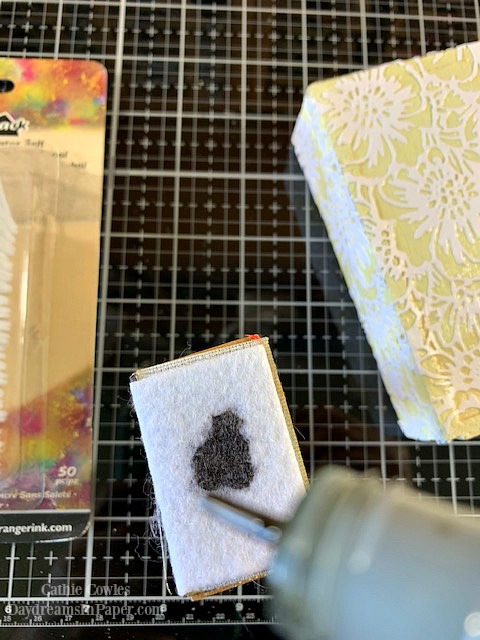
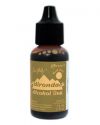
When the box is completely dry and all the collage matte medium is set, apply a small amount of Mushroom alcohol ink to the center of a blending tool and dab the ink onto the raised areas of the design.
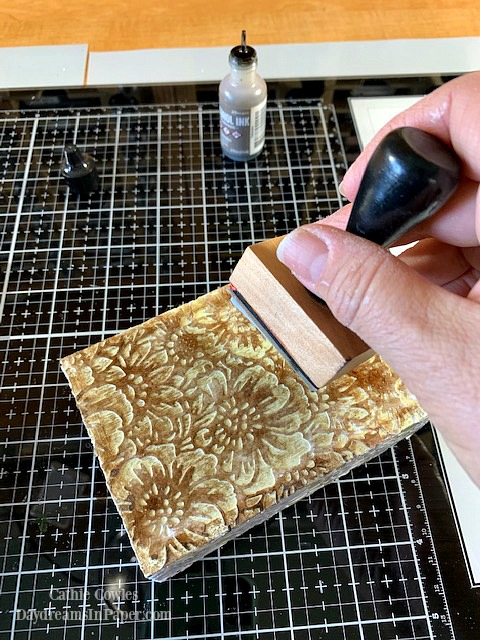
Use a pouncing motion to apply the ink. After applying the first coat, let it dry and apply more coats of ink until you are happy with the way it looks.
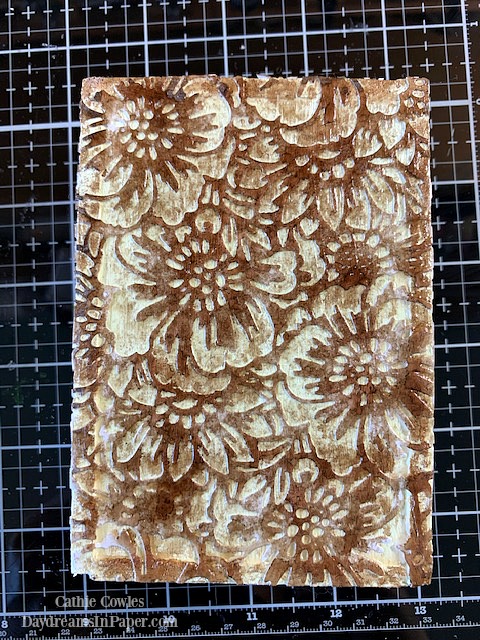
This is the box after two coats of Mushroom alcohol ink.
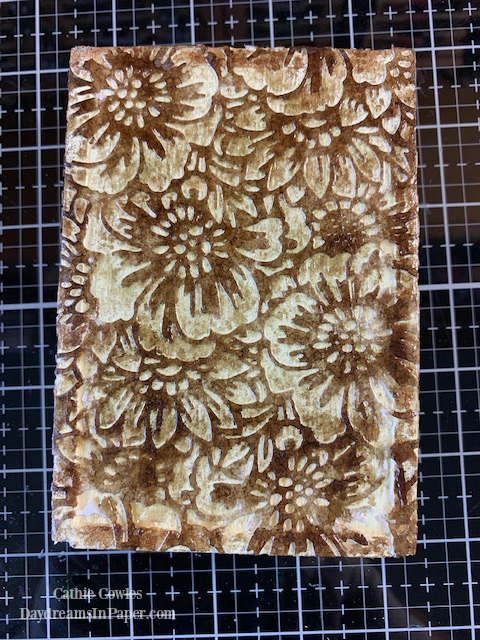
Here is the box with 3 coats of Mushroom alcohol ink. You can see the design darkening and really taking on an etched wood look.
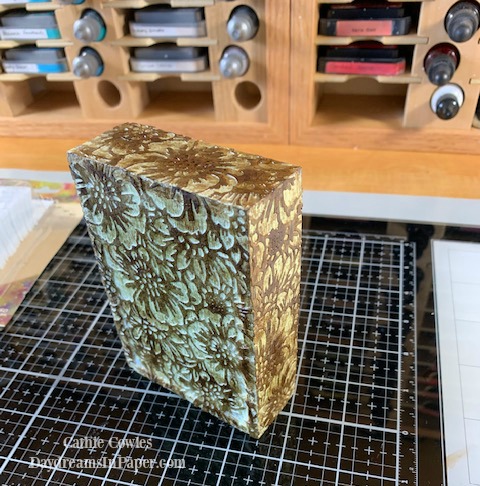
The vignette box completed and ready for some embellishments.

I hope you enjoyed seeing how I created the faux etched wood design for my vignette box and that you give this technique a try. It’s really fun! Thanks again Paula for all your help!!






This looks truly amazing! Such a beautiful box, I definitely will be experimenting with this technique. Thank you for sharing
I so love the Bouquet die and can hardly wait to get my hands on it. Fabulous technique, turned out great…does look like it’s been carved out of the wood…amazing!
Stunning. Thank you for the tutorial.
WOW !