
Hi Friends. I’m back with another exciting episode from my I Spy Series. This is Episode 2 and today’s project is all about Spring and creating a beautiful flower bursting out from the darkness of Winter. If you follow me on Instagram, you had a chance to try and guess which die I used by finding a clue on the card. The clue is written inside the “Original” stamp’s blank space. In the space is written CTN8TL4. The 8 and the 4 mean nothing but CTN TL is the clue. If you guessed the Tim Holtz Cottontail Bigz die, you’re right! When I saw this die for the first time I saw more than a bunny. Yep, I saw beautiful flower petals in those ears. I’ll show you below how to put it all together. Enjoy!
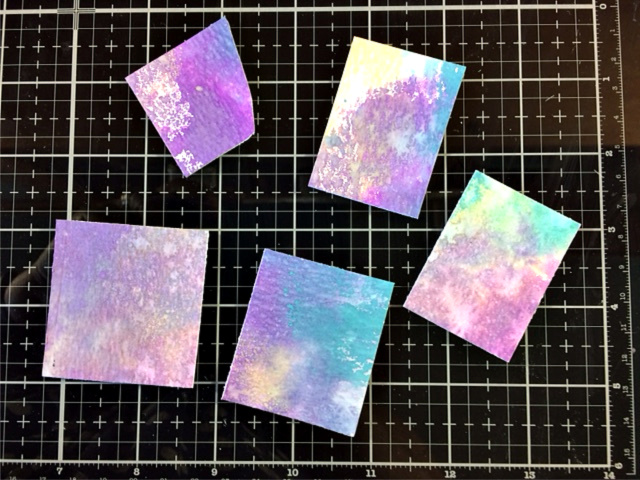
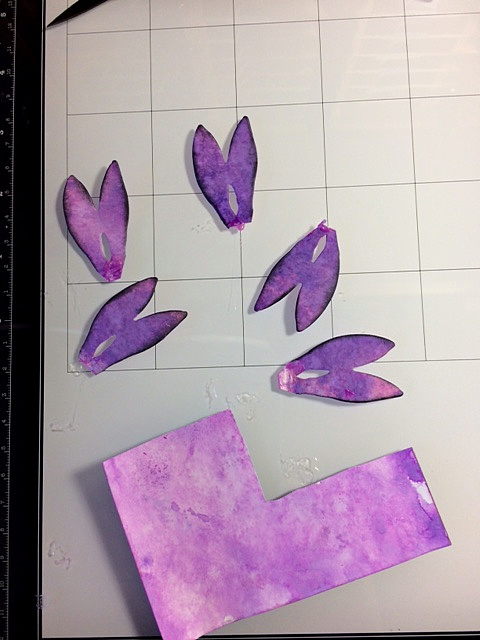
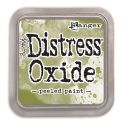
Apply some Distress Oxide pigment inks onto a craft mat and run a moistened piece of watercolor paper through the colors. Continue this process until you are pleased with the way they look making sure to dry between applications. Next, cut the watercolor paper into small pieces to place over the bunny’s ears on the Bigz die.
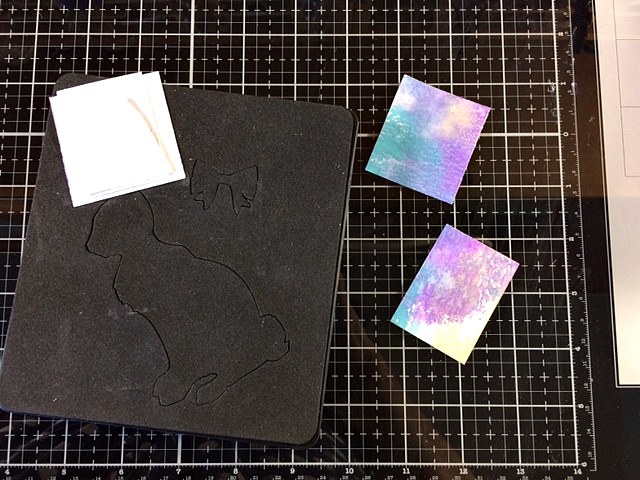
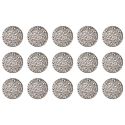
Place these pieces over the bunny’s ear and cut them out. You can cut out a few at a time.
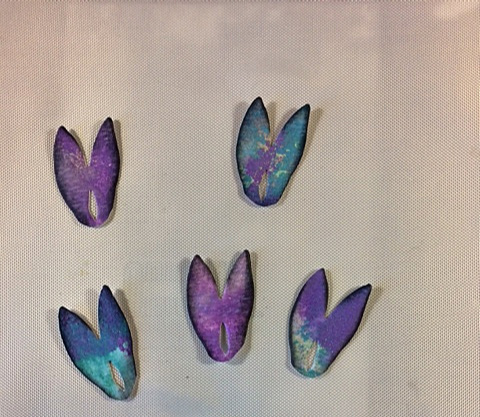
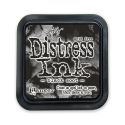
Cut five petals and ink the edges with Black Soot Distress Ink.
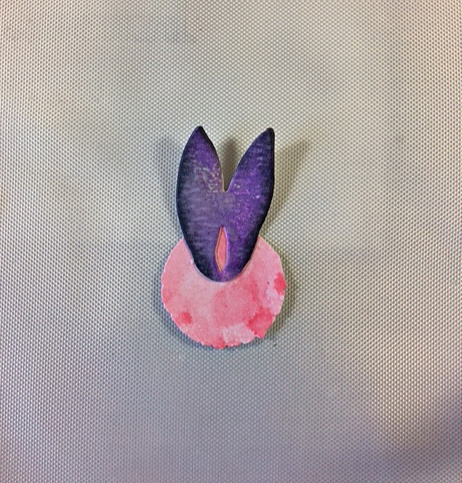
Create a small circle from a piece of scrap paper or any heavyweight paper. It doesn’t matter what color the circle is because it will not show through once the flower is all put together. Glue the first petal to the center of the circle.
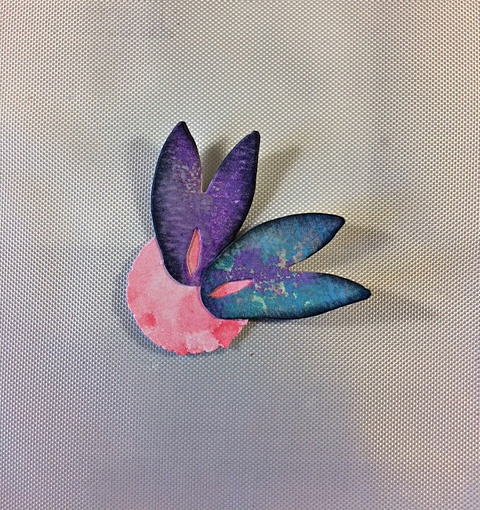
Continue adding the petals around the edge of the circle.
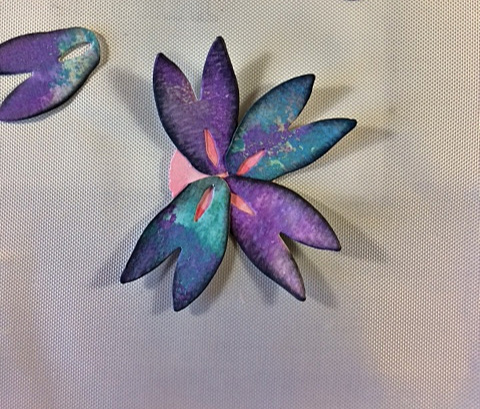
The first layer of the flower is complete.
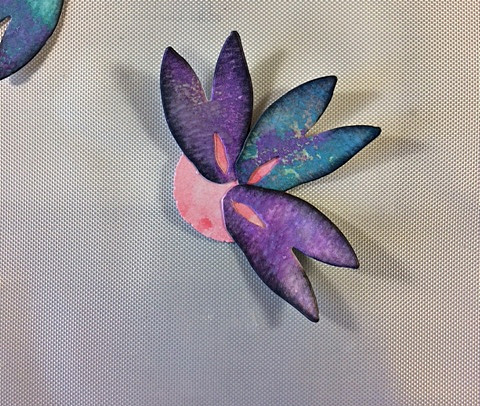
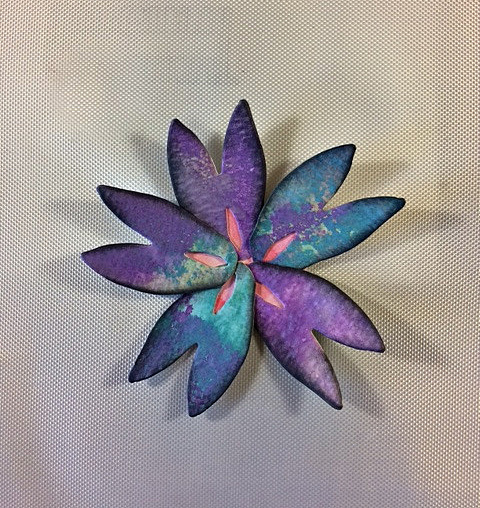
Die cut another 5 petals for the second layer of the flower.
Using the same process as the first layer of petals, add the second layer over the first one making sure to offset the petals.

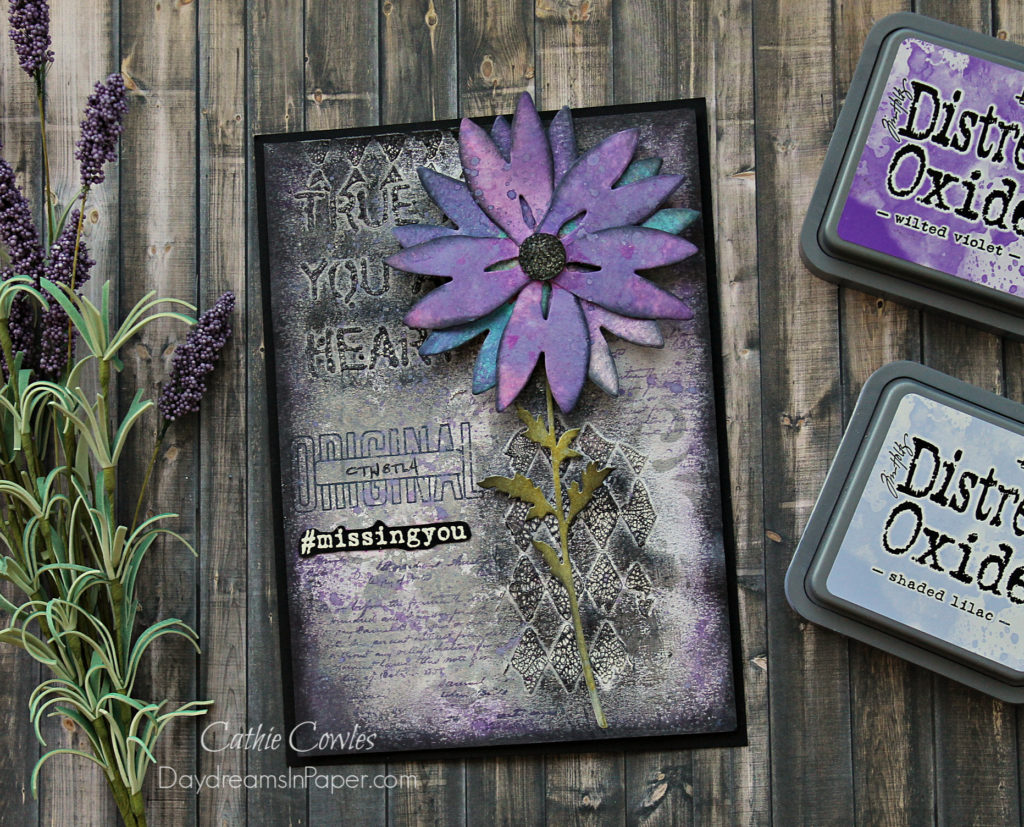
Add a flower center, and you’re done!
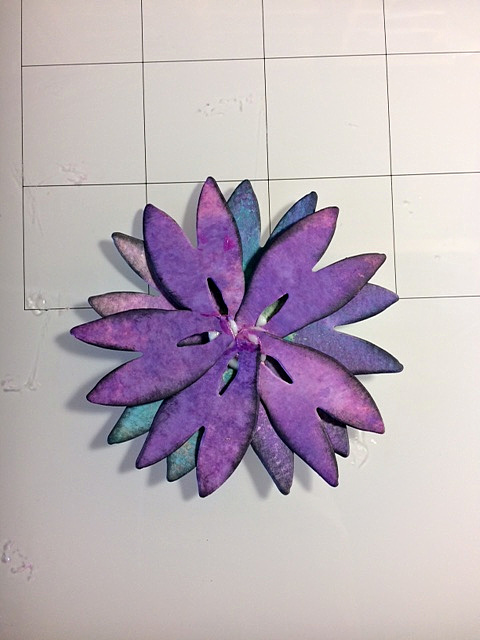
These are large flowers and make a beautiful focal point for any project. Thanks for stopping by and sticking with me to the end. I hope you enjoyed seeing how I used the Sizzix Tim Holtz Cottontail Bigz die to create a beautiful flower.
If you’re interested in Episode 1 of the series you can find it here.

 |
 |
 |
 |
 |
 |
 |
 |
 |
 |
 |
 |
 |
 |
 |
 |
 |
 |
 |
 |
 |
 |


