
Hi all! I’m slowly getting back to creating again. I’ve tried to juggle babysitting my granddaughter full-time and creating and had to put the crafting aside for a few months. If you’re like me, creating is a very important part of your being. If I don’t create something for an extended period of time, I start to feel sad. So I’m making a point to create something whenever I can instead of putting it aside altogether.
As most of you know, I love die cutting and creating with dies. Those little shapes just make me happy and many times I see things in them for which they weren’t intended. Sometimes, it’s just a piece or part that can be used to create something completely different from what it was intended and that is what this new series is all about. I’ll show you how you can look at your dies in an entirely new way. You see a new die you don’t think you’ll ever need or use and I’ll show you that you might just be wrong about that. 😉 Or, you’ve had a die for years and think you’ll never use that die again, but I’ll show you how to bring it out of retirement. What is my new series, you ask? I call it……..

I hope you enjoy seeing how I create different embellishments with dies that you may already have on hand. It’s a great way to stretch your supplies and so much fun to see if you can create something completely different from which the die was intended.
Can you guess which die set I used to create the shamrocks (or Lucky Clover) on this card?
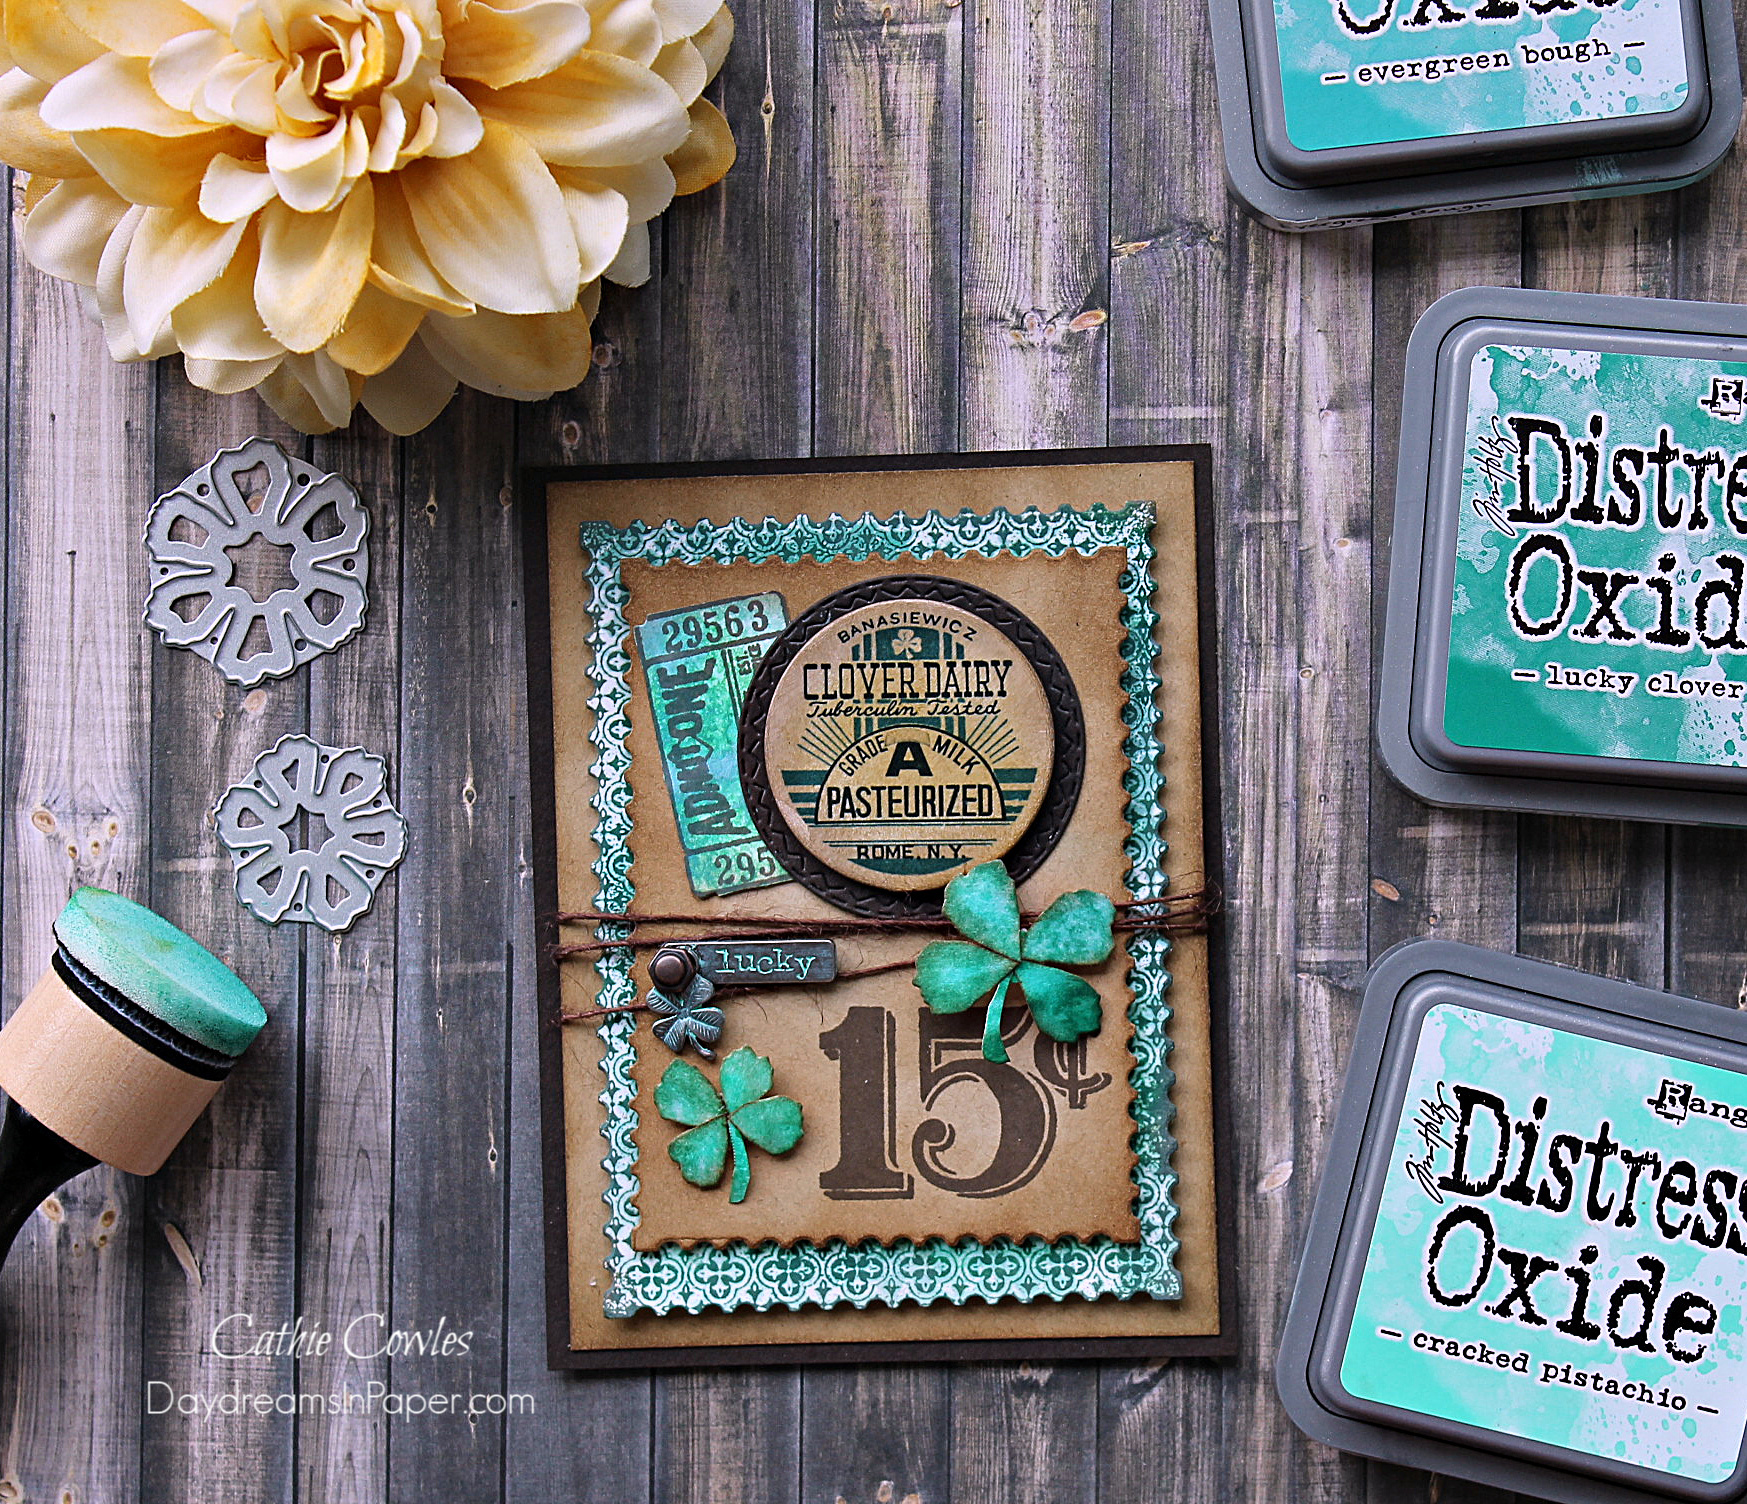
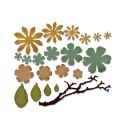
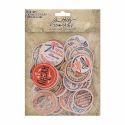
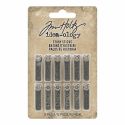
If you guessed the Tim Holtz Sizzix Small Tattered Florals die set, you’re right! Below, I’ll show you how it’s done.
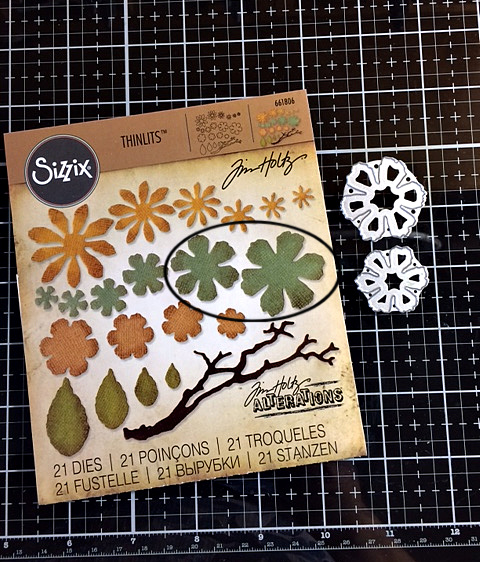
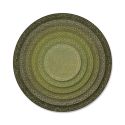
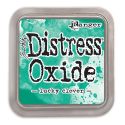
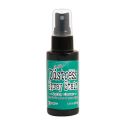
Cut the two circled flower petal shapes out of mixed media paper that has been sprayed with Distress Spray Stain in Cracked Pistachio, Evergreen Bough and Lucky Clover. (Of course, you can use any combination of green inks you’d like.)
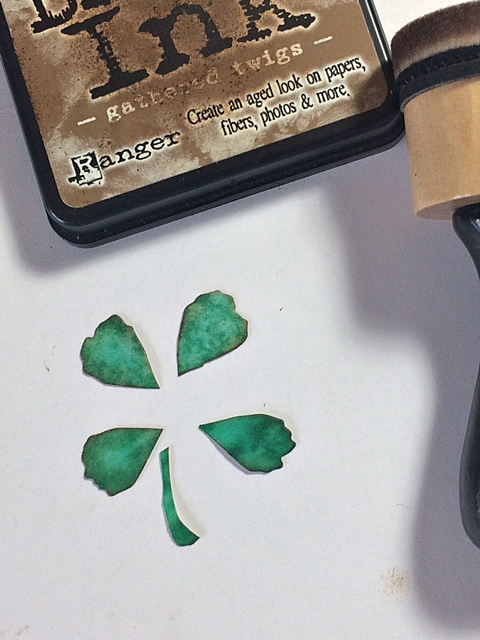
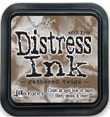
Cut four petals apart, as shown above, and also cut a stem from one of the left over petals. Ink the edges with Gathered Twigs Distress Ink.
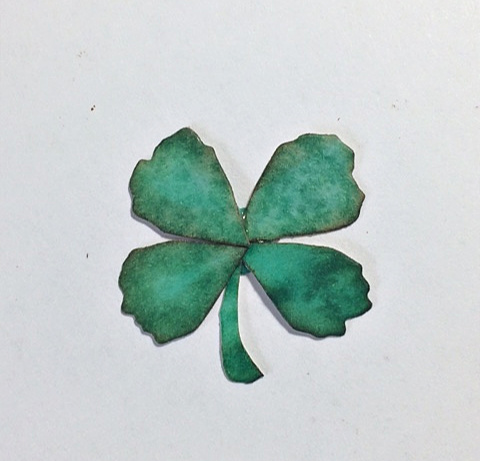
Cut a very small circle from another left over petal and place down on a craft mat. Place a dot of Ranger multi matte medium in the center of the circle and adhere the stem to the center. Adhere the four petals as shown above on top of the stem and allow to completely dry. And that is how you can create a shamrock from the small tattered florals die set.
You can see I created a small and large shamrock by using the two different sizes of flower petals from the set.
I hope you enjoyed seeing how I created these adorable shamrocks and how much fun it can be to come up with completely different embellishments by just looking at your die sets with a different eye.

 |
 |
 |
 |
 |
 |
 |
 |
 |
 |
 |
 |
 |
 |
 |
 |
 |
 |
 |
 |
 |
 |
 |


