
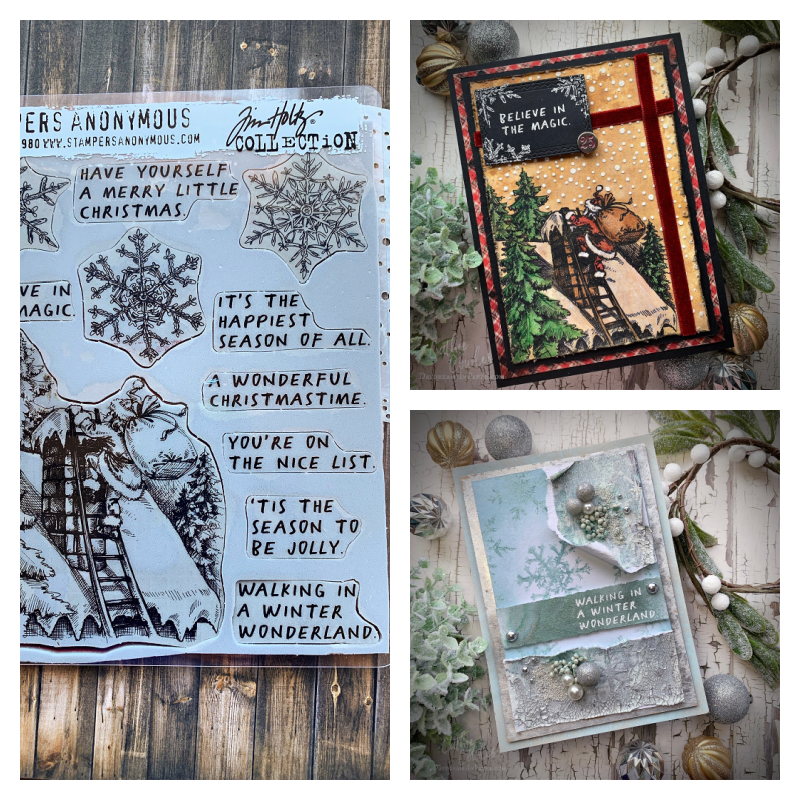
Hello friends! I’m so excited to share with you the Simon Says Stamp collaboration with Tim Holtz for STAMPtember. This exclusive STAMPtember stamp set is so fun and versatile. I’ll share with you two completely different styles on how you can use this set. Below I’ve put together a full tutorial on how to the create the Santa card and how I created the misty looking snowflakes on the Winter Wonderland card. Enjoy!
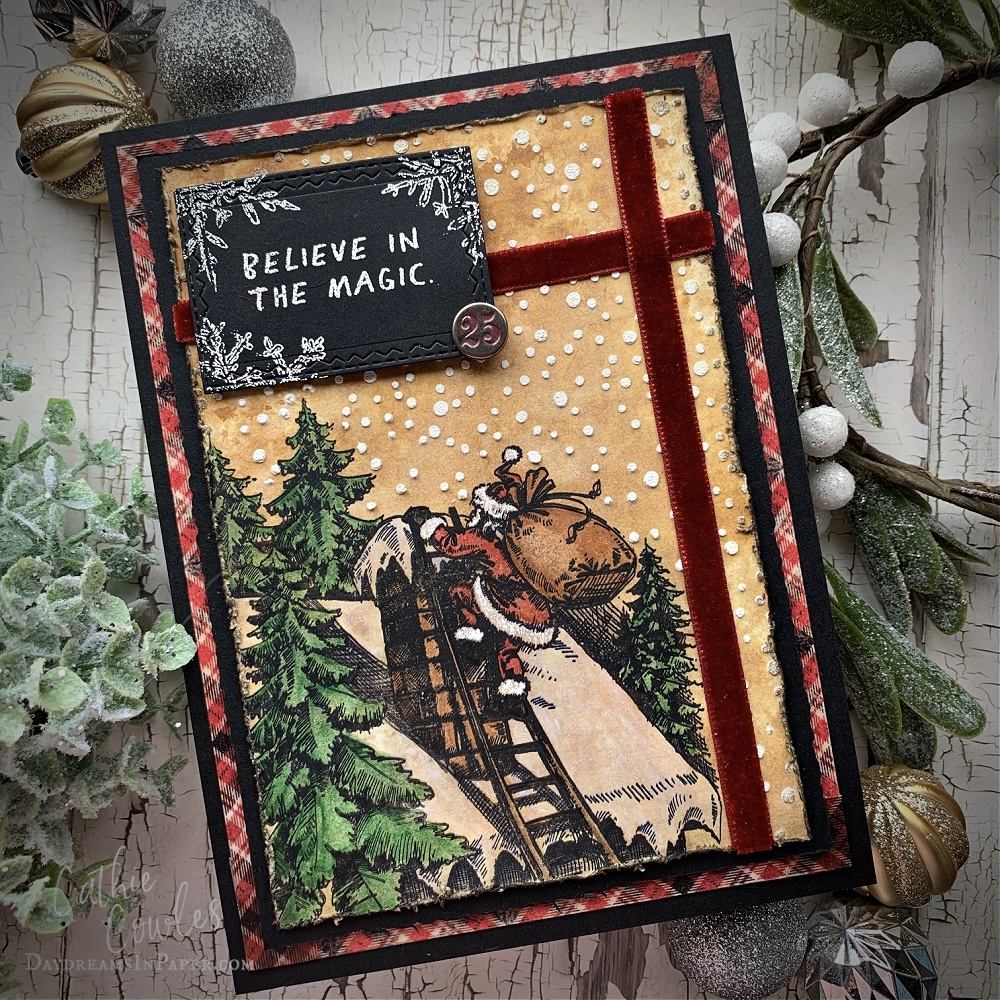
For this card, I created an inky background to give it a vintage look. I then stamped the image onto the inky background and colored it with the new Distress Watercolor Pencils. Wow, are these pencils a game changer!! Join me as I show you how I put it all together.
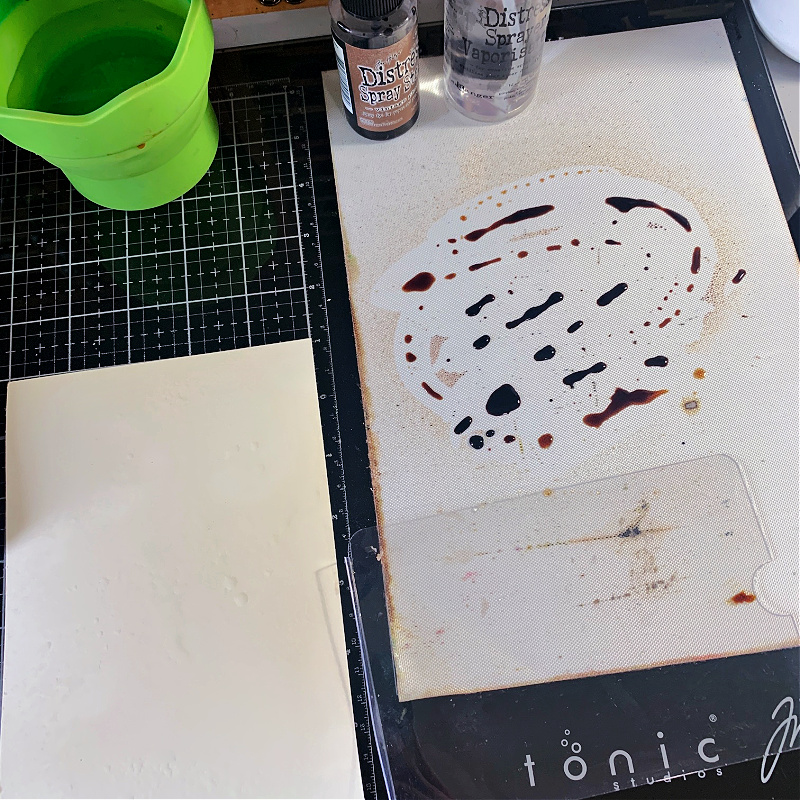
Begin by cutting a 5″ x 7″ piece of Distress Mixed Media Heavystock cardstock. Spray a bit of Vintage Photo Distres Spray Stain onto a craft mat and a bit of water. Mix the stain and water together by swirling your finger through the mixture. Using the plastic sheet that comes in the Distress Watercolor Pencil tin, pick up the stain and water mixture with the plastic sheet and smoosh it onto the mixed media heavystock cardstock.
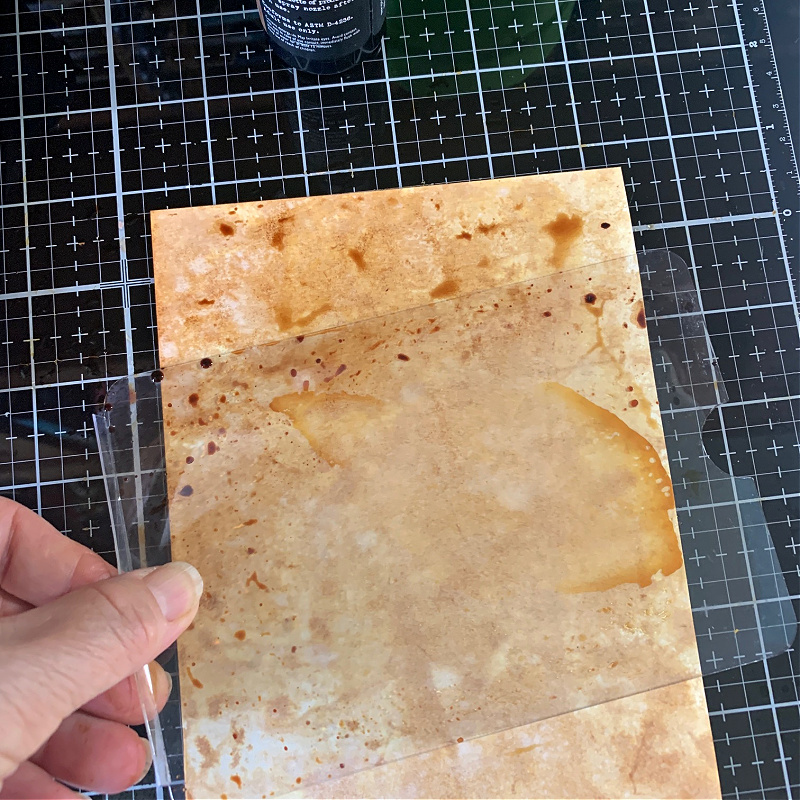
Continue this process until you’re happy with the outcome being sure to dry each layer before adding another layer. This process will result in a bit of a smoother look and keep it on the lighter side.
Place the mixed media heavystock cardstock on a stamping platform in the left corner and position the stamp over the cardstock where you want it to stamp. Pick up the stamp with the door of the platform and keep this stamp there until you are completely finished. DO NOT remove it from the platform.
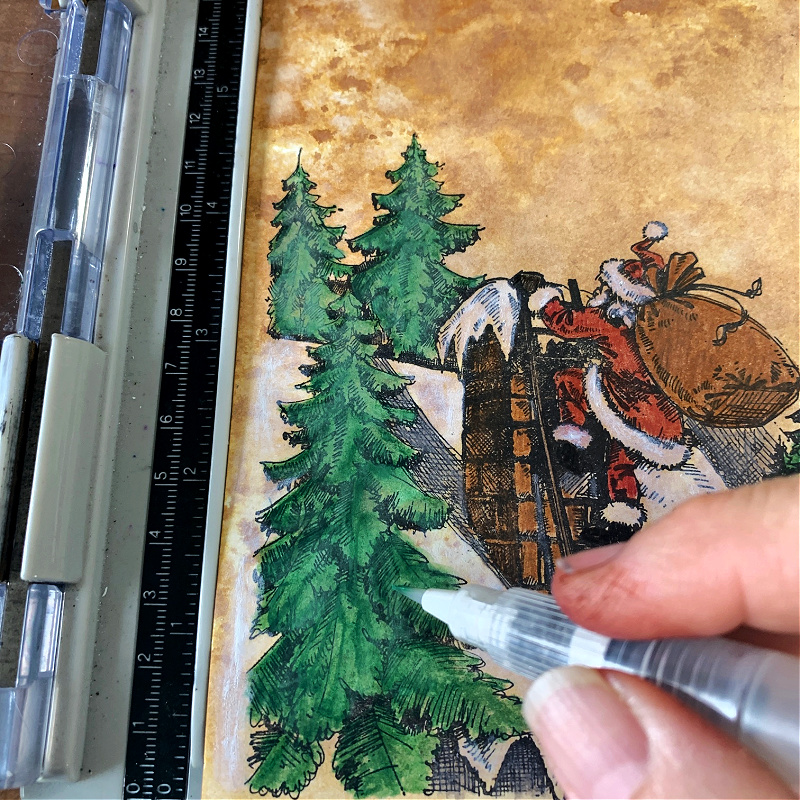
Stamp the image with Black Soot Distress Archival Ink and color the image with Distress Watercolor Pencils. I chose to color the images just like you’re coloring in a coloring book with the pencils and then moved the pigment around with a waterbrush. Experiement and see how you like to use the pencils best.
Remove your stamped image from the platform and completely dry before moving on to the next step. When the image is completely dry, return the stamped image to the left corner of the stamping platform.
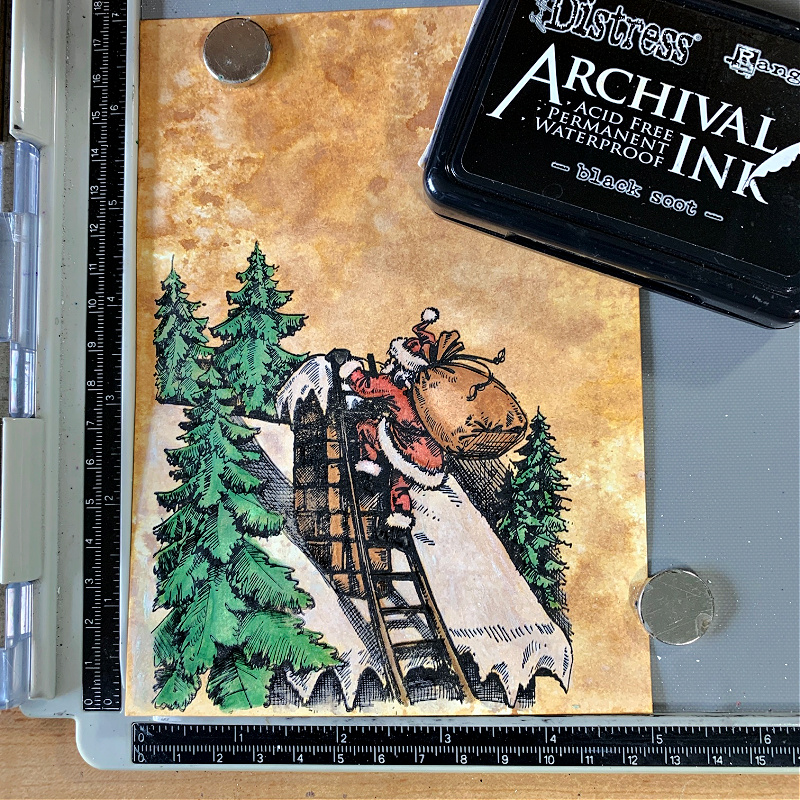
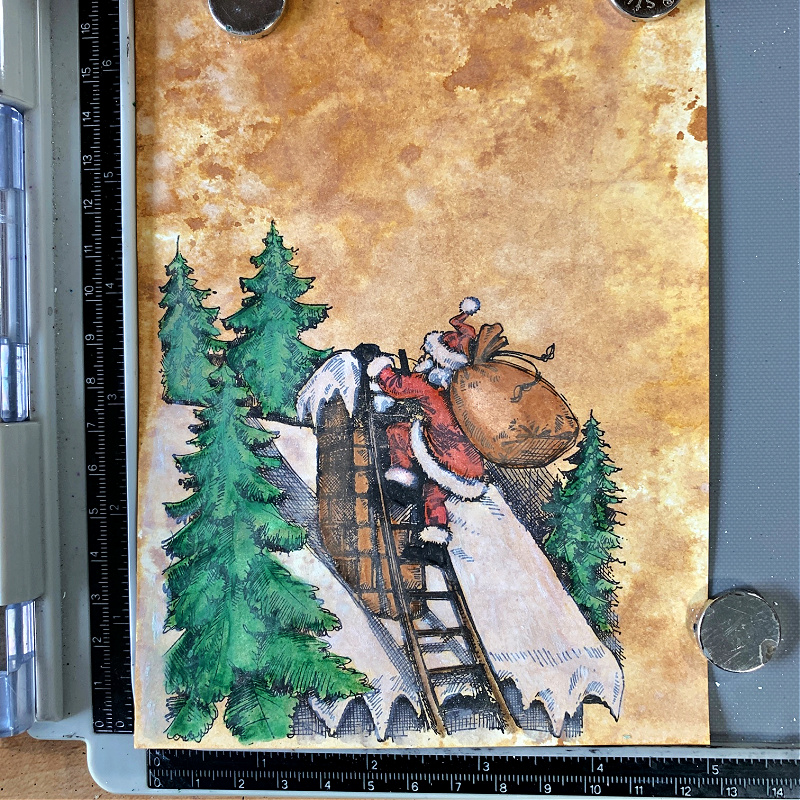
Return the inked image in the left hand corner of the platform and place some magnets over the image to keep it from moving and ink up the stamp once again with Black Soot Archival Ink. Stamp over the colored image and don’t worry about ruining what you’ve already done, everything is lined up perfectly for you to stamp over what you’ve colored. See how restamping the image after coloring brings back the depth and vibrance of the image? To me, this is key after coloring an image and why using a stamping platform is a must. Make sure the ink is completely dry before moving on to the next step.
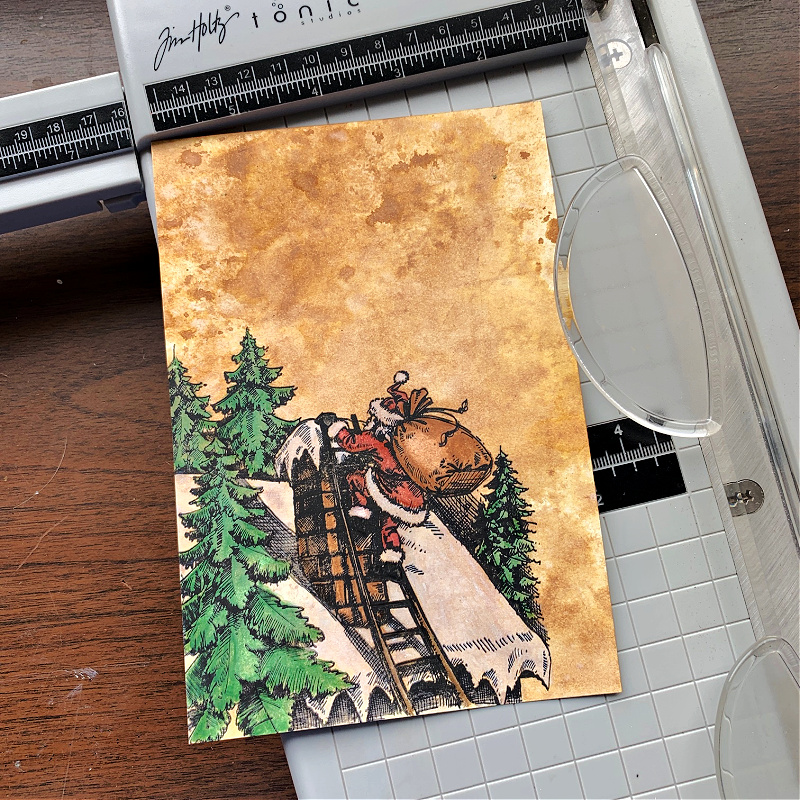
Trim the image down along the left side of the image and bottom of the image. Also take a bit off the top so the card panel isn’t awkwardly long and thin.
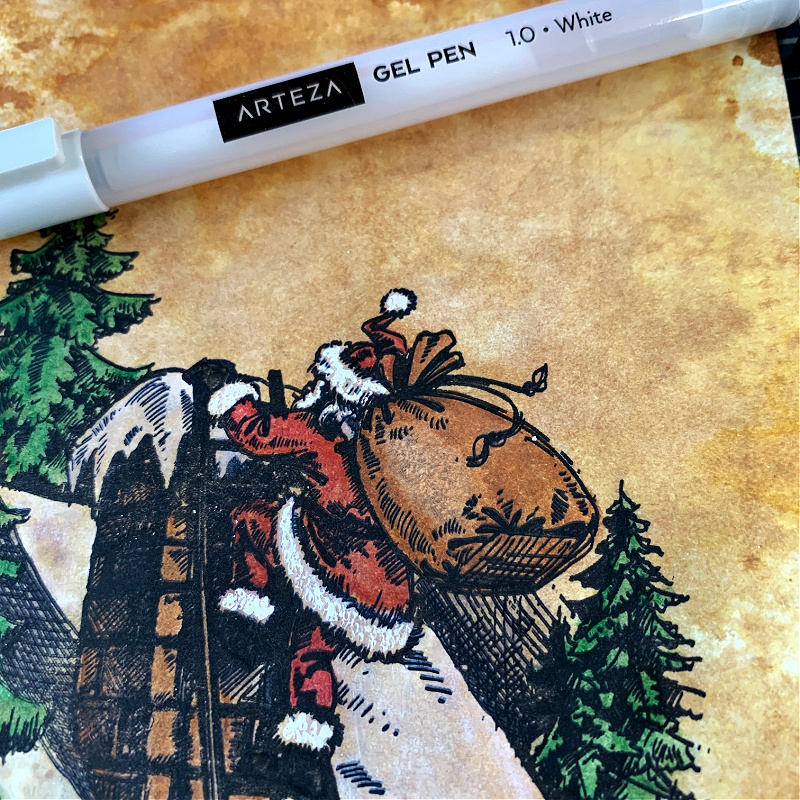
I wanted Santa’s hat, coat trim and cuffs to have some texture so I used an Arteza white gel pen to give them a fluffy look. Completely dry the white gel before moving on to the next step by using a heat tool to set and dry the gel.

Making sure the image is completely dry, rub Distress Glaze over the entire card panel and allow it to completely dry. I used a heat tool to speed up the process.
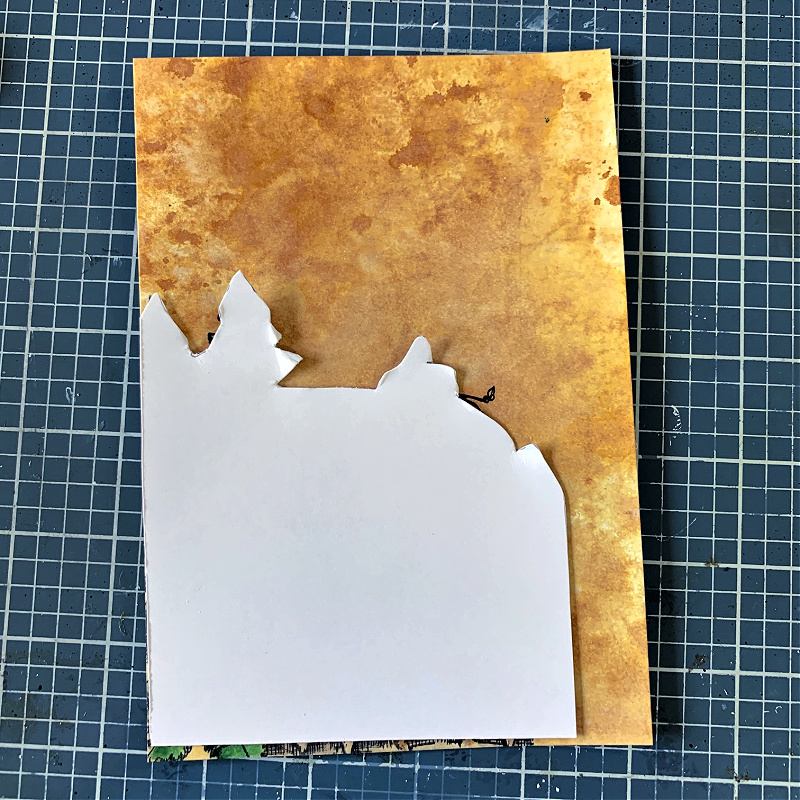
Create an outline of the stamped image out of masking paper, regular paper or whatever you have on hand and place over the stamped image.
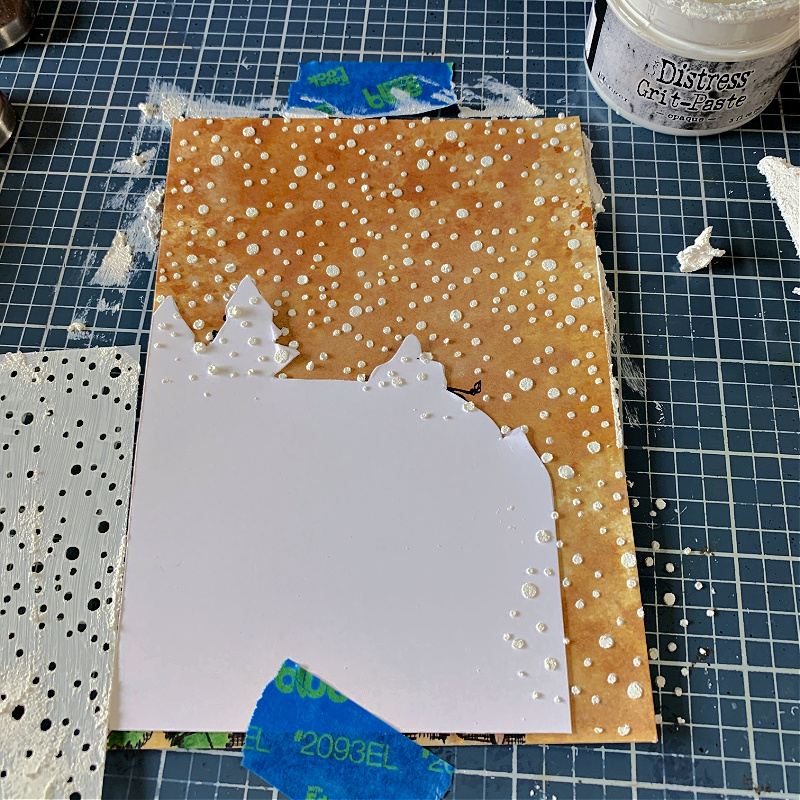
Using the stencil that comes with the exclusive Tim Holtz STAMPtember stamp set, apply the image by stenciling it over the background areas with Distress Grit Paste as shown above. Remove the outlined piece of paper and allow to completely dry.

Add some Idea-ology velvet trim in the form of a wrapped gift to the panel and set aside.
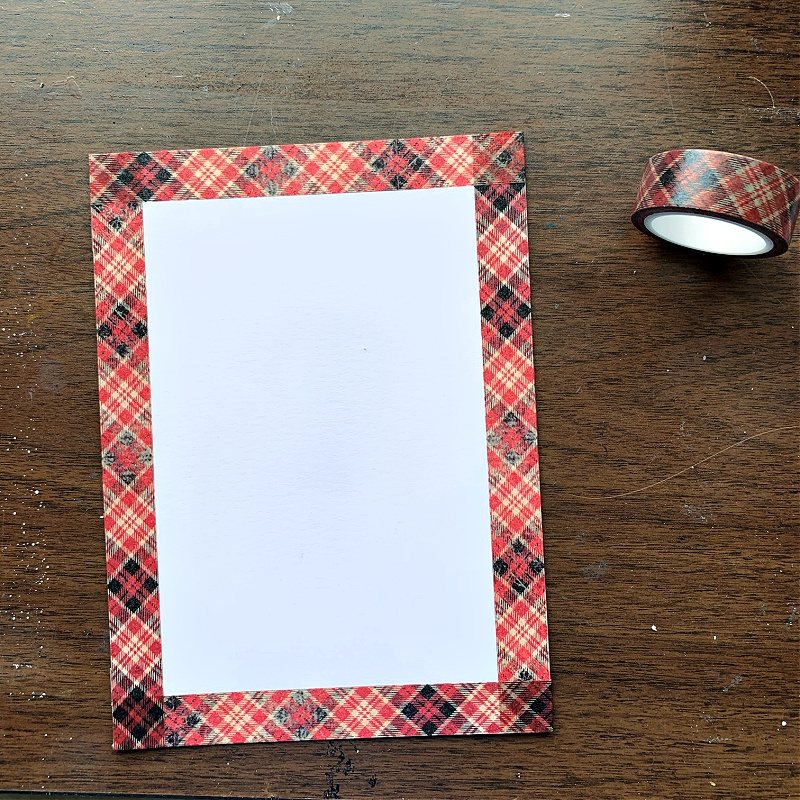
Next, I’ll show you how I created the layers for the backing of the card panel. Cut a 5″ x 7″ piece of heavy cardstock and apply Christmas design tape around the edges of the piece.
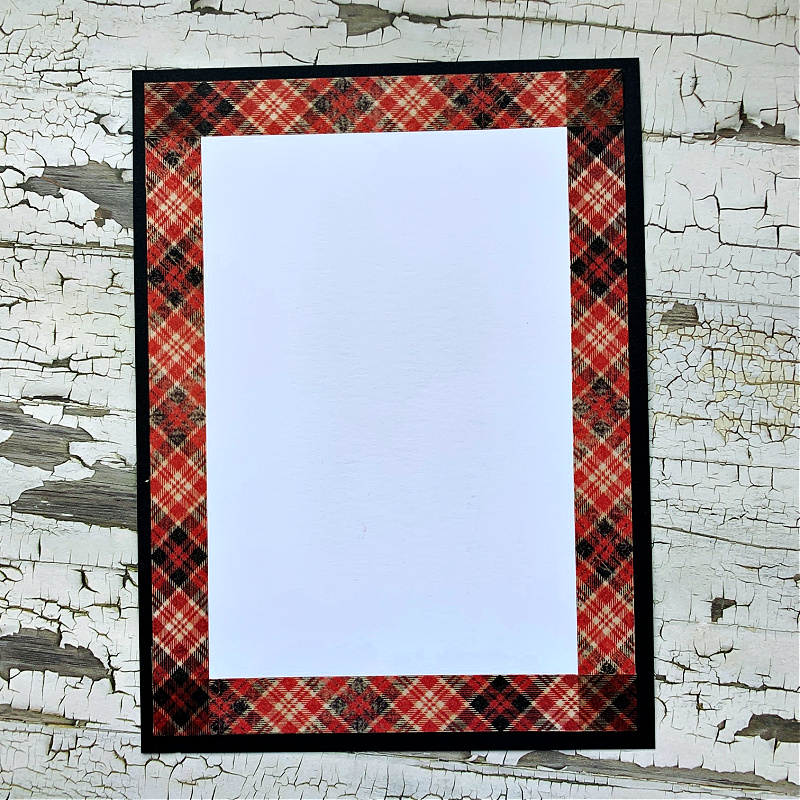
Adhere this panel onto a piece of 5.25″ x 7.25″ piece of Simon Says Stamp Black heavy cardstock.
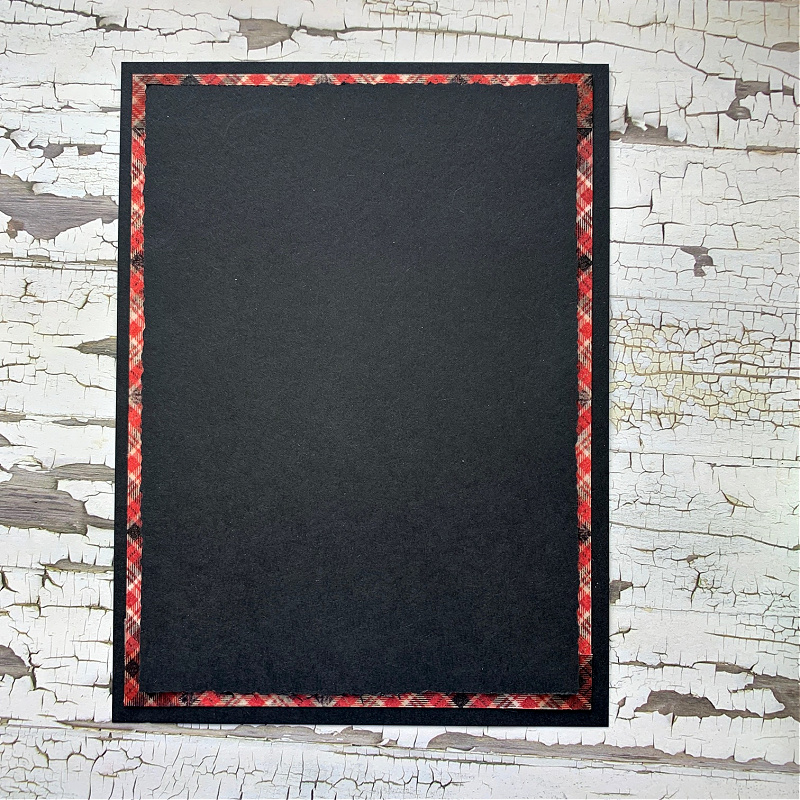
Cut a another piece of Simon Says Stamp Black heavy cardstock at 4.75″ x 6.75″ and adhere on top.
To finish the card, adhere the front card panel on top of the layered backing panel and create a sentiment piece out of black cardstock that has been embossed with a few of the snowflakes along the edges and the sentiment in the center that all come with the exclusive Tim Holtz STAMPtember 2022 set. Add a “25” Idea-ology brad to one corner of the card and you’re done!
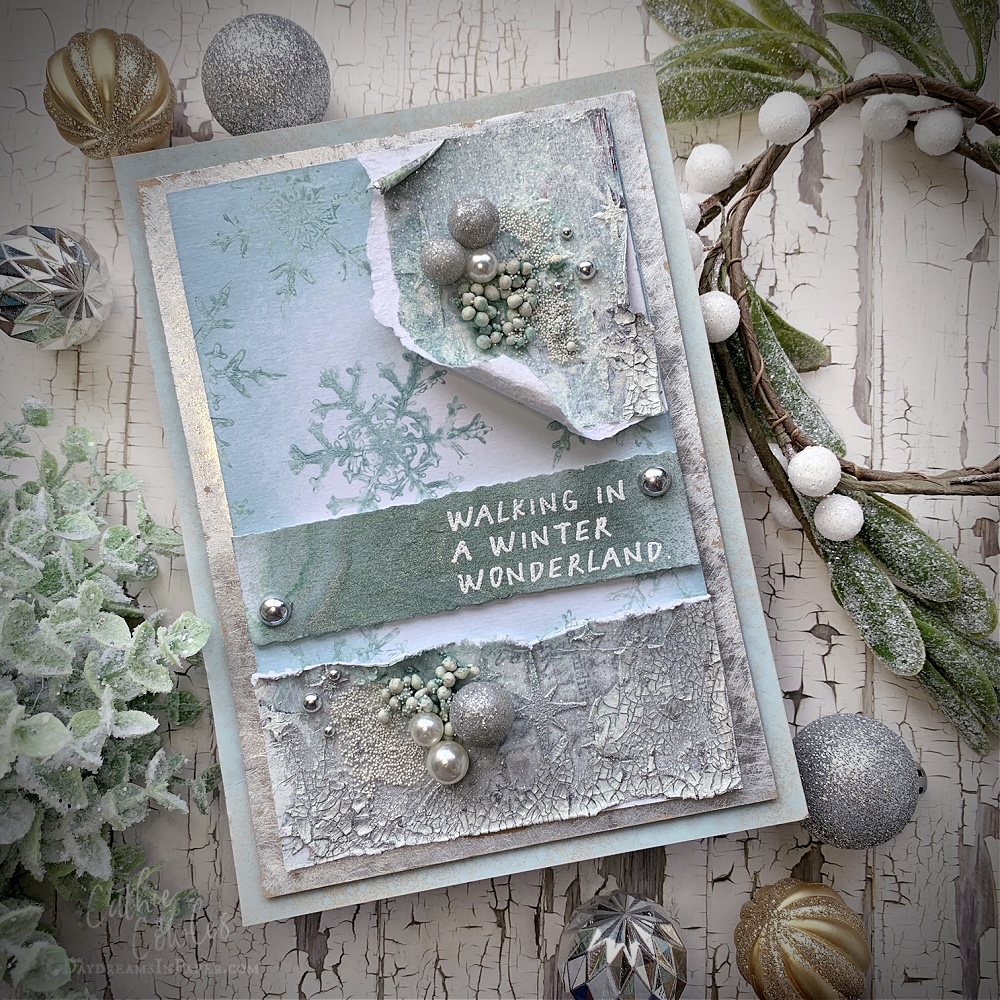
Using the same exclusive Tim Holtz STAMPtember 2022 stamp set, I create this card which is in a completely different style. I wanted to create two different styles to show you how versatile this set is and that you are only limited by your imagination.

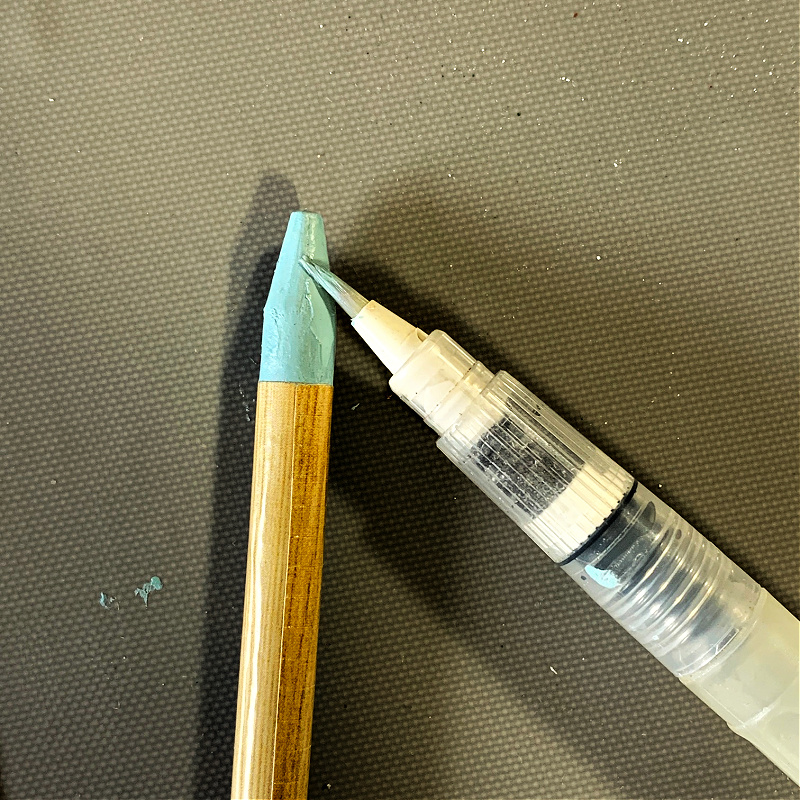
Place a piece of 4.25″ x 5.5″ piece of Distress Watercolor cardstock on the smooth side in the left corner of a stamping platform. Place the snowflakes over the cardstock where you want them to stamp and pick them up with the door of the platform. Apply pigment from a Speckled Egg Distress Watercolor Pencil onto the stamp with a waterbrush using the technique as pictured below.
After applying the pigment to the snowflake stamps, mist them with a bit of water using the Distress Sprayer and stamp onto the cardstock.
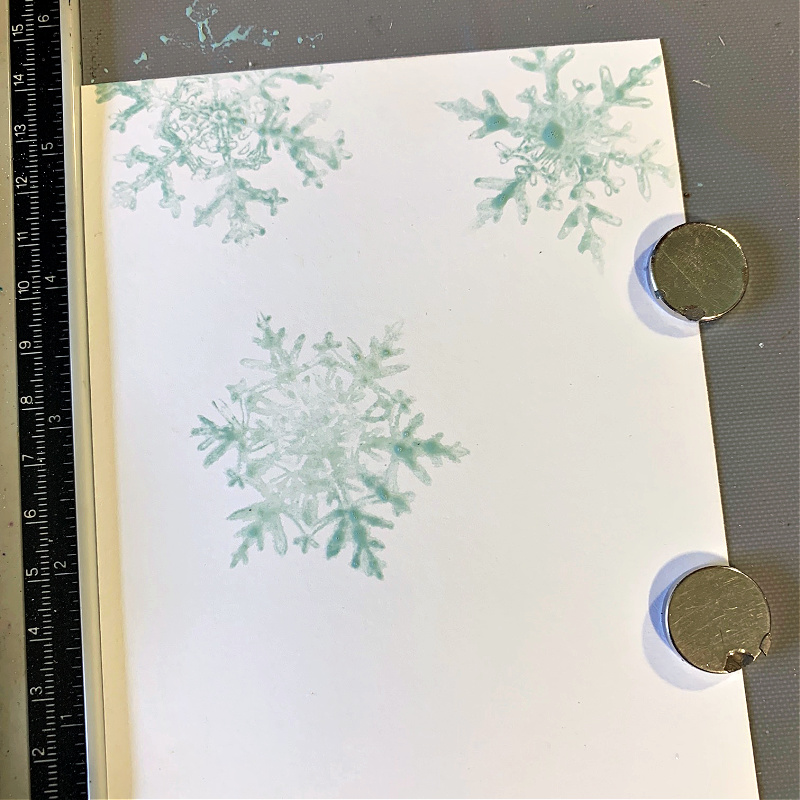
Here are the results of stamping the snowflakes using this technique. Make sure to completely dry before moving on to the next step. You can stop here if you don’t want to give your snowflakes a little more definition.

If you want your snowflakes to have a bit more definition, ink the snowflakes with Speckled Egg Distress Oxide and stamp again.
Create more snowflakes on the other areas of the cardstock using this same process until you’re happy with how your card panel turns out.

Here you can see how beautiful the snowflake background is on the card just peaking through.
I hope you enjoyed seeing how I created these two cards using the Simon Says Stamp Tim Holtz STAMPtember 2022 exclusive stamp set and stencil set. Don’t forget once this set is gone, it’s gone and won’t be coming back so grab yours while you still have a chance.
Thanks so much for stopping by and sticking with me to the end. I so appreciate you spending your time here with me! Happy STAMPtember!!

Simon Says Stamp Tim Holtz STAMPtember 2022 Exclusive Stamp & Stencil Set
Tim Holtz Distress 8.5″ x 11″ Heavystock Cardstock
Simon Says Stamp 100# Black Cardstock
Tim Holtz Distress 8.5″ x 11″ Distress White Heavystock
Tim Holtz Distress Watercolor Pencils Set 1
Tim Holtz Distress Watercolor Pencils Set 2
Tim Holtz Distress Watercolor Pencils Set 3
Tim Holtz Idea-ology Warm Velvet Trims


I absolutely love the snowflake card!!! How did you do the background on the other two sections of the card and where did you find the little tiny beads.
Thank you for sharing your beautiful cards, Cathy. I absolutely love the snowflake card. It was my favorite on Tim’s video today. Can’t wait for my set to arrive!
Love the second card so much! Can you give a little more detail as to how you created it?