Hi Friends! I’m here today featuring one of the new products from the Simon Says Stamp’s new release, Blossoms and Butterflies. This collection of dies, stamps and more is absolutely gorgeous. Today, I’ll be working with the new Mesh stencil. This stencil is perfect for backgrounds, whether you’re inking it up or using embossing paste. Below I have two examples of how I used this awesome stencil. They are both super easy and make for putting together a beautiful card in no time at all. I hope you enjoy what I created.
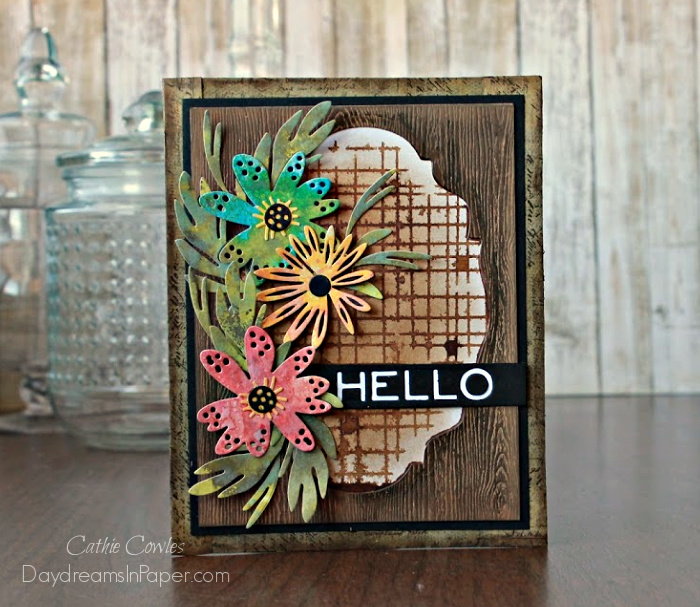
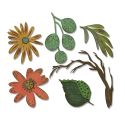
This beautiful card was created using the Mesh stencil along with the new Tim Holtz Large Funky Florals. You can see below how I created this fun background.
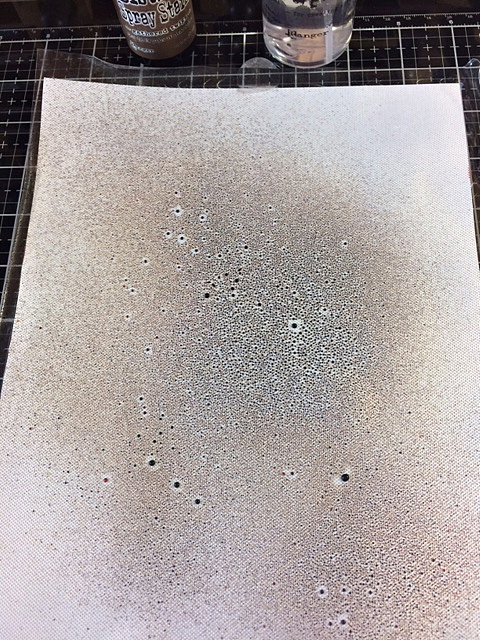
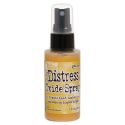
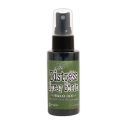
First, spray a craft mat with Gathered Twigs Distress Spray Stain and a spritz of water.
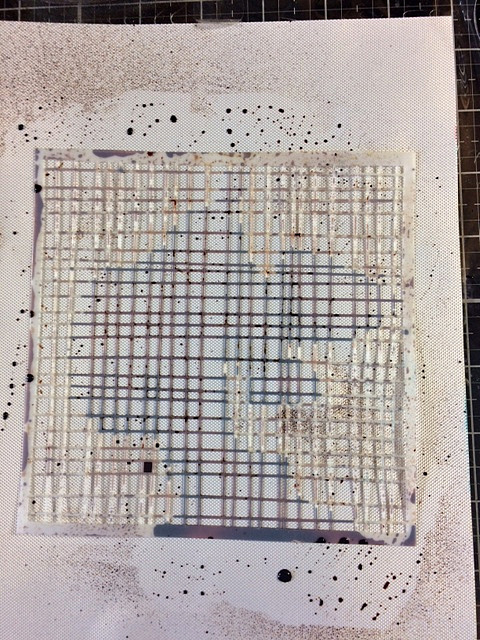
Very gently, lay the Mesh stencil on top of the sprayed surface.
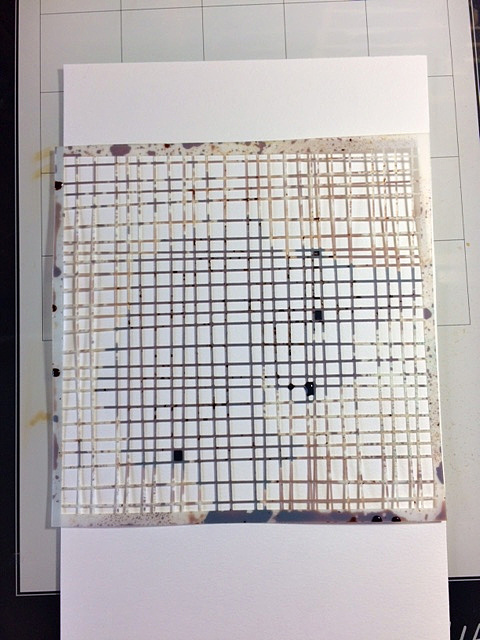
Pick up the stencil from the craft mat very gently and lay it on top of a piece of watercolor paper.
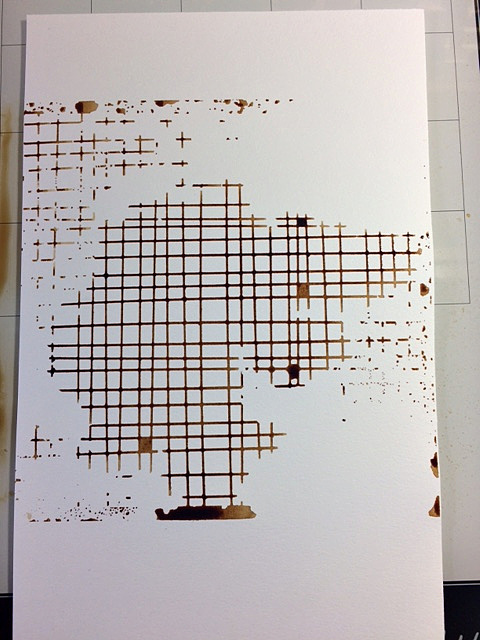
Lift the stencil off of the paper.
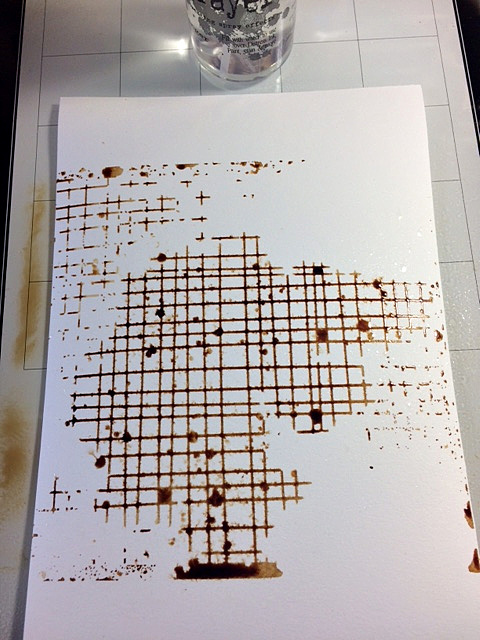
Now spritz it with a bit of water to allow the colors to run.
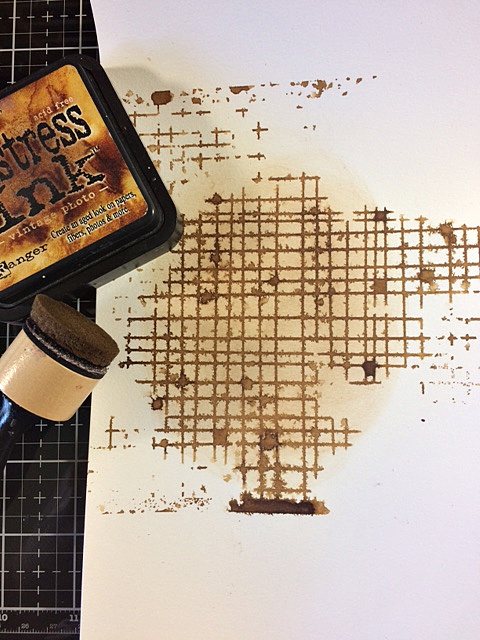
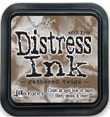
After completely drying the stenciled area, gently brush over the image with Vintage Photo Distress Ink. You’re done. You have an awesome background piece that can be used many ways.
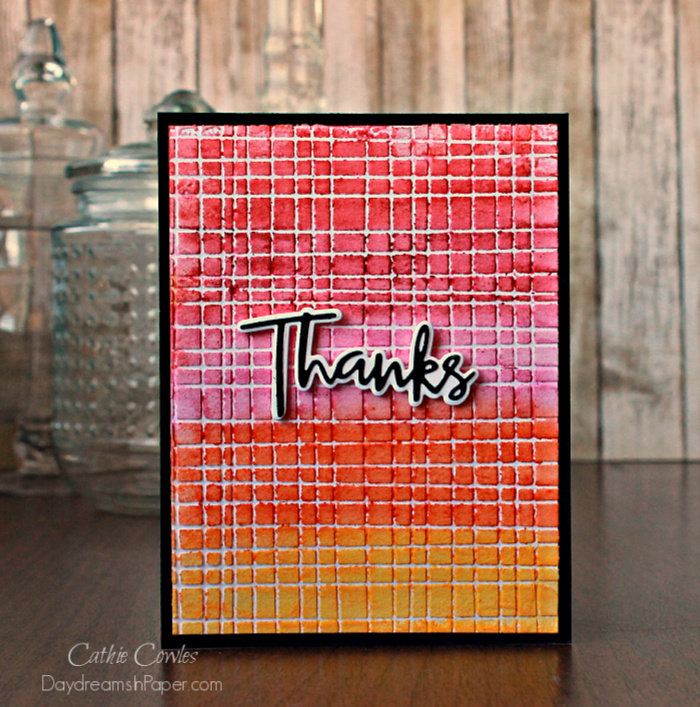
This second card is even easier to make and it’s colorful background is sure to make anyone smile.
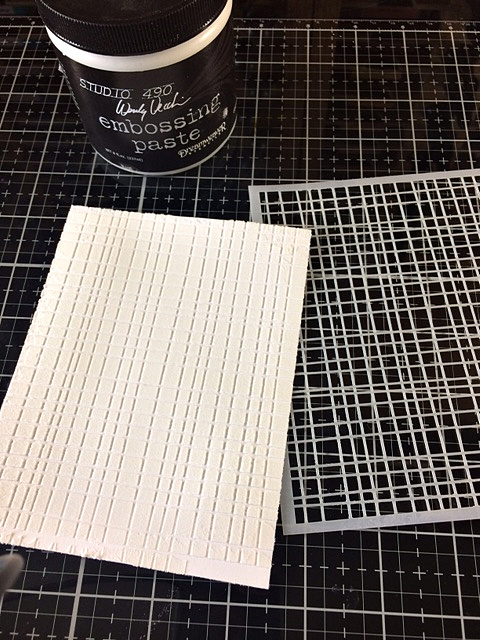
First, place the Mesh stencil over a piece of heavyweight white cardstock and stencil on the design with embossing paste. Allow this to completely dry.
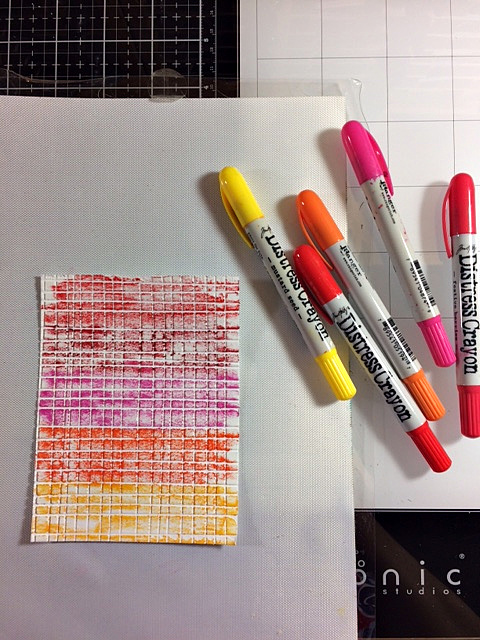
When the embossing paste is completely dry, color the background with bright and sunny Distress Crayon pigments.
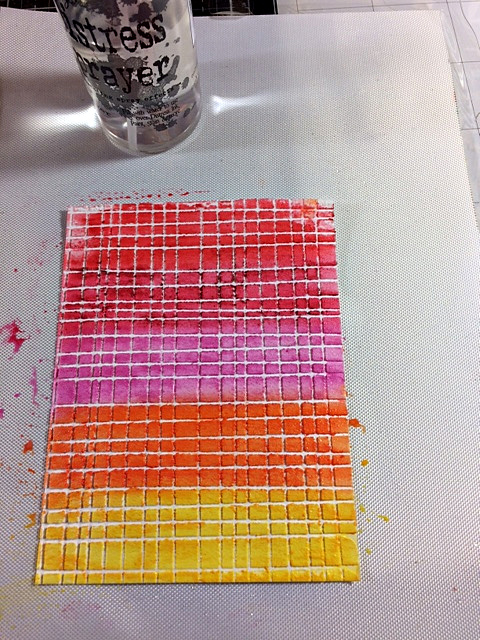
Spritz over the crayon pigment with water, very lightly. Using your fingertip, start at the top and rub over the pigment all the way to the bottom to blend the colors together. And there you have it. Another beautiful background that’s easy as 1-2-3.
I can’t tell you how much I love this stencil and how much fun I had playing with it. I hope you enjoyed seeing the two cards I put together using this awesome stencil to create a couple of fun and easy backgrounds. Thanks for sticking with me to the end and have a beautiful day!


