
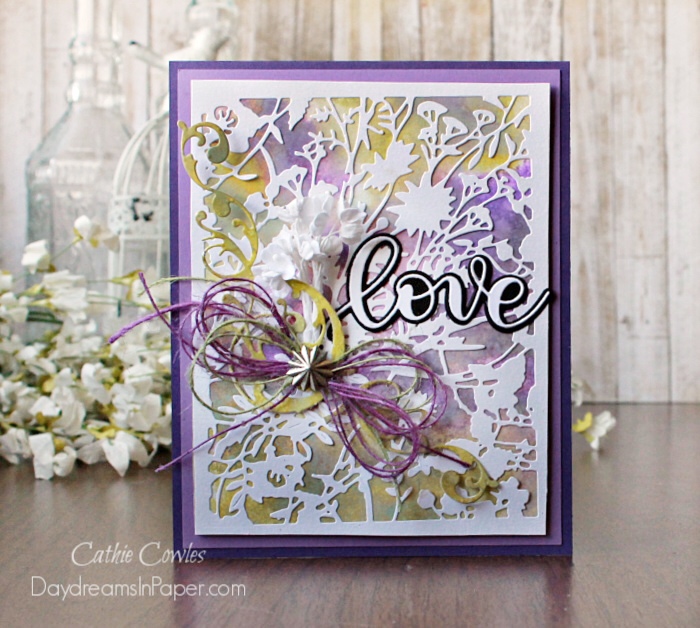
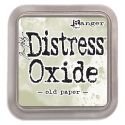
Hi Friends! I hope you’re having an awesome start to your week. Today, I put together this quick and easy card using a background die along with one of my favorite combinations of Distress Oxides. I fell in love with the Organic die from Tim Holtz the minute I saw it because not only is it beautiful, but I know how background dies can help with creating a card quickly. Just add a few Distress Oxide colors to the backing for the die and you’re done! See how I put it all together below.
There are only 2 steps to create this background. Enjoy!

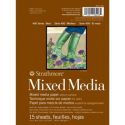
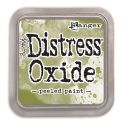
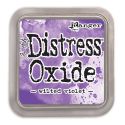
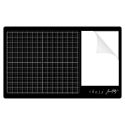
First, smudge Wilted Violet, Peeled Paint and Old Paper Distress Oxide pigment inks onto a craft mat or the Tim Holtz Glass Media Mat and spritz with water. Spritz a piece of mixed media paper or watercolor paper with water and dab it onto the inks to pick up the colors. Dry completely and repeat the process until you are pleased with the results. I usually end up doing this 3 times because I find if I do it more than that the colors start to get muddy.
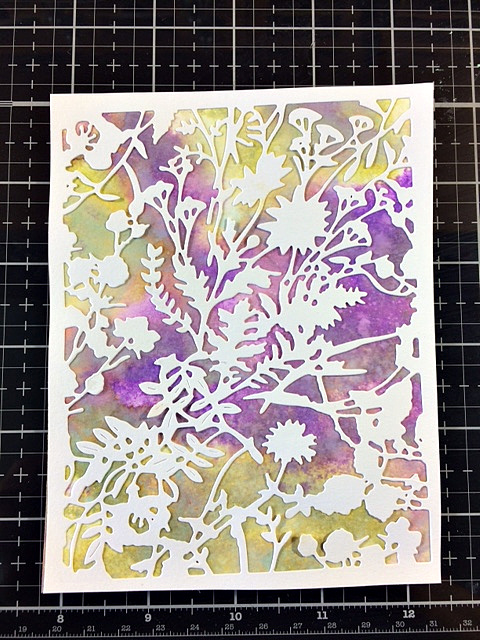
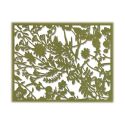
Next, cut out the Tim Holtz Organic background die out of white cardstock and adhere to the inked background.
That’s it! I mean, wasn’t that simple and aren’t the results beautiful? Try different colors and different background dies you may have in your stash and just have fun.
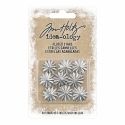
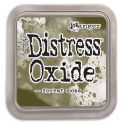
To finish the card, I cut out the Simon Says Stamp Love die from back and white cardstock and adhered that to the card. Next, I colored some watercolor paper with Peeled Paint and Forest Moss Distress Oxides and cut out the Tim Holtz Adorned die and added that to one side of the card along with a small bunch of Idea-ology Bouquet Findings. To finish the card off, I added some May Arts purple and sage twine and an Idea-ology Fluted Star. I mounted the main card piece to a piece of light and dark cardstock and the card is done.
I hope you enjoyed seeing how I created this fun and easy background. Thanks for stopping by and have an awesome week!

 |
 |
 |
 |
 |
 |
 |
 |
 |
 |
 |
 |
 |
 |
 |
 |


