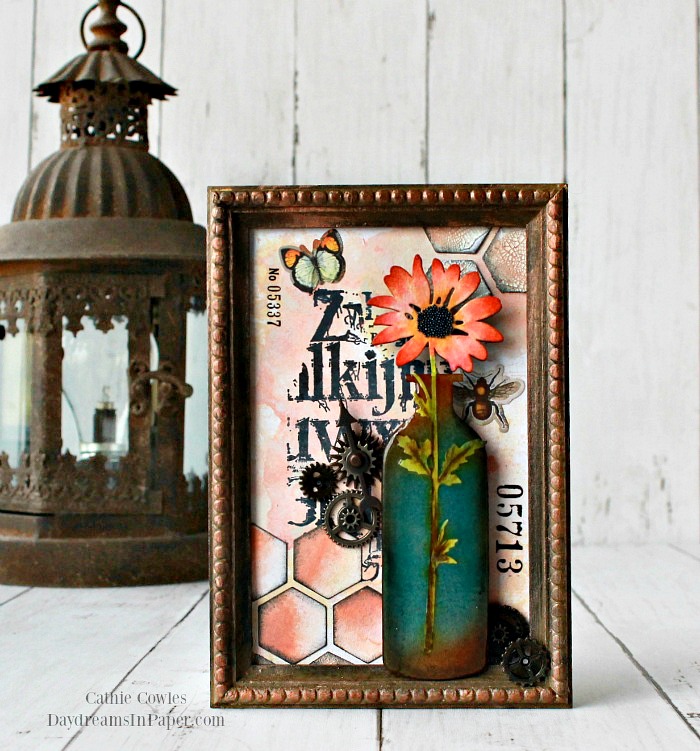
Hi Friends! I hope you’re having an awesome February and that Winter hasn’t been too brutal for you. Have no fear, Spring is just around the corner and that was the inspiration behind my framed panel. I created some pretty springtime colors for my background panel and a coordinating spring flower inside a vase. I’ve put together a quick tutorial for you below so you can see how I put it all together. Enjoy!
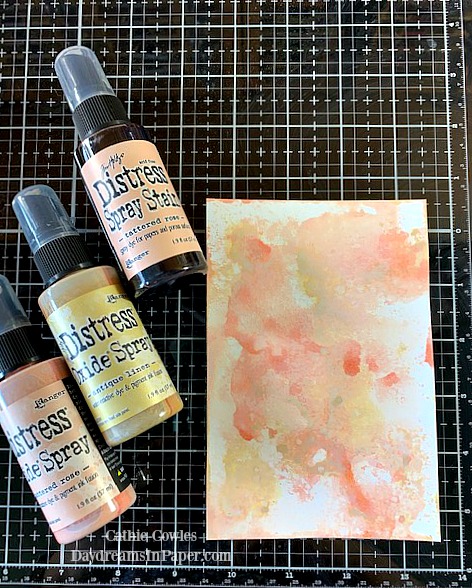
To begin the background panel, cut a piece of 4″ x 6″ mixed media paper. Next, using the Stampers Anonymous Splat Box, spray the paper with Tattered Rose Oxide Spray, spritz it with a little water and dry it with a heat tool. Complete this process with Antique Linen Oxide Spray and then Tattered Rose Distress Spray Stain. Always remember to dry each layer before moving on to the next color.
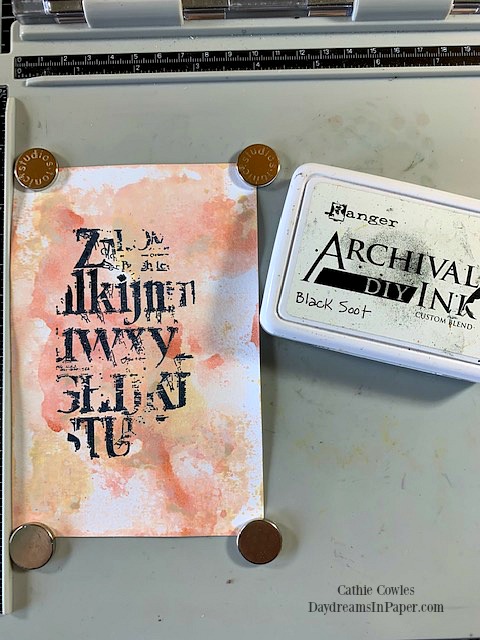
When the panel is completely dry, stamp on one of the background stamps from the Stampers Anonymous Faded Type (CMS397) stamp set with Black Soot Archival Ink.
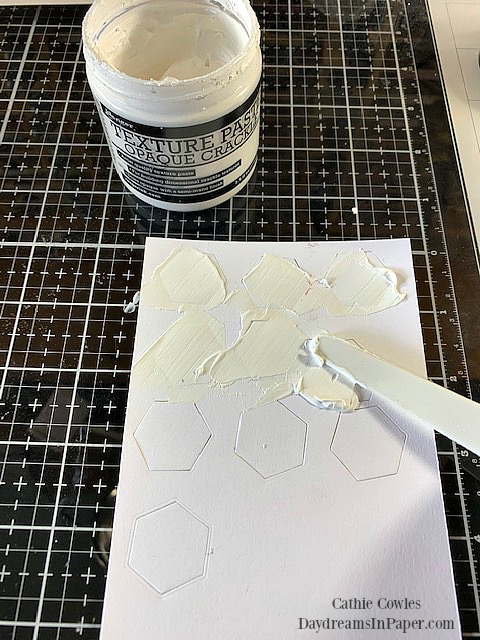
To create the geometric shapes for the panel, cut out several hexagons using the Tim Holtz Sizzix Stacked Hexagon die set. Before removing the shapes, apply Ranger Texture Crackle Paste over each hexagon and allow to completely dry.
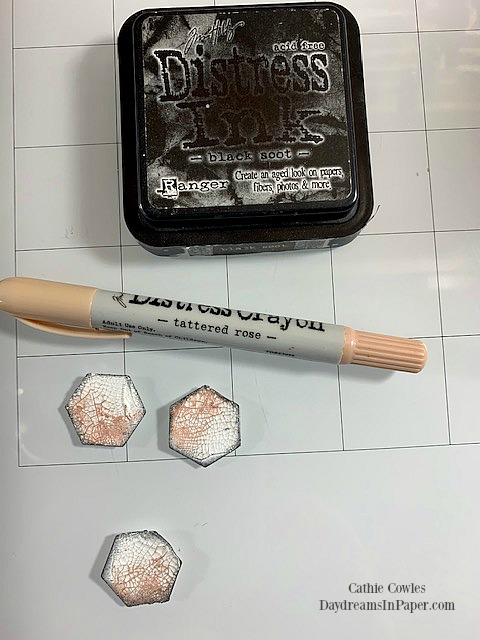
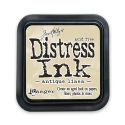
When the hexagons are completely dry and the crackle texture is set, color them with a Tattered Rose Distress Crayon and ink the edges with Black Soot Distress ink.
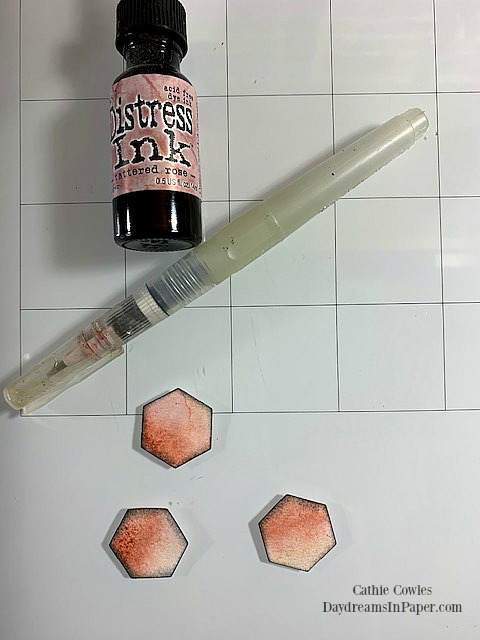
Cut a few more hexagon shapes and color them with Tattered Rose Distress Reinker. Apply a drop of ink onto a glass media mat and pick up the ink using a water brush. Continue adding color until you are pleased with how they look making sure to dry between each application of ink. When the pieces are completely dry, ink the edges with Black Soot Distress Ink.
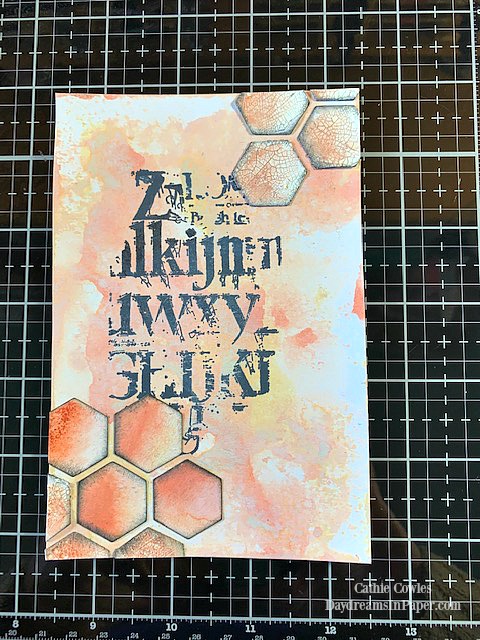
Adhere the hexagons to the top and bottom corner of the stamped 4″ x 6″ panel.
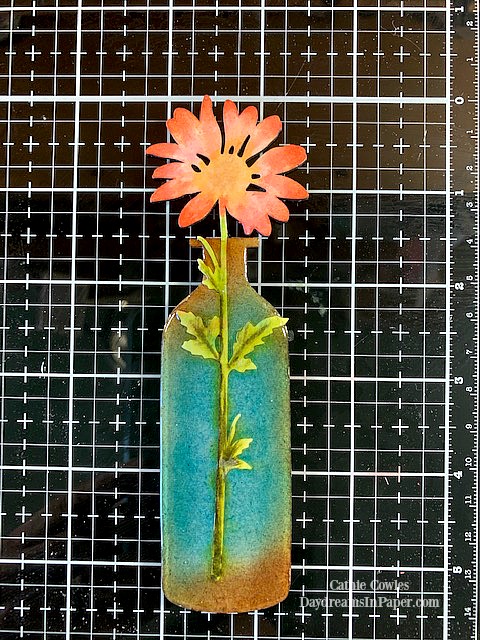
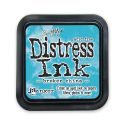
To create the flower and vase, die cut the tall bottle from the Tim Holtz Bottled Up Bigz die out of heavy cardstock or cardboard. I used grunge board that I had in my stash. Ink the center of the bottle with Broken China Distress Ink and the edges with
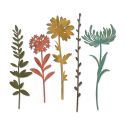
Vintage Photo Distress Ink. Next, cut a large flower from the Tim Holtz Wildflower Stems die set and color the leaves with Peeled Paint and Forest Moss Distress Inks. Color the flower with Tattered Rose Distress Ink and Fossilized Amber Distress Ink for the center of the flower. I used a water brush and the inks to color the flower. To adhere the flower to the vase, place the flower stem over the vase where you want it to set and carefully apply Glossy Accents over the entire vase and flower stem. Be careful not to apply too much or it will run off the edges.
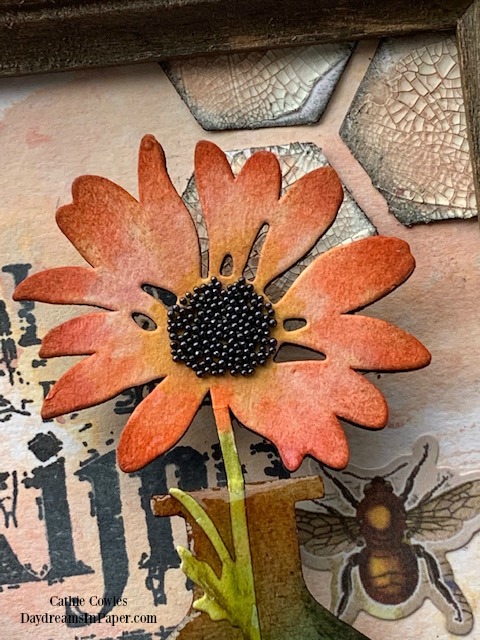
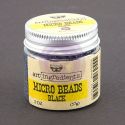
To complete the flower, apply a small amount of Ranger Multi Matte Medium and sprinkle on black micro beads.
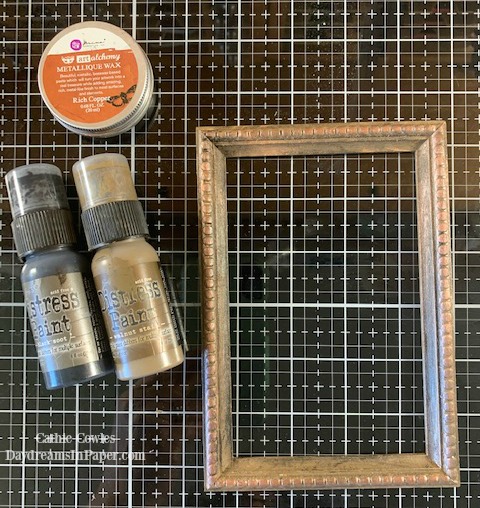
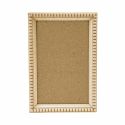
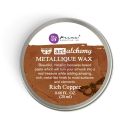
To create the frame, paint the entire piece with Walnut Stain Distress Paint and allow it to completely dry. Next, dry brush on Black Soot Distress Paint very lightly in random areas. Allow that to completely dry. Lastly, rub on Rich Copper Metallique Wax over the beaded area to bring out the design.

To finish the framed panel, add a few pieces of Idea-ology mini gears, a couple of the new Specimen Remnant Rubs and some new Fieldnotes Ephemera pieces.
I hope you enjoyed see how I put together my Springtime Framed Panel and that you found some of the elements of this piece inspiring. Thanks so much for sticking with me to the end and have an awesome weekend!


