
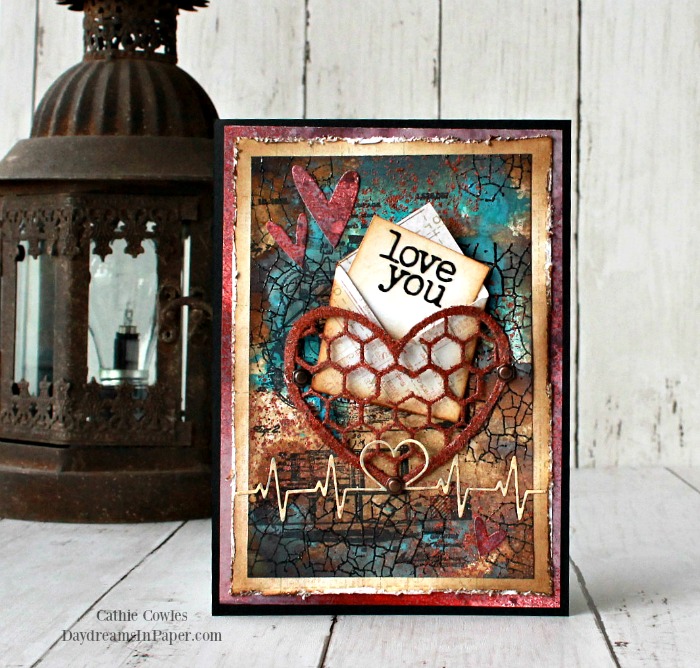
Hi Friends! Today I’ll going to take you through the entire process of the masculine Valentine’s Day card that I gave my husband this year. This design can also be used for an Anniversary card as well. It’s hard sometimes to come up with ideas to make a masculine card especially since my style is usually bright and on the cutesy side, but with Tim Holtz, Stampers Anonymous and some tweeking of a couple Sizzix dies, I think I did a pretty good job. I’ve put together a complete step-by-step for you below to give you some ideas on how you can create a masculine card that I think the man in your life would love. Enjoy!
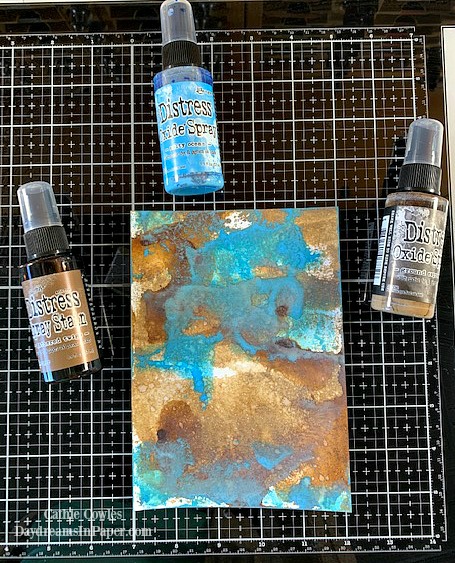
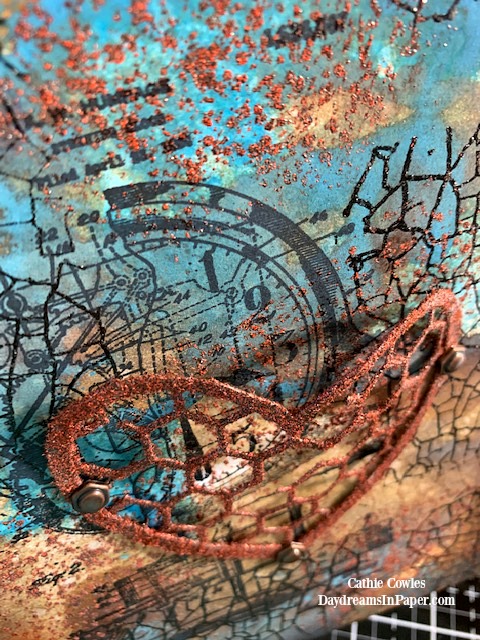
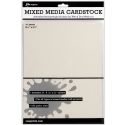
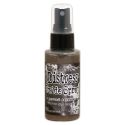
For the main card panel, cut a 4″ x 6″ piece of mixed media paper and spritz it with a little water. On a craft mat or glass media mat, spray Ground Espresso Distress Oxide and swipe the panel through the ink. Spritz with some water to move the ink around and dry with heat tool. Complete this process with Salty Ocean Distress Oxide and Gathered Twigs Distress Spray Stain making sure to dry each color with a heat tool before moving on to the next color. Mixing Oxides and Stains gives a rich depth to the background piece.
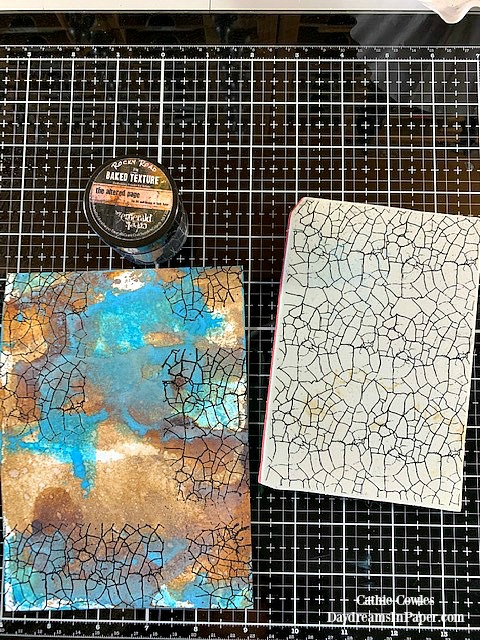
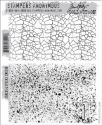
When the panel is completely dry, ink on the Cracks background stamp (CMS186) in random areas around the edges with Versamark embossinig ink. Sprinkle on Emerald Creek Rocky Road Baked Texture and melt the texture with a heat tool.
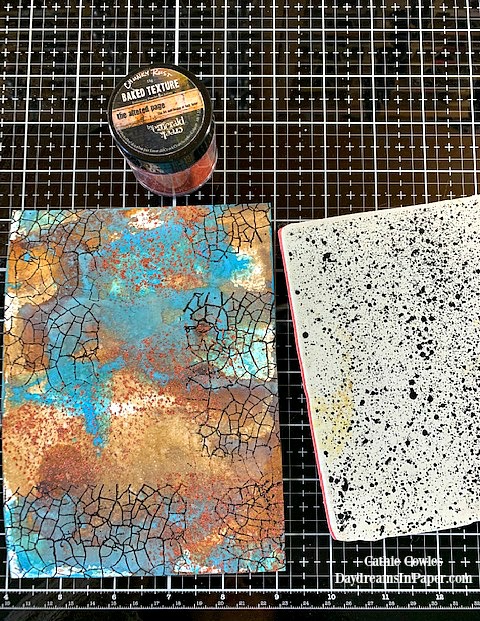
Next, ink on the Specks background stamp (CMS186) in random areas with Versamark Embossing Ink and sprinkle on Emerald Creek Chunky Rust Baked Texture and melt the texture with a heat tool.

Now add the Inventor 1 stamp (CMS340) to the background using Black Soot Archival Ink.
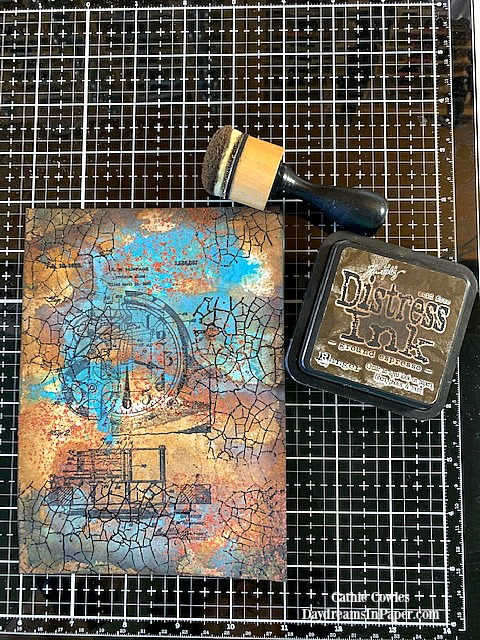
Lastly, ink the edges with Ground Espresso Distress Ink.
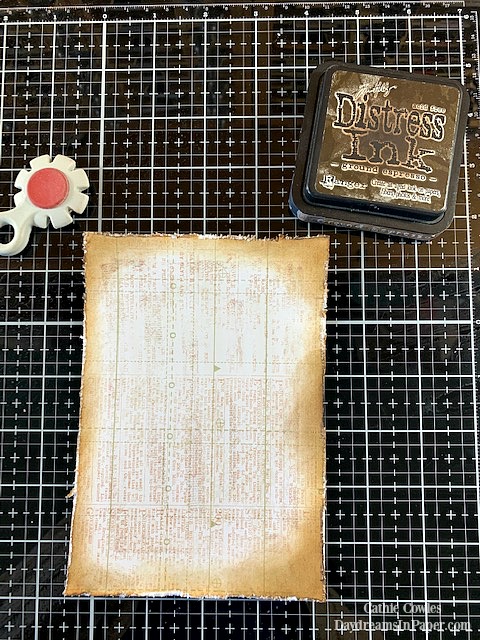
For the second panel, cut a 4-1/2″ x 6-1/2″ piece of designed cardstock from the Tim Holtz Memoranda paper stash and ink the edges with Ground Espresso Distress Ink. Distress the edges with the Tim Holtz Paper Distresser.
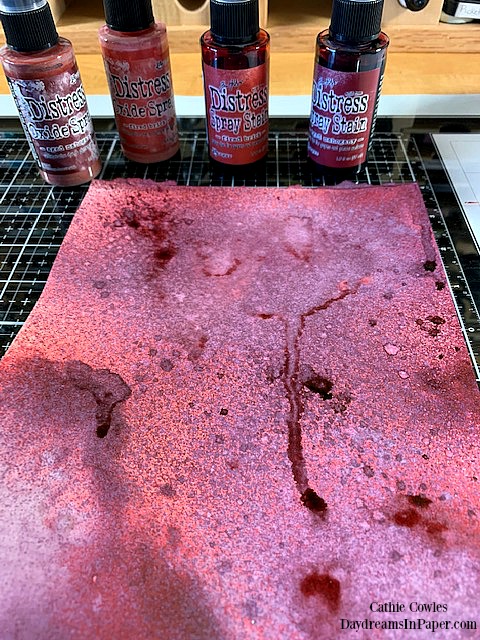
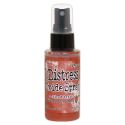
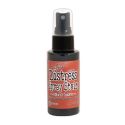
The third panel is a 4-2/4″ x 6-3/4″ piece of mixed media paper that has been colored with Aged Mahogany and Festive Berries Distress Oxide Sprays and also Aged Mahogany and Festive Berries Distress Spray Stain. I achieved this by following the same process with the inks as in Step 1 for the main panel.
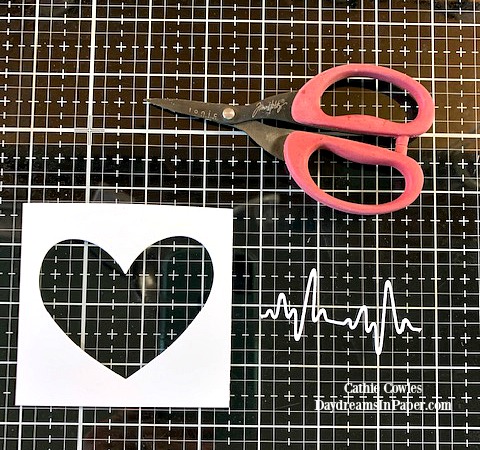
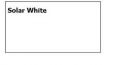
To create the heart die cut the Tim Holtz Heartbeat die out of Neenah Solar White 110 lb. cardstock and cut away the heart rhythm lines from the center of the heart.
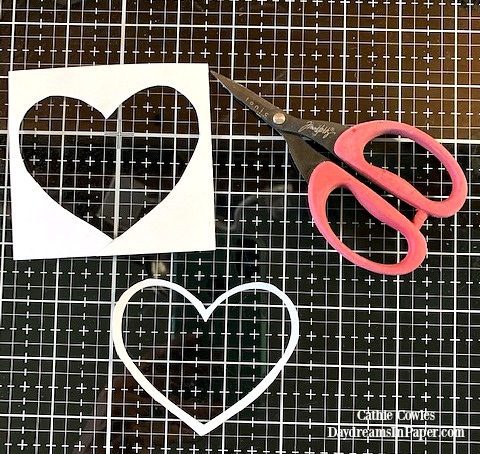
Cut the heart out around the edges as shown above.
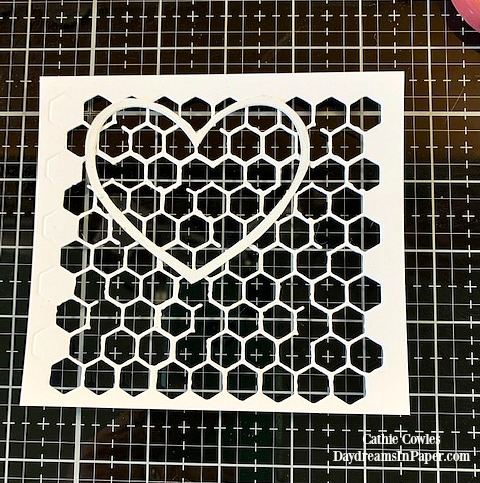
Create a panel of “chicken wire” using the Tim Holtz Pattern Repeat die that looks like honeycomb. Glue the cutout heart on top of the “chicken wire” pattern.
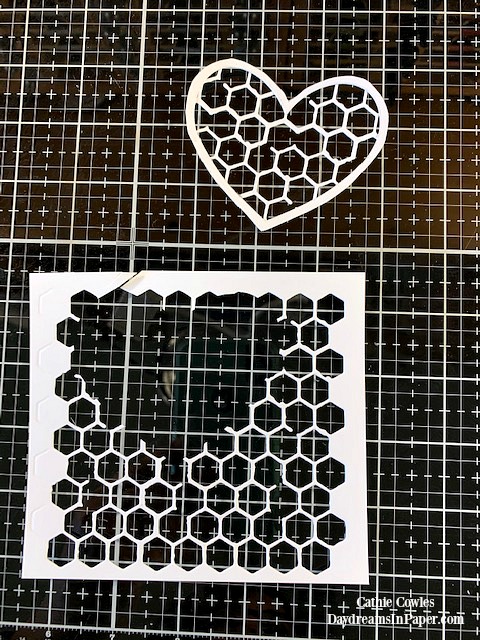
Cut the heart out by following the outer edges of the heart.
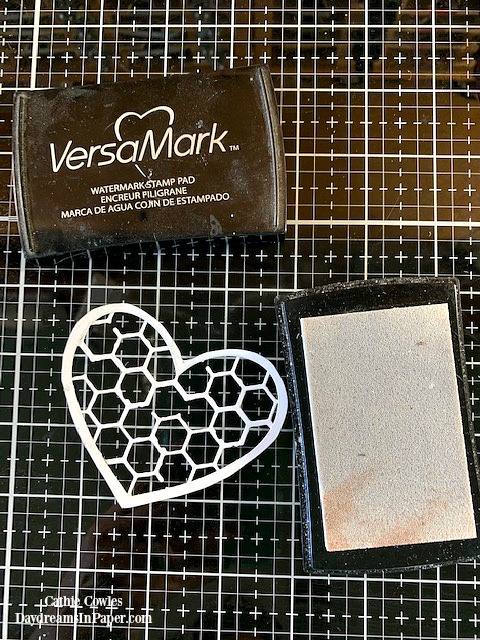
Cover the entire heart piece with VersaMark embossing ink.
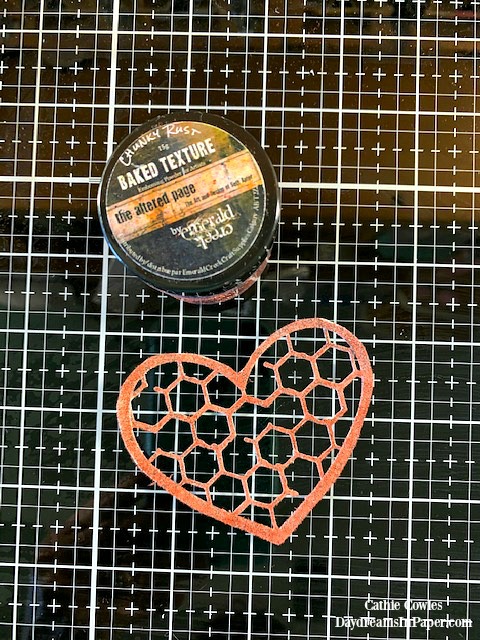
Sprinkle on Emerald Creek Chunky Rust Baked Texture over the entire heart piece and heat with heat tool to melt the texture onto the cardstock. Allow to completely cool before adding another coat of “rust”.

Add another layer of “rust” by repeating the same process again. Cover the entire heart piece with VersaMark embossing ink, sprinkle on the Chunky Rust baked texture and heat it with a heat tool. Set this aside to completely cool.
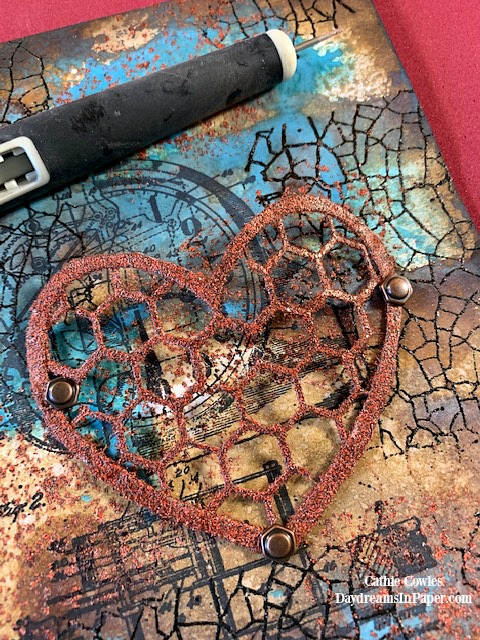
Attach the heart to the center of the panel using Hex Fasteners.You want to attach the heart in such a way that it puckers and creates a sort of pocket where you will put the envelope with love note. Do this by gently bending the heart (do not crease it) and place the Hex Fasteners on the right and left in the spot where it will keep the heart in this position.
This is what it should look like when viewing the card from above. See the pocket? This is where you will place your envelope with love note.
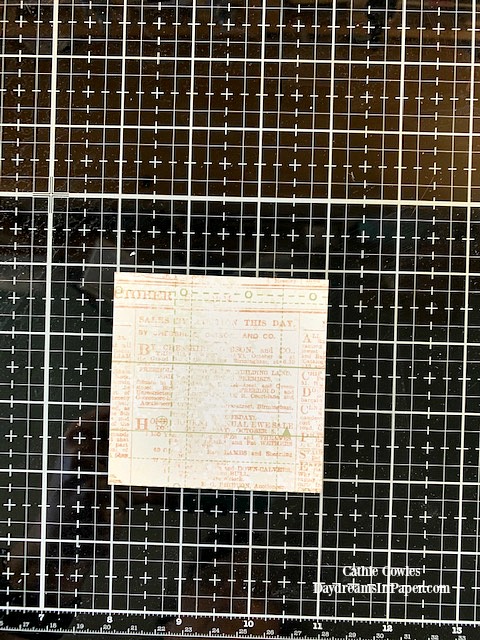
To create an envelope that will fit perfectly inside the heart, cut a 3″ x 3″ piece of Tim Holtz designed cardstock from the Memoranda paper stash collection.
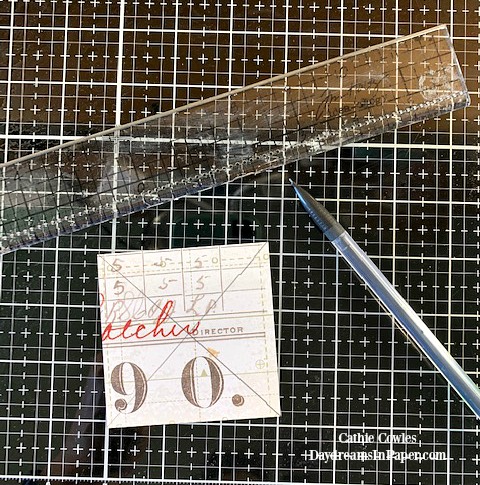
Draw lines from corner to corner with a pencil as shown above. Use a ruler so the lines are straight. I drew the lines darker so you could see them but make sure to draw them lightly so they are easy to erase later.
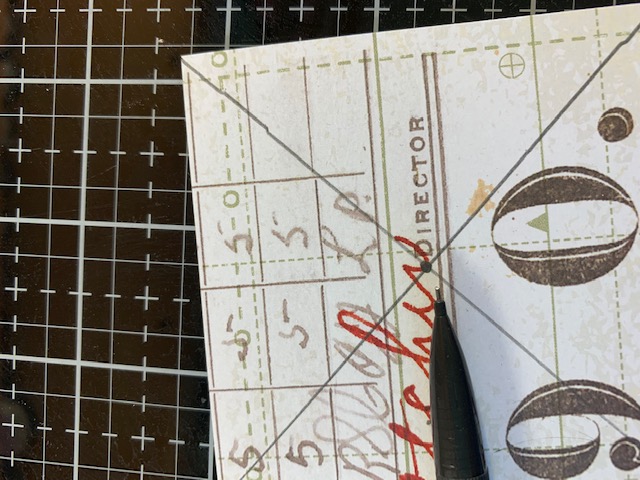
Mark the center of the 3″ x 3″ piece of cardstock by drawing a dot where the lines intersect.
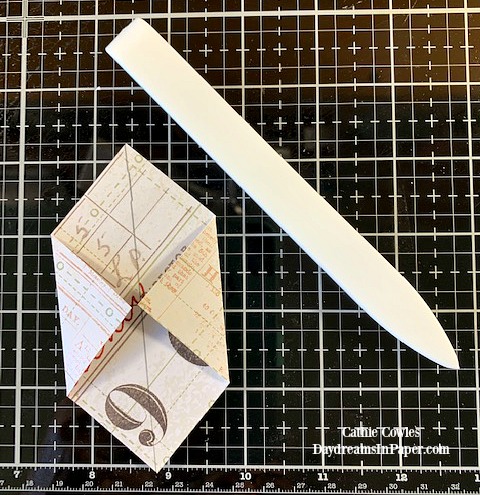
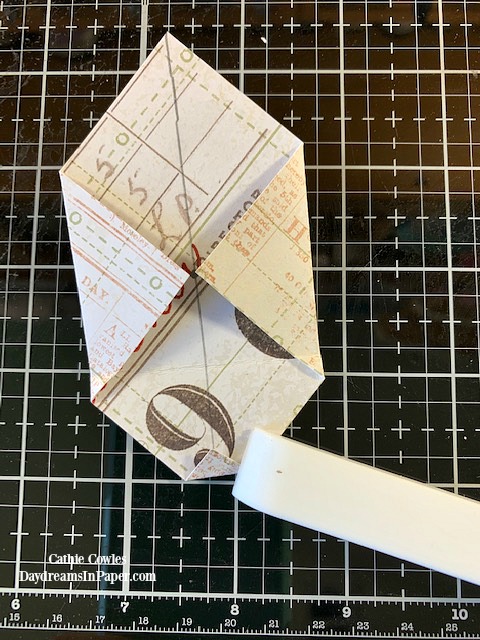
Turn the piece of cardstock so it looks like a diamond. Fold the left and right points of the diamond to the center dot and crease with a bone folder.
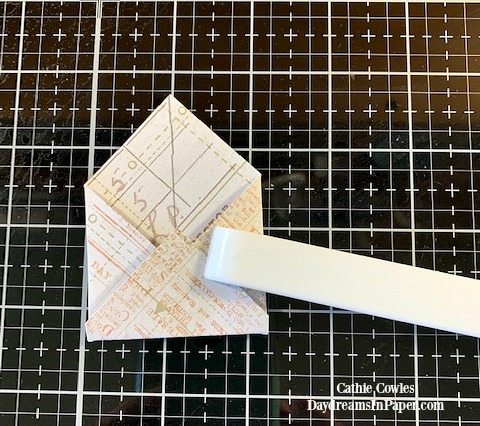
Now, fold the bottom point to the center just slightly above the dot marked with the pencil and crease with a bone folder.
Open the bottom and create a small crease at the tip of the point with a bone folder as shown above.
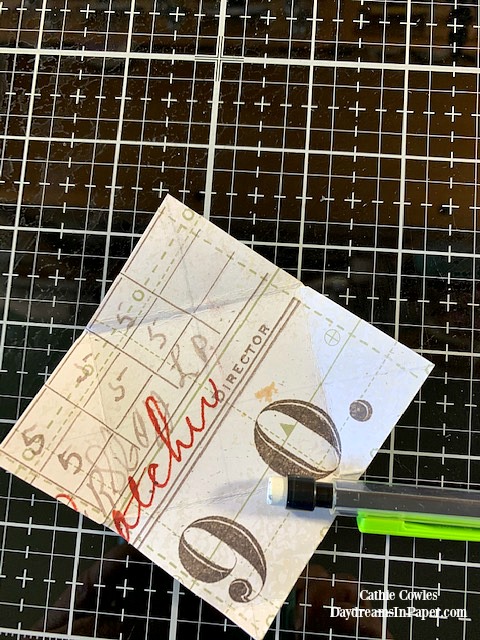
Open the entire piece and erase the pencil marks.
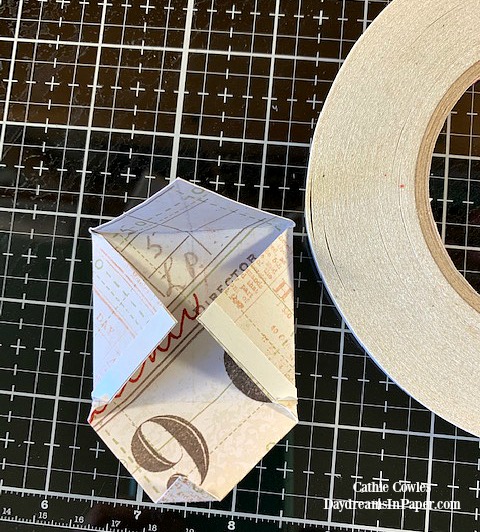
Now that the lines are erased, fold the centers together and add a small piece of double sided tape to the edges as shown above.
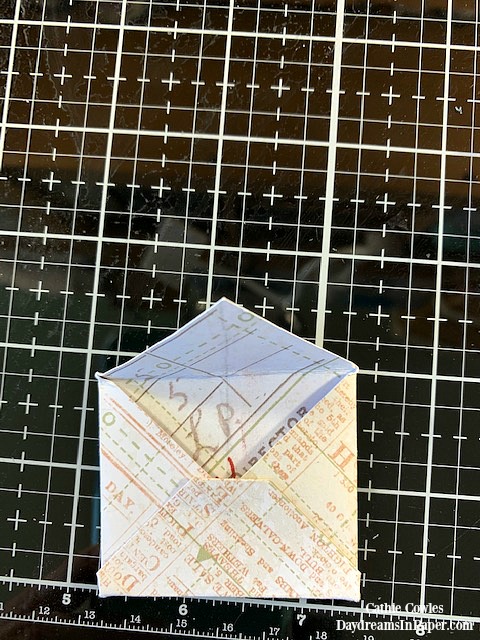
Fold the bottom half of the envelope up over the double sided tape.
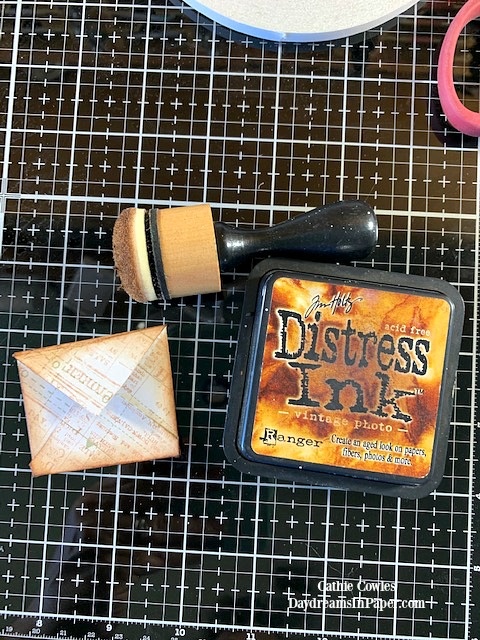
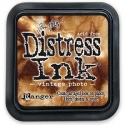
Ink the edges of the envelope with Vintage Photo Distress Ink.
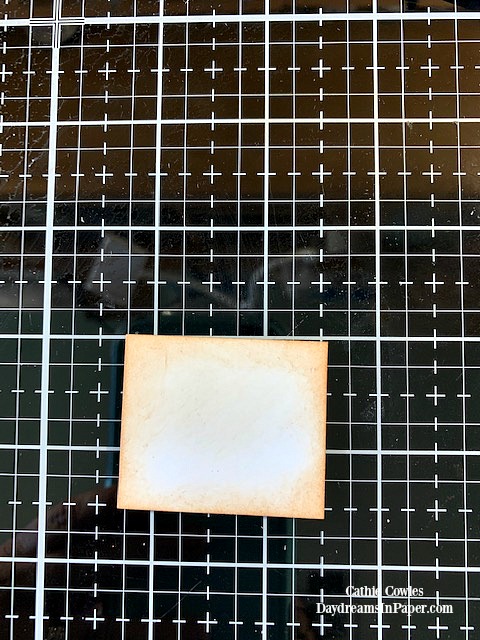
To create the note card that fits inside the envelope, cut a 1-3/4″ x 1-3/4″ piece of Neenah Solar White 110lb. cardstock and ink the edges with Vintage Photo Distress Ink.
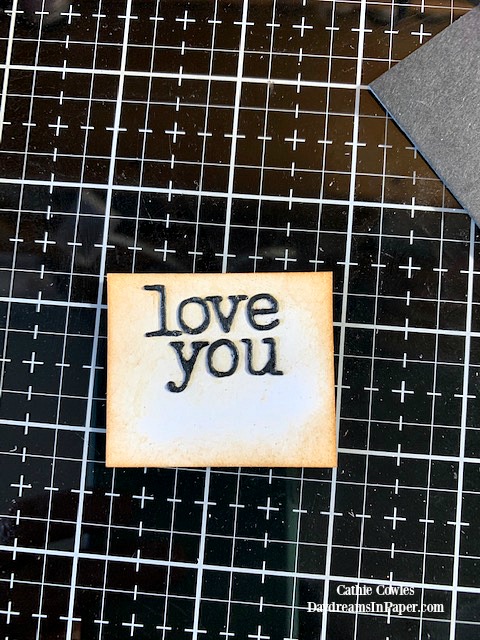
Using the Tim Holtz Tiny Type Lower Case die set, create a message for the note card. Make sure the message will be completely visible when you tuck it into the envelope half way. If you want the note to be private, write whatever you want and tuck it inside the envelope. The notecard will completely fit inside the envelope if you choose to close it.
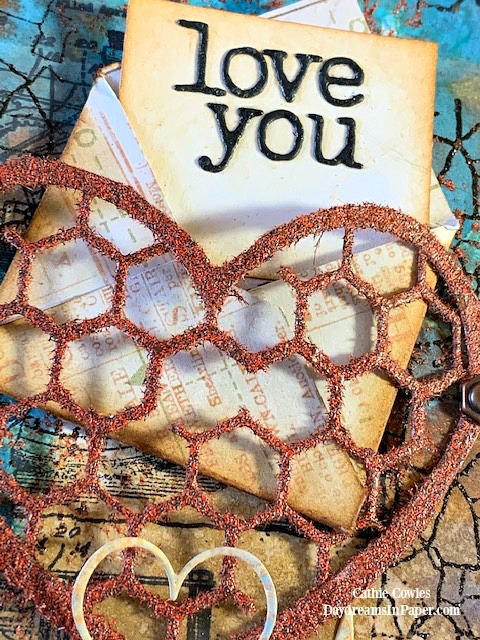
Place a small piece of double sided tape onto the back of the notecard and tuck it into the envelope. Place a small piece of double sided tape on the back of the envelope and tuck it into the heart.
To complete the card, add the heart rhythm die from the Tim Holtz Heartbeat die set to the base of the heart spanning across the card and a few hearts from the Tim Holtz Falling Hearts die set.
I hope you enjoyed this tutorial and that it wasn’t too long. If you’ve stuck with me to the end, I can’t thank you enough. I know how busy we all are and I so appreciate you deciding to spend your time here with me. Thank you, thank you!!


 |
 |
 |
 |
 |
 |
 |
 |
 |
 |
 |
 |
 |
 |
 |
 |
 |
 |
 |
 |
 |
 |
 |
 |
 |
 |
 |
 |
 |
 |


Thank you so sharing your personal Valentine’s Day Card. Really like how you created the heart and I see why the embossing powder is called Chunky Rust…I have it but have yet to use it. Our 46th Anniversary is coming up in a couple of months…thanks for the great ideas….