
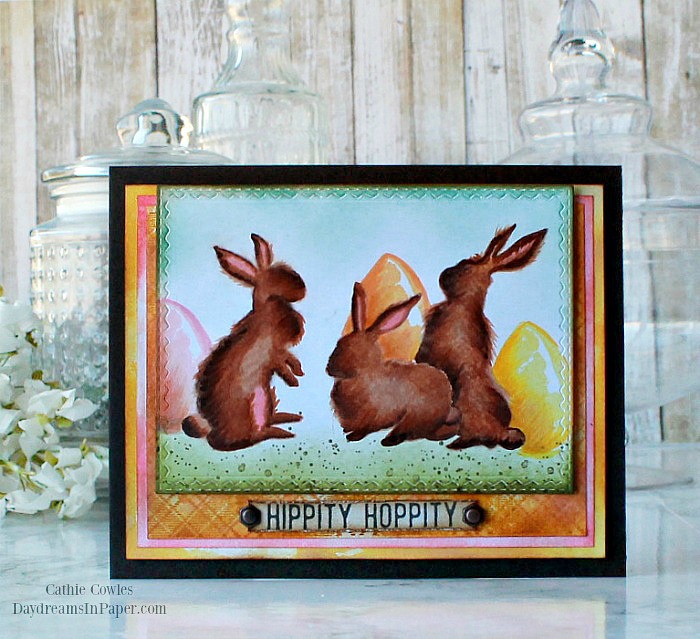
Hi Friends! Have you ever wondered how to color an image using a solid stamp? Well, I’ll show you how to use one to create an image that comes to life by using that solid stamp as a base. I’m using the Tim Holtz Spring Shadows stamp set to create my Hippity Hoppity bunny scene. I colored the bunnies and eggs using some of the tips and tricks I learned in an online coloring class I recently completed. As I mentioned in a previous blog post, I recently took Kathy Racoosin’s class on the Online Card Classes website called, “The Coloring Challenge Road Trip”. You can find the class here. I highly recommend this class and I know you will not be sorry you took the class. She’s an amazing teacher and you will learn a ton of new techniques that will elevate your coloring skills.
For this card, I also used some masking techniques to build the scene, so I hope you’ll join me below to see how I put it all together.
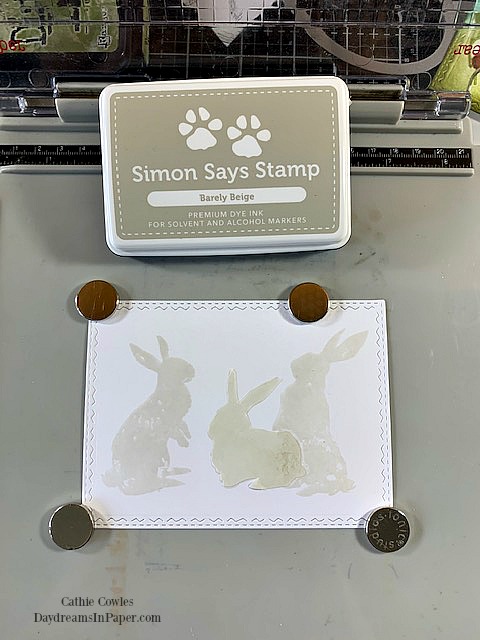
I begin by cutting a piece of Neenah Solar White cardstock and stamping on the three bunnies. I want the bunny on the right to look as though he’s behind the center bunny. To do this, I first stamp the bunny on the left and the bunny in the middle with Simon Says Stamp Barely Beige ink. I create a mask for the center bunny and then stamp the bunny on the left after applying the mask to the center bunny.
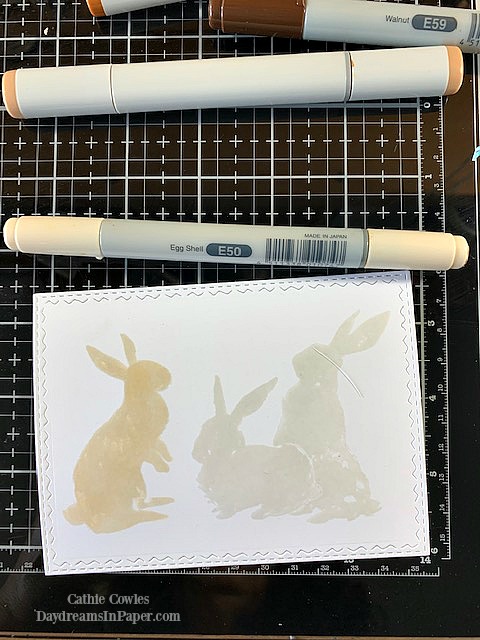
I remove the mask, and you can see above how this technique worked. I color each bunny one at a time since I’m using Copic markers. I start with the bunny on the left and color him with an E50 marker. This will lay the foundation for the other Copic colors I add to color the bunny. I choose the colors for the bunny by using one of the tips Kathy teaches in her class and if you want to find out what that tip is, you will have to take her class.
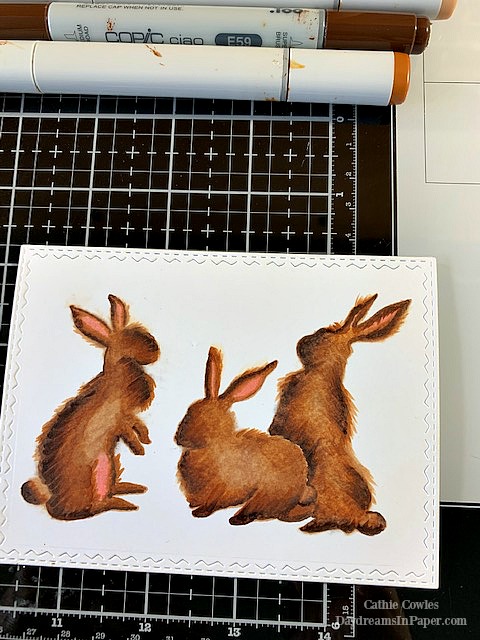
Now that all three of the bunnies are colored, I begin to build the scene using some stamps and Distress Inks.
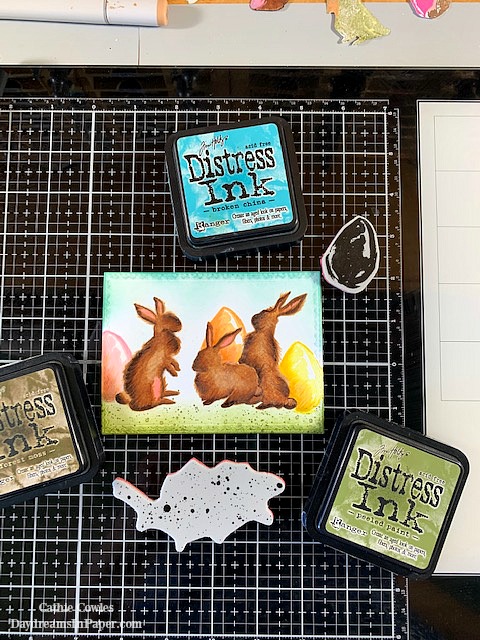
First, I masked each of the bunnies so I could stamp the eggs to look as though they were behind them. Whatever you want to appear in the front of your scene is what you stamp first. Then you cover those images with a mask and stamp the image or images you want to appear behind it.
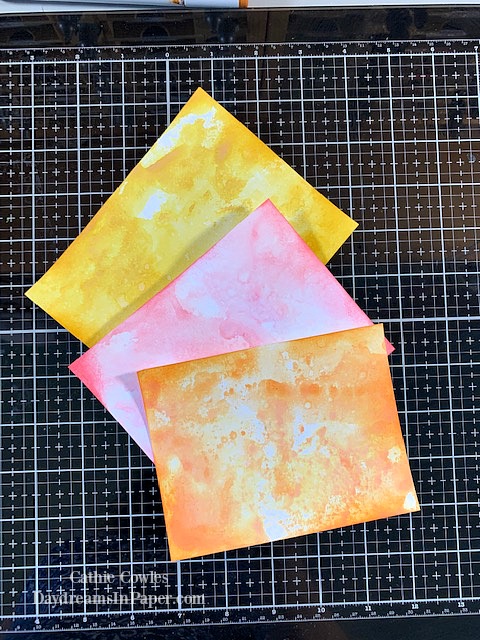
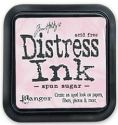
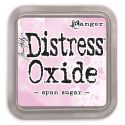
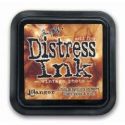
I wanted to create some fun and easy colorful background pieces to place behind the main card panel. I created three panels using the same colors that I used to color the eggs, Spun Sugar, Spiced Marmalada and Squeezed Lemonade. I used a combination of Distress Inks and Oxides. There are three sizes of panels here. The orange being the smallest and the yellow panel being the largest.
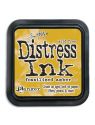
I forgot to take a picture of the orange panel after I stamped it with one of the plaid images from the Tim Holtz Perfect Plaids stamp set. You can see it in the final photo of the card. It was stamped on with Fossilized Amber Distress Ink and then spritzed with a little water to blur the lines.
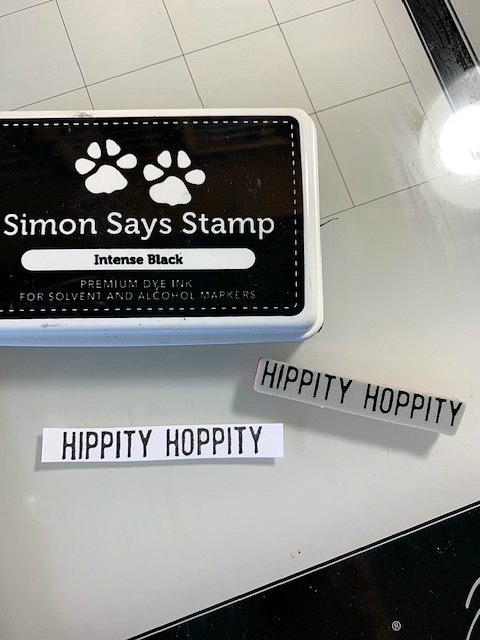
I created a small sentiment piece using the “Hippity Hoppity” stamp from the Tim Holtz Spring Shadows stamp set.
To finish the card I adhered all the colorful spring panels together and adhered them to a piece of Simon Says Dark Chocolate cardstock. I adhered the bunny scene to the top center of the pastel card panels and then attached the sentiment to the bottom center of the scene.
I hope you enjoyed seeing how I put this card together and that you check out Kathy Racoosin’s class on coloring. Thanks so much for stopping by!

Copic Markers Used:
E50 Egg Shell, E34 Toast, E59 Walnut, E99 Baked Clay, R21 Sardonyx, 0 Colorless Blender
 |
 |
 |
 |
 |
 |
 |
 |
 |
 |
 |
 |
 |
 |
 |
 |
 |
 |
 |
 |
 |
 |


