
Hello friends! Today I’m sharing the process of how I made my Santa On His Way vignette piece featured on the Tim Holtz YouTube Live for his Sizzix Christmas release. This is such a fun collection and perfect for so many Christmas making. I love to create vignettes and plan on making more of them in the coming year. Below is a step-by-step tutorial on how I created this vignette that I hope you will enjoy and be inspired by. Thanks so much for being here! Enjoy!

This vignette was inspired by my childhood and how I remember going to bed and dreaming about Santa racing around the world to deliver gifts and bring his magic on Christmas morning. I grew up in Wisconsin and just about every Christmas was snowy and white. I live in Arizona now and it’s very, very different and truly I do miss those white Christmases. So let’s begin.
.
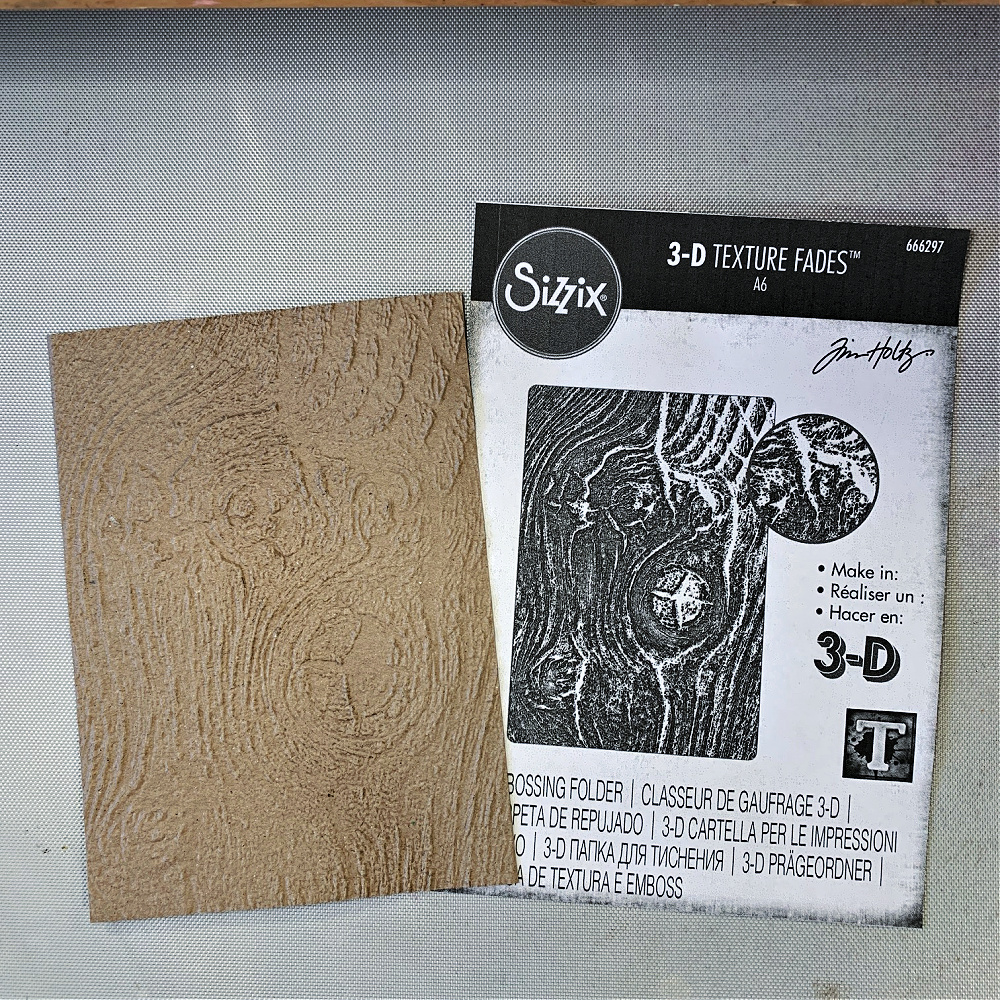
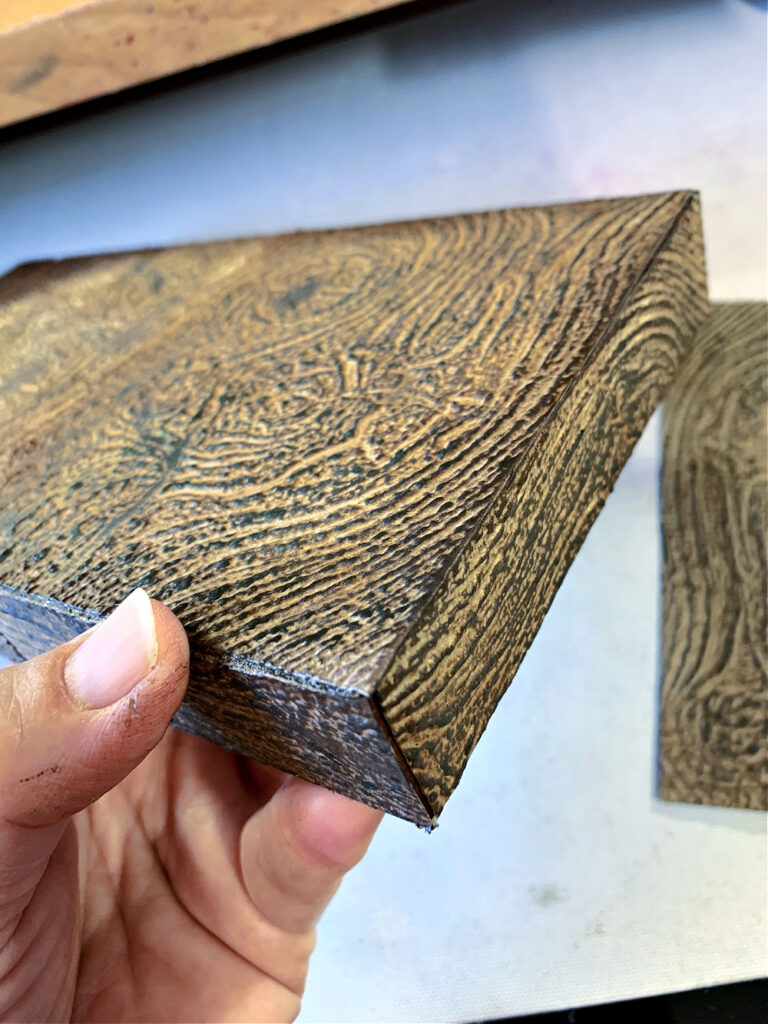
First I want to cover the outside of the vignette box making it look like textured wood. To create that effect, I’m using the new Woodgrain 3-D embossing folder and emboss that out of Distress Kraft Heavystock. I create several of these pieces to cover the entire back and sides of the box.
.
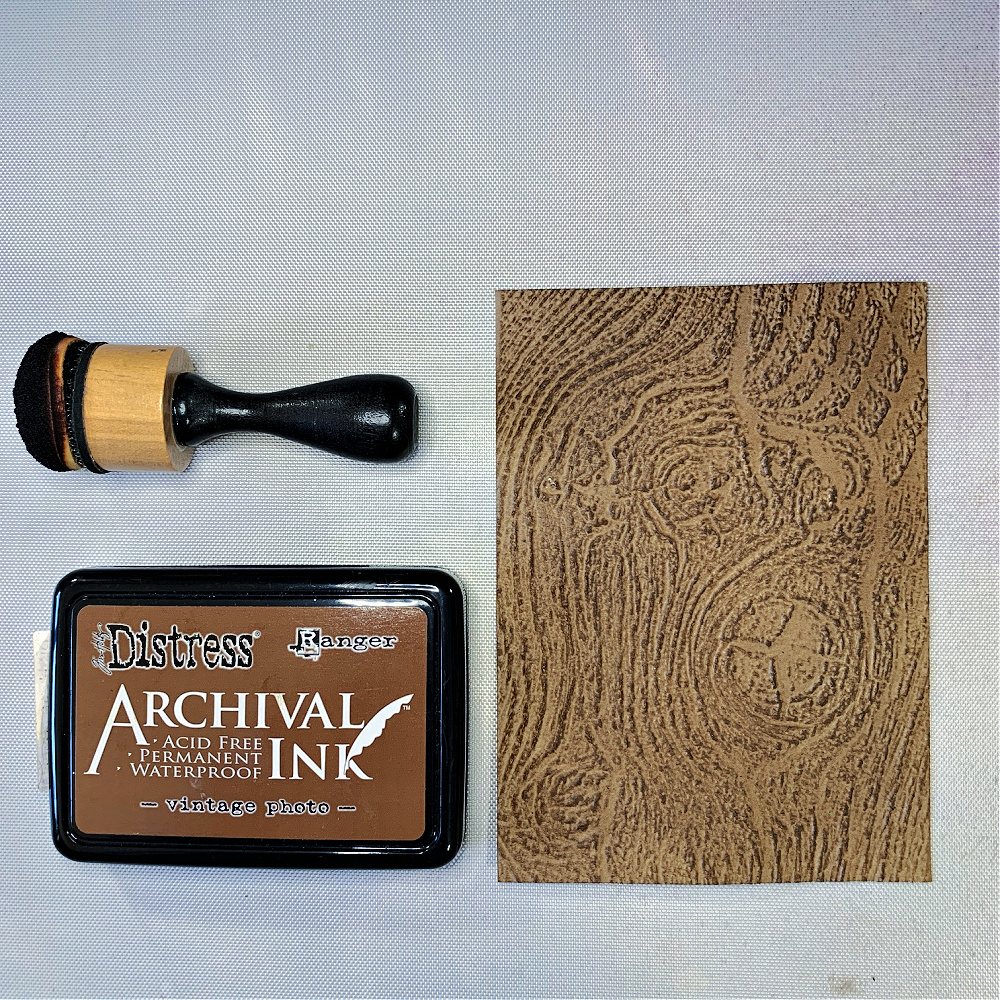
There are several ways to ink the embossed woodgrain but I’ll share the process I used. After embossing the paper I go over the embossed areas with Vintage Photo Distress Archival Ink.
.
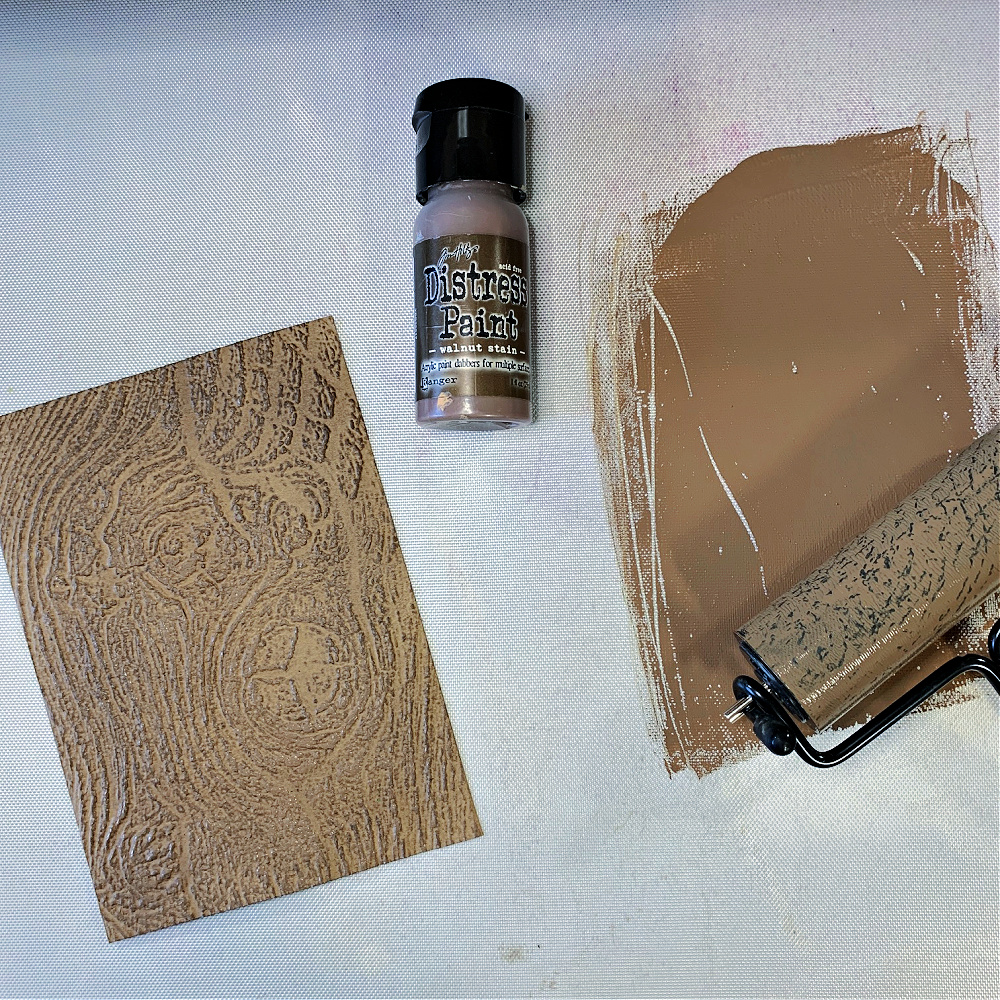
Next, using Walnut Stain Distress Paint apply a layer over the entire surface with a brayer. Do not allow to dry.
.
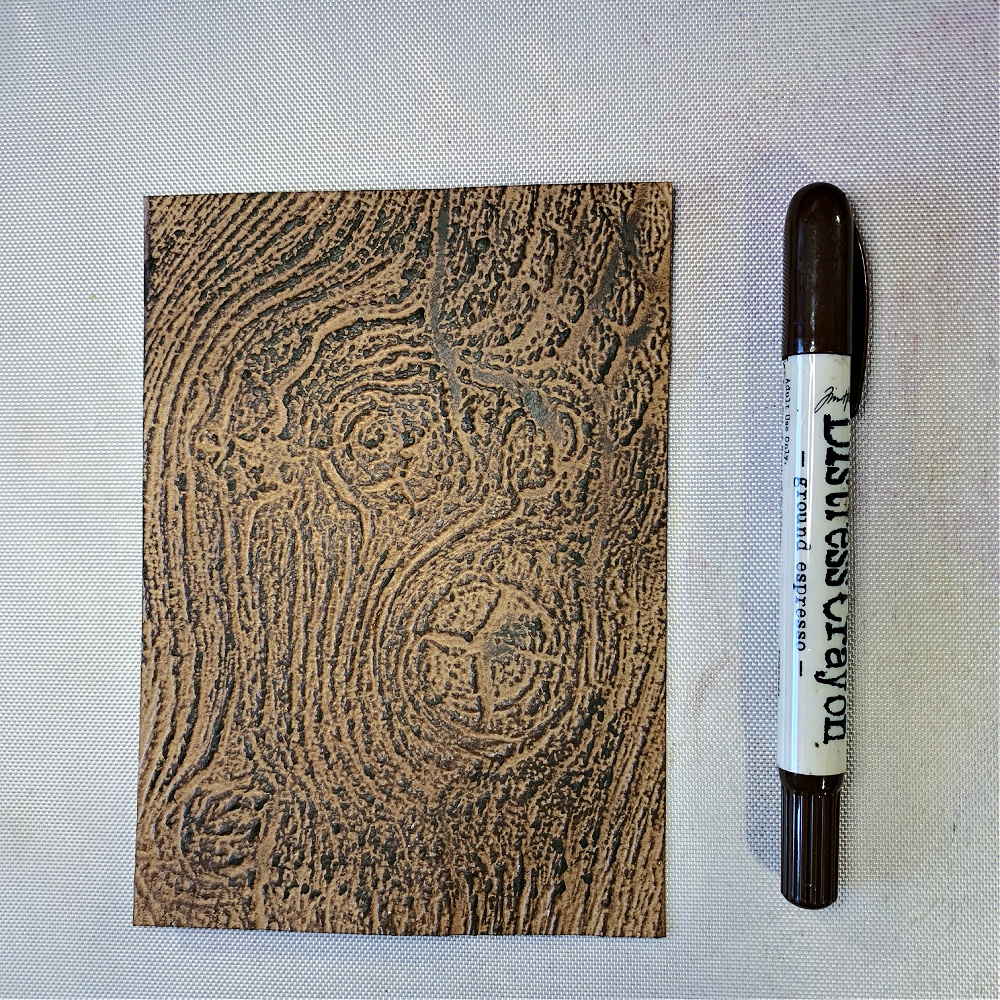
Before the paint dries, go over the embossed area with Ground Espresso Distress Crayon and rub in with your fingertip. Allow all the pieces to completely dry.
.
Measure the outside sides and back of the vignette box and cut pieces accordingly. Apply each piece using Distress Matte Medium and allow to completely dry. When the glue is completely dry, ink the edges with Walnut Stain Distress Archival Ink.
.

Next, I cover the inside sides with white gesso and after it dries I paint over it with Distress Picket Fence paint. Set aside to dry.
.
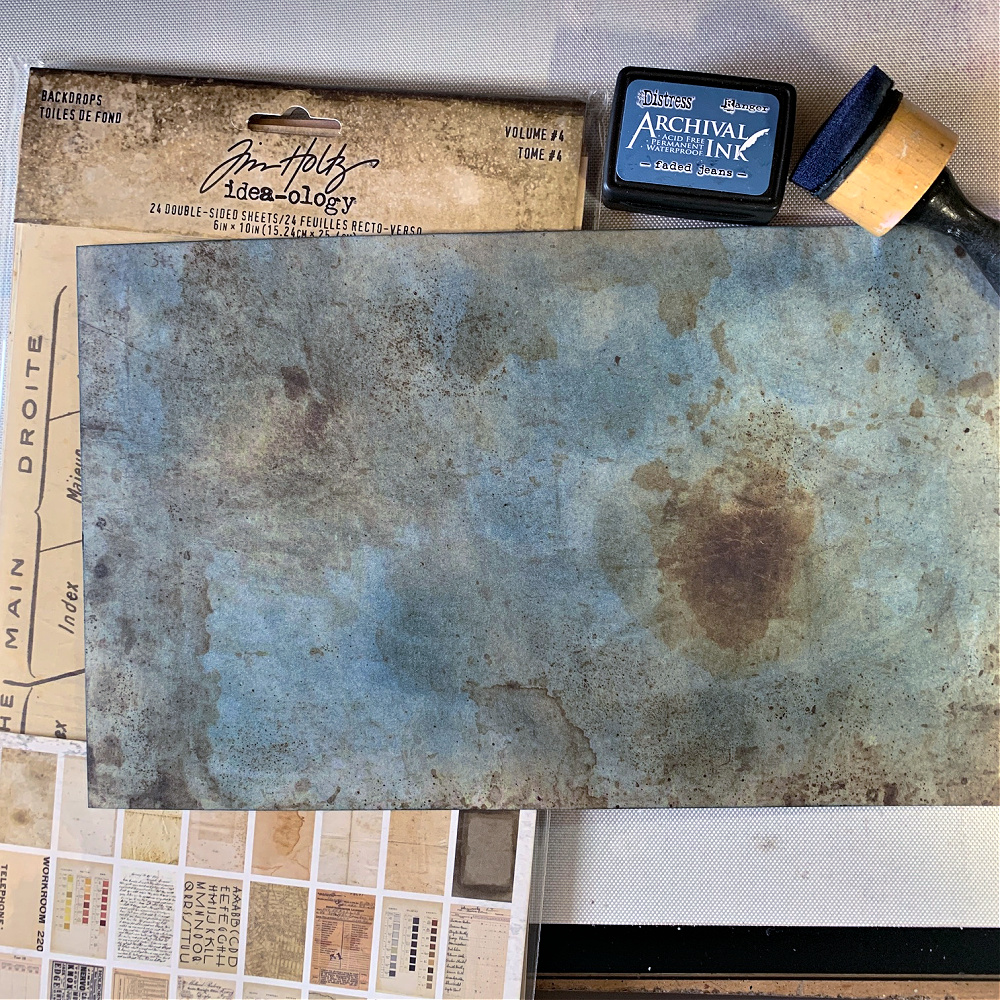
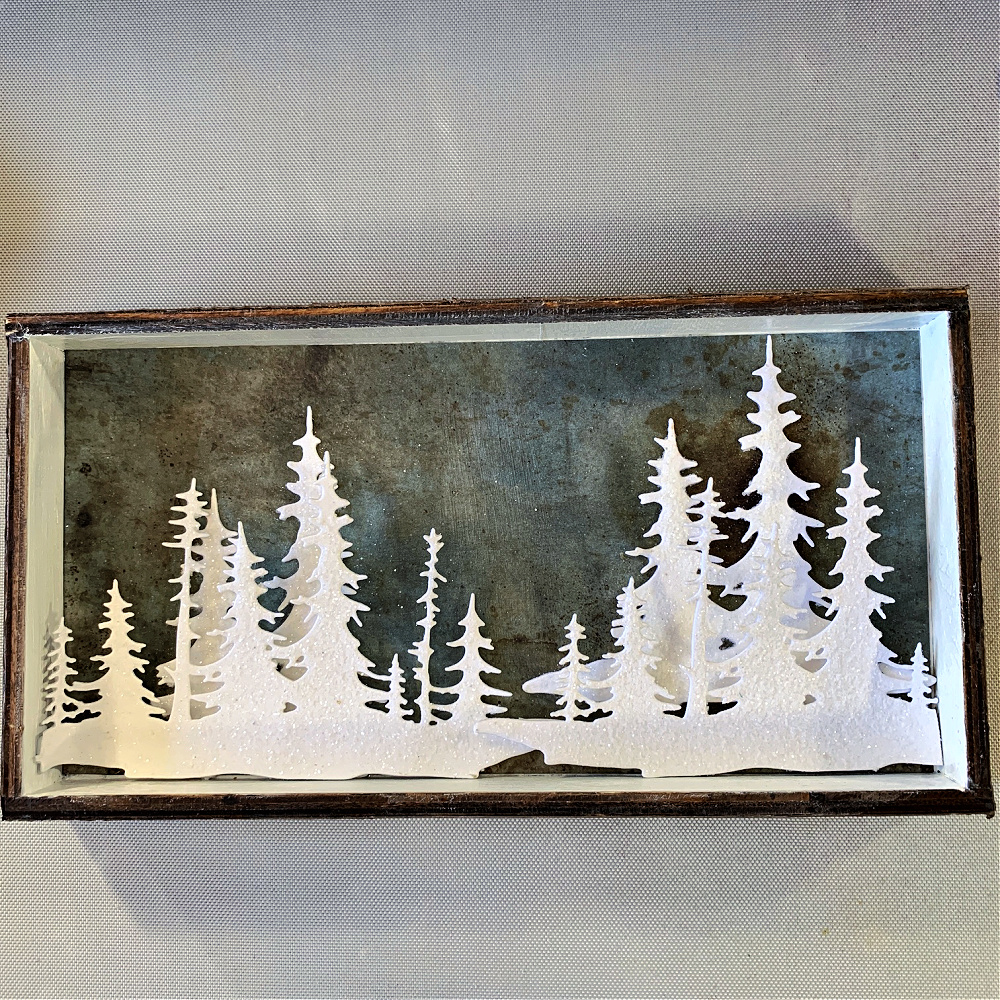
To create the sky behind Santa and the trees, I used a piece of Tim Holtz backdrop paper and inked it with Faded Jeans Distress Archival ink to make it more blue.
.
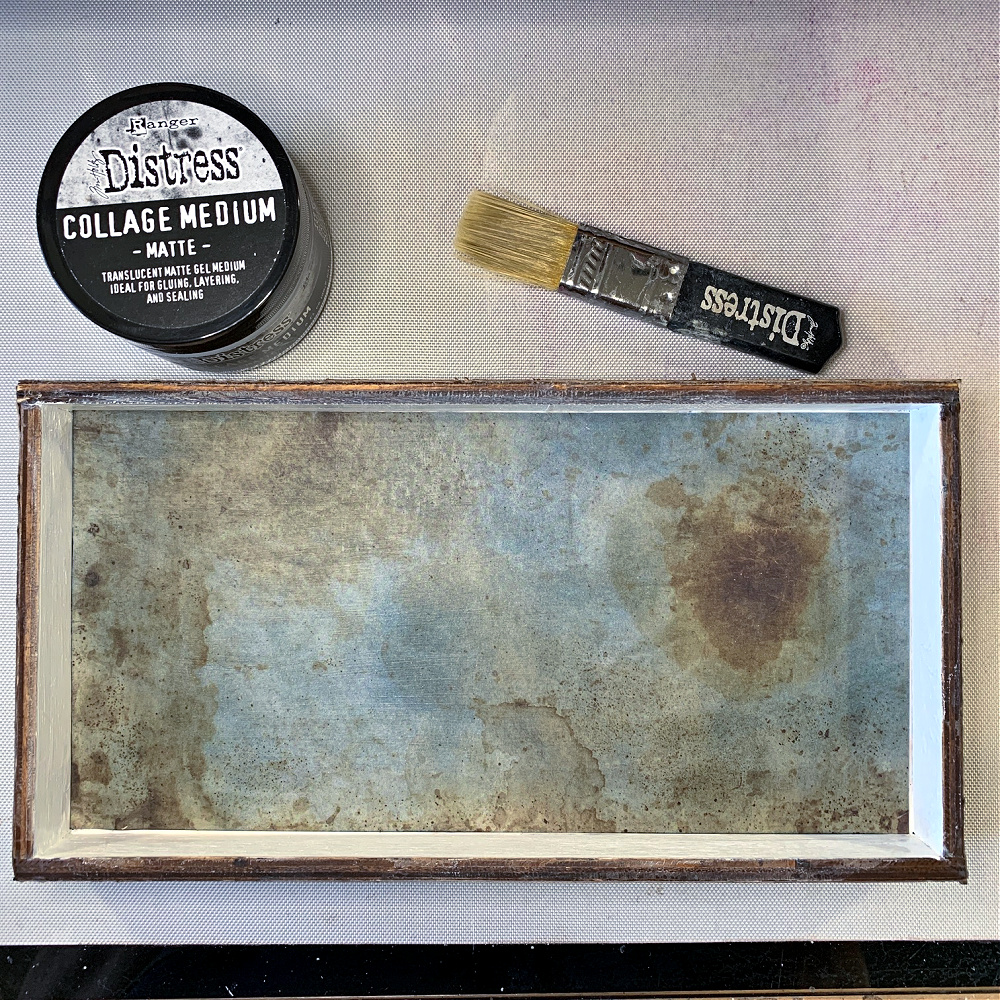
Adhere the backdrop piece to the inside of the vignette box with Distress Collage Medium in matte. Set aside to completely dry.
.
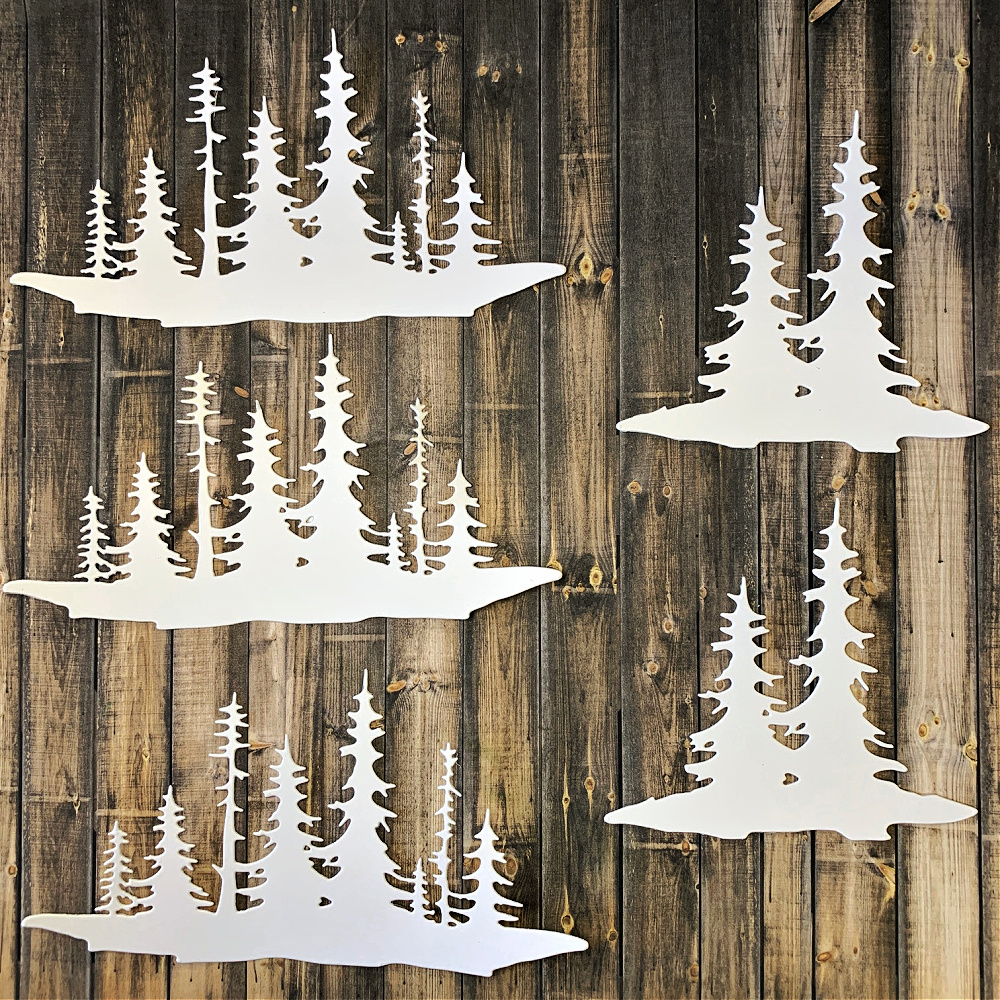
To create the trees, I cut several of them using the Forest Shadows die set and cut them out of Distress white heavystock.
.
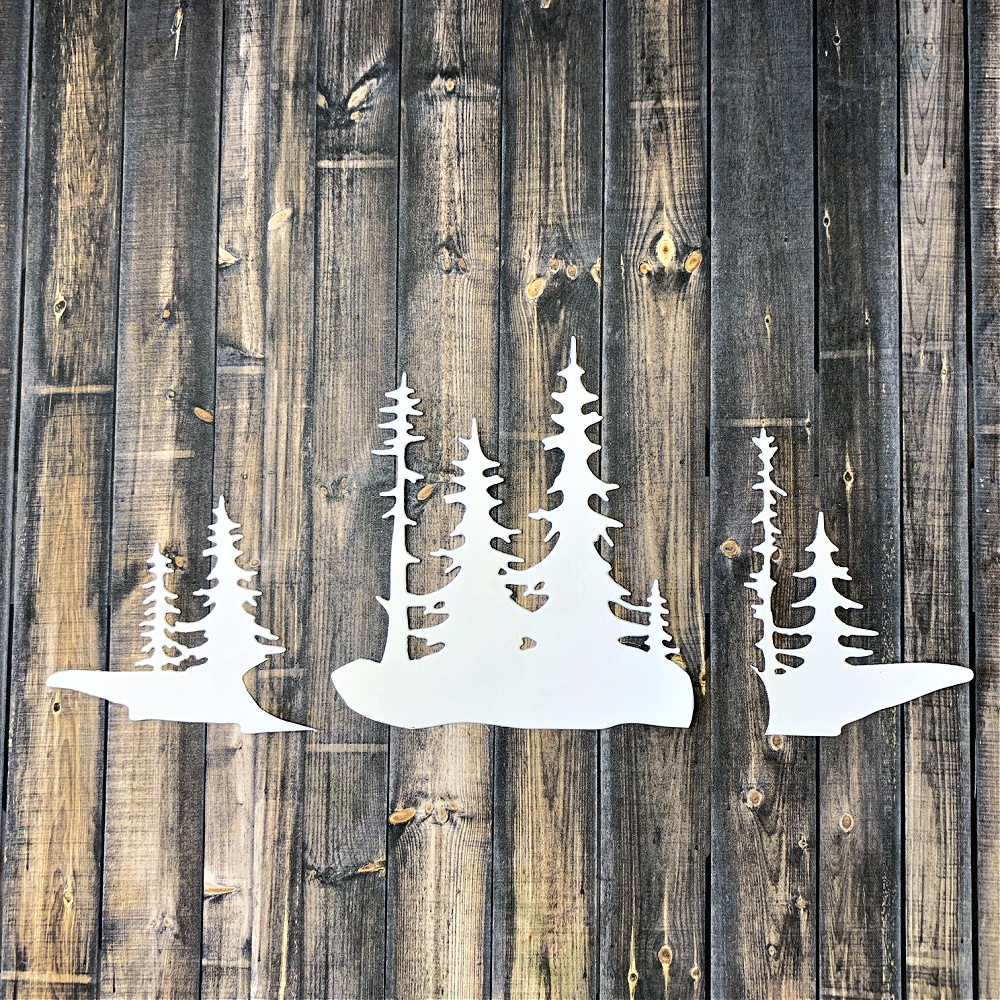
To create a layered tree effect for my background, I cut one of the tree sets into three pieces. That’s one of the things I love about this set so don’t be afraid to cut away even one tree if that’s all you need.
.
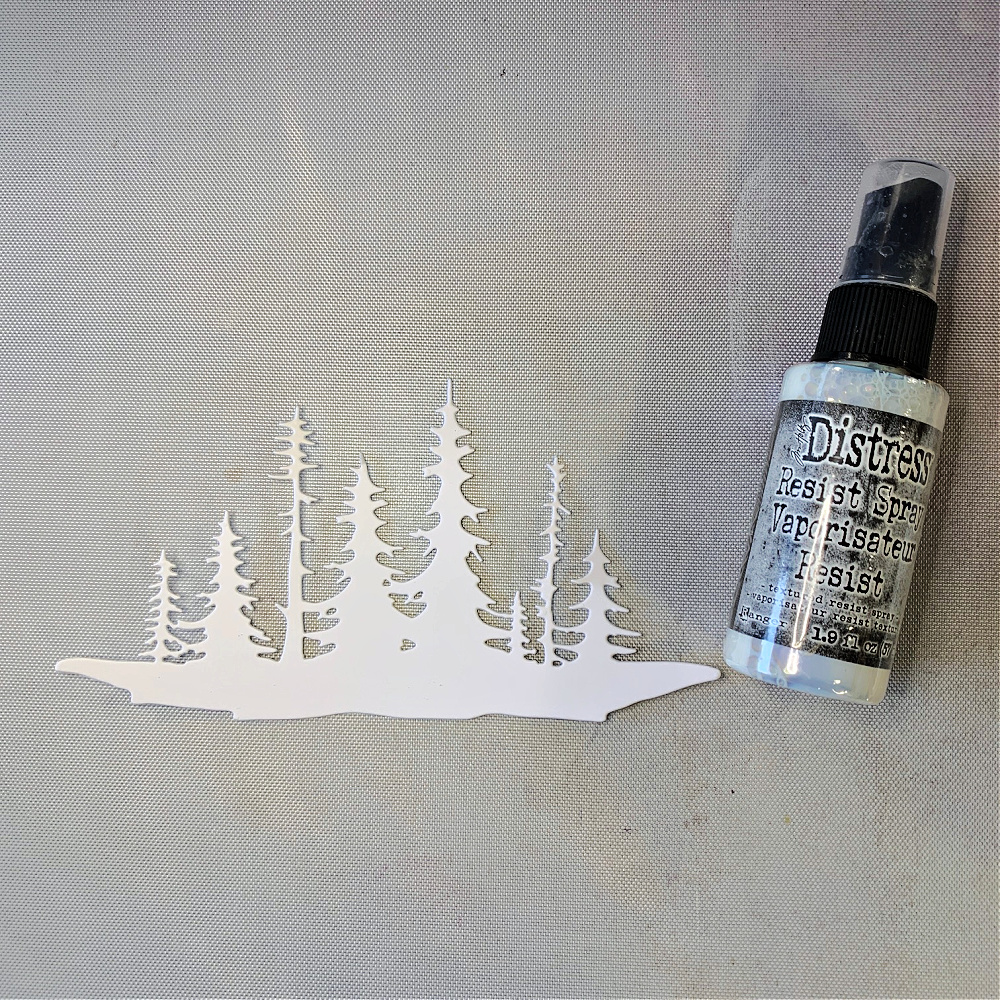
To add the rock candy to the trees to make them all snowy and sparkly, spray with Distress Resist Spray. This dries quickly so only spray one at a time before adding the Distress Rock Candy glitter.
.
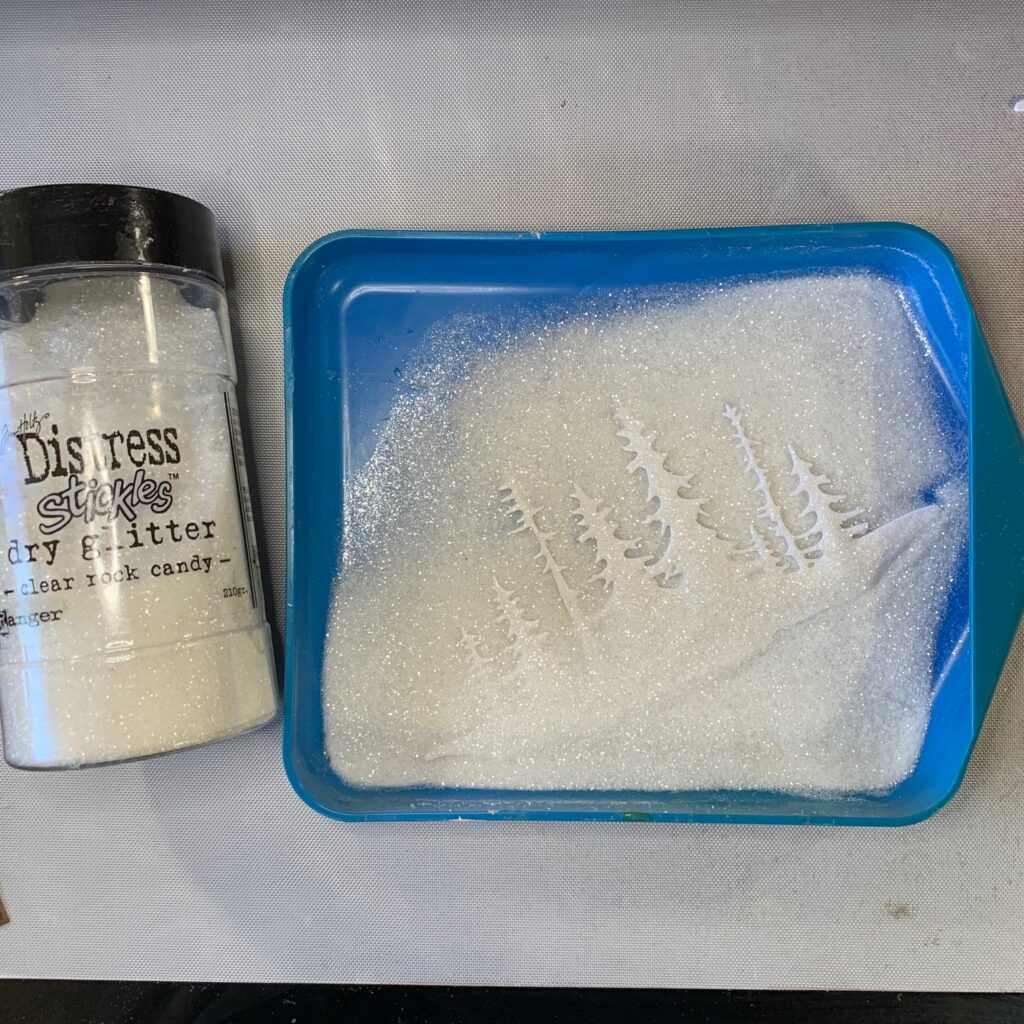
Working quickly after spraying the trees with Distress resist spray, cover with Distress Dry Glitter Rock Candy. Set the piece aside to completely dry. Make sure to complete this process one set of trees at a time because the resist spray dries quickly and you want the glitter to stick in all areas. Allow all the trees to completely dry.
.
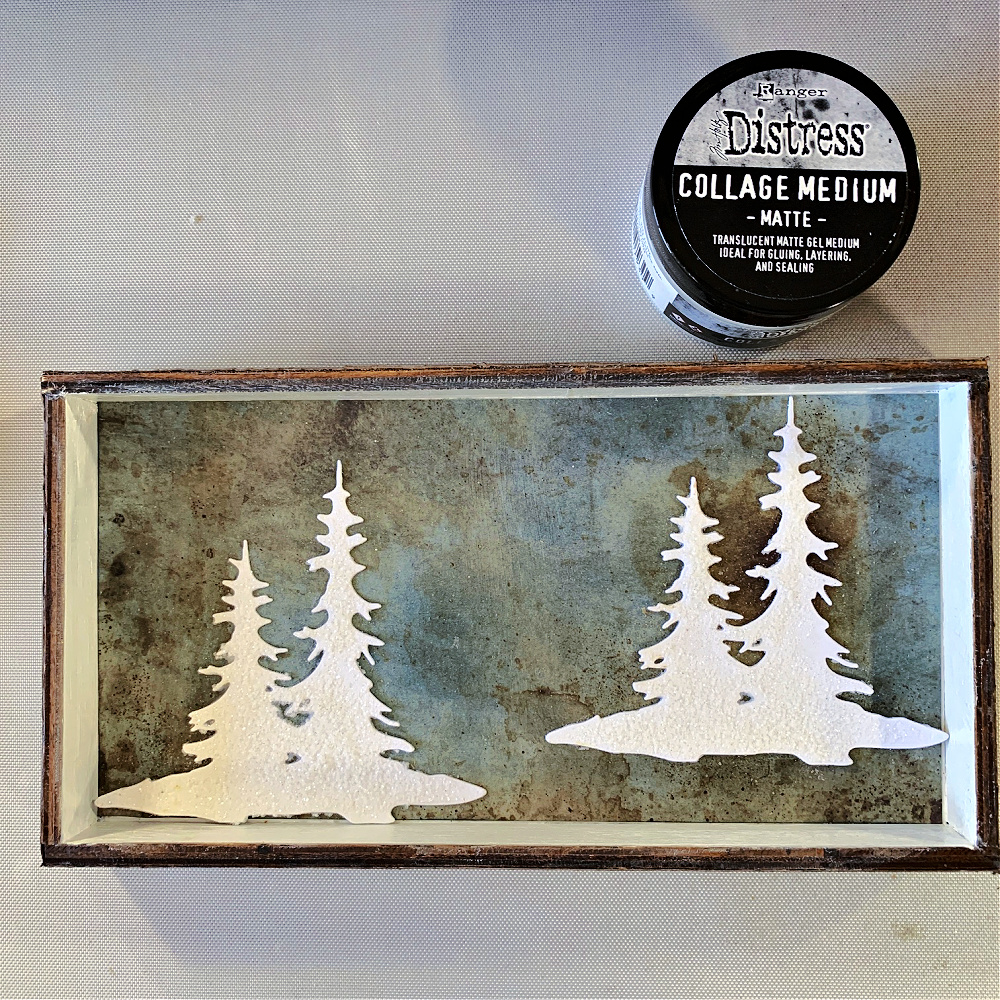
When the trees are dry, begin arranging the trees to the background right against the back.
.
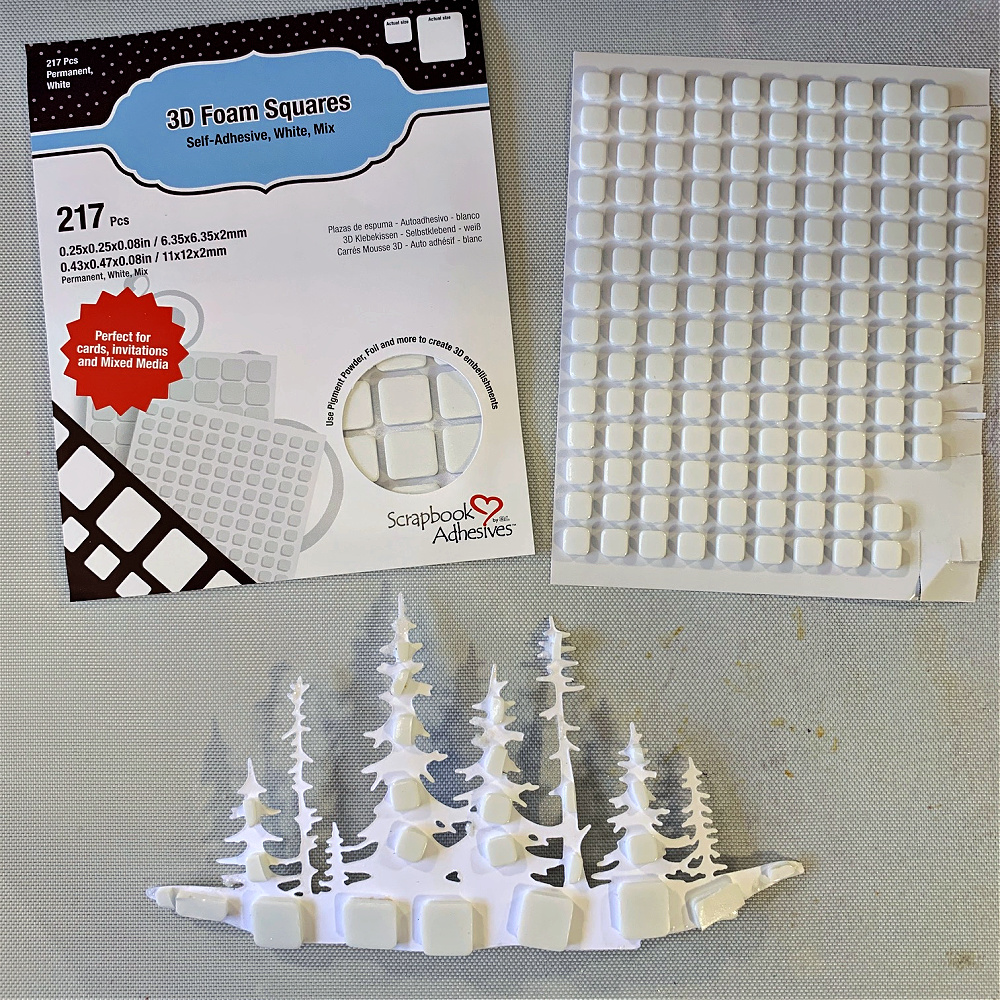
To get dimension on the other trees I’ll be adding to the background, I apply 3-D foam square.
.
Next, I just continue to add trees to create that dimension.
.
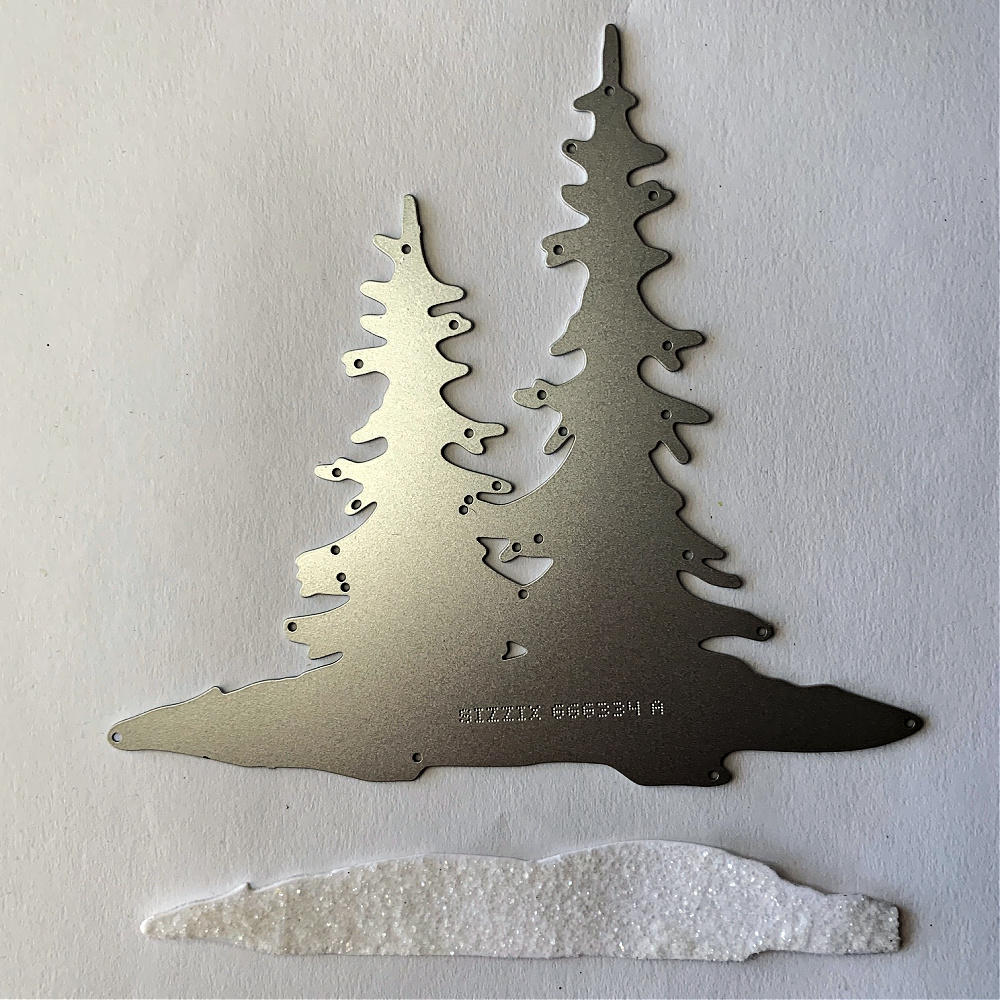
To create some snow in the forefront of the trees, I cut away the snowy area under the tries from the die and completed the same process making them glittery.
.
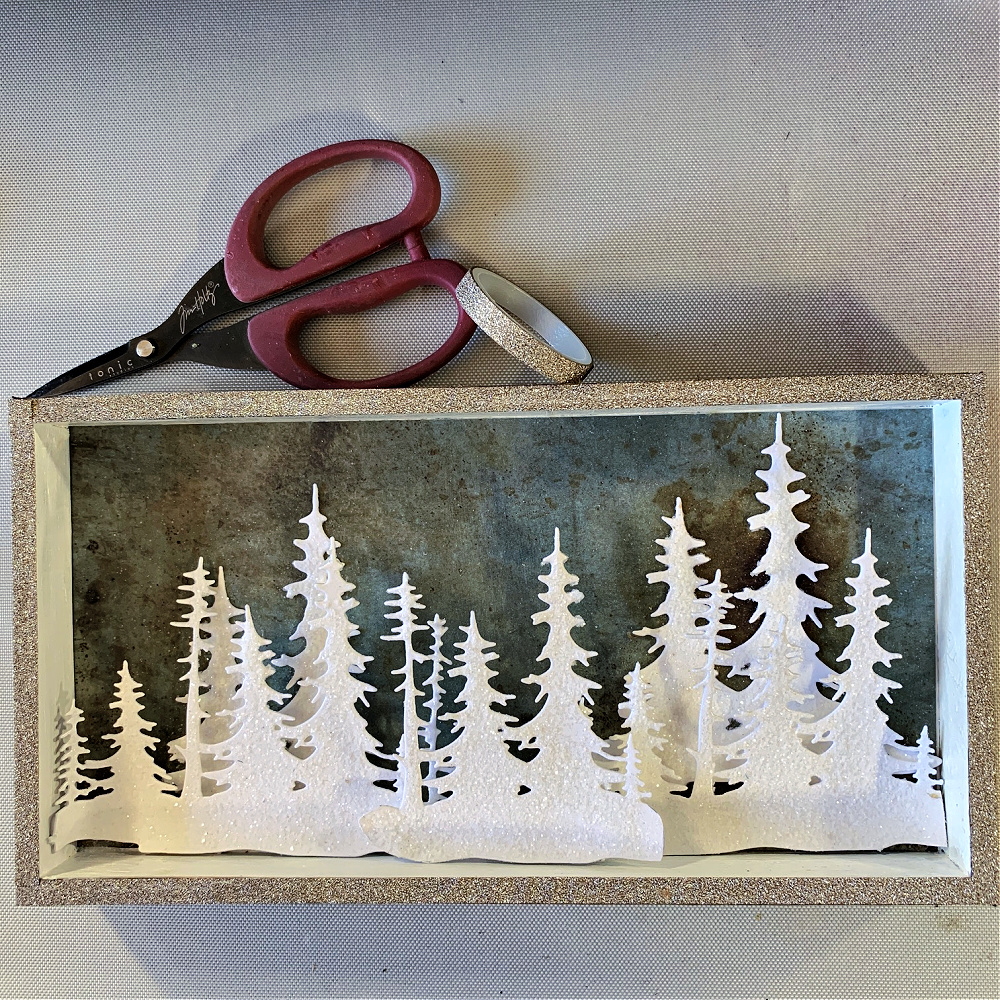
Next, I cover the thin outside edges of the vignette box with glitter tape.
.
.
.
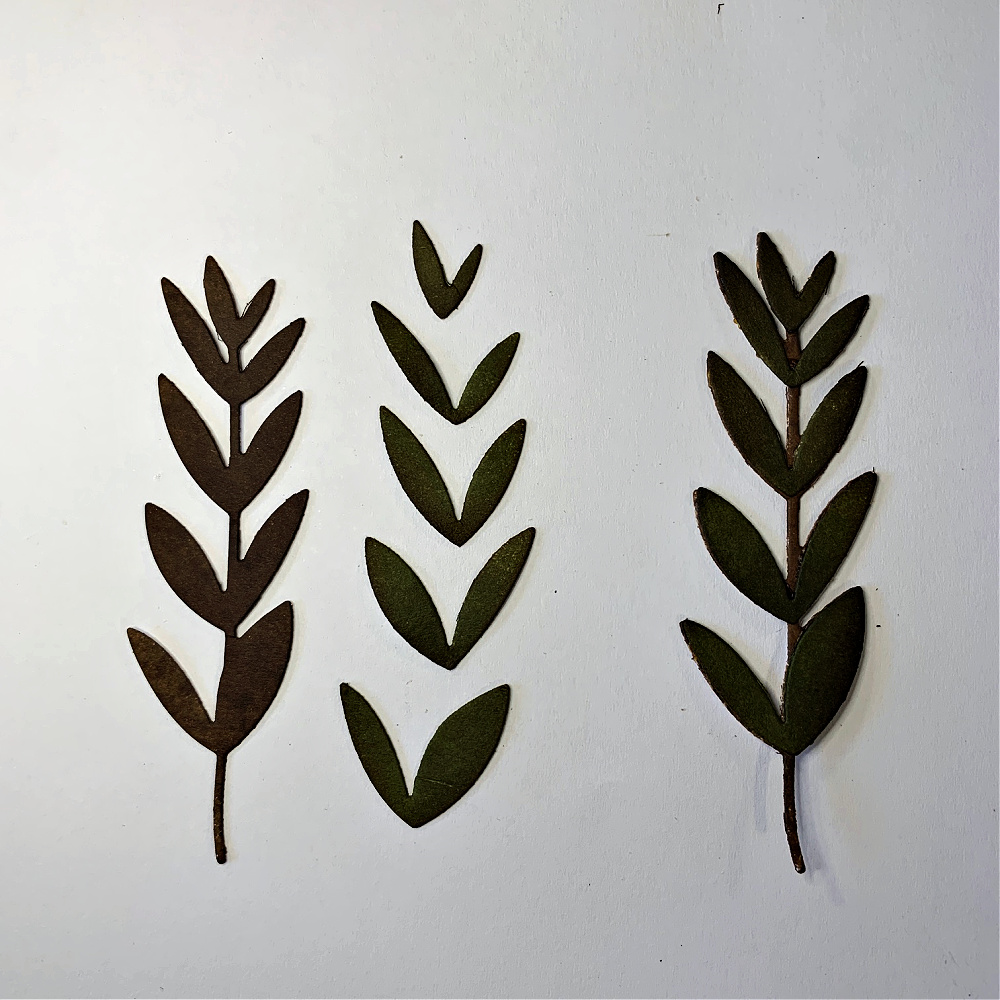
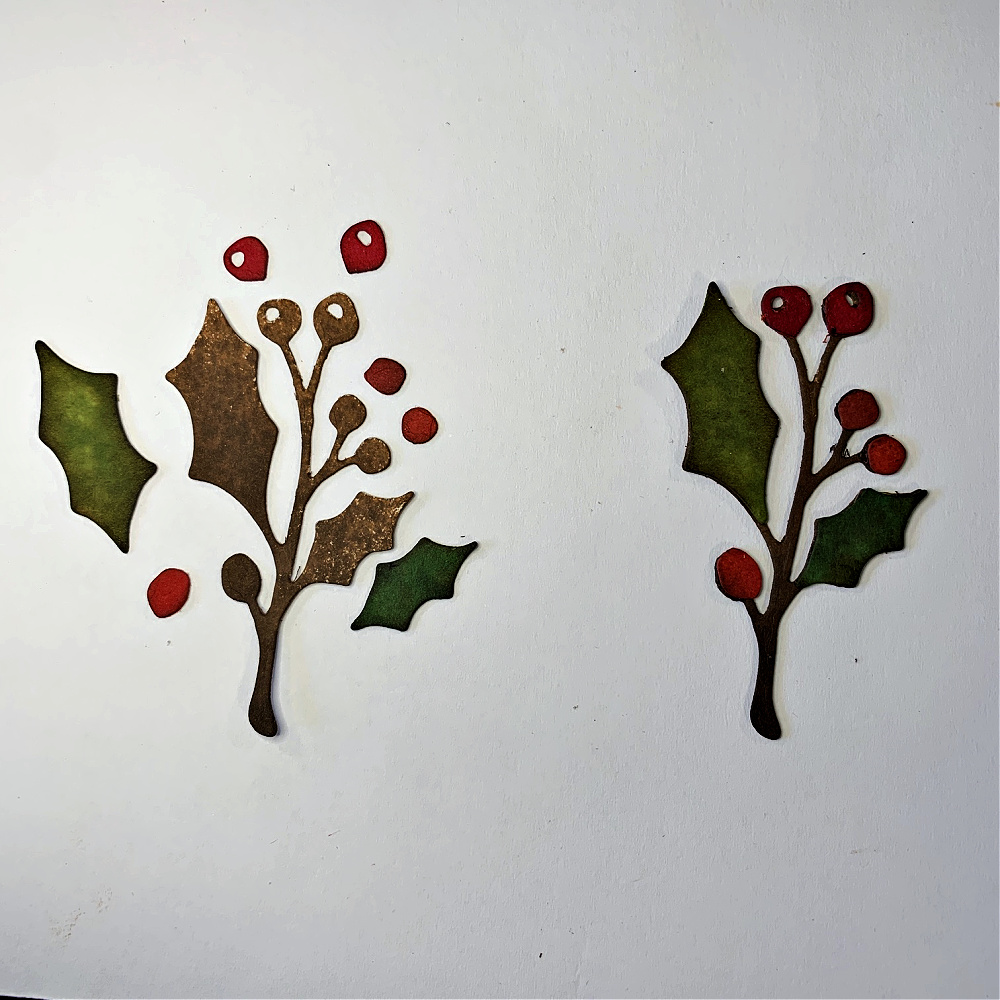
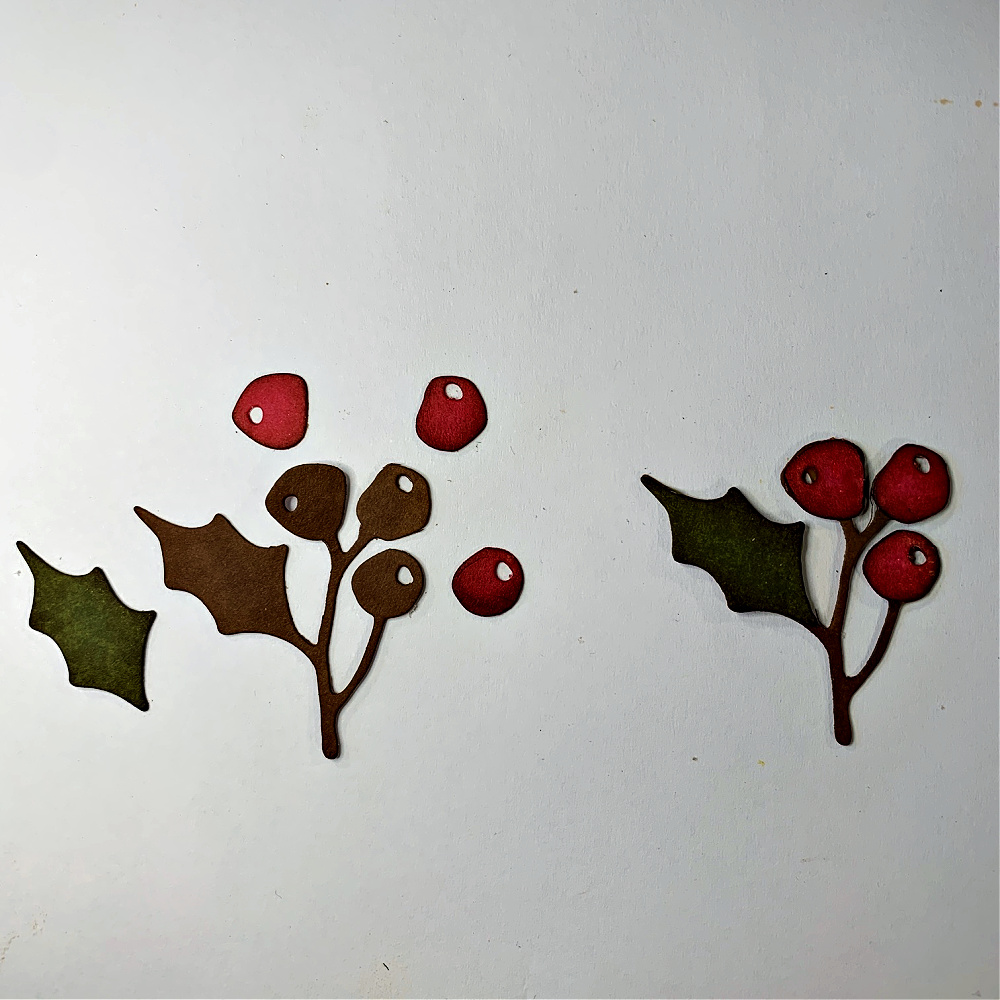
I create all the greenery for the vignette box not knowing what I’ll be using. I just sit and create a bunch of it and use what I need for this project. Whatever is left over is a bonus for another project.
.
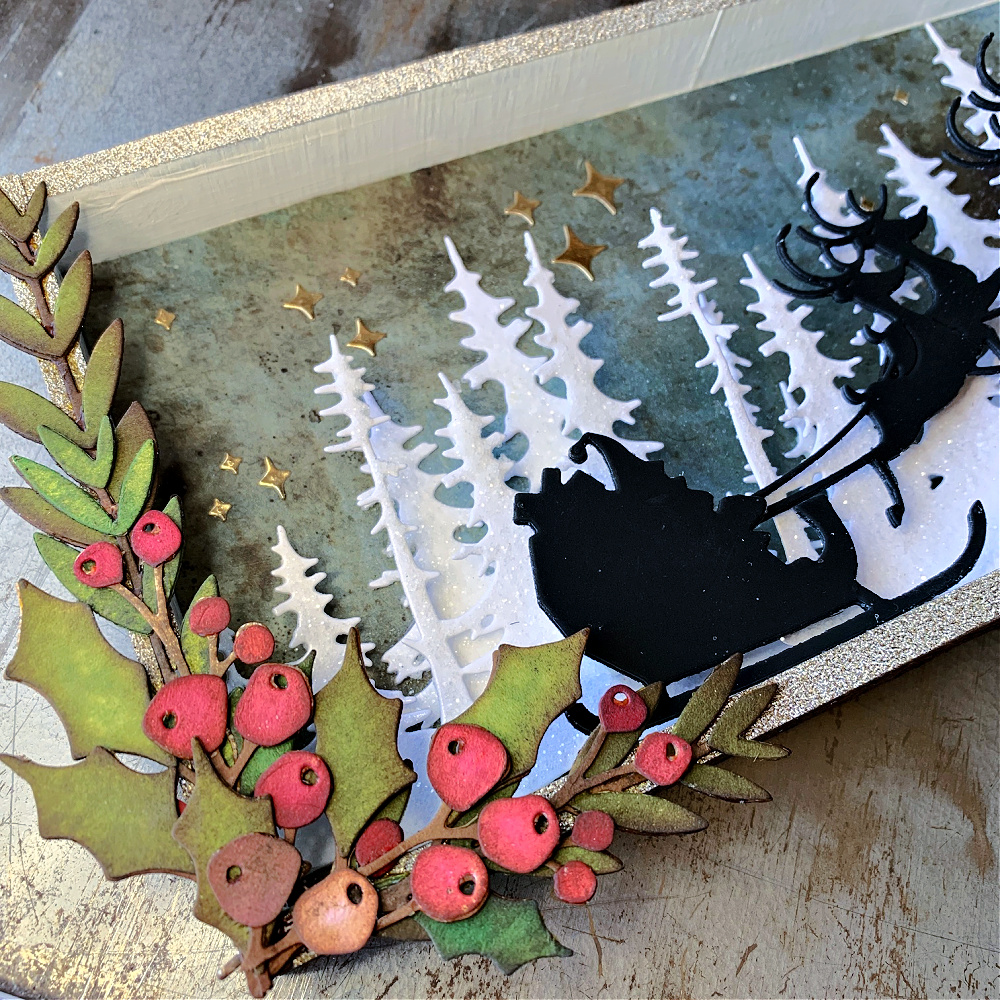
I cut the Santa and reindeer piece out of Distress black heavystock and adhere it to the forefront of the trees. Next, I add the greenery along one edge of the box. To complete the box, I add a few of the sparkle pieces from the Forest Shadows die set that were cut out of gold metal cardstock and that completes my Santa On His Way vignette box.
.
I hope you enjoyed seeing how I put this vignette box together and you were inspired by something in this post. Thank you so much for sticking with me to the end, I truly appreciate the time you spend here with me. Have a great weekend!
.


This is STUNNING 💕