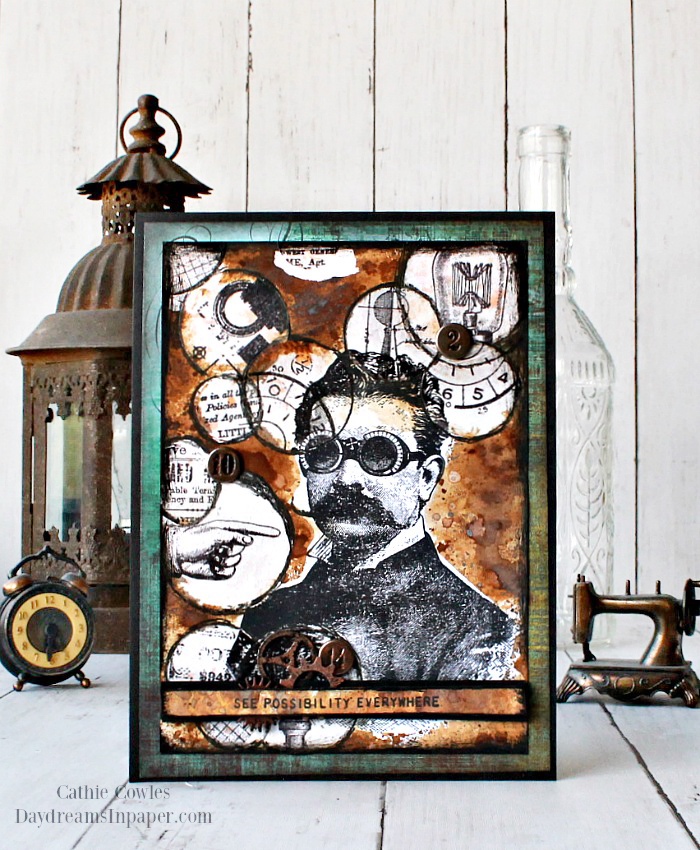
Hi everyone! I hope you are all having a great week and ready for the weekend. Today I’m sharing a card I created using the Tim Holtz Professor stamp set with some fun techniques for a interesting background. I hope you enjoy the tutorial I put together for you to show you how it’s done. Enjoy!

Begin by stamping images onto tissue paper. I used Tim Holtz plain tissue paper that is no longer available but you can use any white or off white tissue paper that you can purchase at most stores. Wrapping tissue paper would work just fine. Stamp the images with Black Soot Archival Ink.

Using the Tim Holtz Stacked Circles die set, place the dies over areas of the stamps and cut them out.

Gather all the circles that you cut out and chose the ones you’d like to use on the background of your card.

Begin adhering the circles to a card panel created out of mixed media paper.

To adhere the pieces to the paper, cover the backside of the circle with multi matte medium applied with your fingertips. Place the circle on the background and using your fingertips apply more multi matte medium on top. Be very careful to only apply it to the circle, staying within it’s perimeters.

Create a mask for the Professor by placing the stamp onto a piece of masking paper and trace around the outer edges. When you cut him out, cut inside the lines a bit so there won’t be a shadow around him when you spray inks to the background.

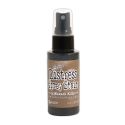
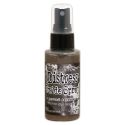
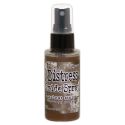
Stamp the Professor onto the card panel and place the mask over the stamped image. Spray the background with Distress Spray Stains and Oxides. (I used Vintage Photo and Gathered Twigs Distress Spray Stains and Ground Espresso and Walnut Stain Oxide Sprays.)

When the sprays are dry, pull away the mask over the Professor and using a damp cloth or baby wipe, remove the ink from the stamped circles you created out of tissue paper. The medium over the circles acts as a resist so the sprays can easily be wiped away.
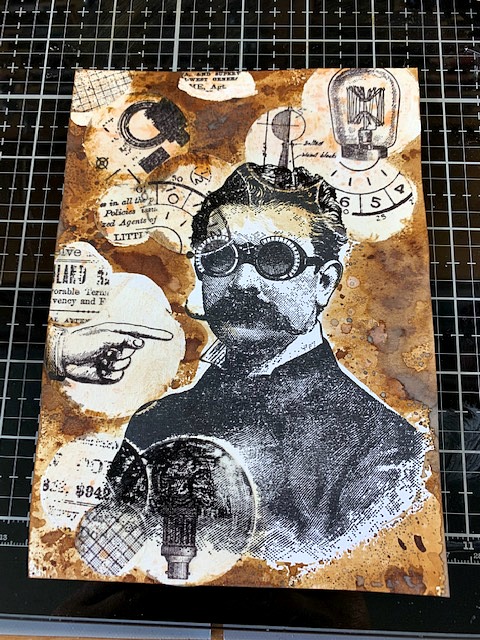
Here is what you will have after wiping off the spray stains and oxides.

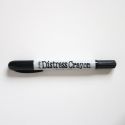
To finish the background, use a black mixed media pen and trace around the circles.

To finish the card, I add a sentiment and a few pieces of Idea-ology for texture and interest. My main card panel is adhered to a piece of Tim Holtz Abandoned cardstock and them mounted on to a piece of Simon Says Stamp Black cardstock.
I hope you enjoyed seeing how I created this resist background for my card and that you give this technique a try. Thanks so much for stopping by and I hope you have an awesome weekend.











This is fabulous and just in time for 3 male birthday cards I need to make! Thank you for sharing this, I really love it!
Wow! That is a beautiful piece of grunge art! Can’t wait to try it. Thanks for the great tutorial🙂
love how you used the circles with just snippets of the stamps. have to give this a try for the men in my life. thanks as always for sharing.
very cool card – I love how you did the resist over the circles of stamped tissue!