
Hi Friends! I’m back with a new tutorial using some Tim Holtz stamps and dies. Summer is still in full swing and I wanted to create a fun background with bright and cheerful colors. It’s hot here in Arizona so most of the time is spent indoors where its cool, but oh how I would love to frolic through a beautiful meadow of flowers chasing butterflies in the cool summer breeze. I hope you enjoy this tutorial I put together for you. Enjoy!
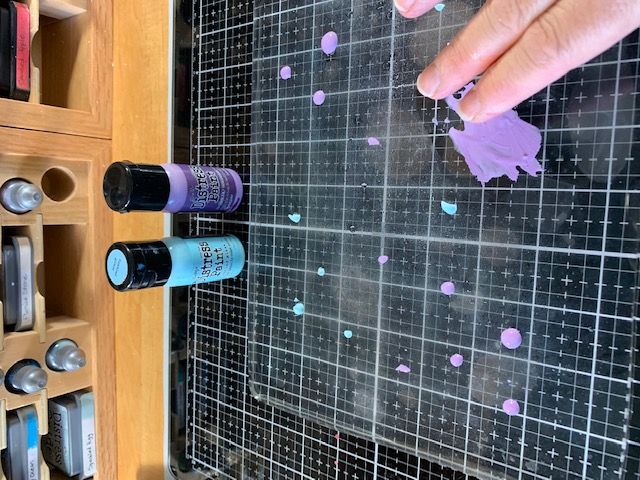
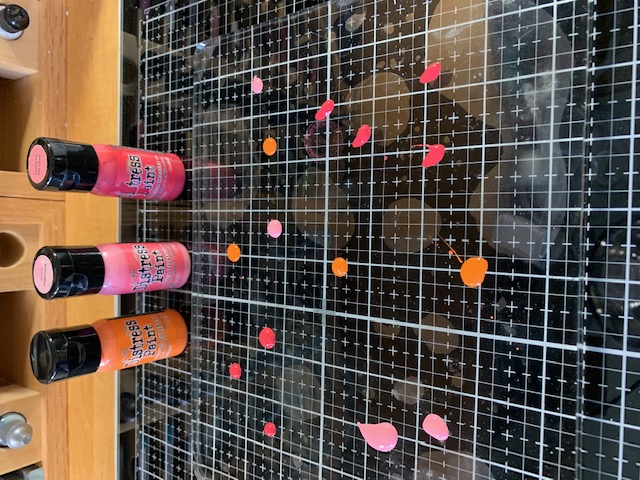 Place several drops of coordinating Distress Paints onto a gelli plate.
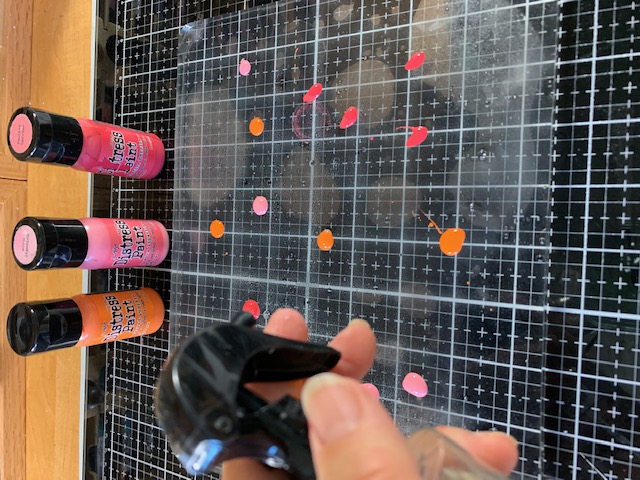
Spritz the drops of paint with water.
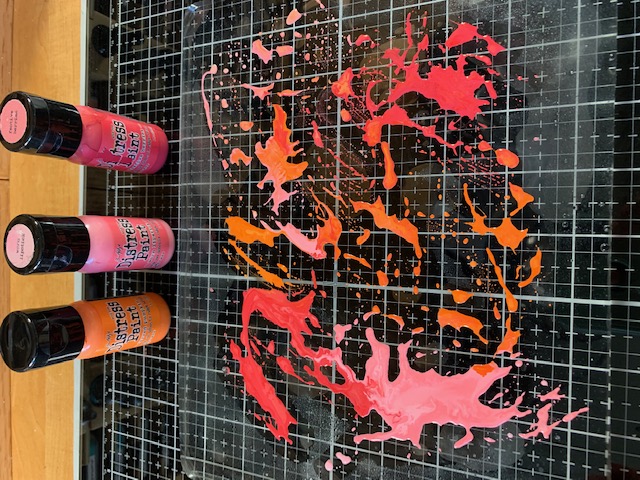
Using your fingertips, spread the paint around being careful not to over mix the colors.
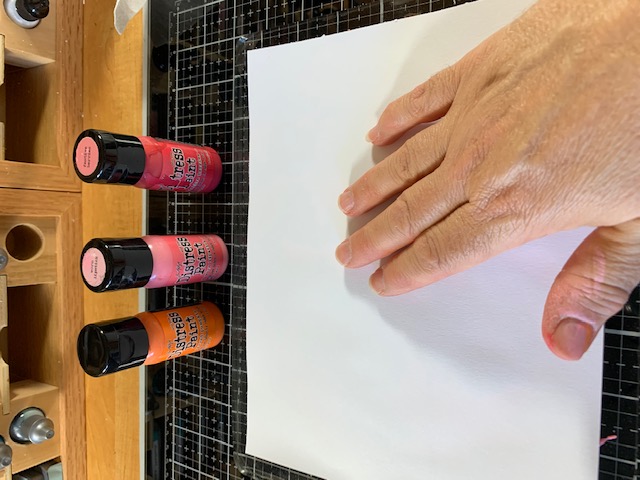
Place a piece of mixed media paper on top of the paints and gently rub over the paper with your fingers.
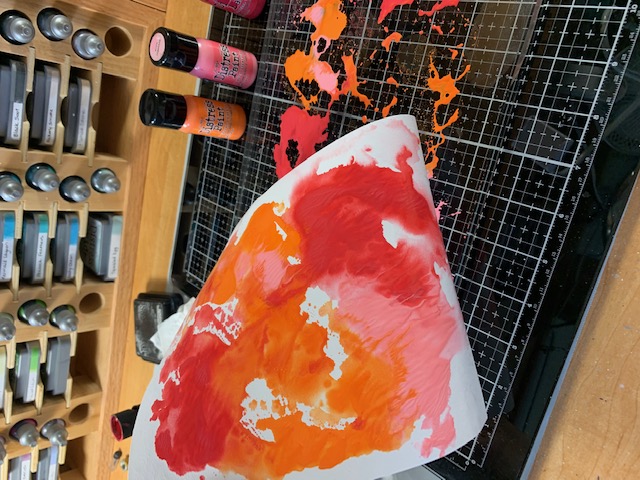
Pull the mixed media paper off of the gelli plate and dry completely with heat tool
Continue dipping the mixed media paper into the paints making sure to dry each layer before moving onto the next.
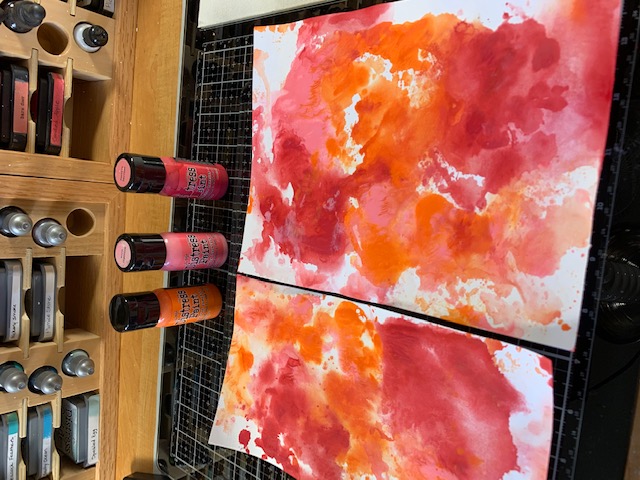
To add more colors, complete the same steps as above using different colors.
Spritz with water and mix colors gently with fingertips. Remember not to over mix the paints.
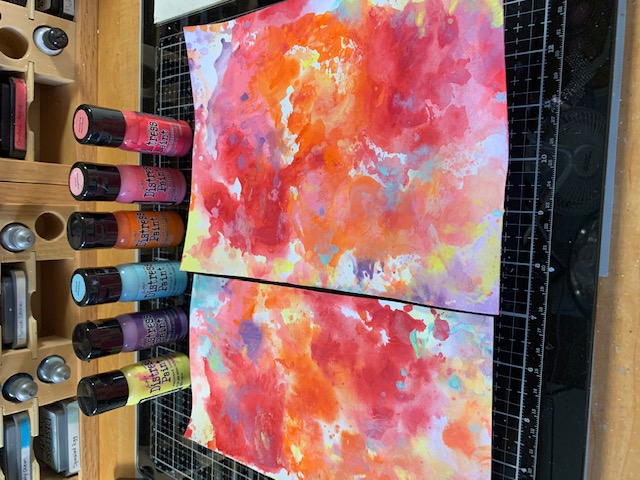
Dip the mixed media paper into the new colors and completely dry with heat tool.
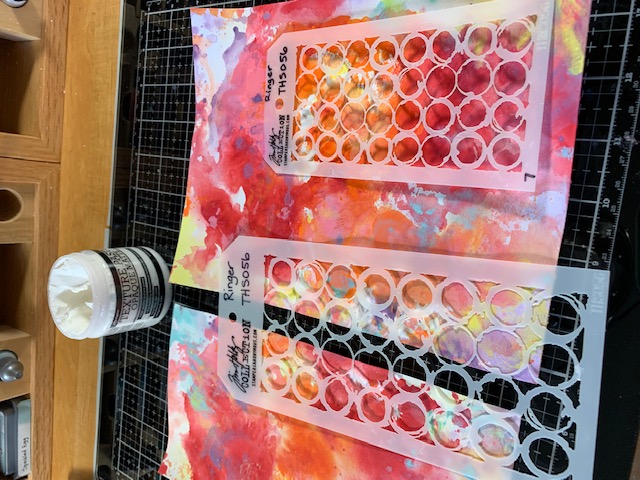
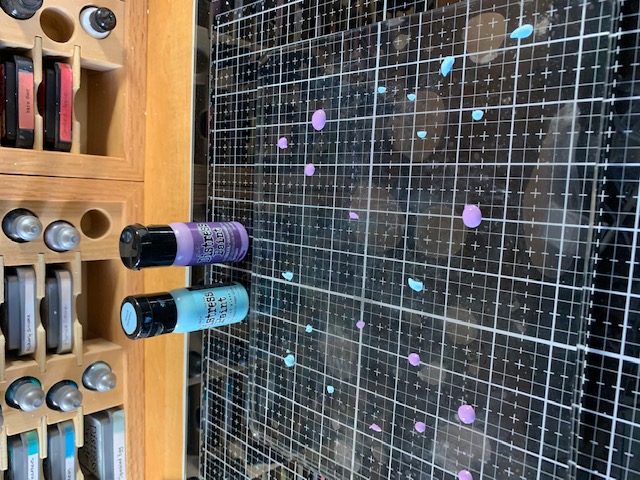
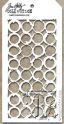
To add some texture, apply a stencil design in random areas.
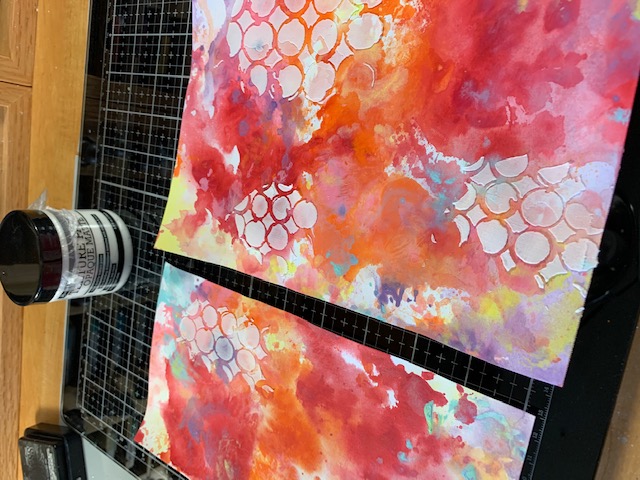
Allow the stencil design to completely dry before moving on to the next step.
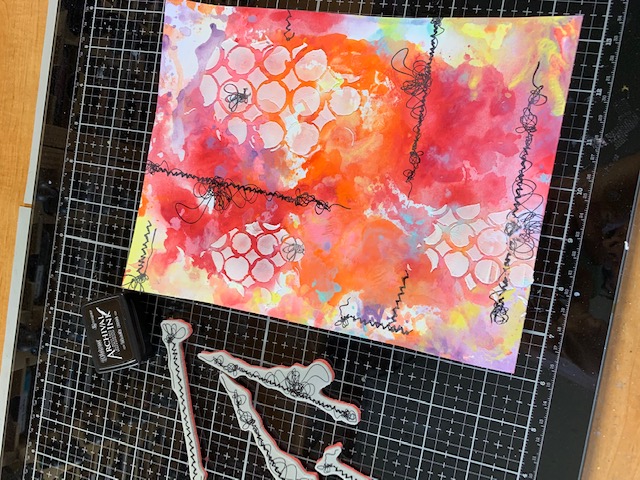
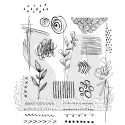
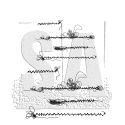
Begin adding some stamps to the design to give it interest.
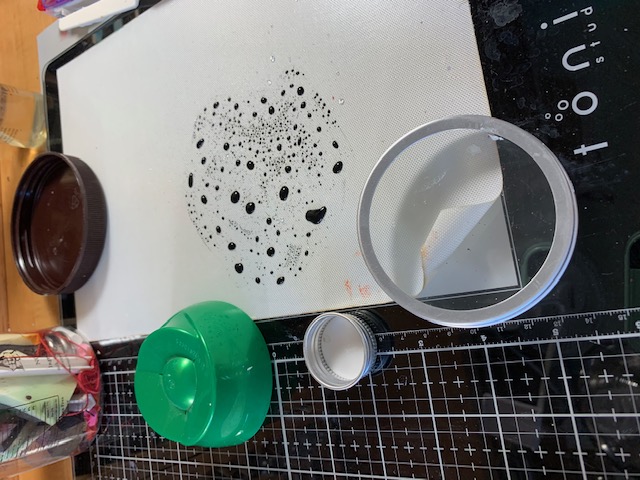
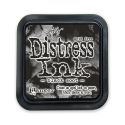
Using some circular household objects you may have around the house, create circles by dipping them into Black Soot Distress Paint that has been spritzed with water and stamping them onto your design in random areas.
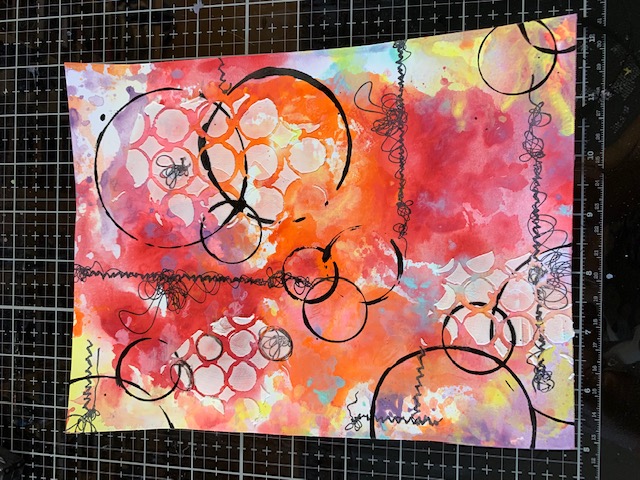
Make sure to allow the painted circles to completely dry before moving on to the next step.
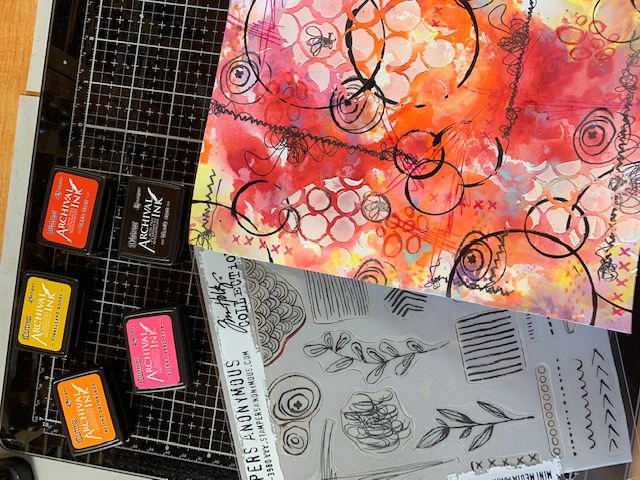
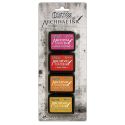
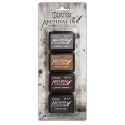
Add a few mixed media designs to the background with Distress Archival Inks in random areas.
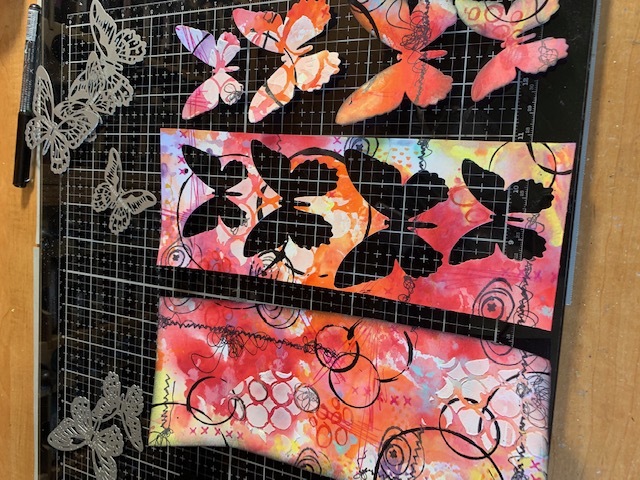
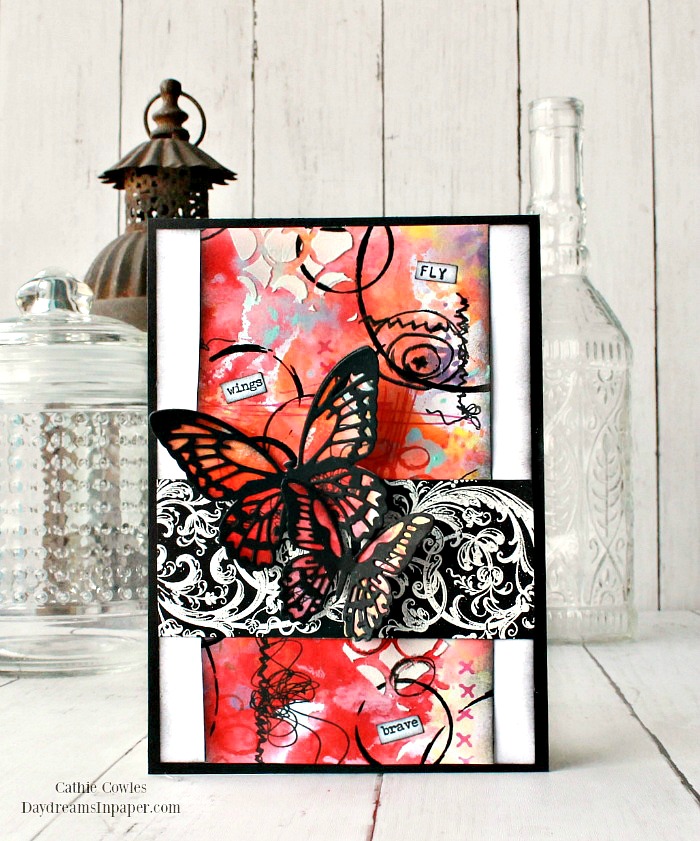
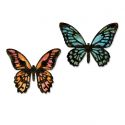
Here, I cut the paper in half. I use one side to create the front panel for my card and the other side to cut out some butterflies.
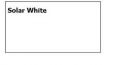
To complete the card, I adhere the mixed media panel to a piece of 4-3/4″ x 6-3/4″ piece of Neenah Solar White cardstock that is inked with Black Soot Distress Ink along the edges. I adhere that panel onto a piece of 5″ x 7″ piece of Simon Says Stamp Black cardstock. Next, I adhere a panel I created using the Tim Holtz Baroque stamp embossed onto black carstock. I adhere the butterflies to the embossed strip and a few words from the Tim Holtz Tiny Text stamp set.
I hope you enjoyed seeing how I created the background for this colorful summertime card and that you are inspired to get out some paints and create a beautiful background of your own. Thanks so much for stopping by and I hope you have an awesome week!


 |
 |
 |
 |
 |
 |
 |
 |
 |
 |
 |
 |
 |
 |
 |
 |
 |
 |
 |
 |
 |
 |
 |
 |
 |
 |
 |


