
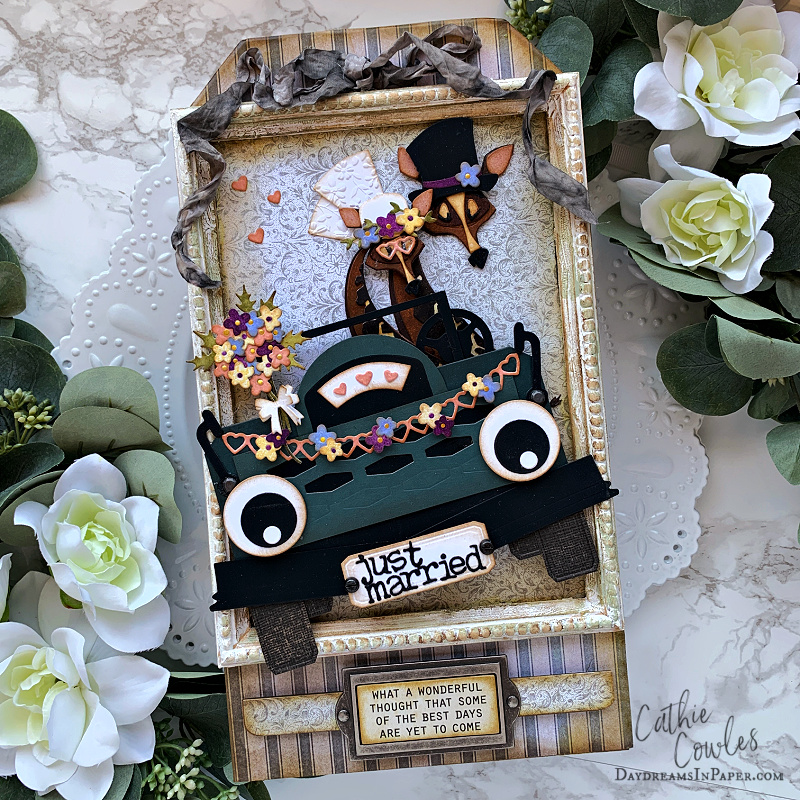
Hi Friends! I hope you had a chance to watch the Tim Holtz YouTube Live for the new Sizzix Colorize & Accessories release today. I had so much fun creating for this release. When they were originally released a few years ago they were one of my favorites because I love creating scenes with animals. Back in 2020 I created a scene with Winifred, Gertrude and Clarence going on a safari joyride and to this day it remains my favorite make of all the things I’ve ever created. If you want to see it, you can find my Safari Joyride here.
Today’s project was so fun to create and having two different sizes for these animals made the vision in my head become a reality. I love to give these characters a personality and create a scene to bring them to life. I have enjoyed seeing what everyone has created with these new sets and so many of them have made me smile from ear to ear. I hope what I created brings a smile to your face as well.
I created a tutorial for the jeep back in 2020 with one minor change which uses many past and present Sizzix dies. If there is a die set that you don’t have for a particular shape, I bet you can find that shape from one of the die sets you do have on hand. Remember, you are looking for shapes. You don’t need the exact dies I used, you just need to find the shapes.
For reference, the size of this jeep will work with all of the large and mini size animals. Enjoy!
.
.
Creating the Jeep Body
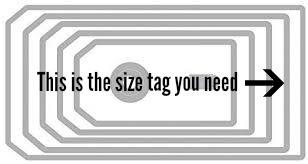
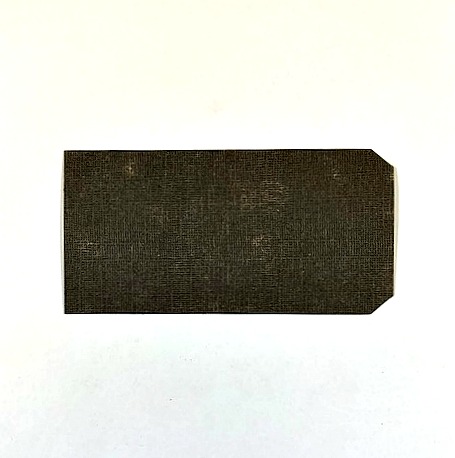
Step 1: Cut out the tag indicated in the photo below out of the cardstock color of your choice.
.
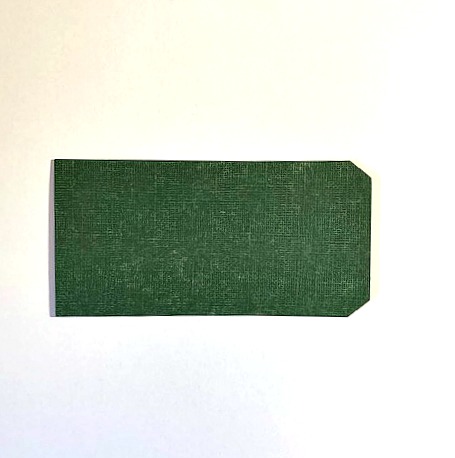
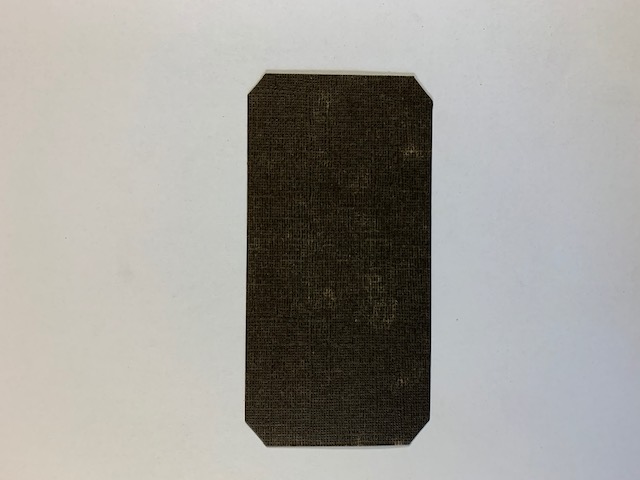
Step 2: Corner the two straight edges of the tag so that each corner looks the same. Set this piece aside.
.
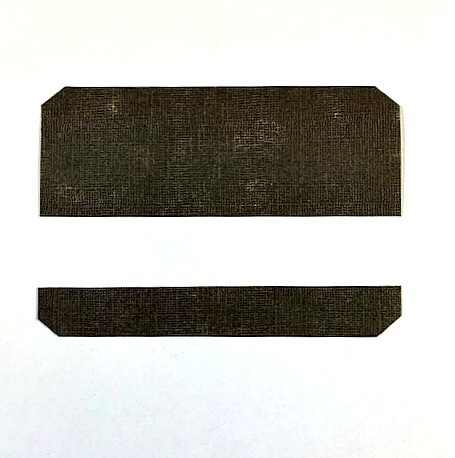
Step 3: Cut another tag, the same size in the color of your choice.
.
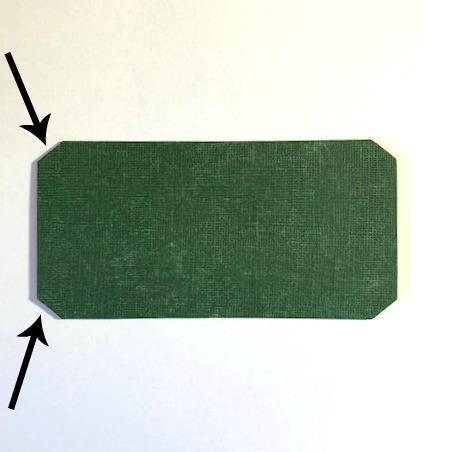
Step 4: Corner the edges on the straight edge of the tag as shown below:
.
Step 5: Cut off the bottom portion of the tag as shown below and set aside. This will be the bottom part of the bumper that sets on the Jeep’s body. You will not be using the top portion of this tag.
.
Creating the Jeep Grill
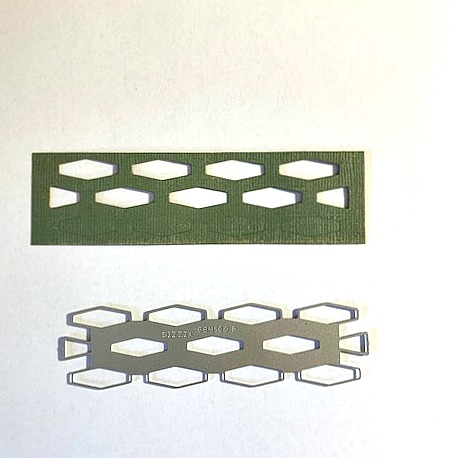
Step 1: Cut out the Jeep’s grill from the coordinating shape from the Tim Holtz Retro Repeat die out of cardstock. Cut the piece around the edges as shown in the photo below. Do not cut away the indented design.
.
Step 2: Cut a piece of black cardstock the same size as the grill and adhere it to the back side of the grill as shown below. Set aside.
.
Step 3: Cut the round center design from the Voltage die out of cardstock.
.
Step 4: Assemble the pieces as shown below and set aside.
.
Creating the Jeep Headlights
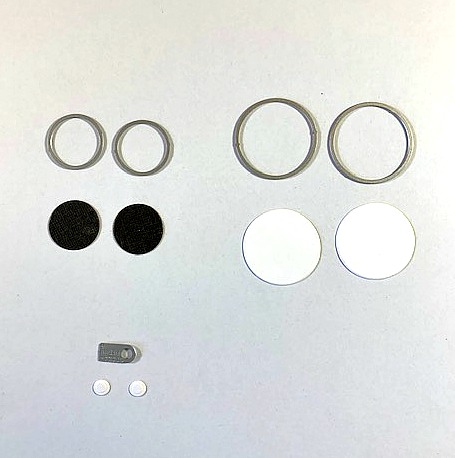
Step 1: Using the Tim Holtz Stacked Circles and Stacked Tags die sets, cut out the circles as indicated in the photo below.
.
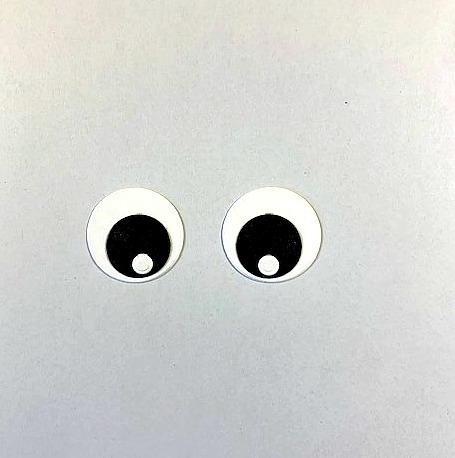
Step 2: Assemble as shown in photo and set aside.
.
Creating the Jeep Bumpers and Windshield
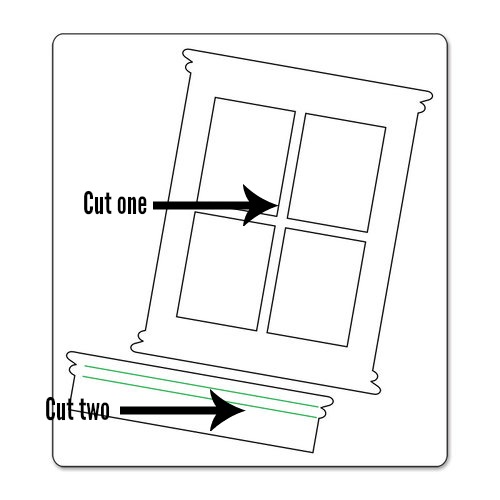
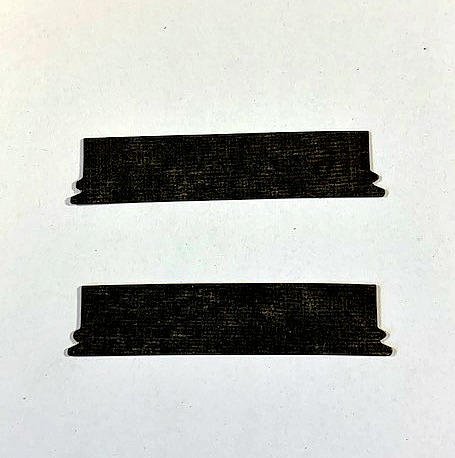
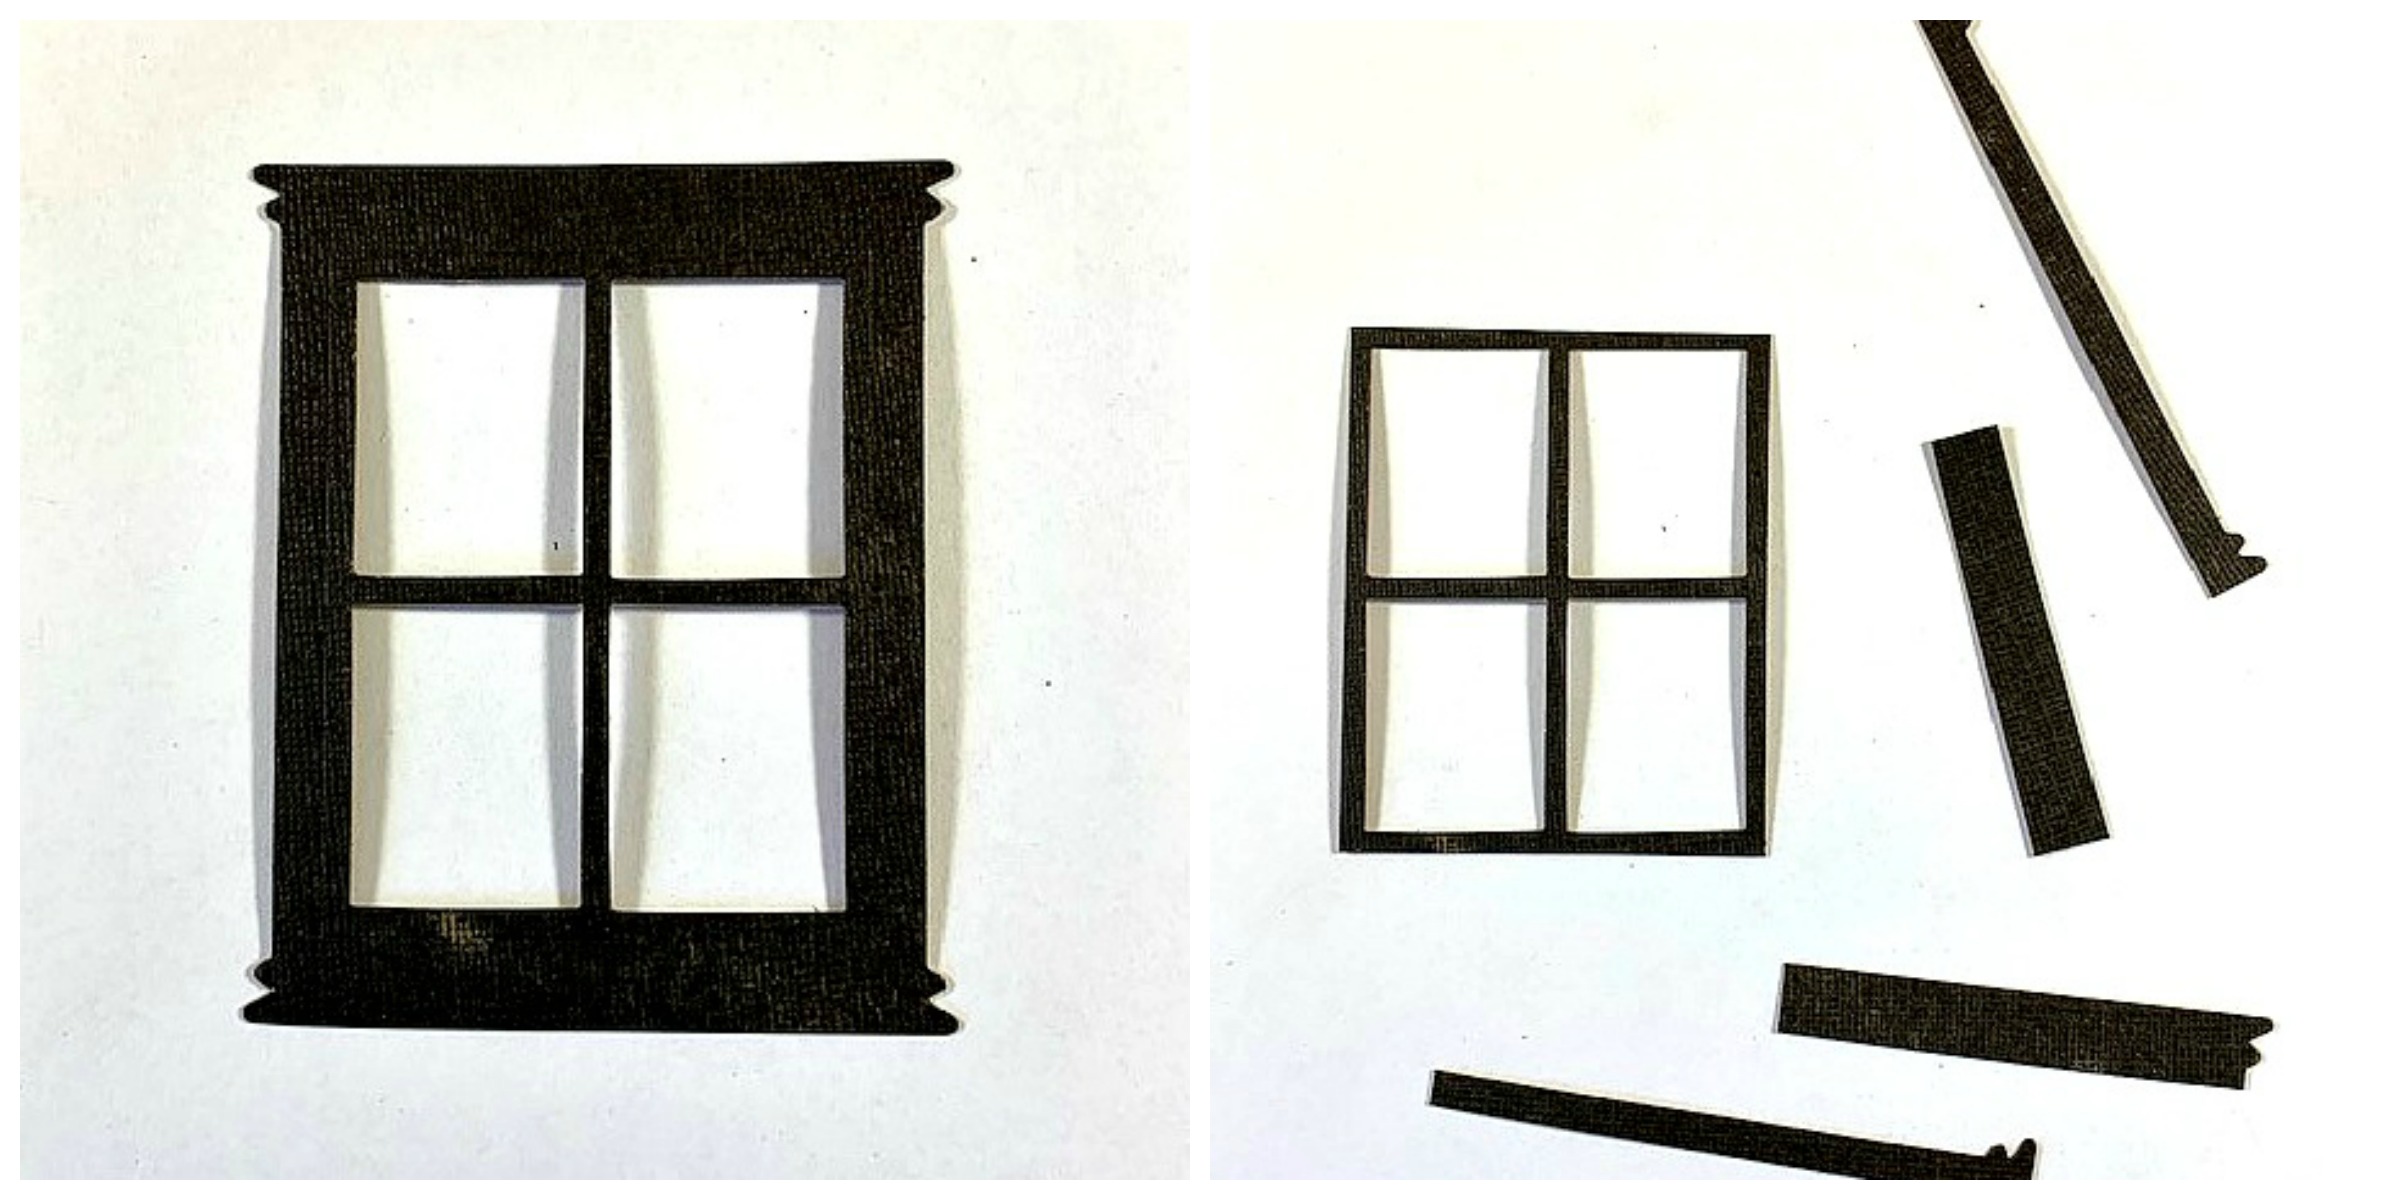
Step 1: Cut two of the window box shapes (bumpers) and one window frame (windshield) from the Tim Holtz Window & Window Box Bigz die as shown in the photo below.
.
Step 2: Cut away the pieces around the window frame as shown below.
.
Step 3: Now cut away the frame piece from the top as shown in the photo below.
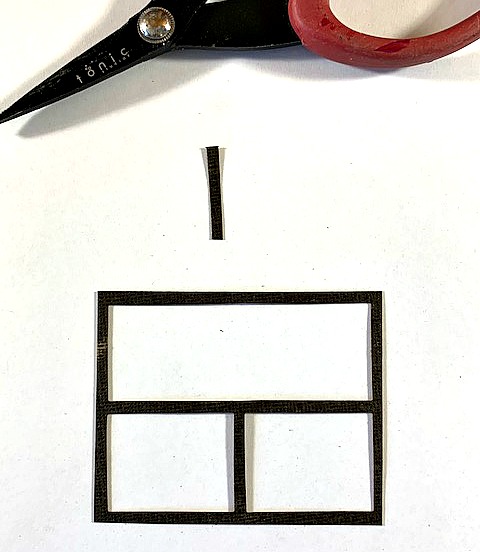
.
Creating the Jeep Tires and License Plate
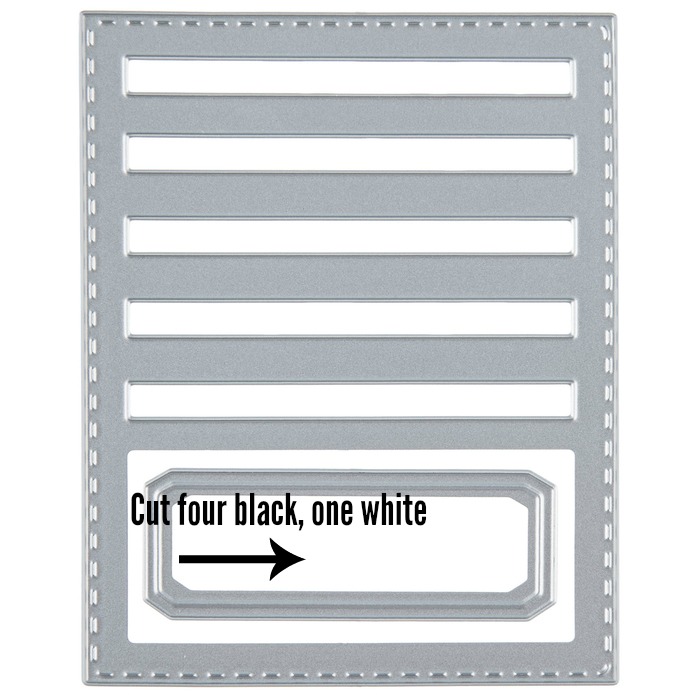
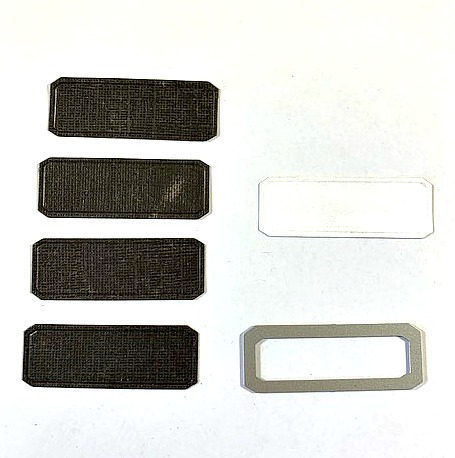
Step 1: Cut the pieces for the tires and license plate from the Tim Holtz Stitched Slots die set as shown below.
.
Gather All the Pieces You Created for the Jeep
Step 1: You should have all the pieces below, so far, to begin assembling the Jeep. You should have, the body of the jeep, jeep grill pieces, headlights, windshield, two small bumper pieces and one large bumper piece, and tires.
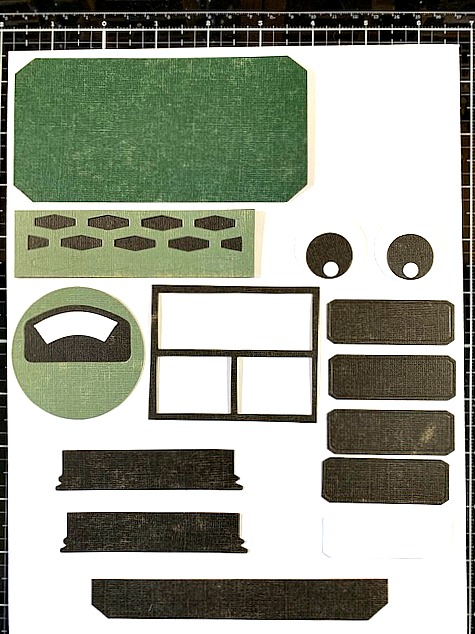
.
Step 2: Ink the edges of each piece with Vintage Photo Distress Ink.
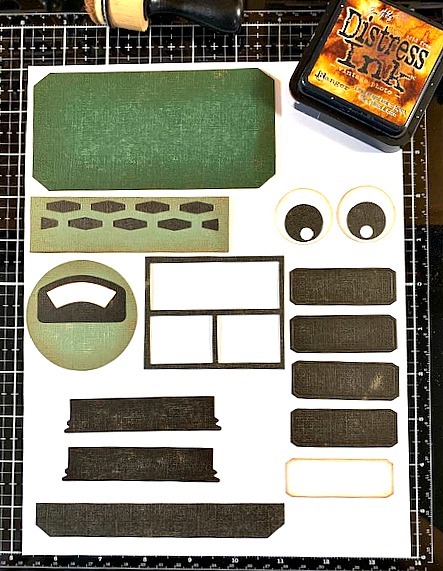
.
Assembling the Jeep
Step 1: Adhere the long bumper piece to the bottom of the Jeep body as shown below.
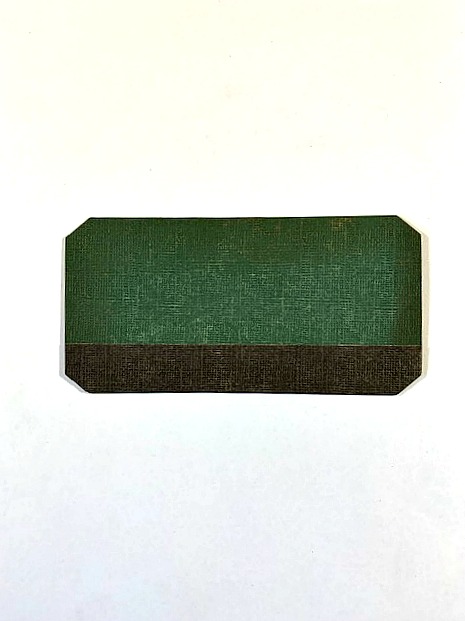
.
Step 2: Adhere the top portion of the Jeep grill as shown below.
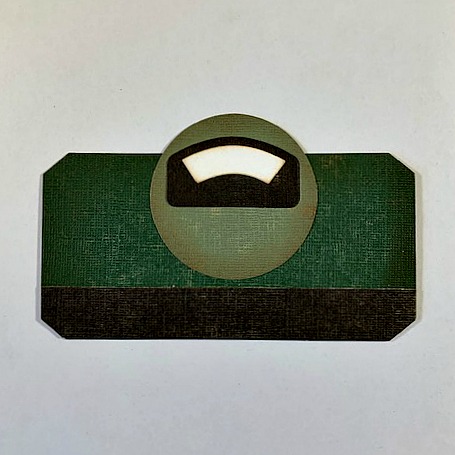
.
Step 3: Adhere the main portion of the Jeep grill as shown below.
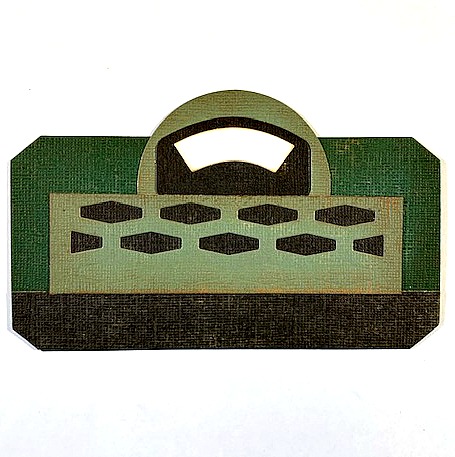
.
Step 4: Adhere the small bumper pieces to the bottom of the larger bumper at an angle as shown below.
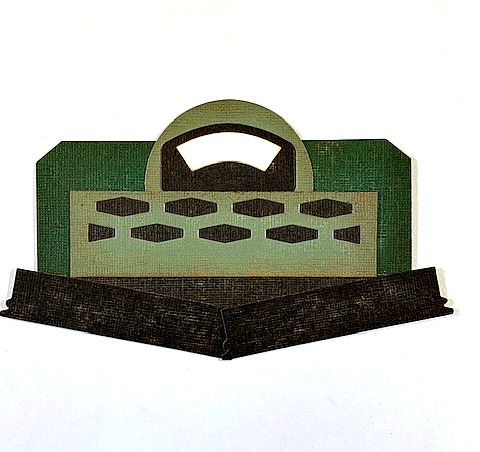
.
Step 5: Adhere the headlights as shown below:
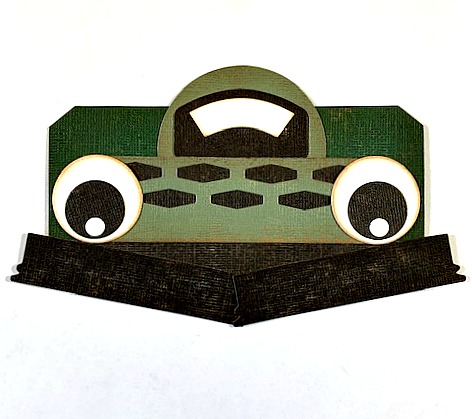
.
Step 6: Adhere the windshield as shown below.
.
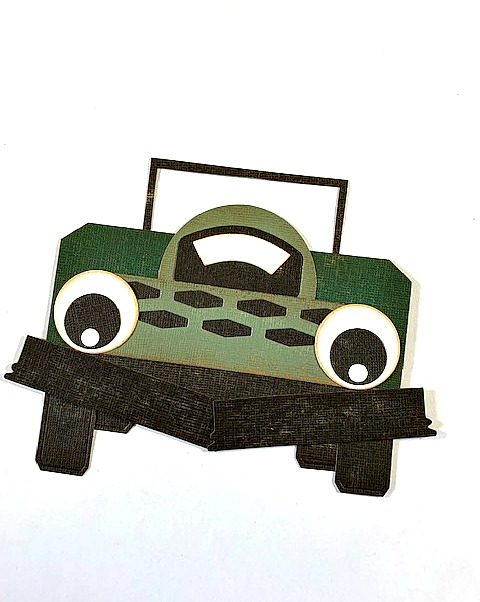
Step 7: Adhere the tires as shown below. You will notice they are not even because I wanted the jeep to look as though it was at an angle, tilting to one side.
.
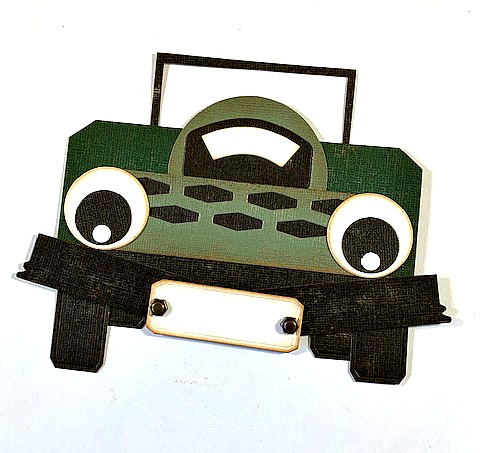
Step 8: Adhere the license plate to the bumper as shown below:
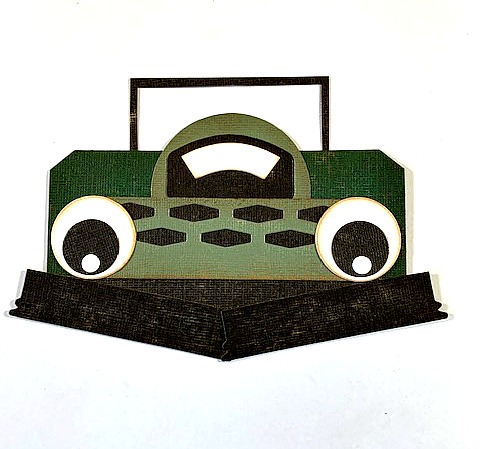
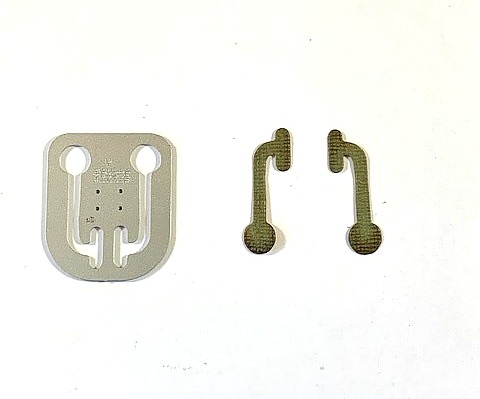
Creating the Jeep Rearview Mirrors and Steering Wheel
Step 1: For the rearview mirrors, cut the pieces as shown below from the Tim Holtz Robotic die set.
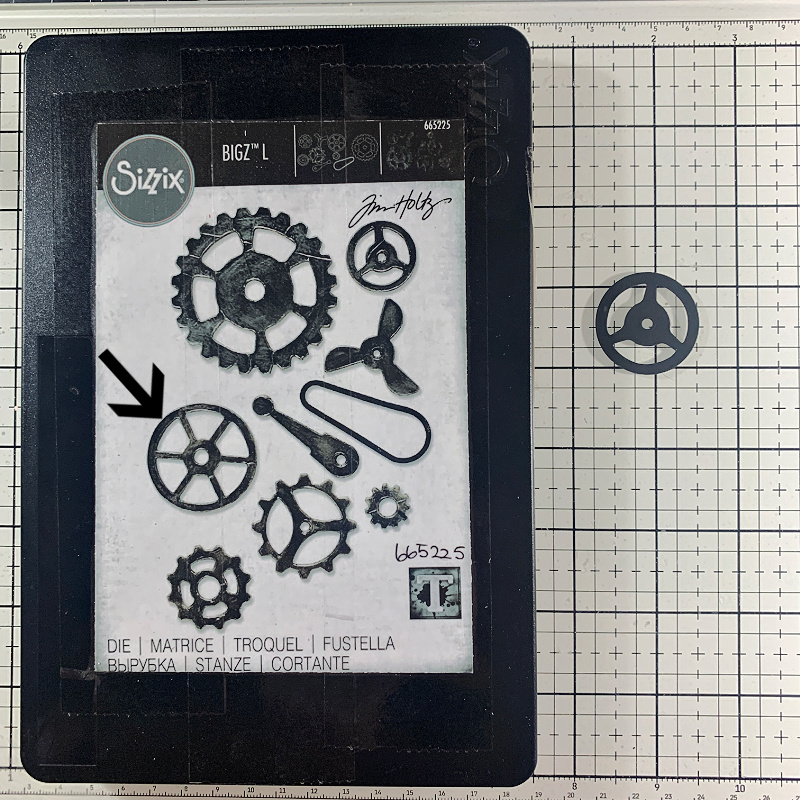
Step 2: For the steering wheel, cut the gear shown below with the arrow pointing to it from the Tim Holtz Mechanical Bigz die set and adhere these pieces to the jeep.
.
.
I hope you enjoyed seeing how I put together this jeep for my Just Married project. Remember, the size of this jeep will work with all of the regular and mini size characters with the exception of Bernice perhaps. You could give it a try and see if they will fit.
Thanks so much for stopping by!
You can find the new mini and regular size colorize characters in the link below at Simon Says Stamp.
,

Simon Says Stamp


