
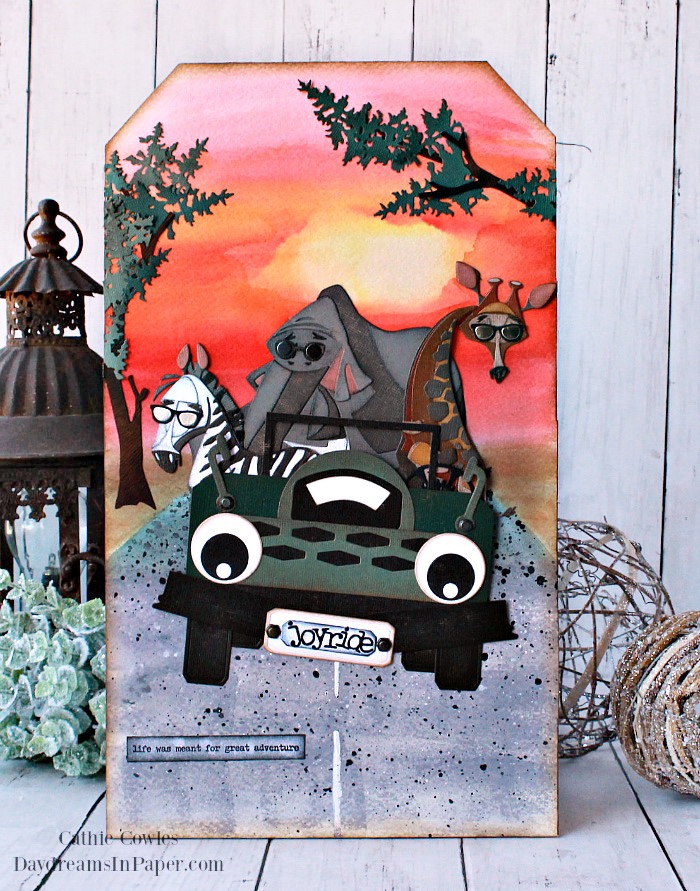
Hi Friends! I hope you are all doing well and things are getting back to somewhat normal for you. As many of you know, the colorize dies Tim Holtz designed this last year have become my favorites. I have such a love for Clarence, Winifred and Gertrude along with all the other characters. I have so many ideas in my head on how to use these dies but so little time. This is one that I had to get out of my head or it was going to bust it wide open. Those of you who can’t sleep at night because you’re thinking about what to create next, know exactly what I mean. Oh how I would love to jump in the jeep with them and go on a joyride. Wouldn’t you?!? I’ve provided a complete tutorial on how to create the jeep and if you haven’t already created one of these delightful characters, you should. They are not that difficult to put together and once you build one and see it come to life, you’ll be addicted. Sizzix has created the best videos on how to put them together which makes them so easy to assemble. See below for all the details. Enjoy!
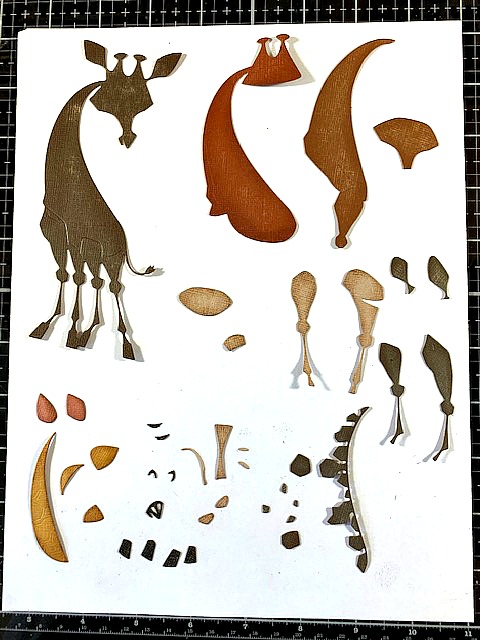
Creating Gertrude
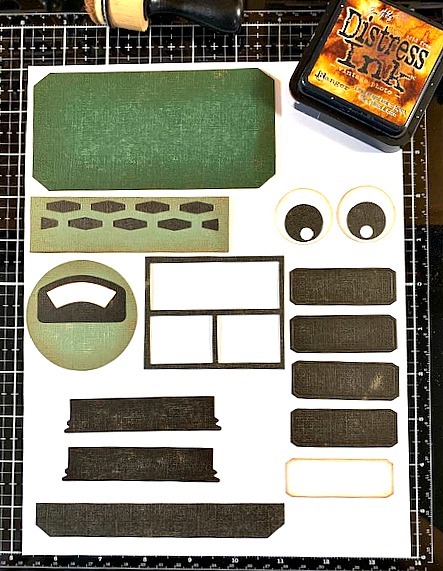
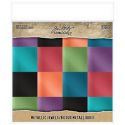
- Collect all the cardstock colors you need to create Gertrude the Giraffe from Kraft Stock cardstock or you can create your own colored cardstock with Distress Inks.
- Sand each piece of Kraft Stock cardstock gently with sanding grip.
- Cut out all the pieces with coordinating dies.
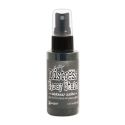
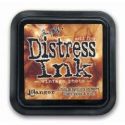
- Gently ink the edges of each piece with Vintage Photo Distress Ink.
- To assemble Gertrude, check out the Sizzix video here: How to Assemble Gertrude
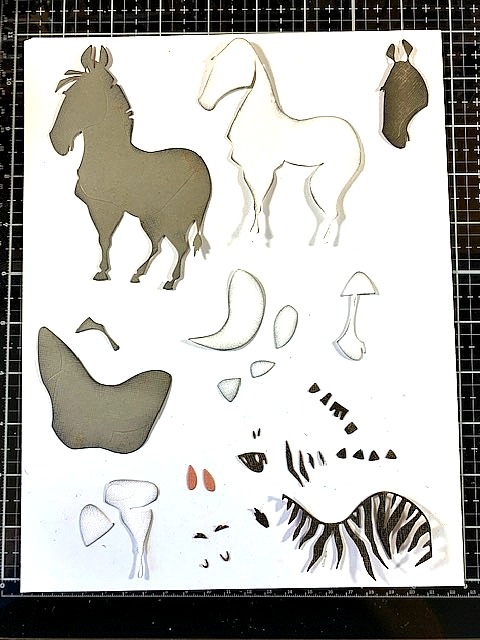
Creating Winifred
- Collect all the cardstock colors you need to create Winifred the Zebra from Kraft Stock cardstock or you can create your own colored cardstock with Distress Inks.
- Sand each piece of Kraft Stock cardstock gently with sanding grip.
- Cut out all the pieces with coordinating dies.
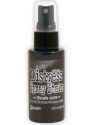
- Gently ink the edges of each piece with Black Soot Distress Ink.
- To assemble Winifred, check out the Sizzix video here: How to Assemble Winifred
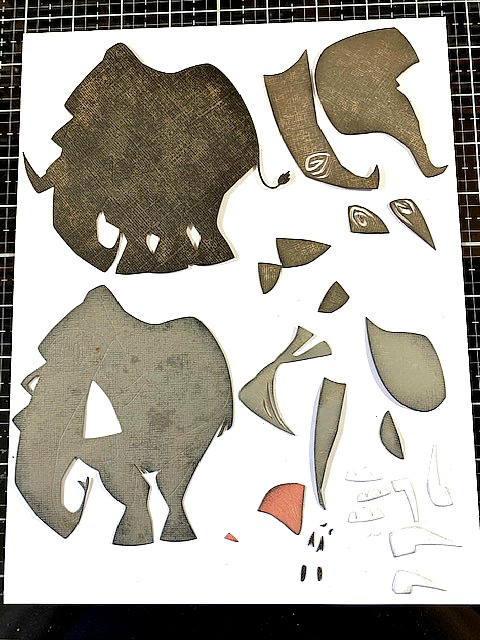
Creating Clarence
- Collect all the cardstock colors you need to create Clarence the Elephant from Kraft Stock cardstock or you can create your own colored cardstock with Distress Inks.
- Sand each piece of Kraft Card cardstock gently with sanding grip.
- Cut out all the pieces with coordinating dies.
- Gently ink the edges of each piece with Black Soot Distress Ink.
- To assemble Clarence, check out the Sizzix video here: How to Assemble Clarence
Creating the Jeep Body
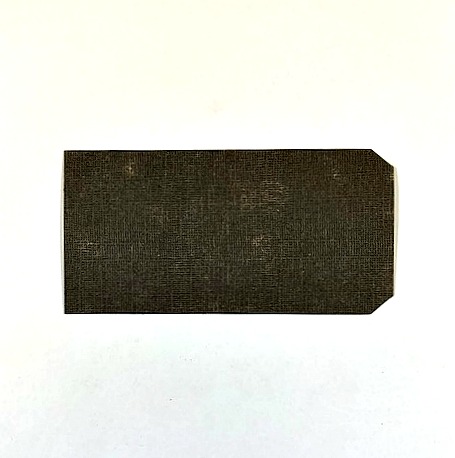
Step 1: If you are using Kraft Stock cardstock to create your Jeep, remember to sand each piece before cutting.
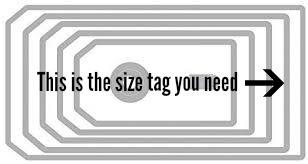
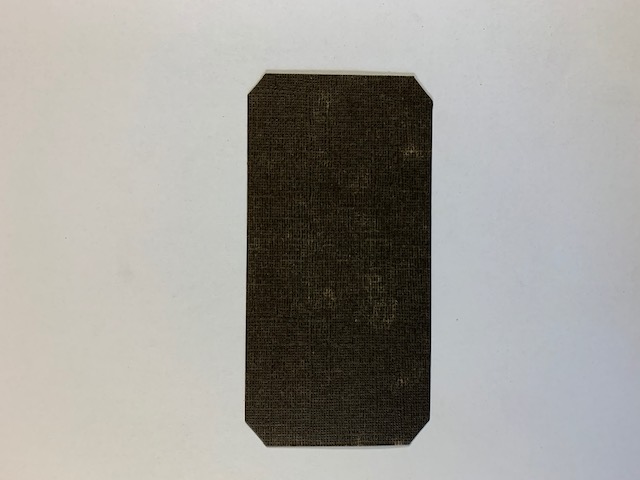
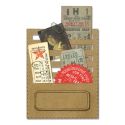
Step 2: Cut out the tag indicated in the photo below out of Kraft Stock cardstock.
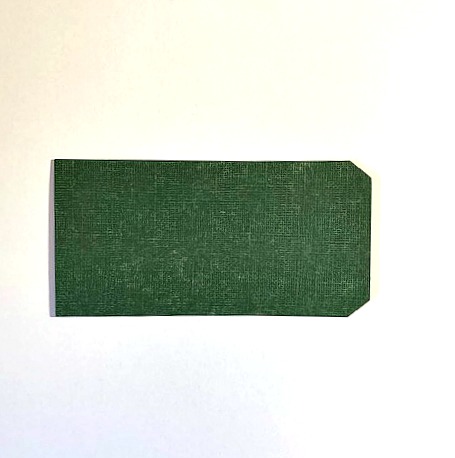
Step 3: Corner the two straight edges of the tag so that each corner looks the same. Set this piece aside.
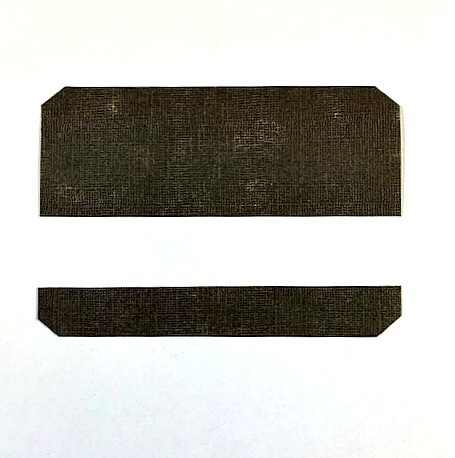
Step 4: Cut another tag, the same size.
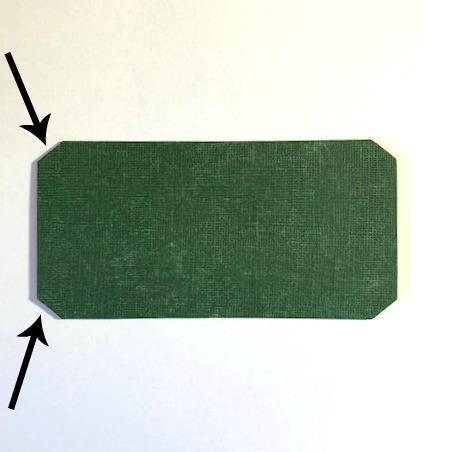
Step 5: Corner the edges on the straight edge of the tag as shown below:
Step 6: Cut off the bottom portion of the tag as shown below and set aside. This will be the bottom part of the bumper that sets on the Jeep’s body. You will not be using the top portion of the tag.
Creating the Jeep Grill
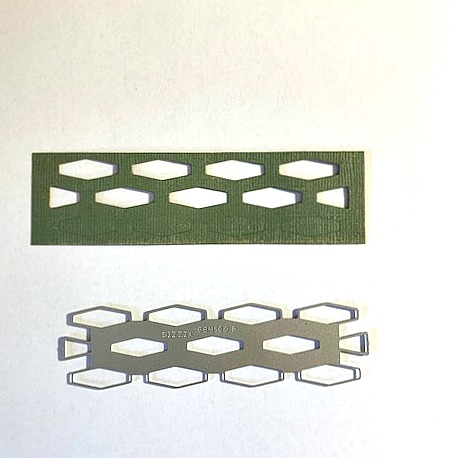
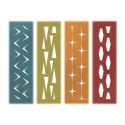
Step 1: Cut out the Jeep’s grill from the coordinating shape from the Tim Holtz Retro Repeat die out of Kraft Stock cardstock. Cut the piece around the edges as shown in the photo below. Do not cut away the indented design.
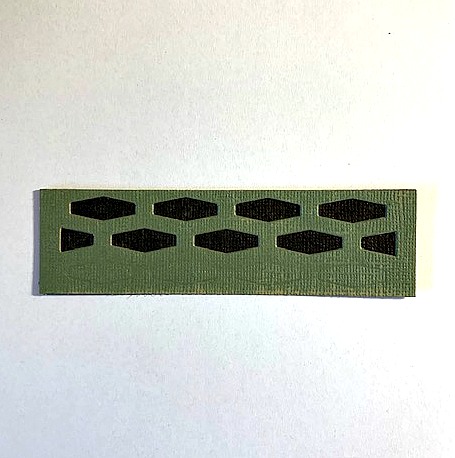
Step 2: Cut a piece of black Kraft Stock cardstock the same size as the grill and adhere it to the back side of the grill as shown below. Set aside.
Step 3: Cut the round center design from the Voltage die out of Kraft Stock cardstock.
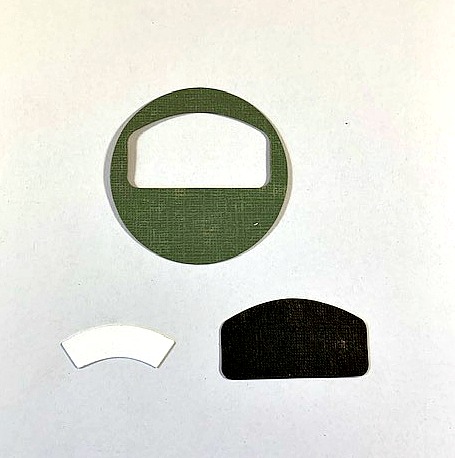
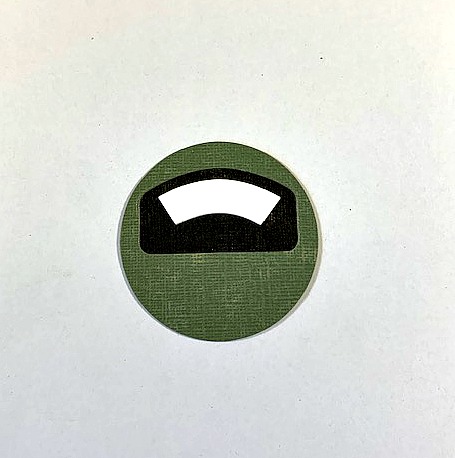
Step 4: Assemble the pieces as shown below and set aside:
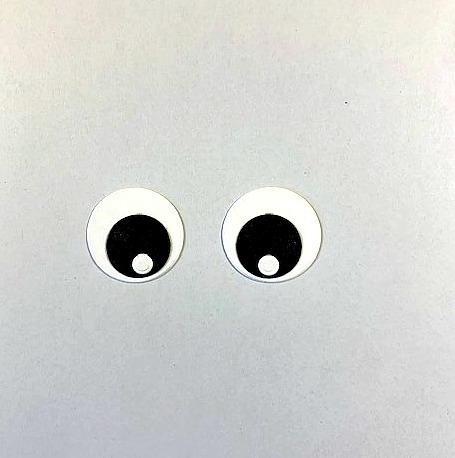
Creating the Jeep Headlights
Step 1: Using the Tim Holtz Stacked Circles and Stacked Tags die sets, cut out the circles as indicated in the photo below.
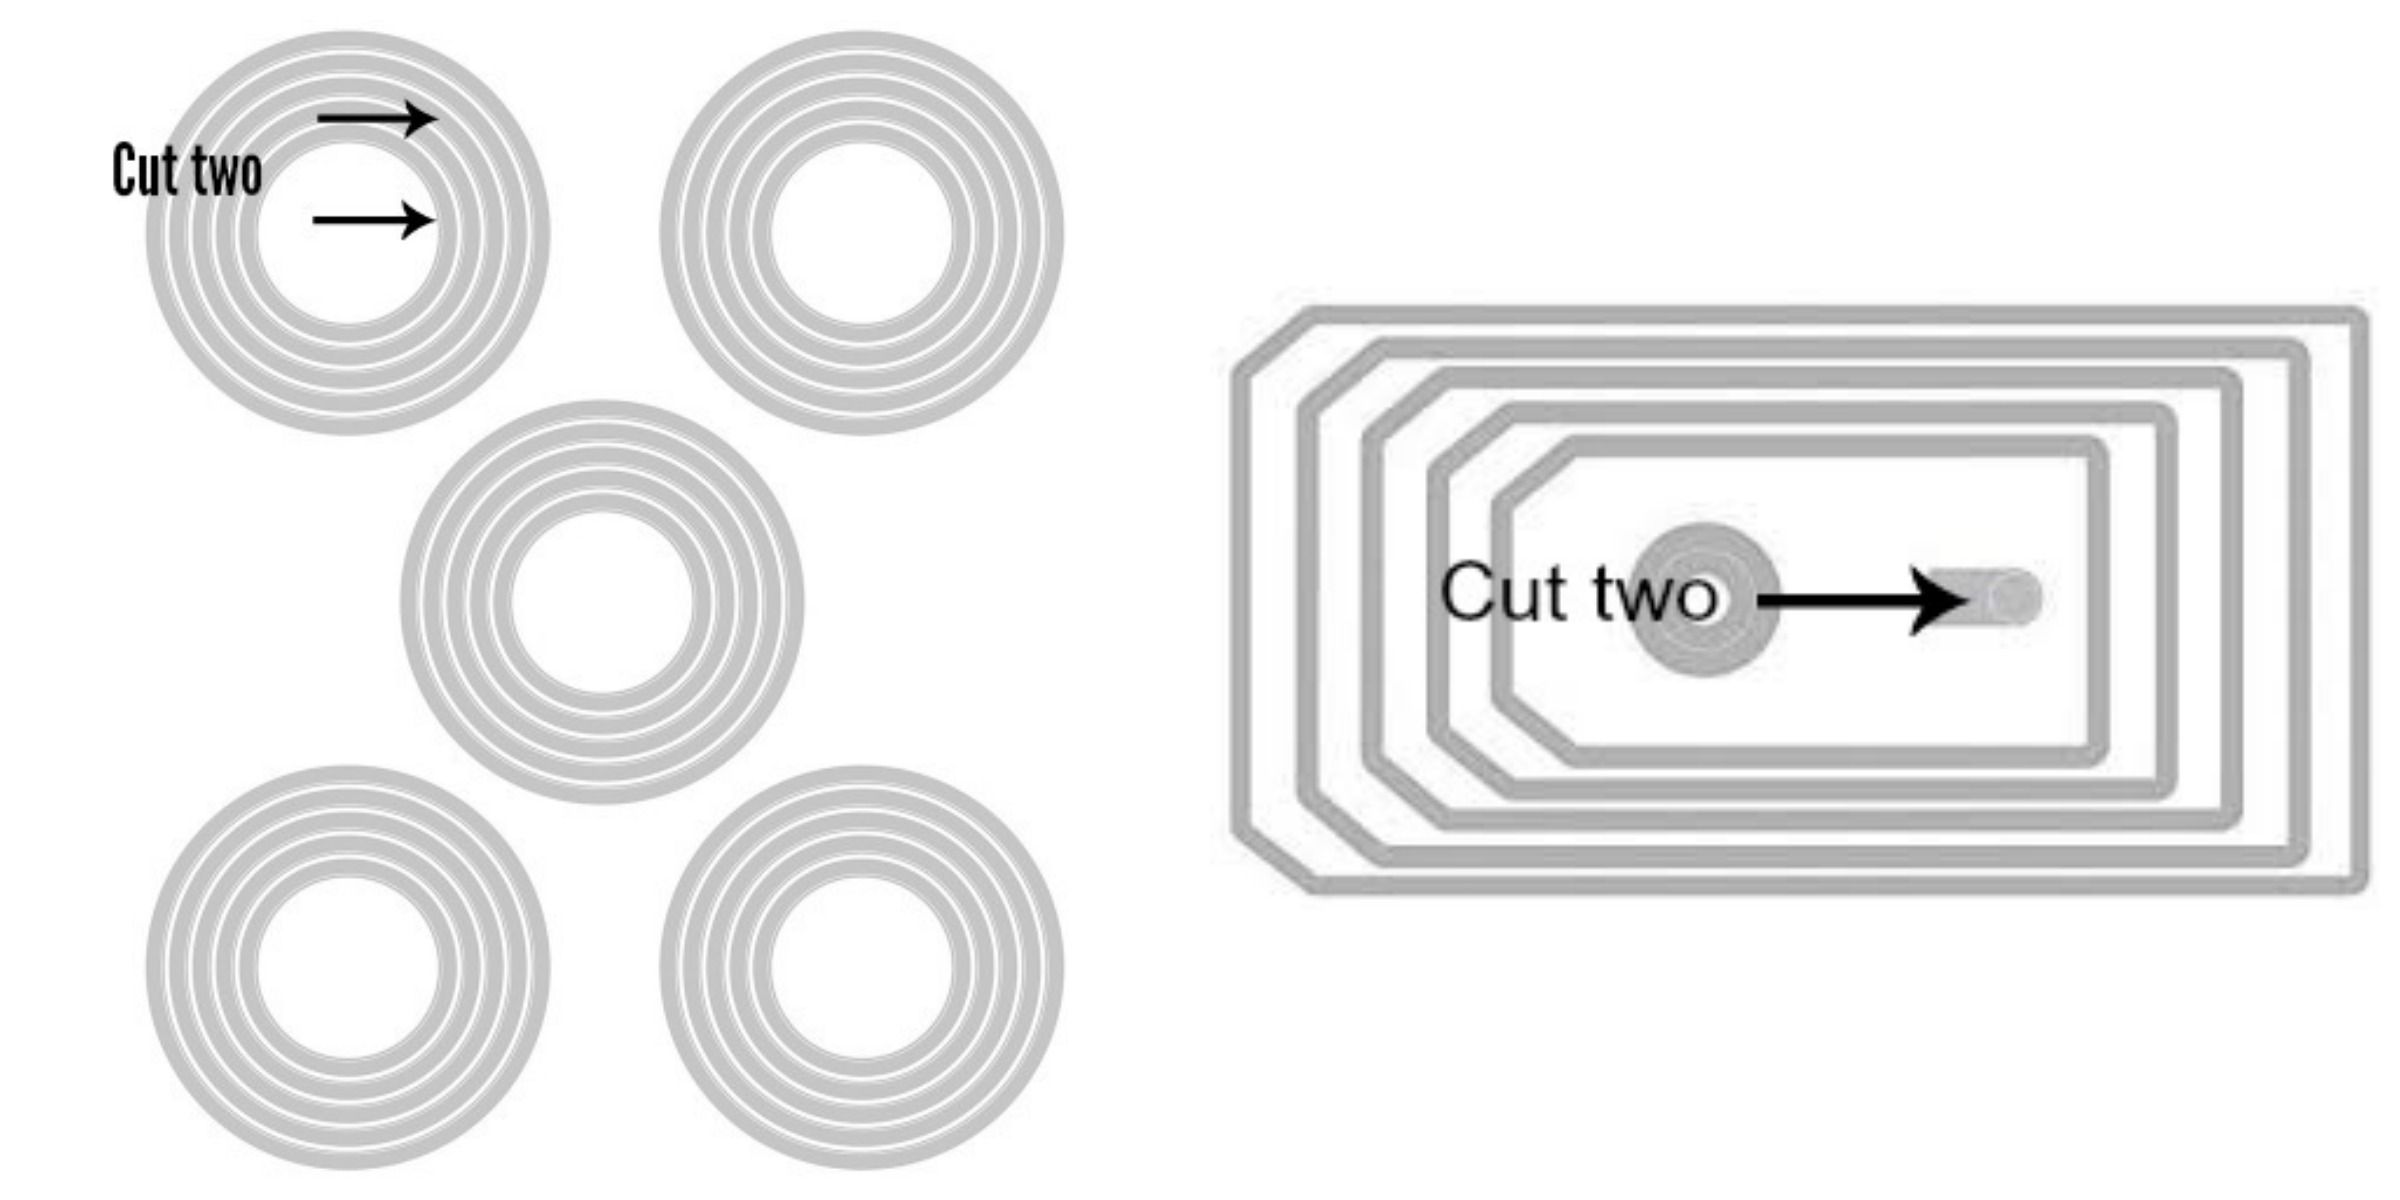
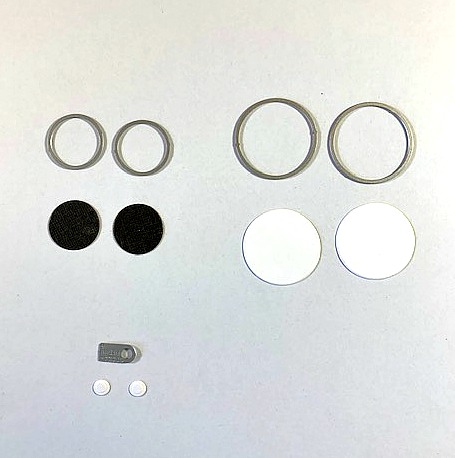
Step 2: Assemble as shown in photo and set aside:
Creating the Jeep Bumpers and Windshield
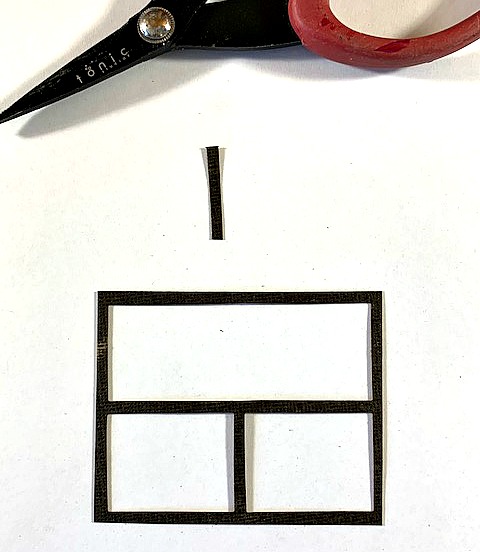
Step 1: Cut two of the window box shapes (bumpers) and one window frame (windshield) from the Tim Holtz Window & Window Box Bigz die as shown in the photo below:
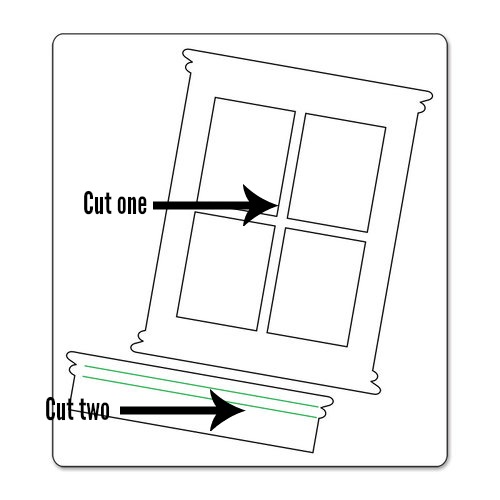
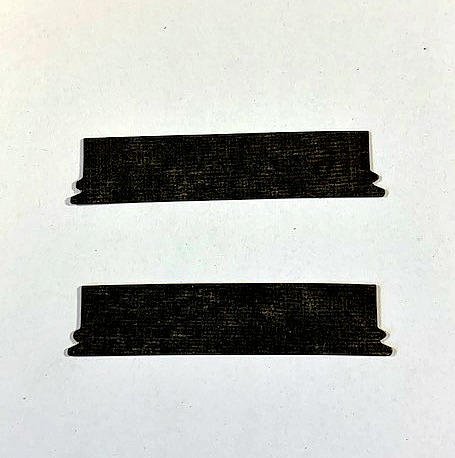
Step 2: Cut away the pieces around the window frame as shown below:
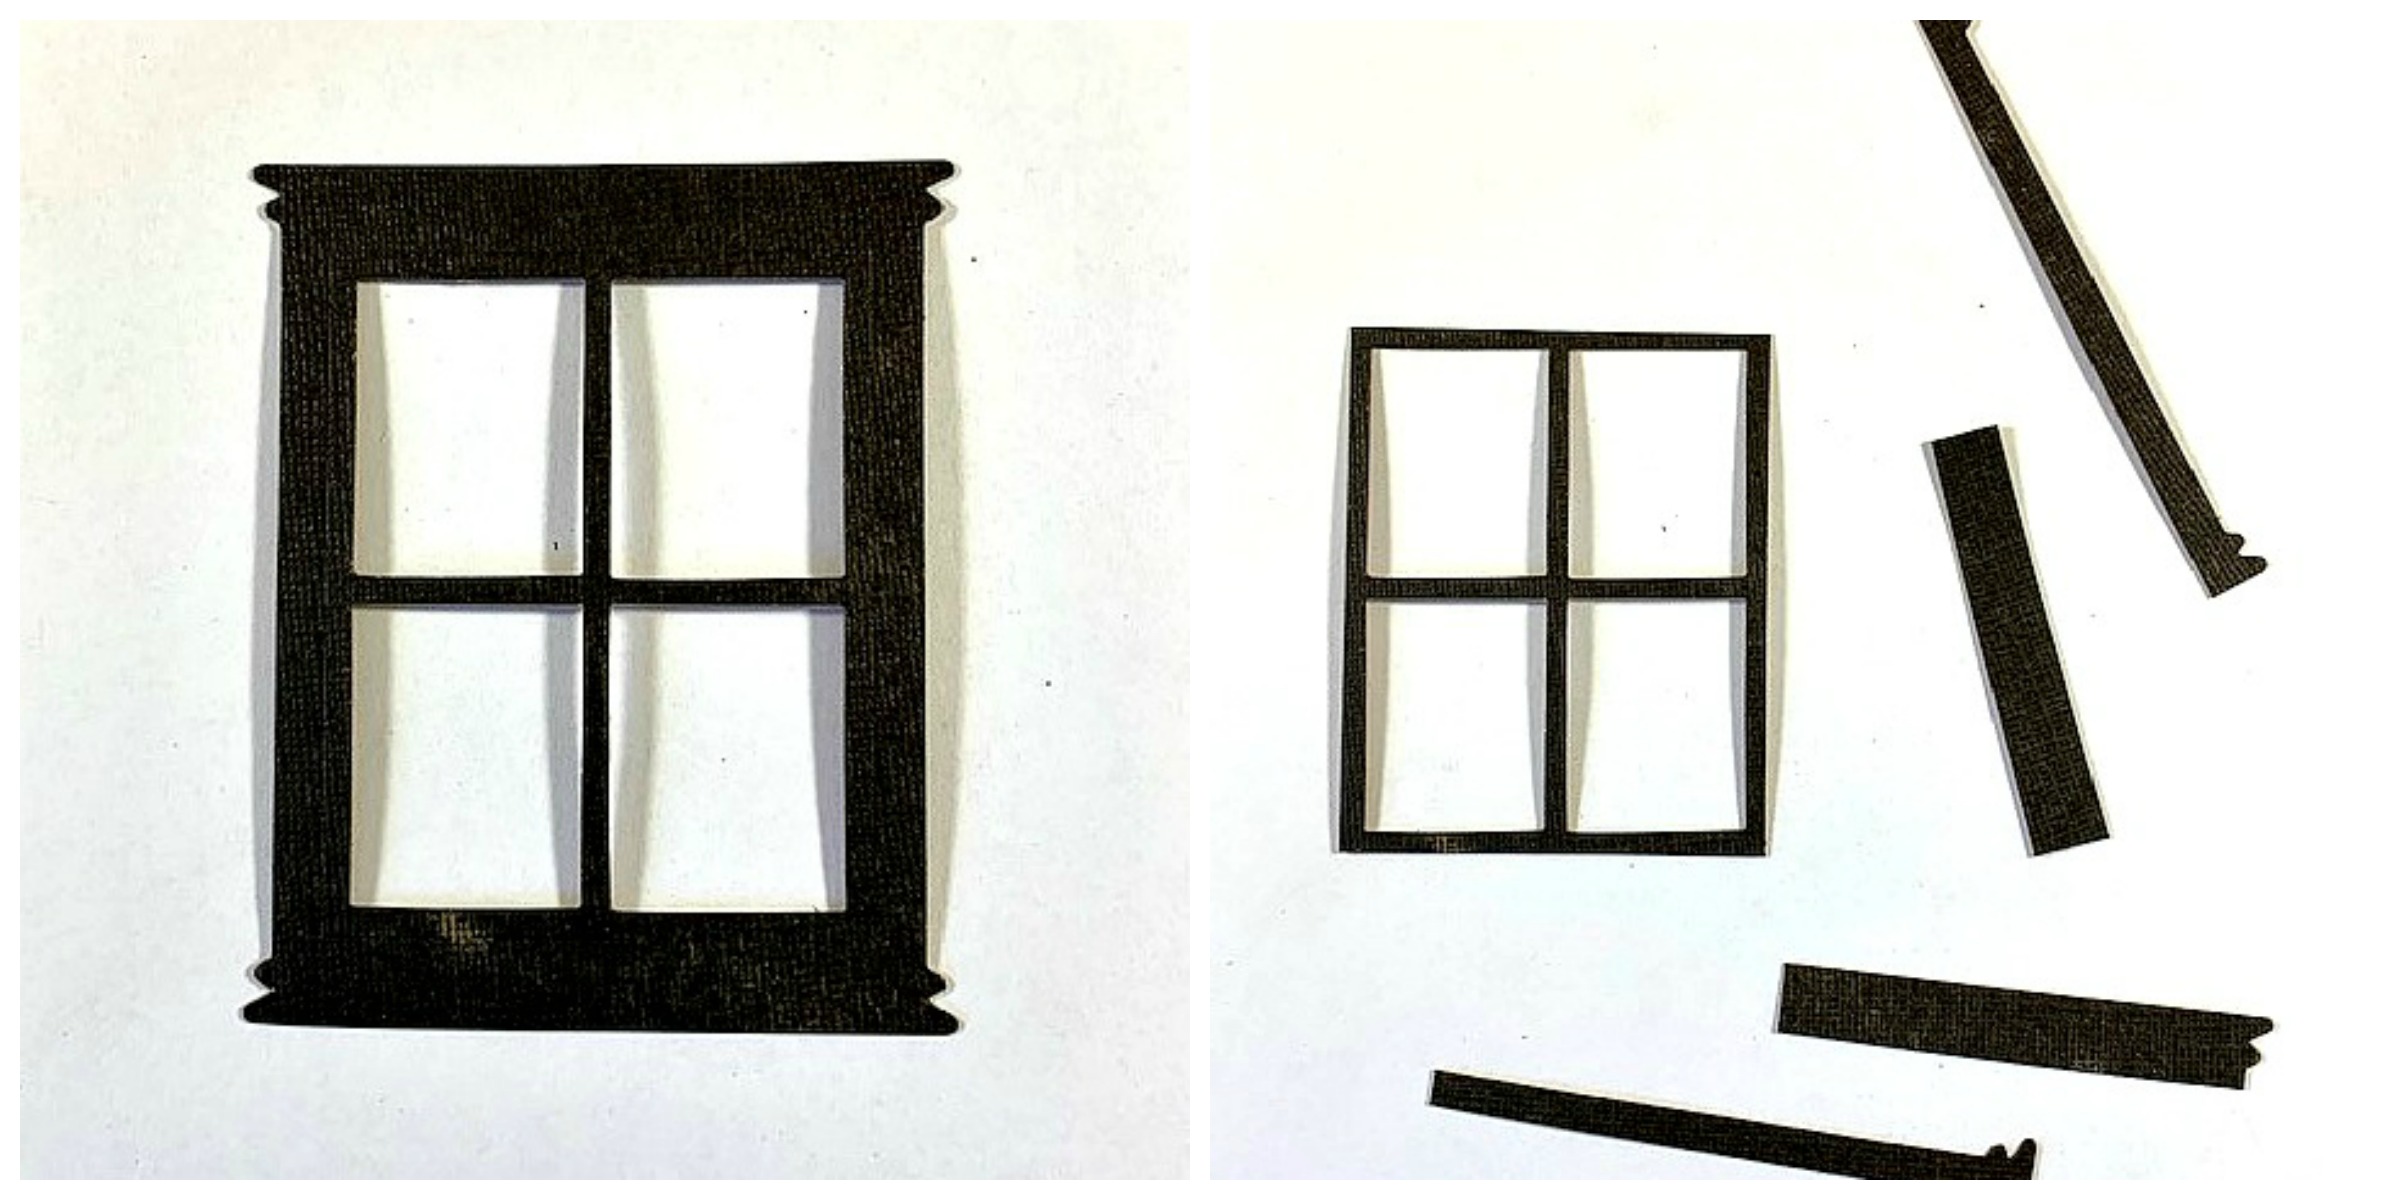
Step 3: Now cut away the frame piece from the top as shown in the photo below:
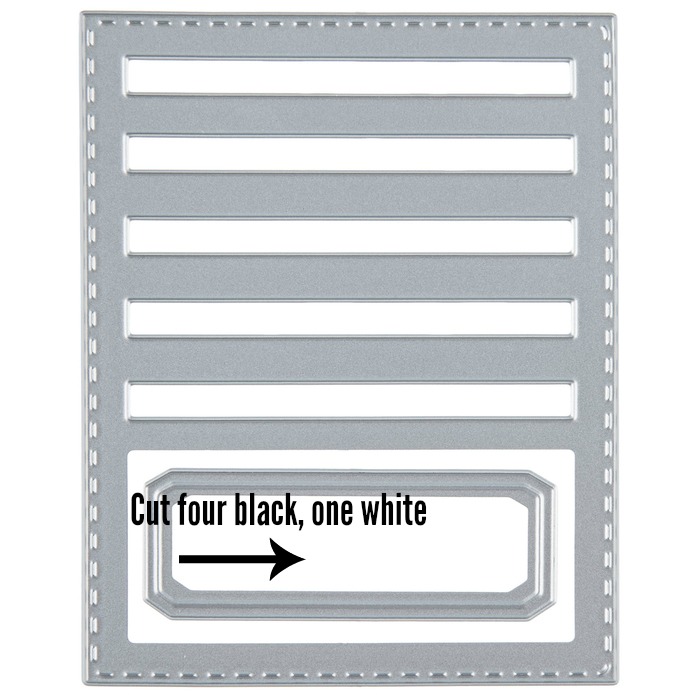
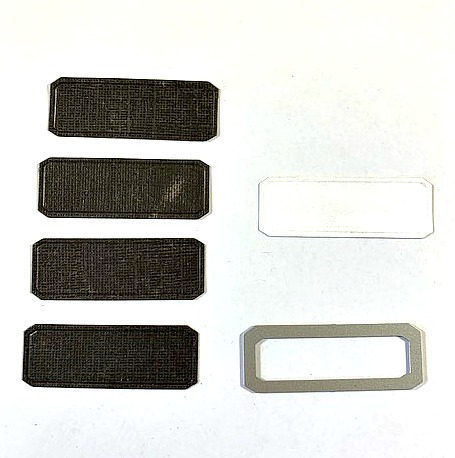
Creating the Jeep Tires and License Plate
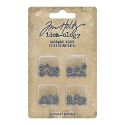
Step 1: Cut the pieces for the tires and license plate from the Tim Holtz Stitched Slots die set as shown below:
Gather All the Pieces You Created for the Jeep
Step 1: You should have all the pieces below, so far, to begin assembling the Jeep. You should have, the body of the jeep, jeep grill pieces, headlights, windshield, two small bumper pieces and one large bumper piece, and tires.
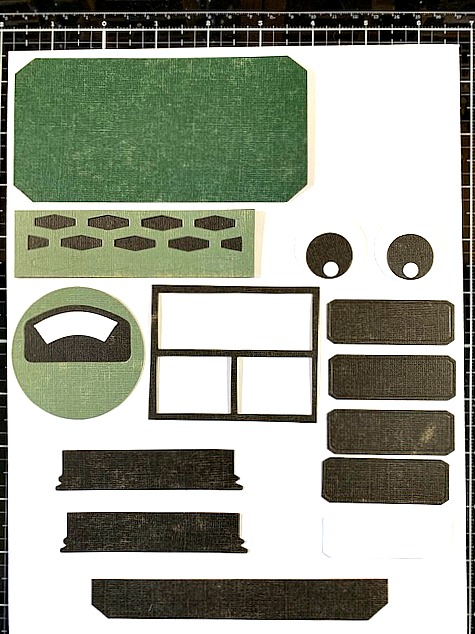
Step 2: Ink the edges of each piece with Vintage Photo Distress Ink.
Assembling the Jeep
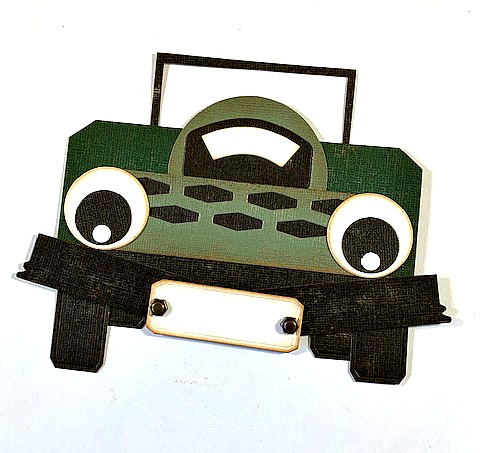
Step 1: Adhere the long bumper piece to the bottom of the Jeep body as shown below: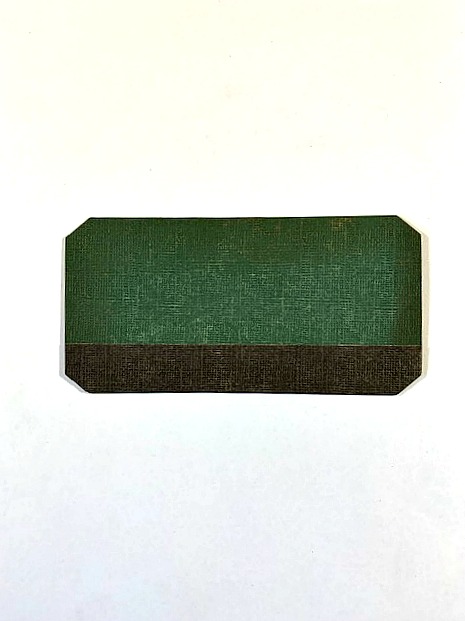
Step 2: Adhere the top portion of the Jeep grill as shown below:
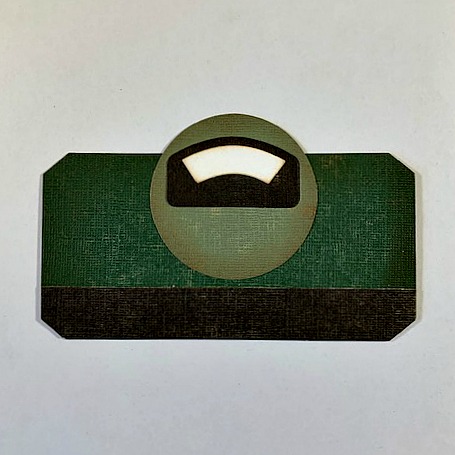
Step 3: Adhere the main portion of the Jeep grill as shown below: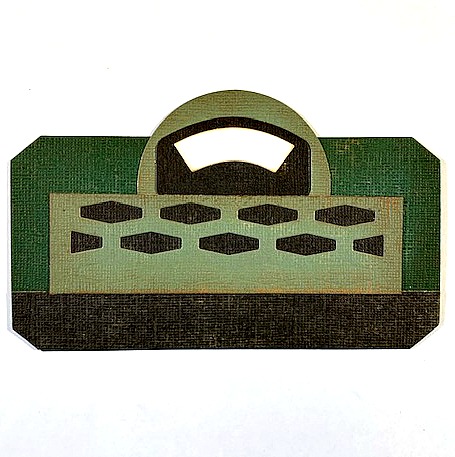
Step 4: Adhere the small bumper pieces to the bottom of the larger bumper at an angle as shown below: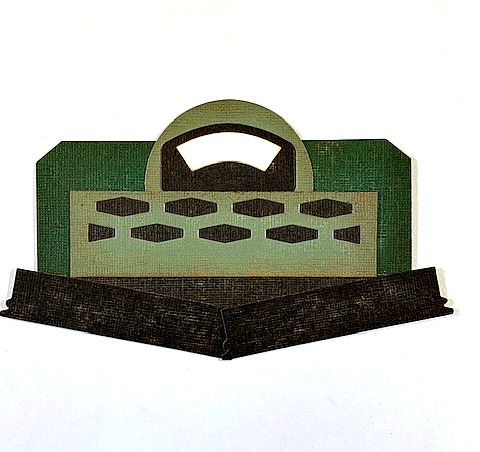
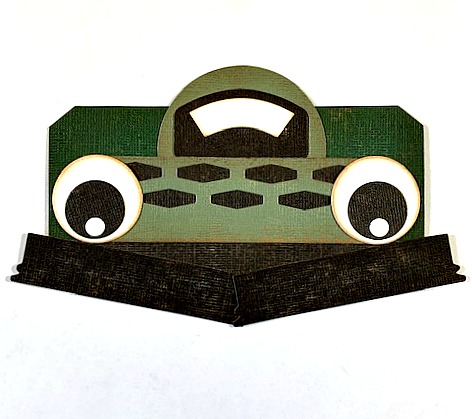
Step 5: Adhere the headlights as shown below:
Step 6: Adhere the windshield as shown below: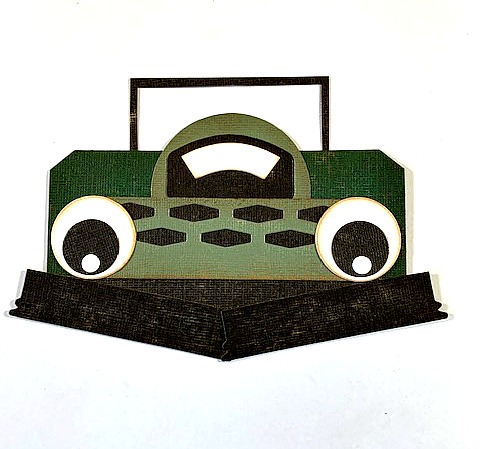
Step 7: Adhere the tires as shown below. You will notice they are not even because I wanted the jeep to look as though it was at an angle, tilting to one side. 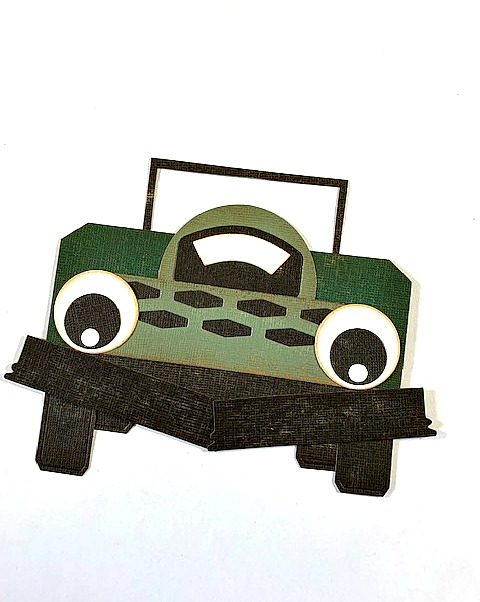
Step 8: Adhere the license plate to the bumper as shown below:
Creating the Jeep Rearview Mirrors and Steering Wheel
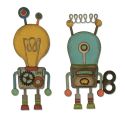
Step 1: For the rearview mirrors, cut the pieces as shown below from the Tim Holtz Robotic die set.
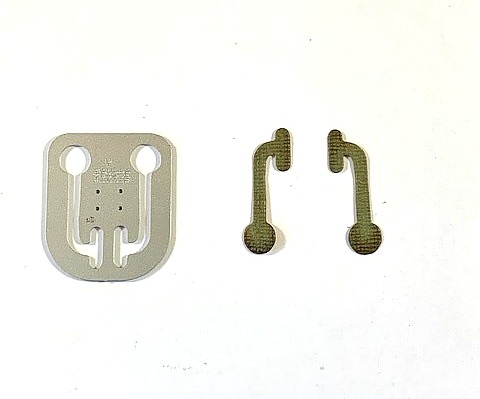
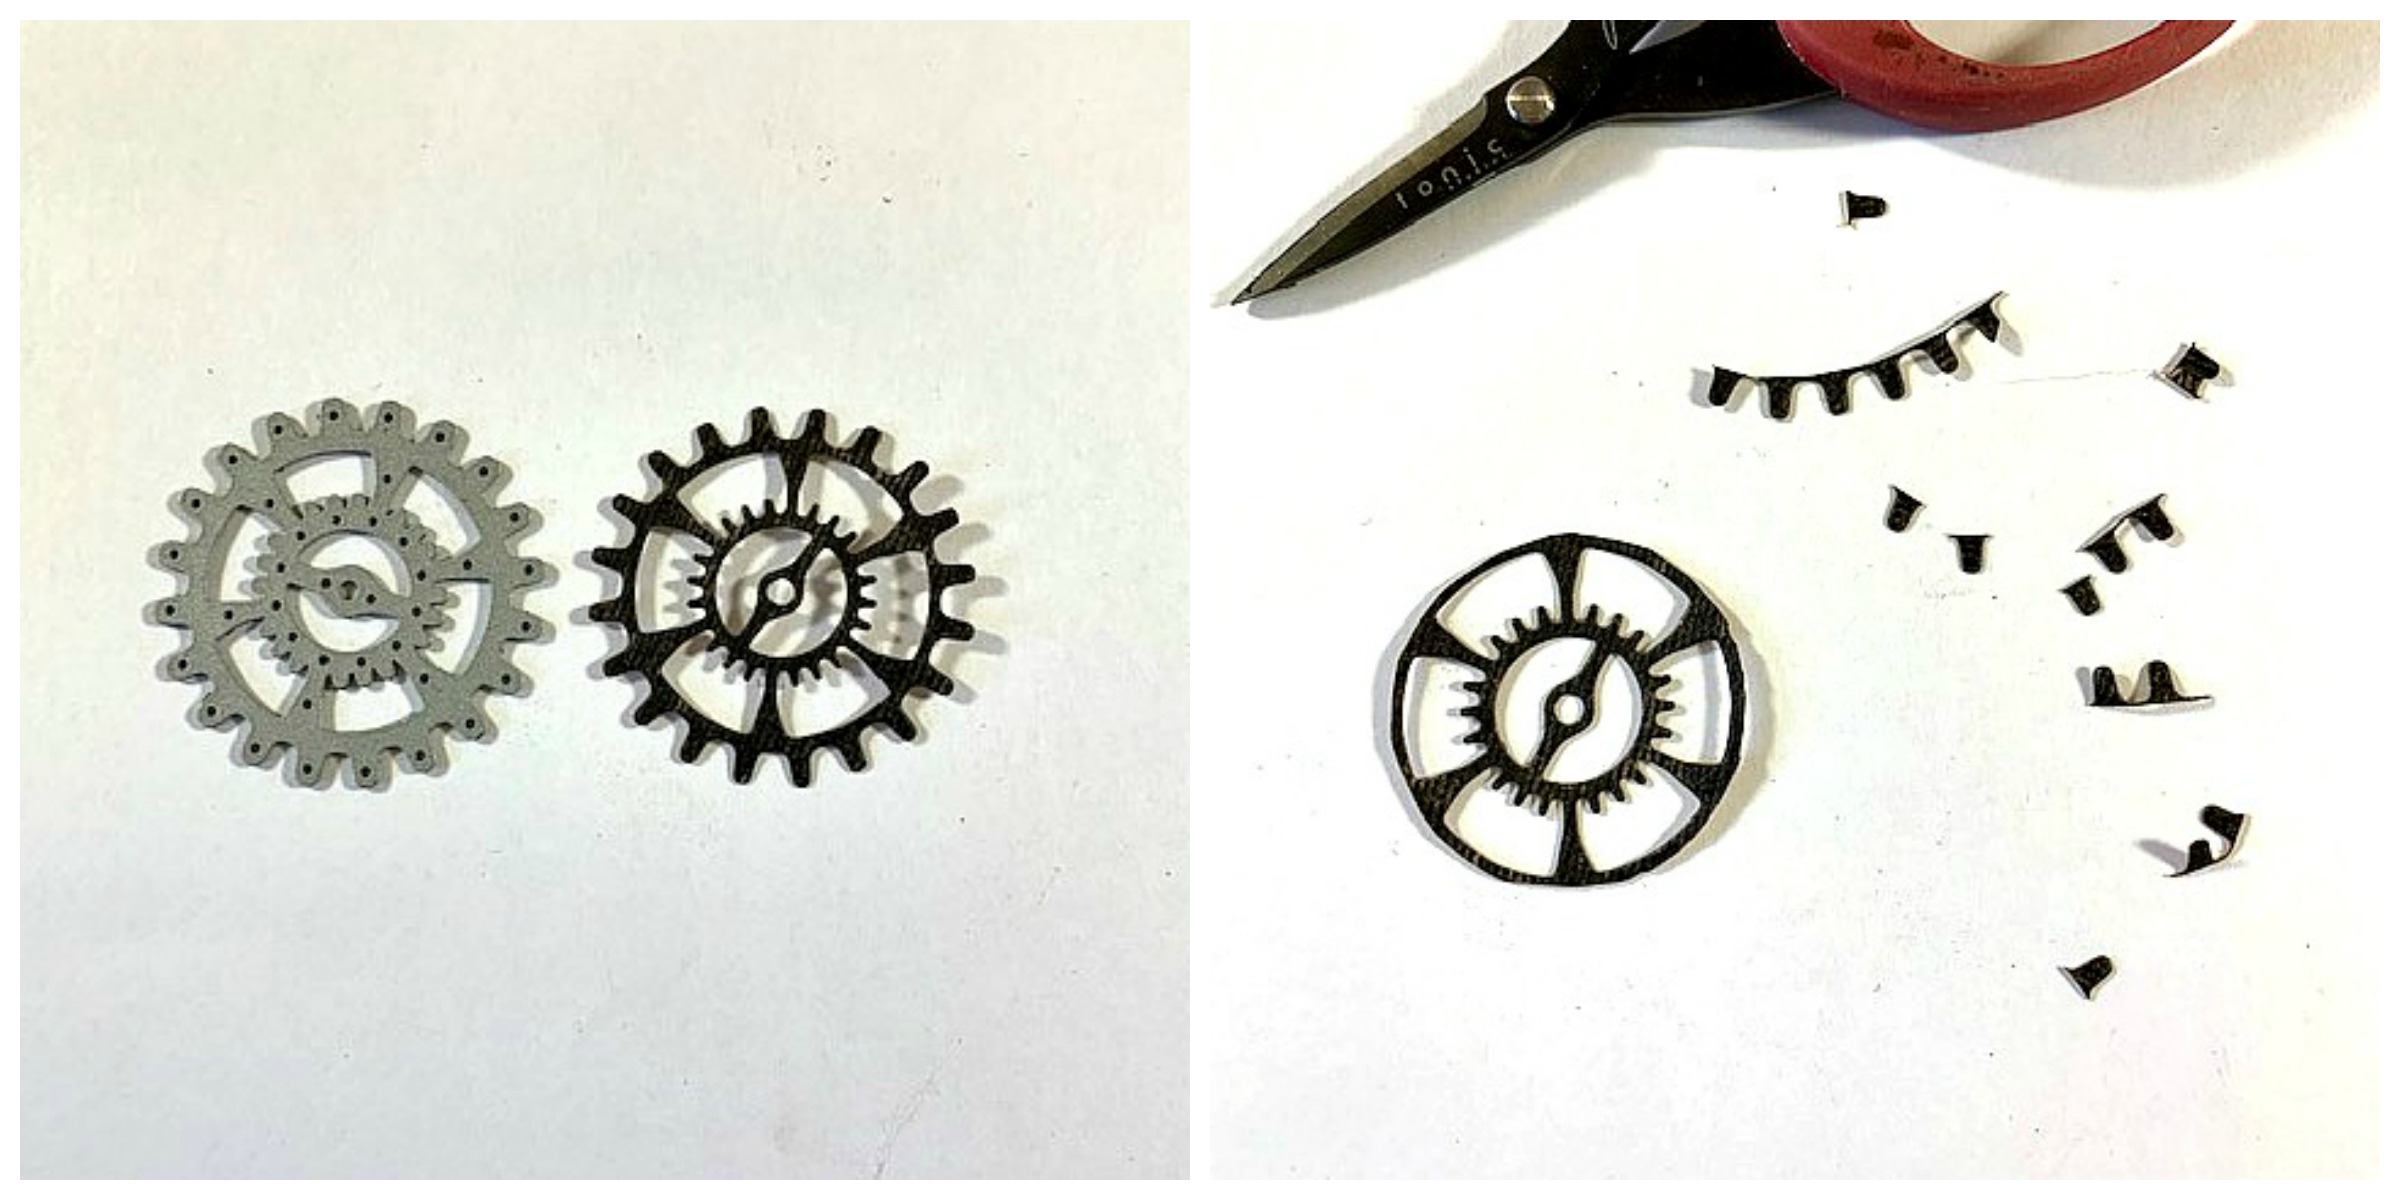
Step 2: For the steering wheel, cut the gear shown below from the Tim Holtz Gearhead die set and cut off the spikes from around the outside of the gear. Adhere these pieces to the jeep.
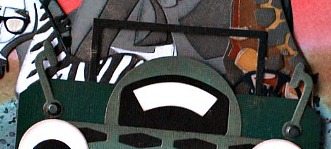
Step 3: Adhere the rearview mirrors and steering wheel as shown in the photo below:
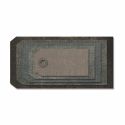
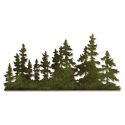
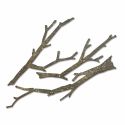
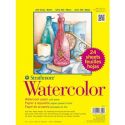
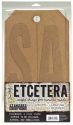
To complete the background for the tag, I created a watercolor sunset, highway and desert using Distress Inks. I painted on the scene on large sheet of watercolor cardstock and adhered it to the largest of the Tim Holtz Etcetera tags. The trees were created out of the Tim Holtz Branches and Tree Line die sets. I cut the tree line apart to create the leaves on the branches. The sentiment is from Stampers Anonymous Tiny Text stamp set and the license plate word “joyride” was created using the Alphanumeric Tiny Type Lower Case die set. I put sunglasses on Clarence, Winifred and Gertrude that were cut from the Hip Haunts die set.
Thanks so much for stopping by and I hope this project inspires you to give these amazing colorize characters a try. Have a great week!!


 |
 |
 |
 |
 |
 |
 |
 |
 |
 |
 |
 |
 |
 |
 |
 |
 |
 |
 |
 |
 |
 |
 |
 |
 |
 |
 |
 |
 |
 |
 |
 |
 |
 |
 |
 |
 |
 |


Absolutely marvelous. The jeep was ingenious….thanks for sharing.
So clever how you made the jeep, love it…and I am in love with the Colorize dies, too….
how awesomely clever your project is. love how you put all the different parts and pieces to make the whole. I would never have seen how this comes together. time to try another make I think. thanks as always for sharing.
this is pretty darn exceptional, how you made the jeep from other dies! The entire piece is just wonderful!!
That is amazingly creative. Thank you for sharing!!
This is great. So good to show how you can reimagine all your dies. It’s easy to forget that. Amazing project thanks for sharing so much detail. x