
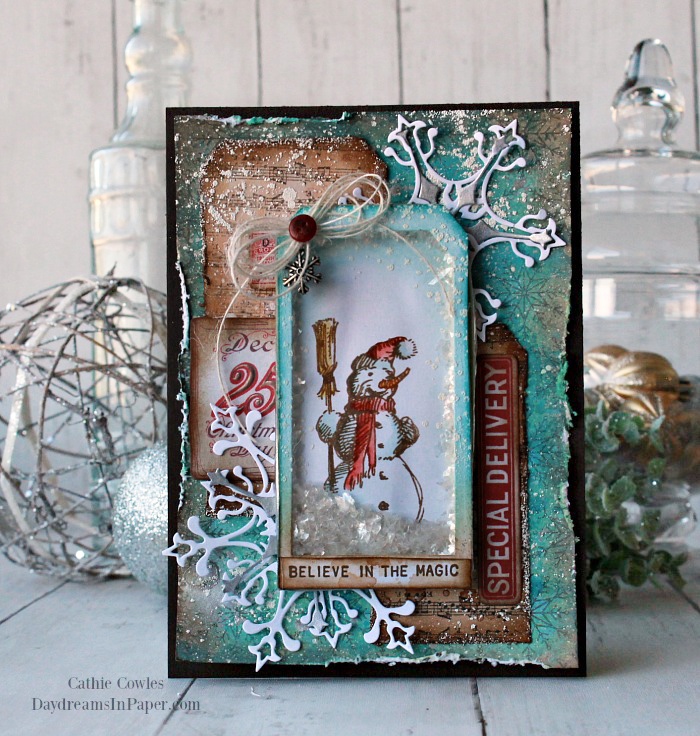
Hi Friends! Today I’m sharing a shaker card that I created using the new Tim Holtz Stampers Anonymous Winterscape stamp set. I decided to create a small shaker tag using the snowman in the stamp set that I could use as the focal point to my card. Below is a short tutorial on how I created the tag. Enjoy!
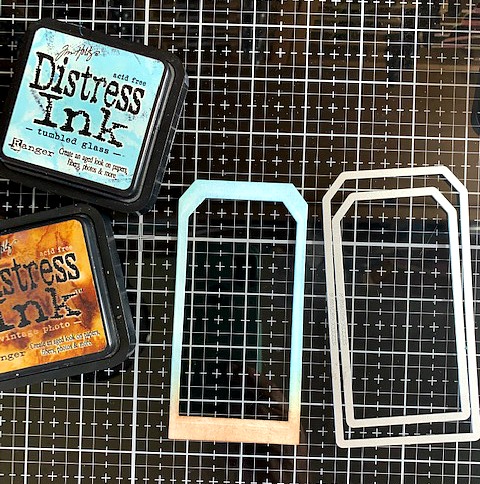
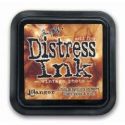
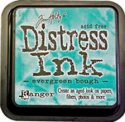
- Create two larger size tags out of mixed media cardstock and ink the top portion of the tags with Tumbled Glass Distress Ink and the bottom portion of the tags with Vintage Photo Distress Ink. Cut a smaller size tag opening out of one of the inked tags you just created.
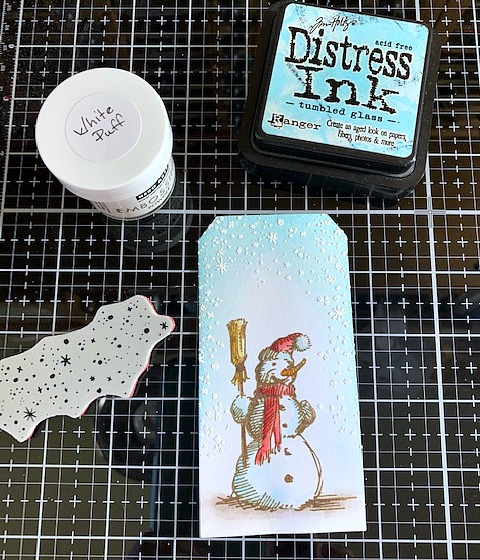
- Take the second tag and stamp the snowman onto the tag and color using Distress Ink re-inker colors of your choice with a waterbrush.
- Stamp the star and snow background stamp around the snowman with embossing ink and apply Hero Arts White Puff embossing powder over the ink and set with a heat tool.
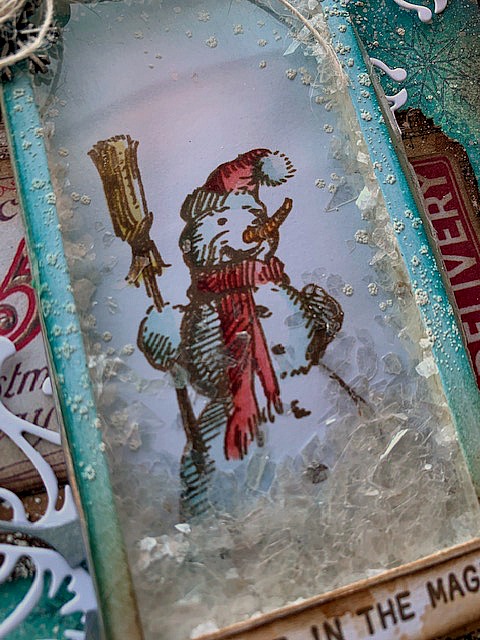
- Place the snowman tag on the bottom and apply 3d foam tape to the edges of the tag.
- Pour about a tablespoon of mica flakes over the contained area.
- Cut a tag the same size out of acetate and adhere onto the 3d foam tape.
- Adhere the cutout tag over top of the acetate.
To complete the card, I created a card base with stamps, distress inks and oxides and a few pieces of ephemera. I adhered the shaker tag to the center of the card, added a couple of snowflakes and distressed the edges of the background. I adhered the entire piece onto a 5″ x 7″ piece of Simon Says Stamp Dark Chocolate cardstock and my card is done.
I hope you enjoyed seeing how I put this card together. Thanks so much for stopping by and sticking with me to the end.


 |
 |
 |
 |
 |
 |
 |
 |
 |
 |


