
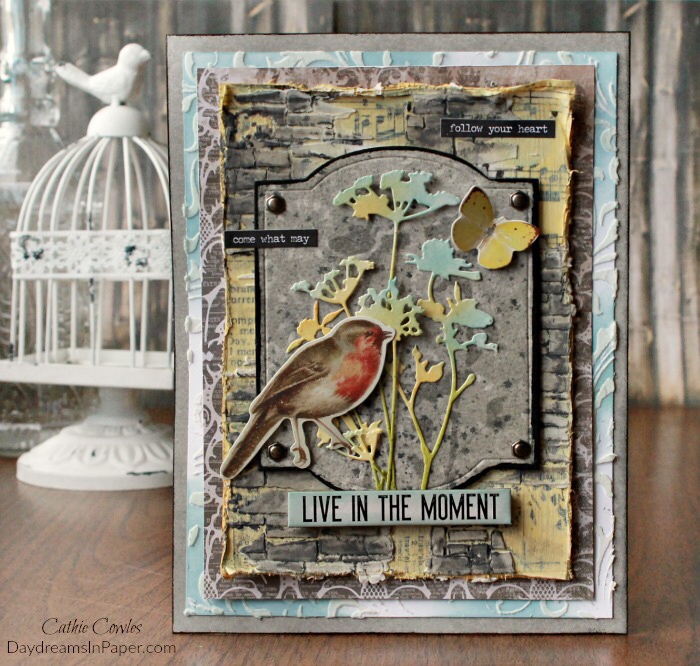
Hi Everyone! Today, I’m sharing a project I made using Tim Holtz products. So many of my friends in the Midwest and East are experiencing a third Winter. While I sit here in sunny Arizona basking in beautiful weather, I feel bad because I know how they feel. I grew up in Wisconsin and remember the long Winter days and how I longed for Spring to finally arrive. I also lived in Colorado for a time and remember the year it snowed on June 1st!! This project is for my friends who are going through the cold and clouds to remember to live in the moment. I know you’ll be thinking of me as I go through the 115 degree Arizona summer for several months. That will be my time to live in the moment. Hang in there friends!
My project contains three panels. I will break down each panel below and show you how I put it all together. Enjoy!
Main Panel
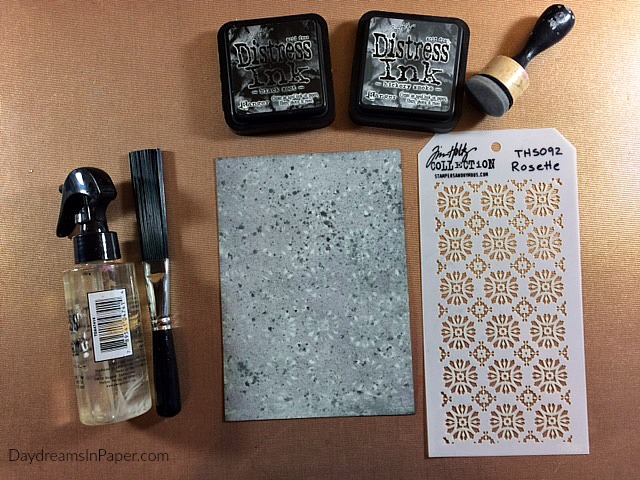
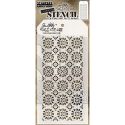
I begin the main panel by creating a look of stone on white cardstock. I cut a piece of Neenah Solar White cardstock and ink the entire piece with Hickory Smoke Distress Ink. Next, I lay the Tim Holtz Rosette mini stencil over the panel and gently wipe over the stencil design with a baby wipe. Next, I splatter the entire piece with Black Soot Distress Ink that has been mixed with water.
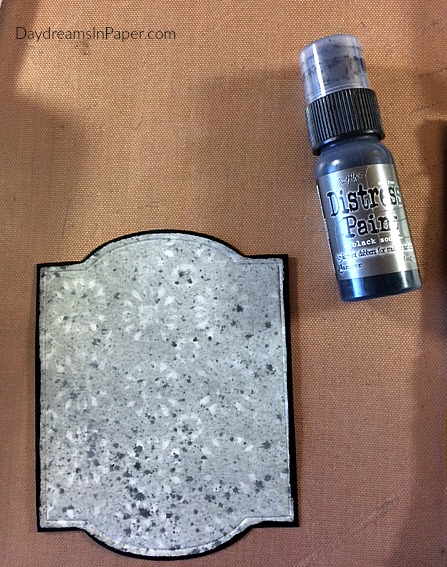
Using the Tim Holtz Cameo Frame Bigz Die, I cut out the design and paint the edges with Black Soot Distress Paint by running the dauber tip along the edges.
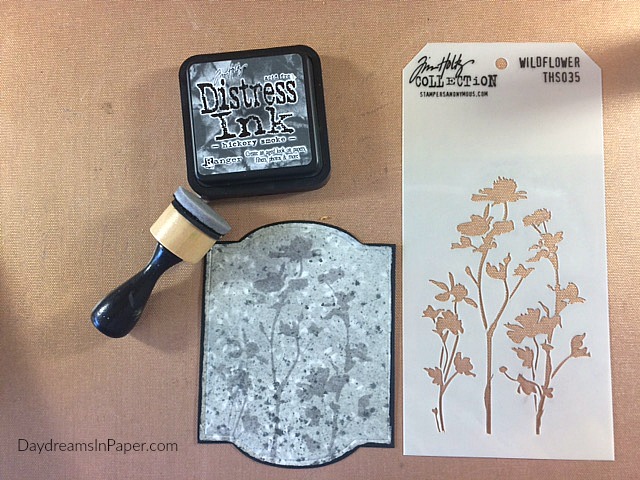
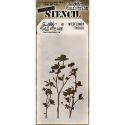
I want to create shadows of wildflowers in the distance and achieve this by using the Tim Holtz Wildflower stencil. I lay the stencil over the cameo frame and ink the image onto the frame with Hickory Smoke Distress Ink.
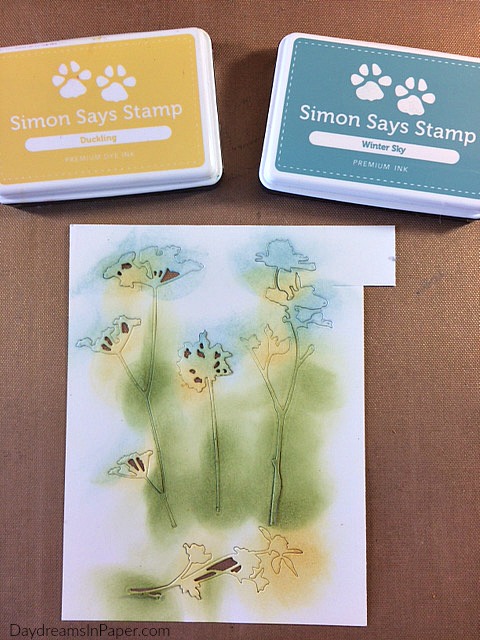
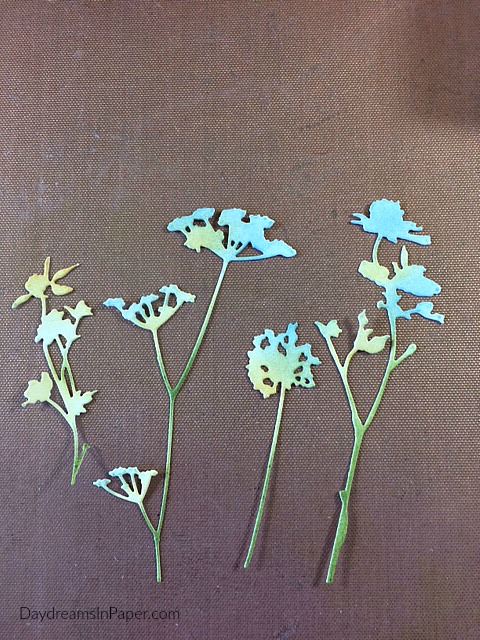
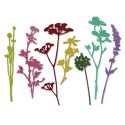
To create the flowers for the cameo frame panel, I cut several wildflowers from the Tim Holtz Wildflower Thinklits die set out of Bristol watercolor paper. I find it easiest to color these intricate dies by keeping them in the cut out forms before removing them as shown above. I used Simon Says Stamp Winter Sky and Duckling ink for the flowers and Peeled Paint and Shabby Shutters Distress Inks for the stems.
I remove the wildflowers and adhere them to the cameo panel.
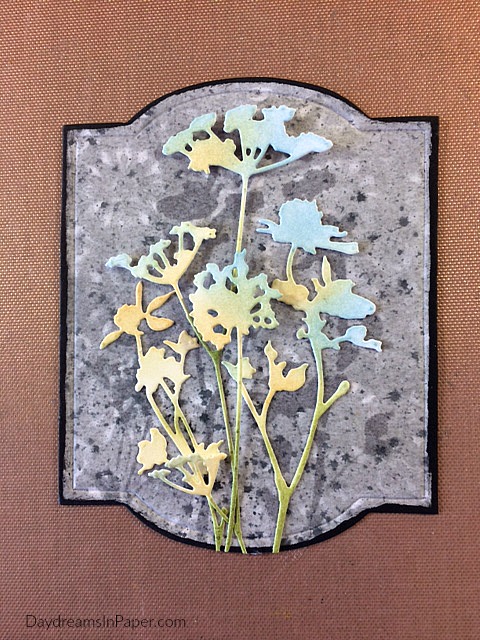
I adhere two of the wildflowers to the cameo panel with Ranger Multi Matte Medium. The other two I adhere with tiny pieces of 3D foam tape to give it dimension.
Second Panel
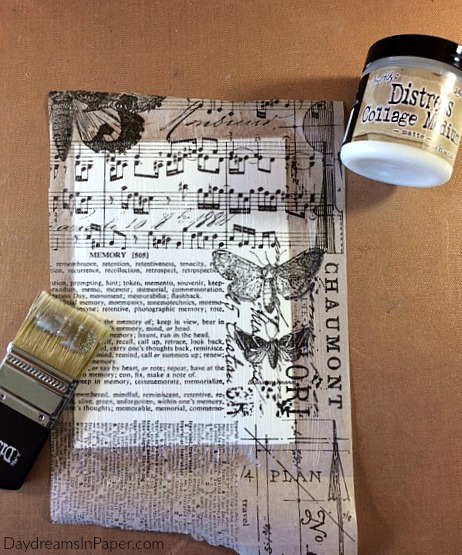
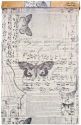
For the second panel, I cover a 5″ x 7″ piece of Neenah Solar White cardstock with Distress Matte Collage Medium. I lay a piece of Tim Holtz Melange tissue wrap over the panel and apply another coat of matte collage medium on top of the tissue paper. I allow this to completely dry before moving on to the next step.
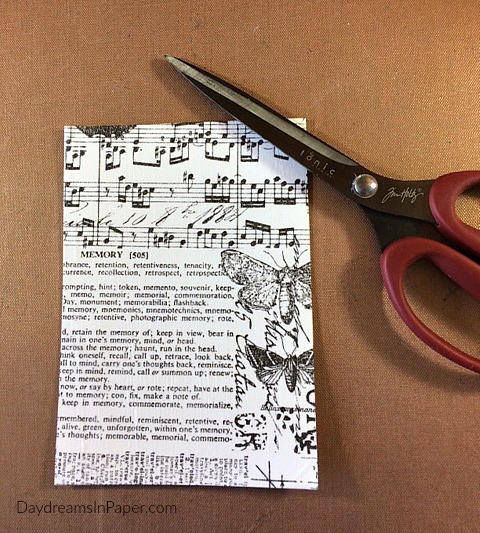
Now that the collage medium is completely dry, I cut away the excess tissue paper from the edges.
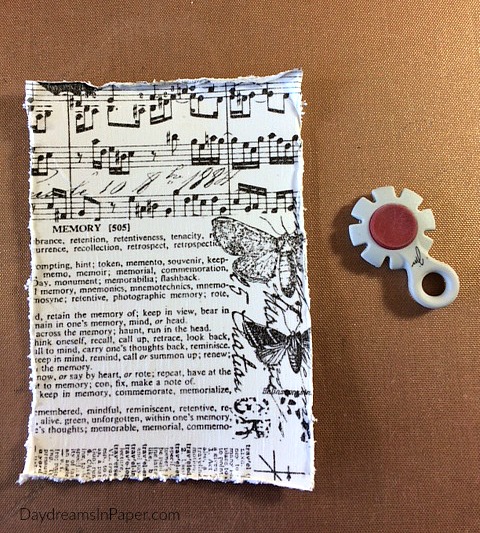
I distress the edges with a Tim Holtz Paper Distresser.

Next, I ink the edges with Simon Says Stamp Duckling premium ink.
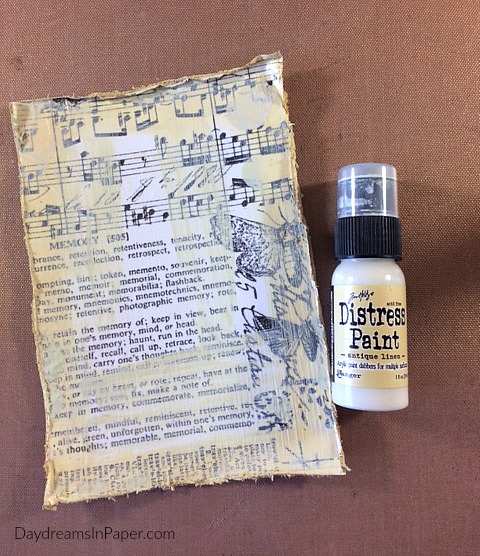
Now I paint most of the surface with Antique Linen Distress Paint but leave some areas of white on the panel and allow this to completely dry.
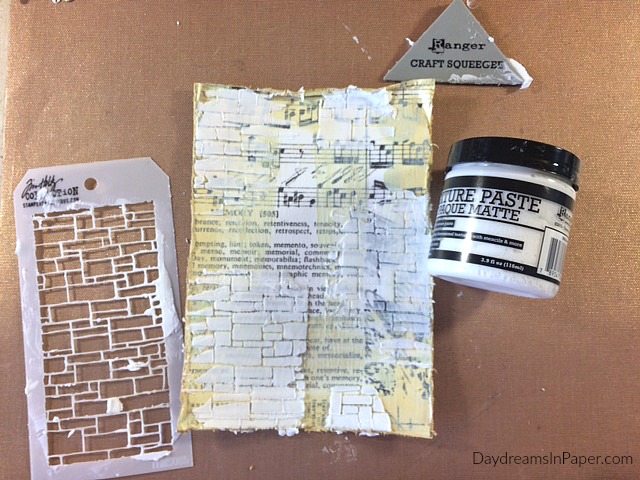
To add dimension to the panel, I stencil on the Tim Holtz Slate mini stencil in random areas with Ranger Texture Paste and allow it to completely dry.
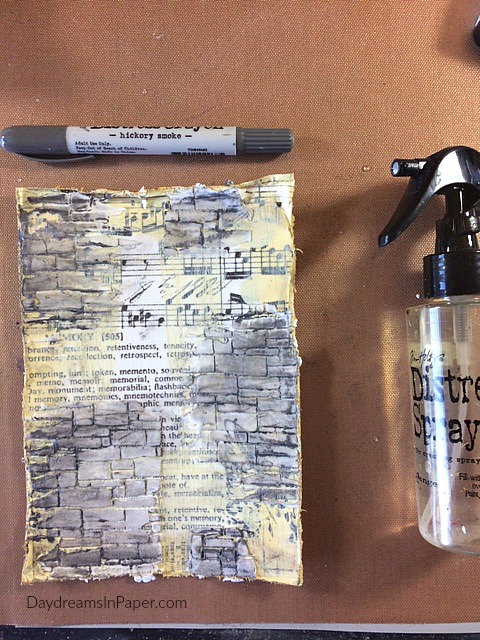
Now that the texture paste is completely dry, I color the slate with Hickory Smoke Distress Crayon. I color on the pigment over the slate, spray on a bit of water and move the pigment around with my fingertips. I set this aside to dry and move on to the next panel.
Third Panel
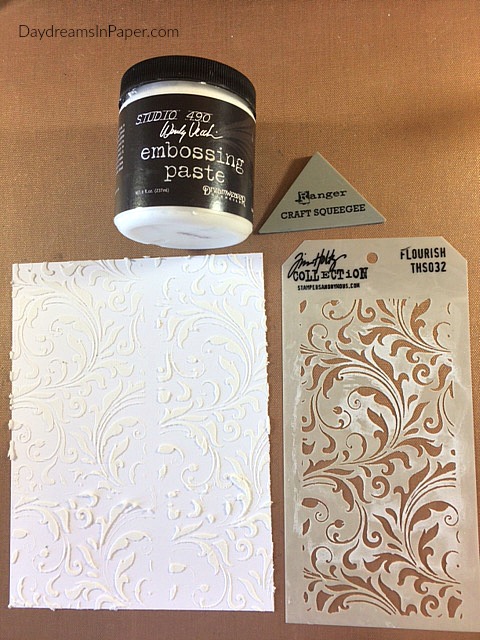
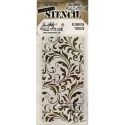
The third panel is very simple. I cut a 6″ x 7″ piece of Neenah Solar White cardstock and stencil on the Tim Holtz Flourish stencil with Wendy Vecchi Embossing Paste. I use this particular paste because I want the flourishes to remain white after I apply ink to areas of the panel after it dries.
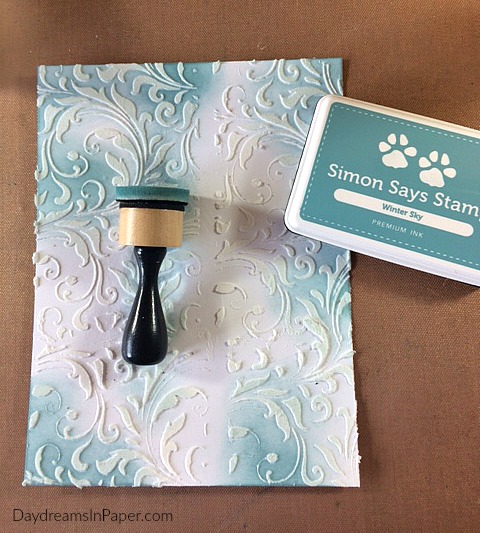
When the embossing paste is completely dry, I ink random areas of the panel with Simon Says Stamp Winter Sky premium ink.
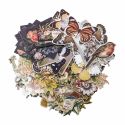
Now that all three panels are complete, I put everything together.
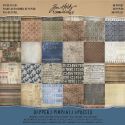
To finish the piece, I adhere the flourish stenciled panel to a piece of cardstock that has been inked with Hickory Smoke Distress Ink and edged with Black Soot Distress Paint. I adhere a piece of patterned paper from the Tim Holtz Dapper paper stash on top of the flourish panel. Next I adhere the cameo panel on top of the slate panel with Tim Holtz Hex Fasteners and apply that to the top of the piece. I add a couple pieces of Tim Holtz Botanical ephemera pieces to the piece. The sentiment, “Live In The Moment”, is from the Tim Holtz Quote Chips paperie set and has been inked with Simon Says Stamp Winter Sky ink. The two smaller quotes are from the Tim Holtz Small Talk sticker set.
I hope you enjoyed seeing how I put this mixed media piece together. Thanks so much for stopping by and have an absolutely awesome weekend!

 |
 |
 |
 |
 |
 |
 |
 |
 |
 |
 |
 |
 |
 |
 |
 |
 |
 |
 |
 |
 |
 |
 |
 |
 |
 |
 |
 |
 |
 |
 |
 |
 |
 |


Absolutely amazing! And I love ur very detailed explanation!
The SSS winter sky ink pad is perfect for this composition too.
Good job my friend!