
When I was a kid, I remember the best Christmas parties where my family got together with Aunts, Uncles, Grandparents and all my cousins. Being that I was one of the youngest in my family, and extended family, I always had to sit at the kid’s table. It was always fun and we had the best time but I remember the table was never decorated. There were no colorful tablecloths, centerpiece decorations, name plates or even a treat bag. There was just a plain white cloth and some silverware. So when my grandchildren are old enough to sit at their own table, I want to make sure to decorate their table so they have wonderful memories well into their adulthood. This Gingerbread Christmas centerpiece is sure to delight and fascinate any child. It’s traditional Christmas colors, adorable Gingerbread characters atop a glowing lighted base will brighten and welcome every child (and maybe even an adult who is a child at heart) to the “kids table”.

Join me below to find out how I created my lighted base.
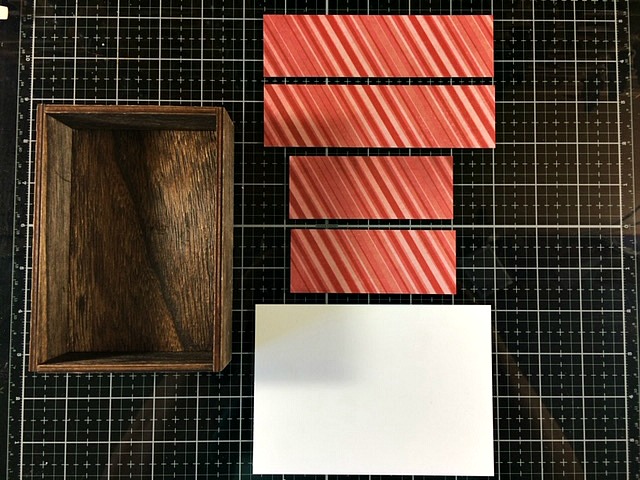
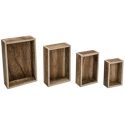
Using one of the Tim Holtz Vignette boxes, measure each side of the box as well as the top. Cut pieces of patterned paper to the measurements for each of the sides of the box. Cut a piece of heavy white cardstock to the measurements for the top of the box.
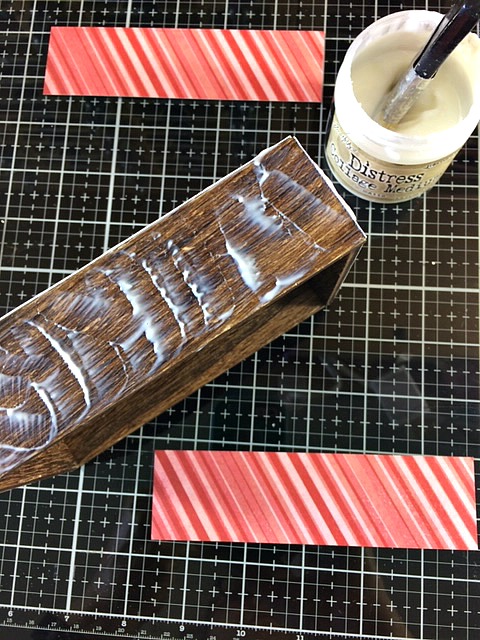
Adhere each patterned paper piece to its coordinating side of the box using Distress Collage Matte Medium. When the sides are finished, adhere the white cardstock to the top of the box.
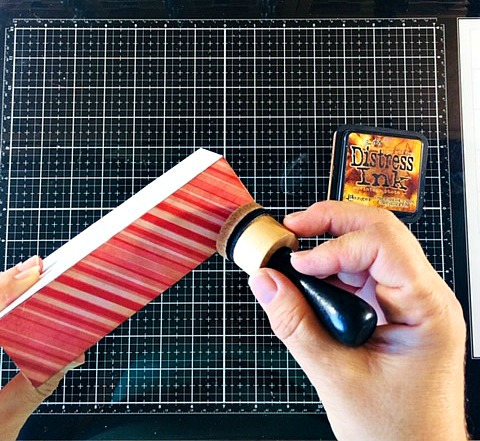
When the glue is completely dry, ink the edges with Vintage Photo Distress Ink using an ink blending tool.
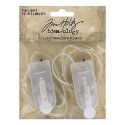
I used Tim Holtz Tiny Lights for my base and colored the lights alternately with red and green alcohol ink. You could leave the lights white, but I wanted to make mine red and green to add a bit of whimsy to the centerpiece. (And because most children love things colorful.)
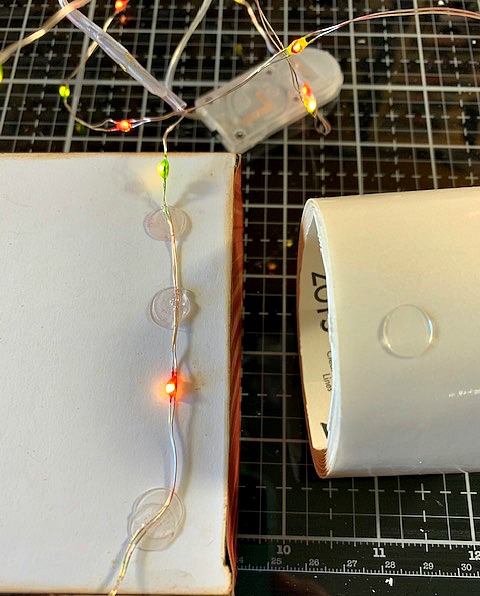
Starting with the end closest to the battery pack, I adhere the lights to the top of the vignette box (the part covered with white cardstock) using medium size Zot glue dots. I place a glue dot down, press the corded section of the lights into the glue dot and then place another glue dot on top of the first one as shown above. I continue a weaving pattern until all the lights are attached.
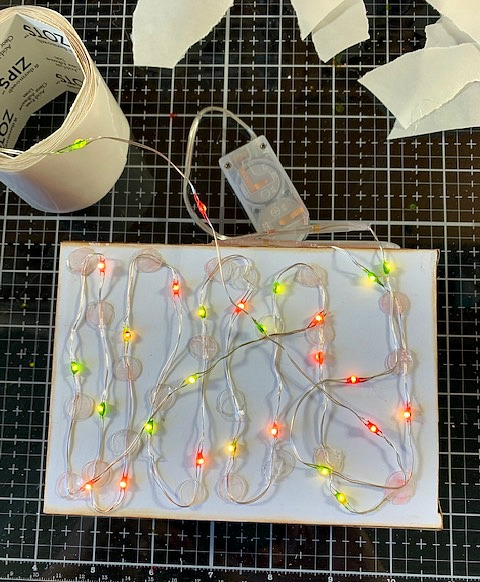
As shown above, I have attached one string of lights to the top of the vignette box.

I want there to be a lot of lights on my centerpiece, so I add another string of lights to the base.
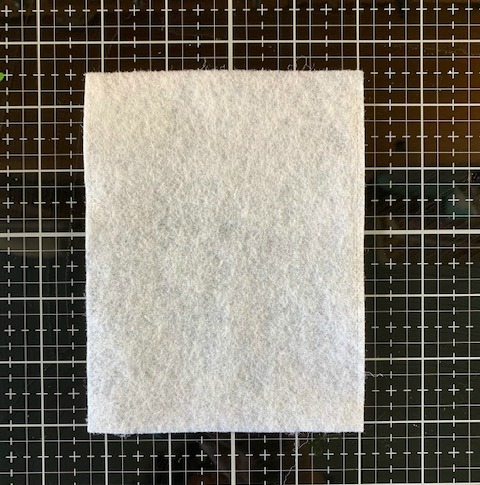
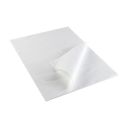
Next, cut a piece of thin white felt the same size as the top of the vignette box. This will be attached to the box on top of the tiny lights.
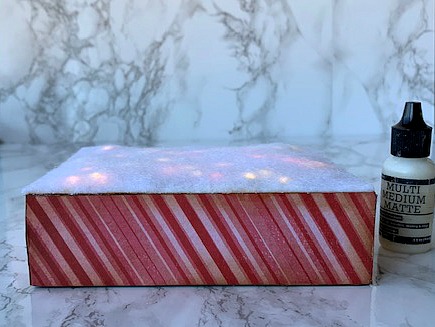
Apply Multi Matte Medium along the edges of the box on the left, right and front top sides of the box. Do not add the glue to the back of the box. When you have applied glue to the three edges, gently lay the felt piece on top of the box and press the felt into the glue until it has created a seal.
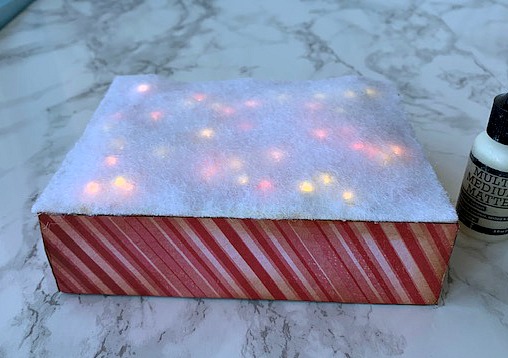
Here you can see the lights shining through the felt. The picture doesn’t do it justice. It’s a beautiful collection of lights that create a bokeh effect. Now you are ready to decorate your lighted base as you wish.
Some of the elements of the centerpiece are as follows:
- To create the small Candy Cane Christmas Tree, I used one of the Tim Holtz Woodland Trees and wrapped it with painters tape as if the tape were tinsel. I then sprayed the tree with Fired Brick Distress Oxide Spray and allowed that to dry. When the spray was dry, I removed the painter’s tape and a perfect white line in the design of tinsel was left behind making the tree look like a candy cane.
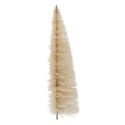
- To create the large tree, I sprayed some Tim Holtz Crinkle Ribbon with Fired Brick Distress Spray Stain. When the spray was dry, I folded the ribbon in half and wrapped it around the tree like tinsel. I created a bow for the tree topper out of the same ribbon and created some candy canes from the Tim Holtz Santa’s Helper die set and placed them in the tree.
- I created some adorable gingerbread people from the Tim Holtz Fresh Baked 2 die set along with some Santa hats from the Festive Things die set. These hats fit perfectly on the heads of the gingerbread people. The presents are also from this die set.
I hope you enjoyed seeing how I put together my Gingerbread Centerpiece with a lighted base. Thanks so much for stopping by, I really appreciate it!!


 |
 |
 |
 |
 |
 |
 |
 |
 |
 |
 |
 |
 |
 |
 |
 |
 |
 |


Absolutely charming!!!!
Great tutorial too…Merry Christmas!!
Thank you, Linda. Merry Christmas to you too!!