
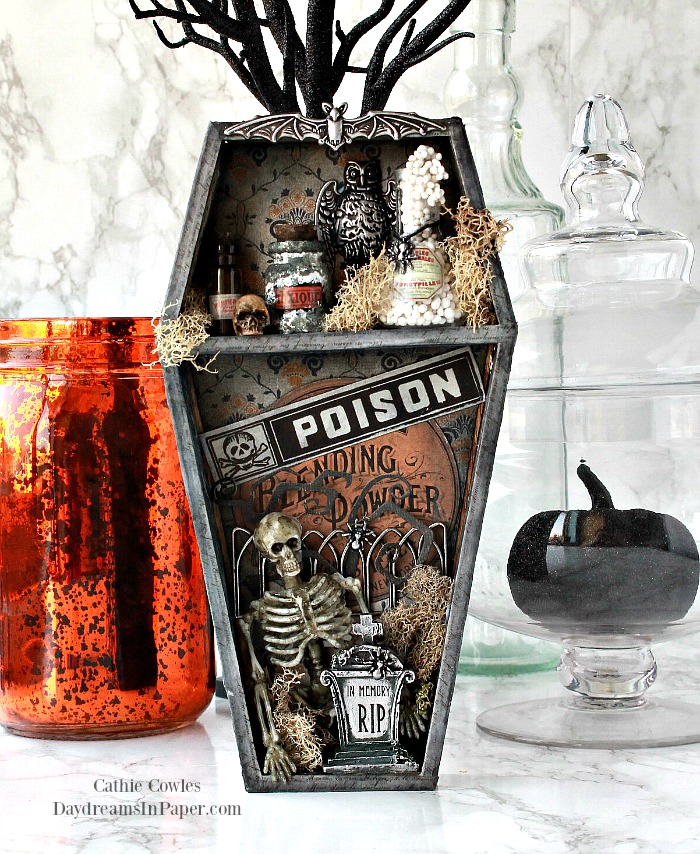
Hi Friends! Most of you that have been following me for a while know how much I love to create for Halloween. I couldn’t wait to get my hands on the new Tim Holtz Halloween Idea-ology and I have several projects rolling around in my head on how to use them. My first project is a creepy Halloween scene inside Skully’s coffin. Sometimes when I see projects like this, I think, “I don’t have time for that, it looks so time consuming” and even though it may look complicated to make, it’s really not. By taking projects like this and breaking them down into steps makes them completely manageable and will keep your head from exploding. If you think about it as a whole and all that needs to be done, it would seem too daunting to create but break it down into steps and, well, you’ll see what I mean…….
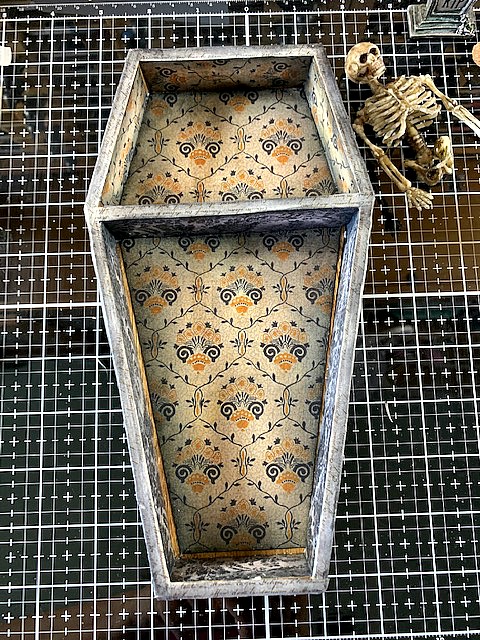
Creating the Inside of the Coffin
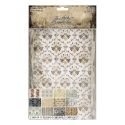
- Measure each of the openings and sides of the coffin and cut them out of Tim Holtz Idea-ology wallpaper of your choice.
- When all the pieces are cut to size, apply one section at a time. I start with the back of the coffin and apply collage medium to the top half of the coffin, lay the coordinating cardstock piece down and apply more collage medium over top. Complete this same process with the bottom half of the coffin and all the inside sides of the coffin.
- Allow to completely dry.
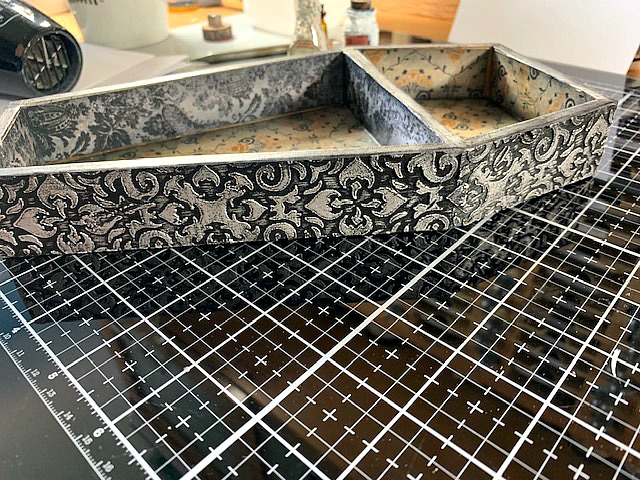
Creating the Outside of the Coffin
- Using Distress matte texture paste, apply the Tim Holtz Flames (THS091) stencil to the sides and top of the coffin. Do not apply to the bottom of the coffin. Allow paste to completely dry.
- Paint over the stencil with Distress Black Soot paint and also paint the back of the coffin. Allow to completely dry.
- When the paint is completely dry, rub over the raised areas with Prima Old Silver metallique wax.
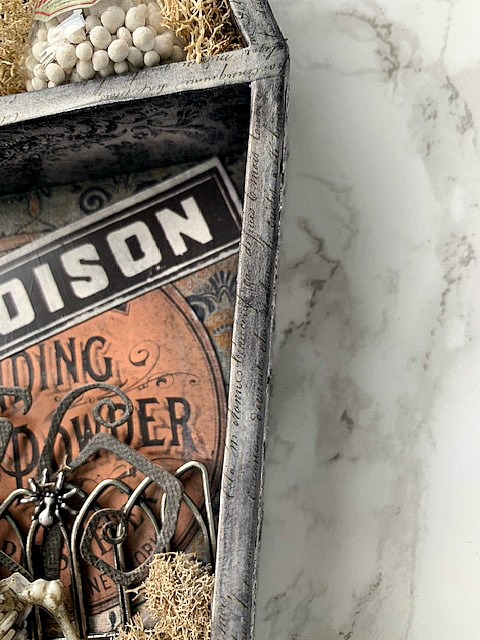
Covering the Edges of the Coffin
- Working in sections, apply collage medium along the edges of the coffin and immediately apply trim tape. After laying down the trim tape, apply a coat of collage medium over top to seal it.
- Continue this same step until all the edges of the coffin are covered.
Creating the Pieces on the Bottom of the Coffin
- Apply Ranger collage medium to the bottom half of the coffin and place a couple pieces of Tim Holtz Idea-ology Halloween Layers over the collage medium. Immediately, apply a coat to the top of the pieces as well after placing them down.
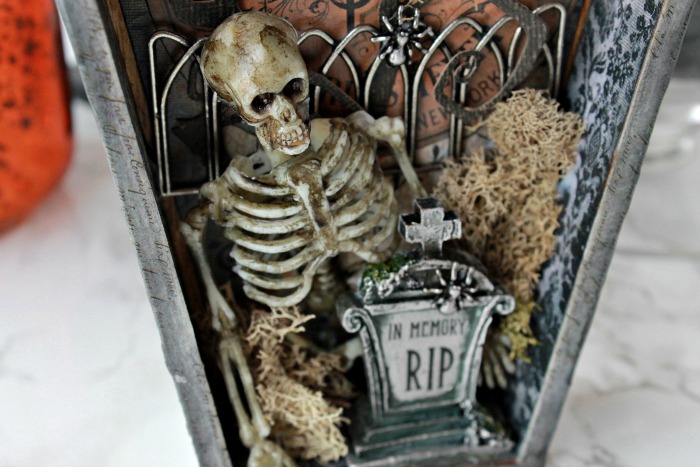
- Apply a Tim Holtz Metal Gate Idea-ology piece to the back of the coffin and slide down until it won’t go any further. Apply a bit of collage medium on the bottom part of the gate to adhere it to the coffin to set it in place.
- Next, take a piece of Tim Holtz Kraft Stock Blackout cardstock and sand it lightly. Cut out the Sizzix Twisted thinlits die and cut it into pieces. Weave it in and around parts of the gate.
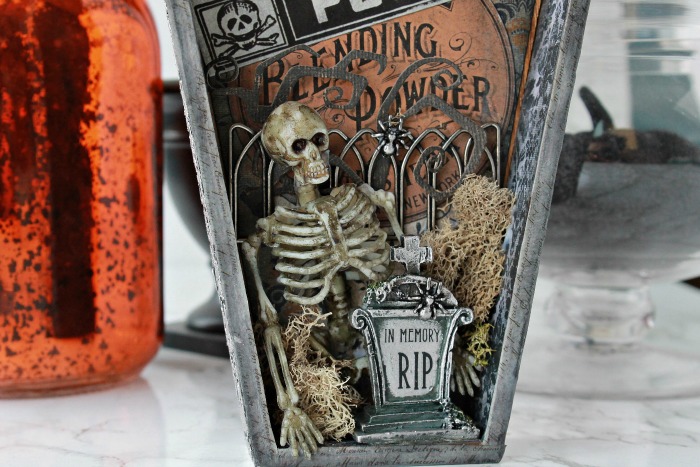
- Take a small plastic skeleton and cut off its legs. Apply Ranger Mushroom alcohol ink all over the skeleton and let it sit for a few seconds. When the alcohol ink is sticky, rub off with a dry cloth. Adhere the skeleton to the corner of the coffin as shown below
- Using a tombstone from the Tim Holtz Cryptic Idea-ology set, paint the entire piece with Black Soot Distress paint. Let the paint sit for a few seconds and then rub off with a dry cloth. When the paint is completely dry, rub the raised areas of the tombstone with Prima Old Silver metallique wax. When the wax is completely dry, apply the “In Memory RIP” remnant rub onto the face of the tombstone. Using collage medium, adhere the tombstone to the bottom front of the coffin just in front of the skeleton as shown below.
- For the spiders, I used the new Tim Holtz Adornments Halloween set and clipped off the ring fasteners at the base of the spider with metal cutting pliers. Apply Black Soot Paint to the spiders and after a few seconds rub them with a dry cloth. The black paint will stay inside the cracks and crevices of the spiders. When the paint is dry, apply Prima Old Silver metallique wax to the raised areas of the spider and attach them to the gate and the tombstone with collage medium.
- To complete the bottom half of the coffin, tuck in moss around the skeleton and tombstone and adhere them in place with collage medium.
Creating the Pieces for the Top Half of the Coffin
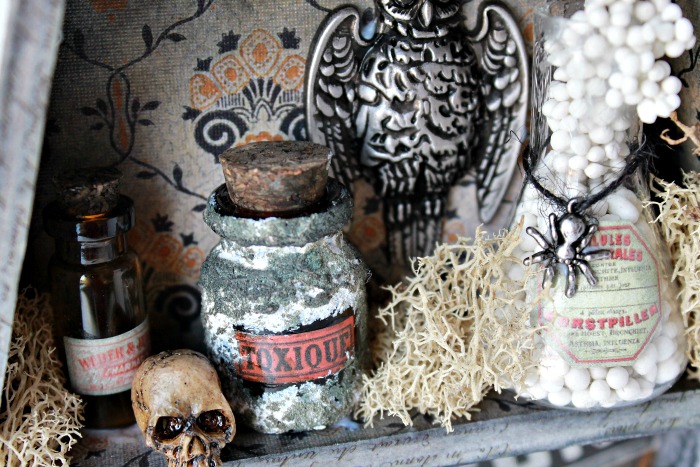
- Cover the owl from the new Tim Hotlz Adornments Halloween set with Black Soot paint. Allow to dry for a few seconds and rub off with a dry cloth. When the paint is dry, rub Prima Old Silver metallique wax over the raised areas of the owl. Adhere the owl to the top right of the top half of the coffin as shown below.
- Apply labels to two Tim Holtz Apothecary bottles with adhesive.
- Cover one of the Tim Holtz Apothecary bottles with Ranger Grit Paste and allow to dry. When it’s completely dry, dab a little Ranger Mushroom alcohol ink onto the grit paste and cork cap of the bottle. Set aside to dry.
- Using the new Idea-ology Laboratory bottles, fill the bottle with Prima Art Stones. Using Prima 3D Matte Gel, dip a paint brush into the gel and then into the jar of art stones and pick up a few stones. Adhere them to the top of the bottle until they look like bubbles exploding over the top of the bottle.
- Adhere a piece of black twine with a spider to the Laboratory bottle.
- Using a Tim Holtz Skull, cover the skull with Ranger Mushroom alcohol ink and when it’s sticky rub off with a dry cloth.
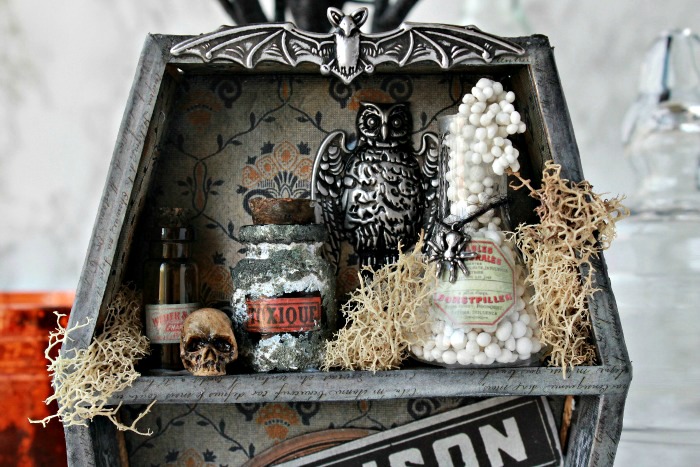
- Adhere the bottles and skull to the top shelf of the coffin with collage medium.
- Tuck some moss between the bottles, skull and open areas of the shelf and adhere it with collage medium.
- Using the bat from the new Tim Holtz Halloween Adornments set, apply Black Soot Paint to the bat and allow to dry for a few seconds. When the paint is tacky, rub with a dry cloth. When the paint is completely dry in the crevices of the bat, rub the raised edges with Prima Old Silver metallique wax.
- Apply the bat to the top of the coffin with collage medium.
I hope you enjoyed this tutorial on how I put Skully’s Creepy Halloween Coffin Scene together and that you’ll try to create a creepy Halloween scene of your own. Thanks so much for stopping by and sticking with me to the end. Hope to see you again soon!


|
|
 |
 |
 |
 |
 |
 |


absolutely fantastic!! I love the bubbles coming out of the laboratory bottle!