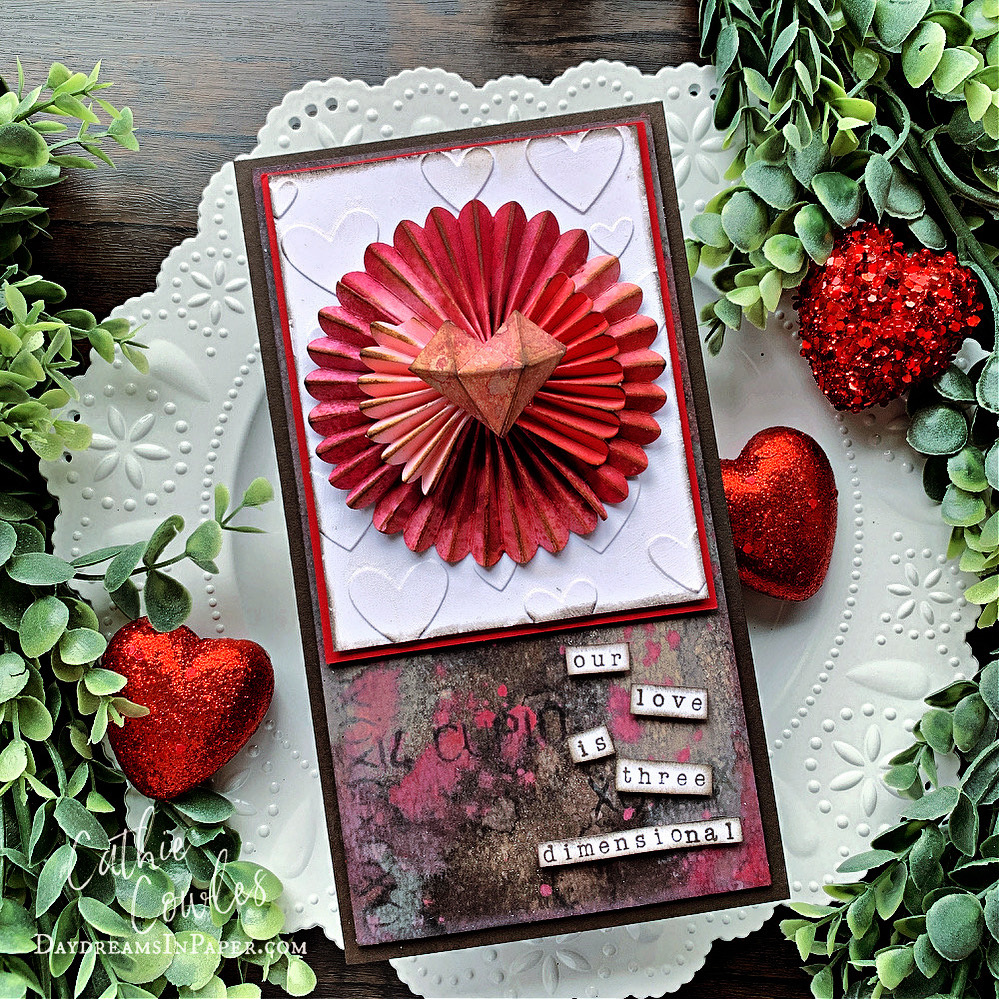
Hi friends! Today I’m sharing a card I made using some of the new Tim Holtz Sizzix die sets and Ranger’s new Distress Ink, Scorched Timber. This new ink color is amazing. So far it has worked beautifully with all the colors I paired it with and I imagine it is going to pair with them all amazingly. For today’s card I decided to create a Valentine and paired Scorched Timber with Lumberjack Plaid. I confess that Lumberjack Plaid is my favorite red. I love its rich, deep tones and I knew it would play well with Scorched Timber. I used both the oxide and ink in Scorched Timber but stuck to the oxide Lumberjack Plaid. I hope you’re having fun with this newest color. I’ll show you how I put this card all together below. Enjoy!
The Rosettes
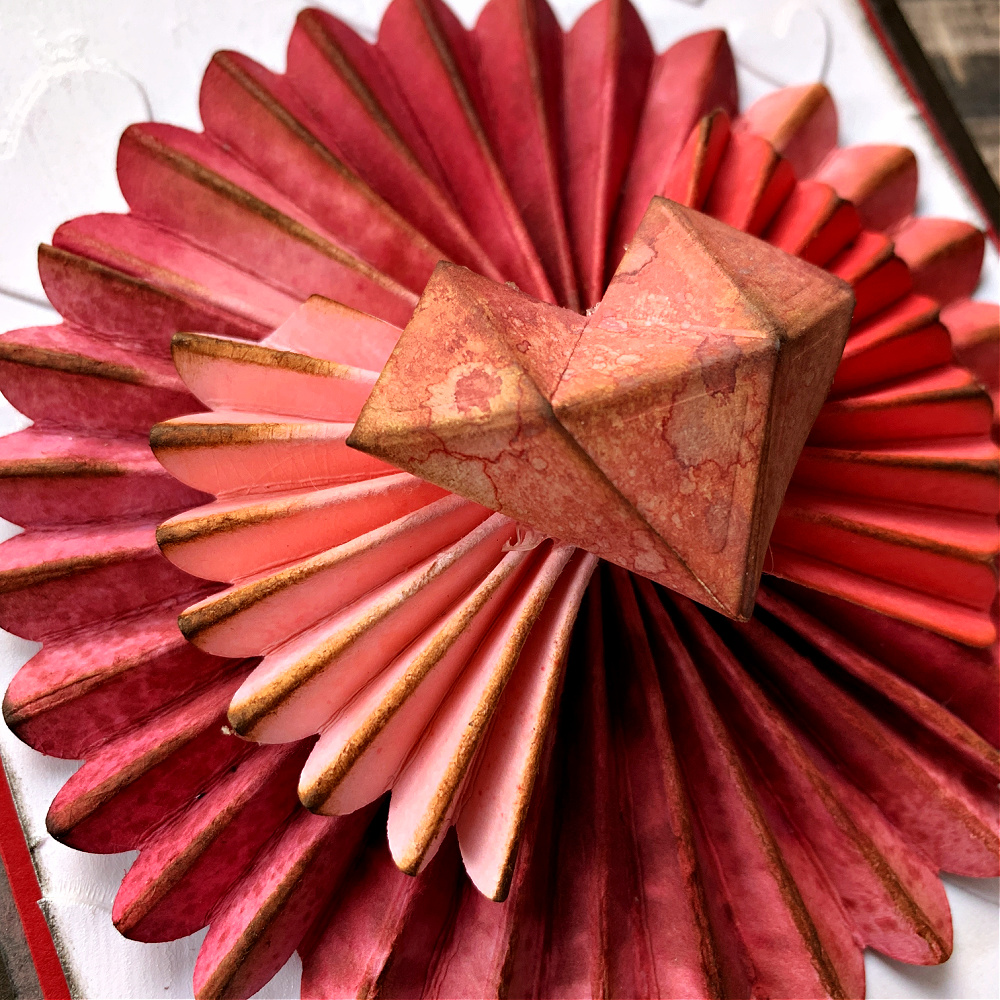
To start, I created rosettes from the new Tim Holtz Sizzix Rosettes Vault die set. The large rosette was created out of three panels and the two side half rosettes were created using only one panel. I used cardstock from my stash. I spend a day creating colors with inks and file them in color coded files so when I need a particular color I can just go to that file and choose the perfect piece for my project. That being said, I can’t remember which colors I used to create the rosettes.
Background for Rosettes
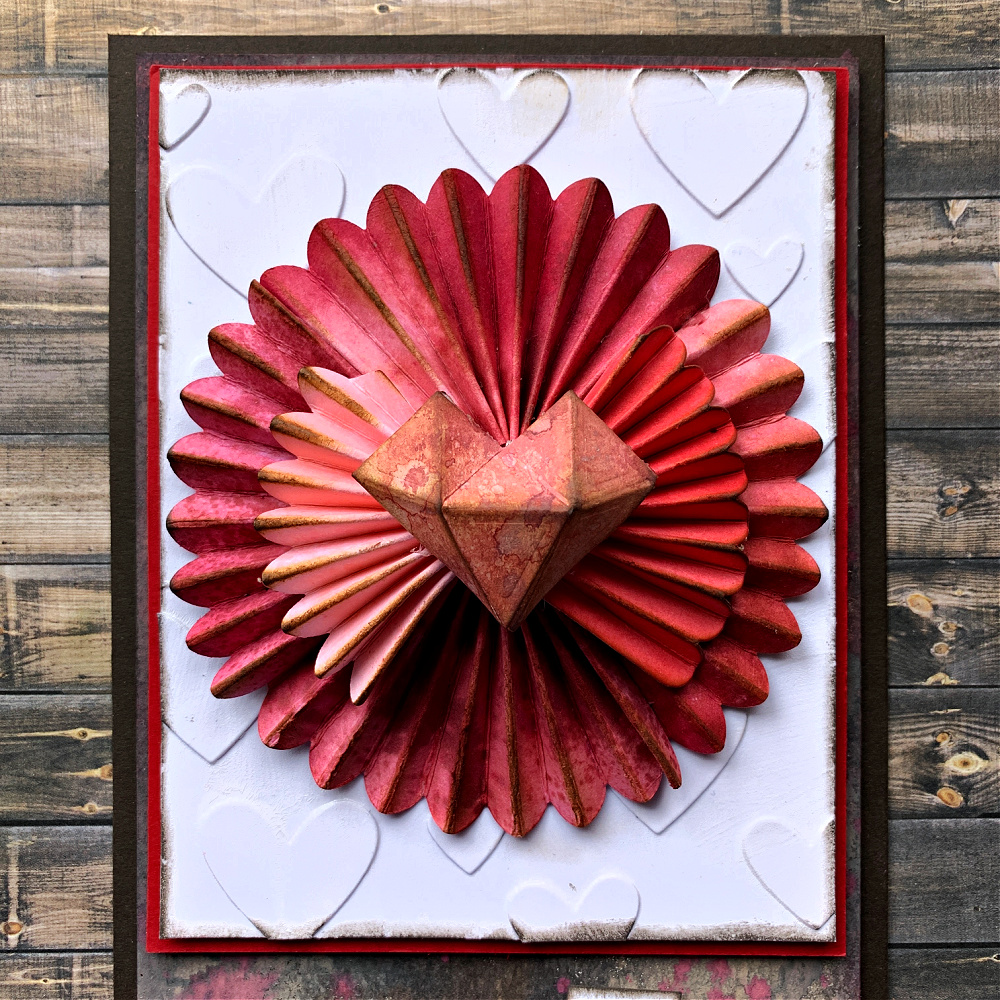
Next, I created a background for the rosettes and wanted something that would sit in the background that wouldn’t take attention away from the rosettes. I cut out several of the hearts in all the sizes from the new Tim Holtz Sizzix Lovebirds Vault die set. I cut those out of Distress white heavystock cardstock and glued them to a 4.25″ x 5.5″ piece of the same cardstock. I then inked the edges with Scorched Timber Distress ink just to darken the edges. I didn’t want to be too heavy handed with the edging so as not to create a line.
I then mounted that onto a 4.5″ x 5.75″ piece of Simon Says Stamp Schoolhouse Red cardstock.
Main Background
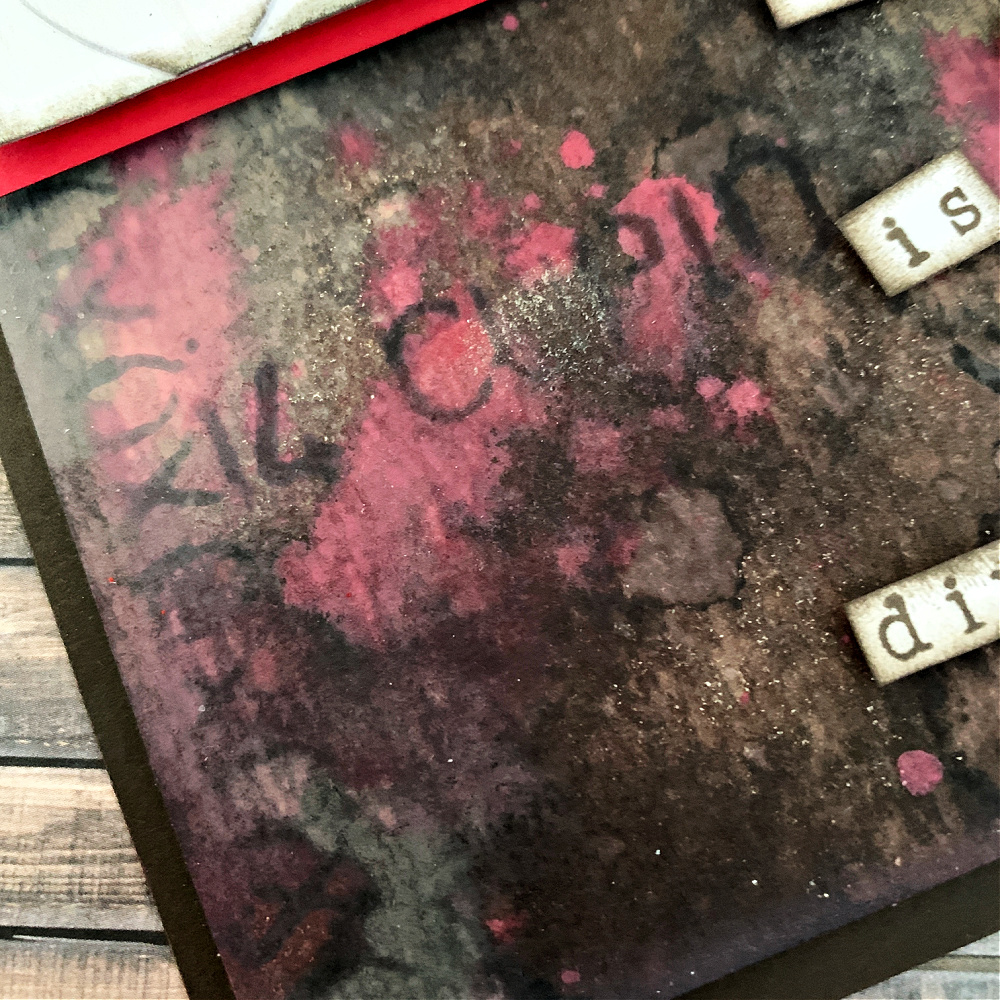
I cut a 4.75″ x 9″ piece of Distress watercolor cardstock and sprayed it with Scorched Timber Distress Ink and Oxide. I dried that layer with a heat tool and then sprayed random areas with Lumberjack Plaid Oxide Spray. I dried that layer with a heat tool and then removed the cap of the Lumberjack Plaid bottle and tapped the hose over the background to get splotches of the color to land in random areas. When everything was completely dry, I stenciled on a few of the images from the Stampers Anonymous Valentine layering stencil with Scorched Timber Distress Ink.
Sentiment
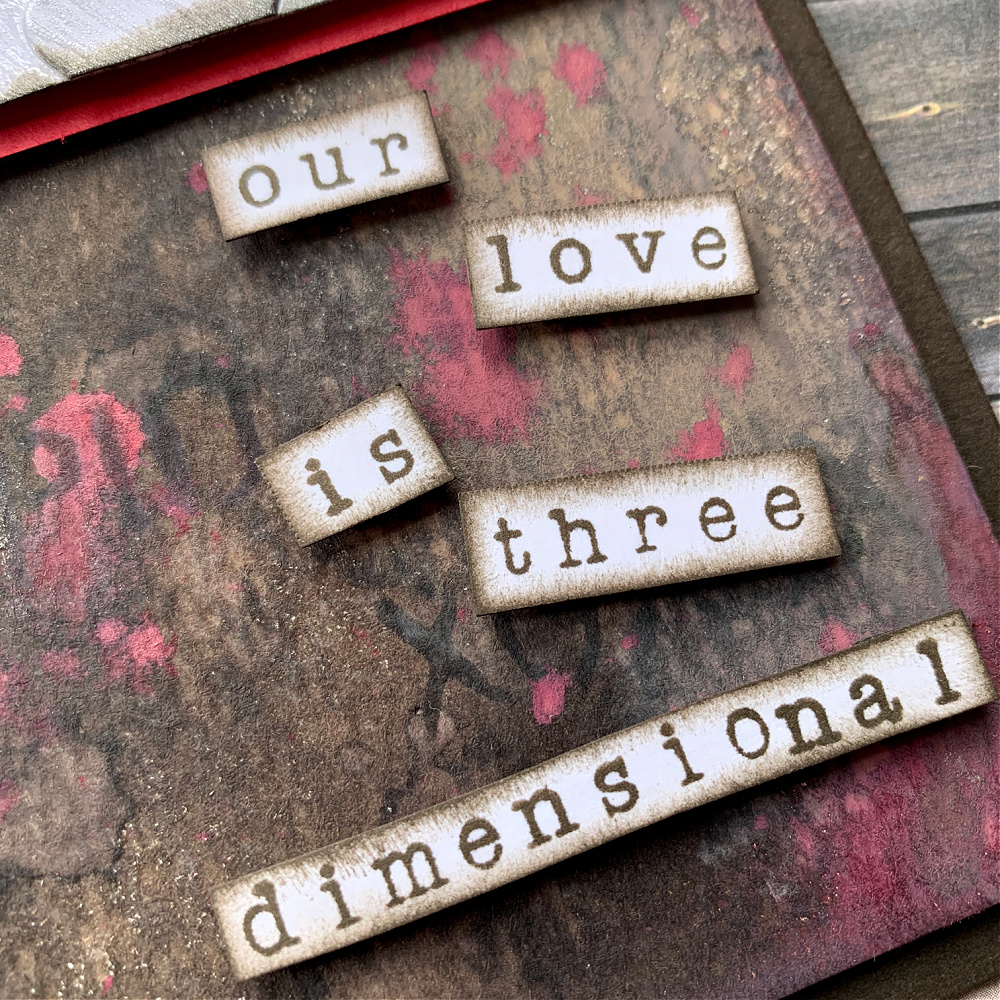
I stamped the sentiment on Distress white heavystock cardstock using a Pegz stamp. I cut out each word and inked the edges with Scorched Timber Distress Ink and adhered them to the background with 3D foam squares.
Assembling the Card

To finish the card I adhered the rosette layer onto the top half of the main background with 3D foam tape and then adhered that to a 5.125″ x 9.375″ piece of Simon Says Stamp Dark Chocolate cardstock. I know what you’re thinking, yes this is a BIG card. If you don’t like huge cards like this one you can always scale down the measurements and adjust the size of the rosettes.
I hope you enjoyed seeing how I put this card together and that you are having as much fun with Tim and Ranger’s newest star, Scorched Timber! Thanks so much for sticking with me to the end. I really appreciate the time you spend here with me.
You can find all the supplies I used to create this card at Simon Says Stamp (links below).

Tim Holtz Sizzix Rosette Vault Die Set
Tim Holtz Sizzix Lovebirds Vault Die Set
Tim Holtz Stampers Anonymous Valentine Layering Stencil
Tim Holtz Ranger Distress White Heavystock Cardstock
Tim Holtz Ranger Distress Watercolor Cardstock
Simon Says Stamp Schoolhouse Red Cardstock
Simon Says Stamp Dark Chocolate Cardstock
Tim Holtz Ranger Scorched Timber Distress Spray Stain
Tim Holtz Ranger Scorched Timber Distress Oxide Spray
Tim Holtz Ranger Lumberjack Plaid Distress Oxide Spray
Tim Holtz Ranger Scorched Timber Distress Ink
Tim Holtz Ranger Distress Tiny Ink Blending Tool
Tim Holtz Sizzix Side Kick Die Cutting Machine
Tim Holtz Tonic Precision Trimmer


