
Hi Friends! Are you excited for Valentine’s Day? I am, because I love Valentine’s Day and when all my growing up, I decorated the house, made special treats and decorated their bedrooms while they were at school. It’s one of my favorite days of the year. Today I’m sharing a card that I created using some of the new Tim Holtz Sizzix dies. Below I put together a tutorial on how I created the floral heart on my card using the new Wildflower Stems 3 and Geo Frames die sets. Enjoy!
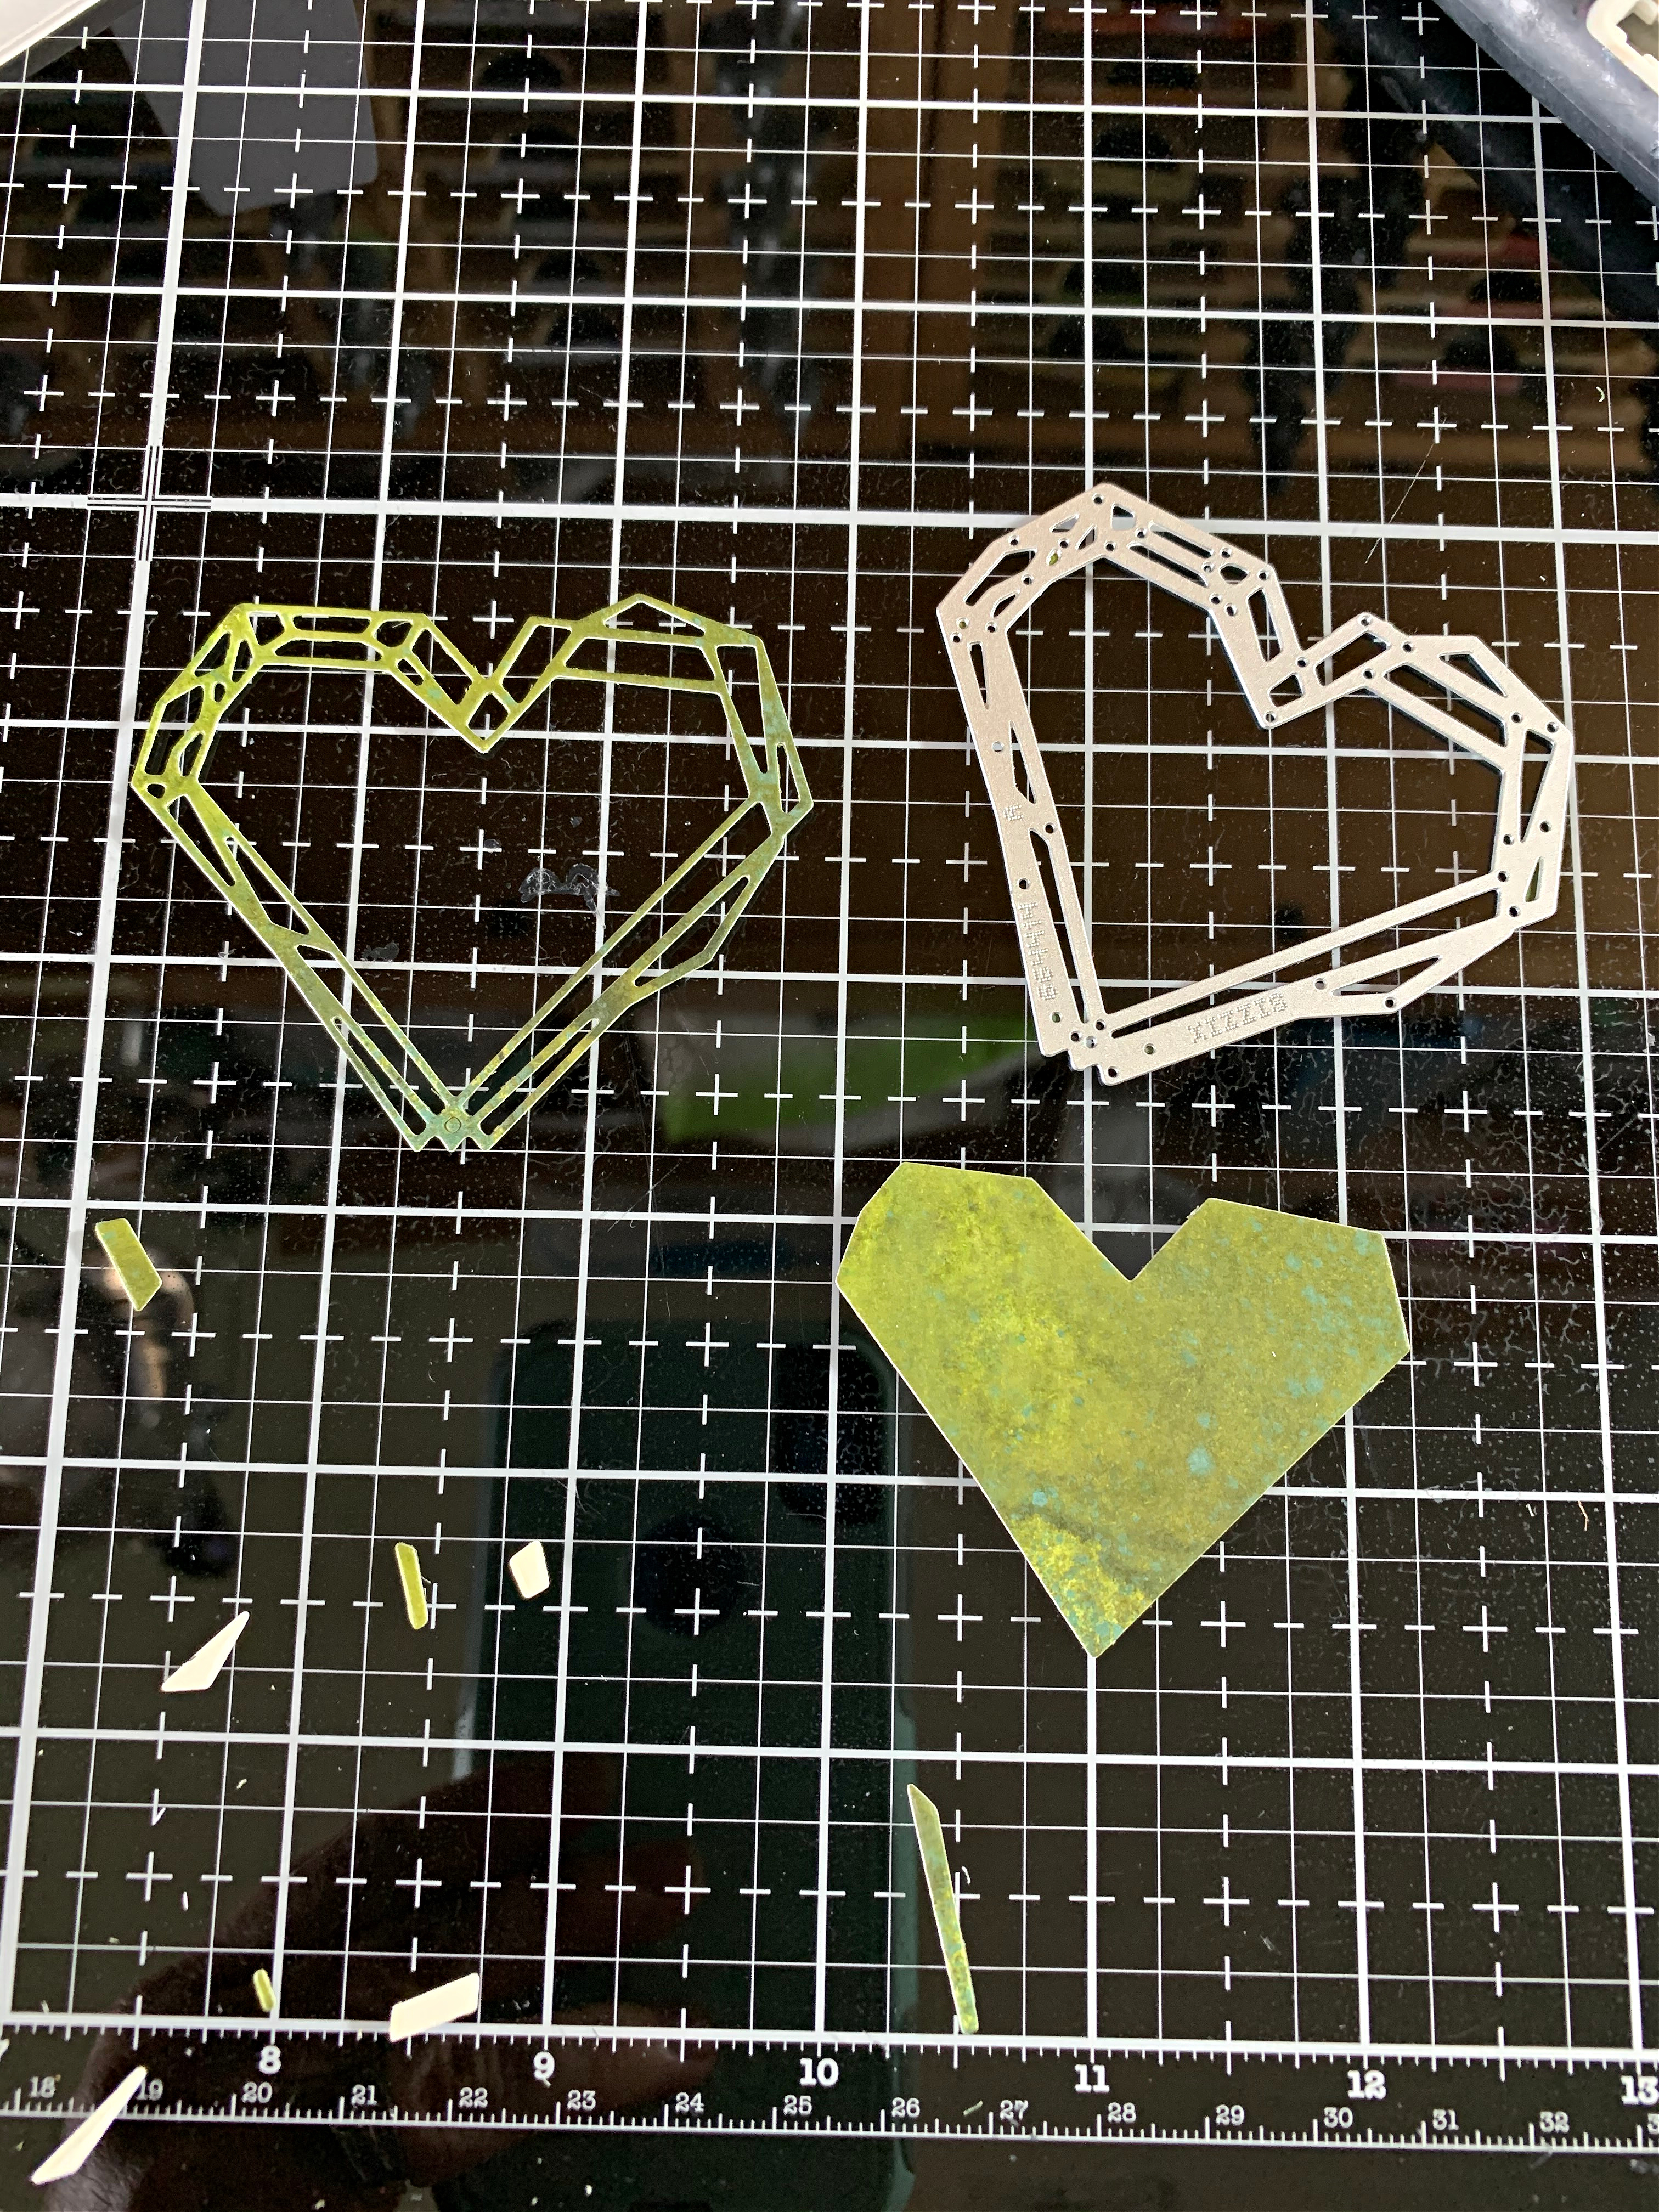
To begin creating the wildflower heart, I cut out the heart from the Tim Holtz Geo Frames die set. The heart made the perfect base for the flowers.
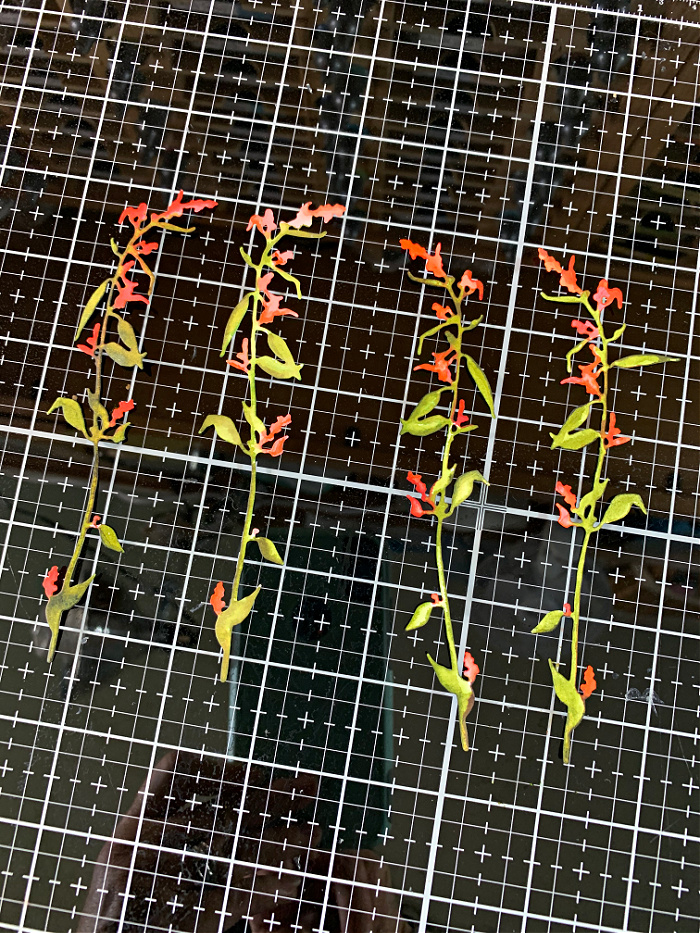
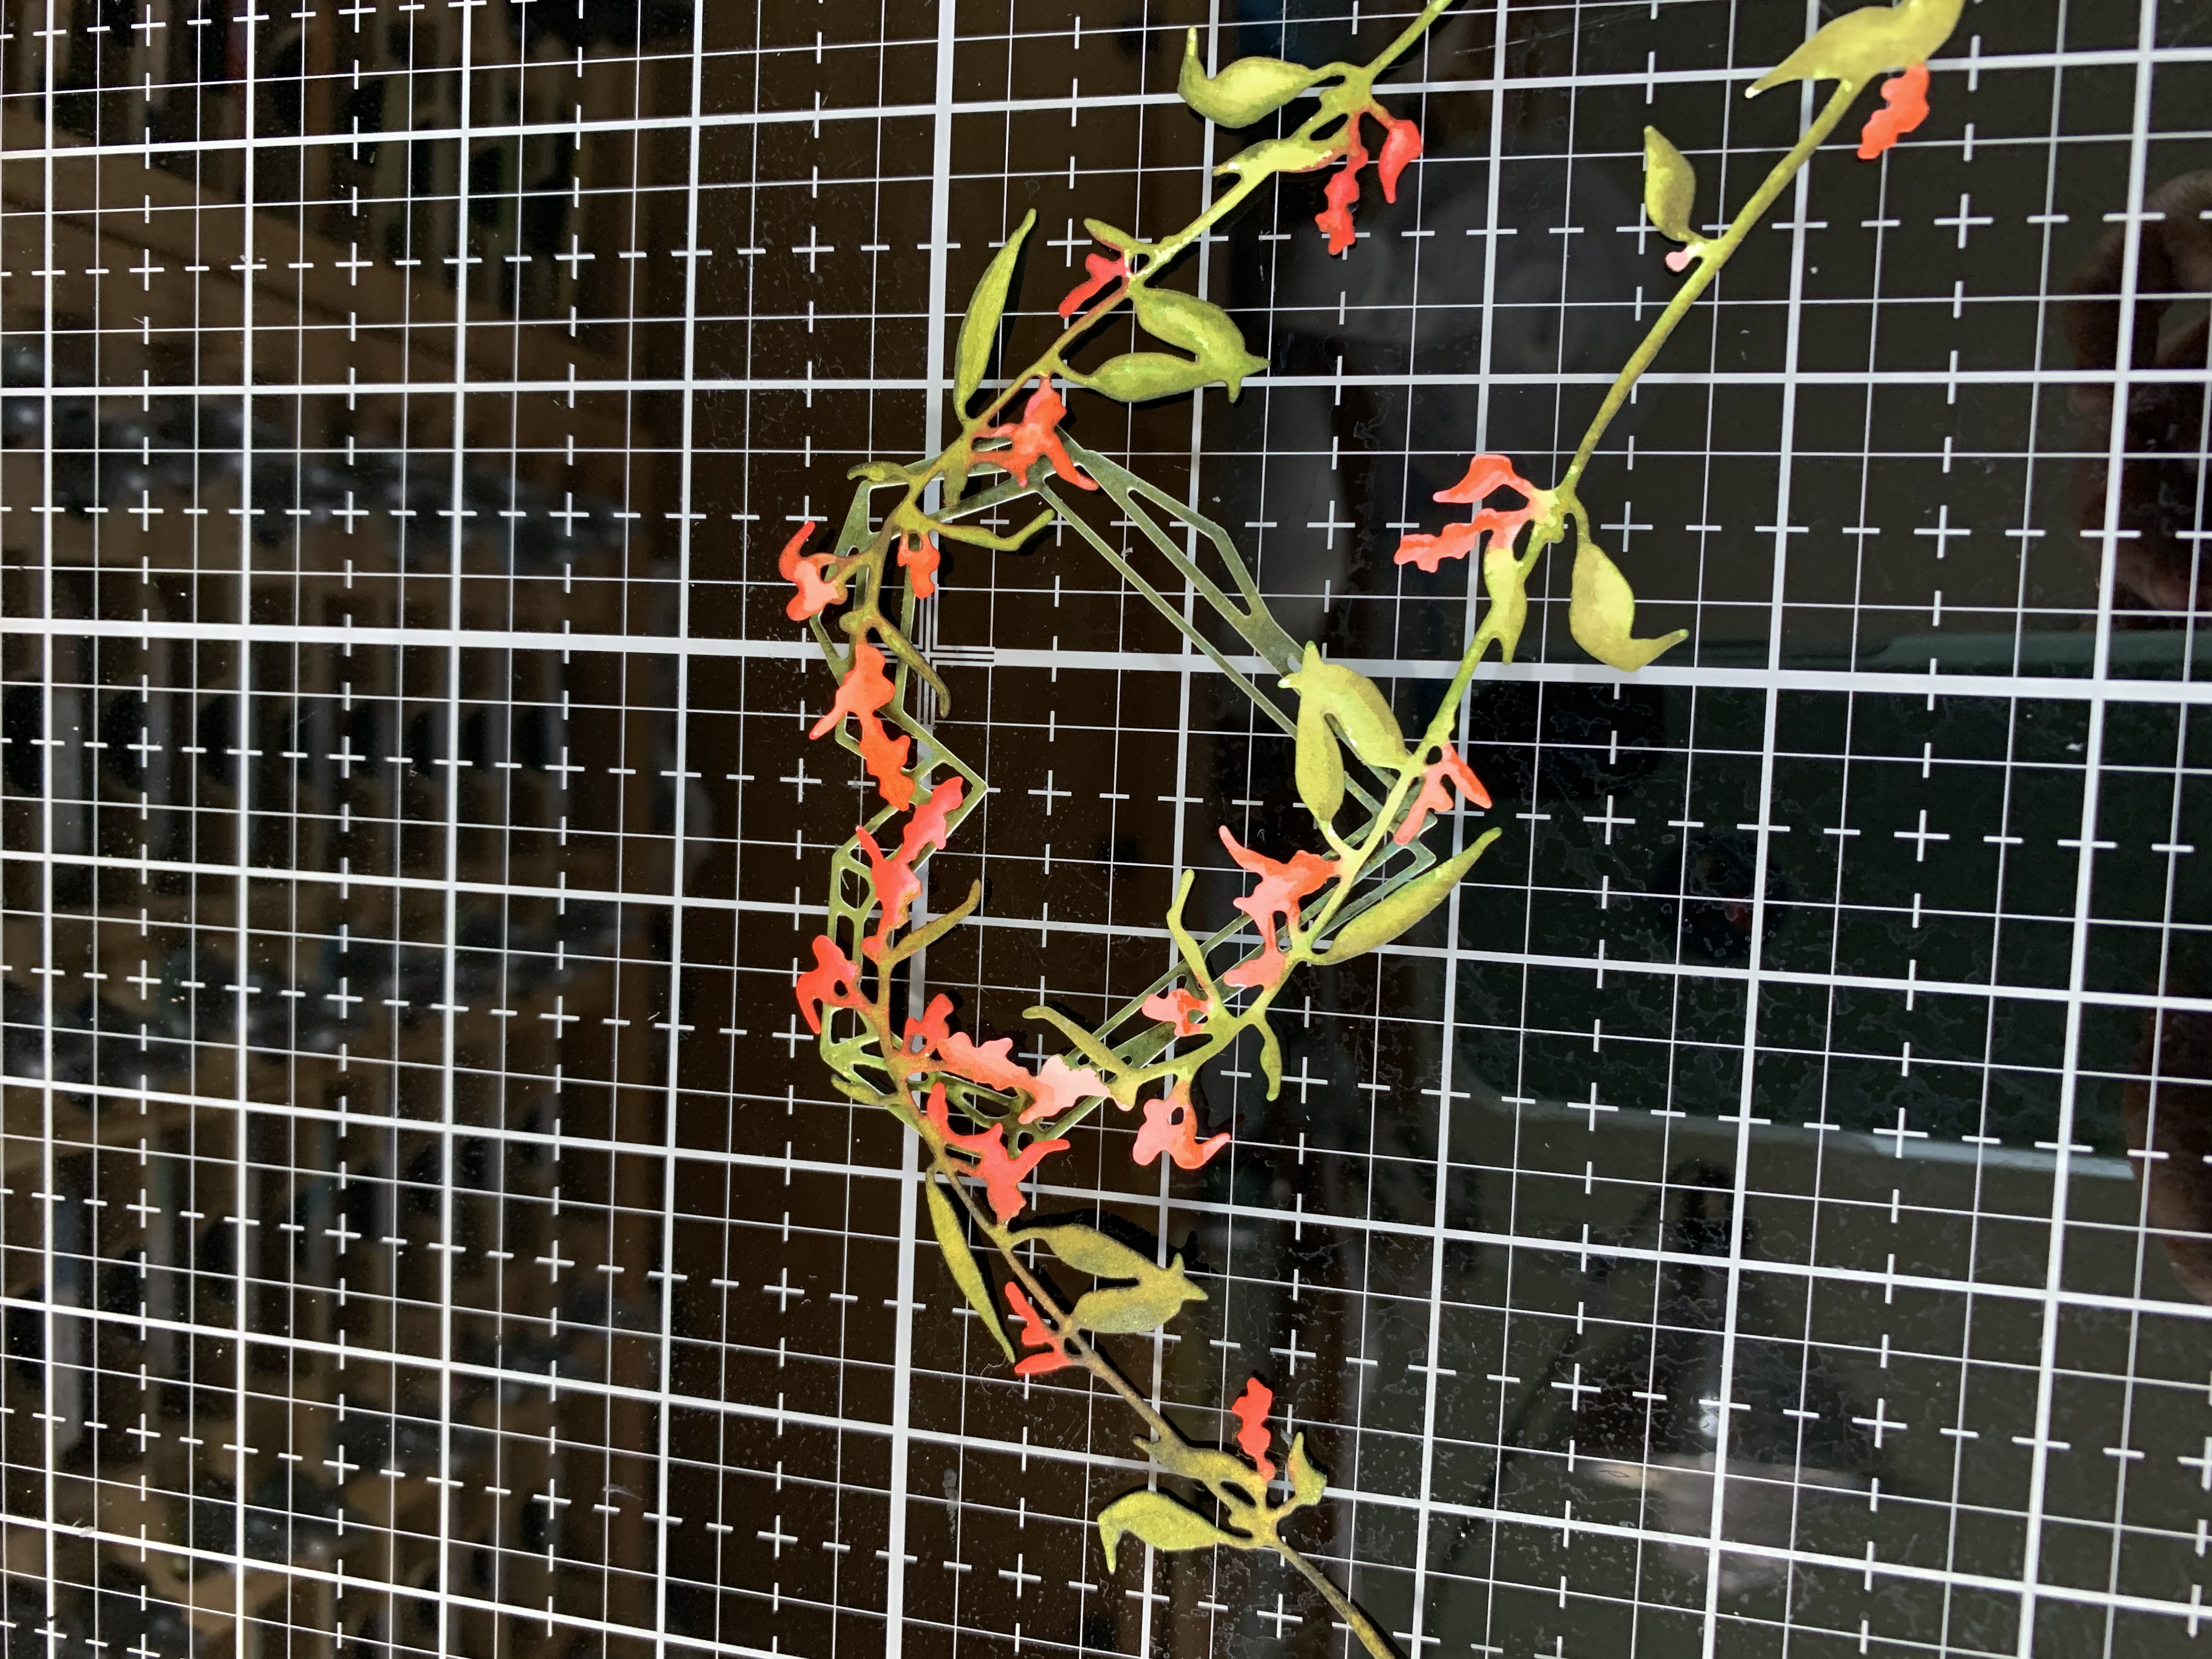
I watercolor 4 of the long stems from the Wildflower Stems 3 die set. As you can see in the photo above, I colored two of the stems on the front side of the stems and colored two on the backside of the stems. I did this because I want the flowers to face in the opposite direction when placed on the geo heart.
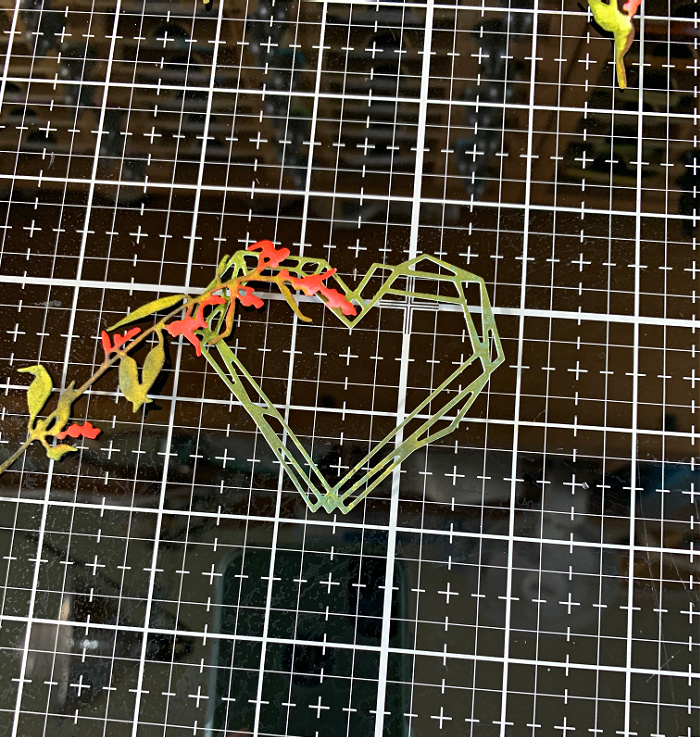
Using the Geo Frame Heart as a base, begin to cover the heart with the wildflower stems. As I lay the stem on the heart, I follow the line of the shape and glue the flowers to the heart.

Add another set of stems along the left side bottom angle of the heart.
Continue adding another stem to the other top half of the heart.
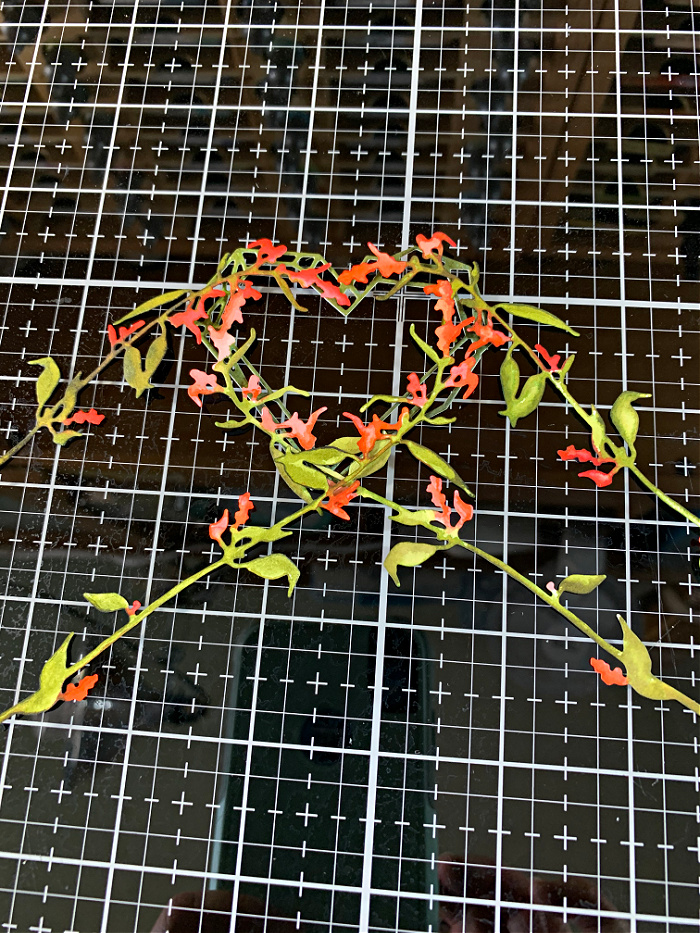
Now glue the last stem to the bottom right angle of the heart as shown above.
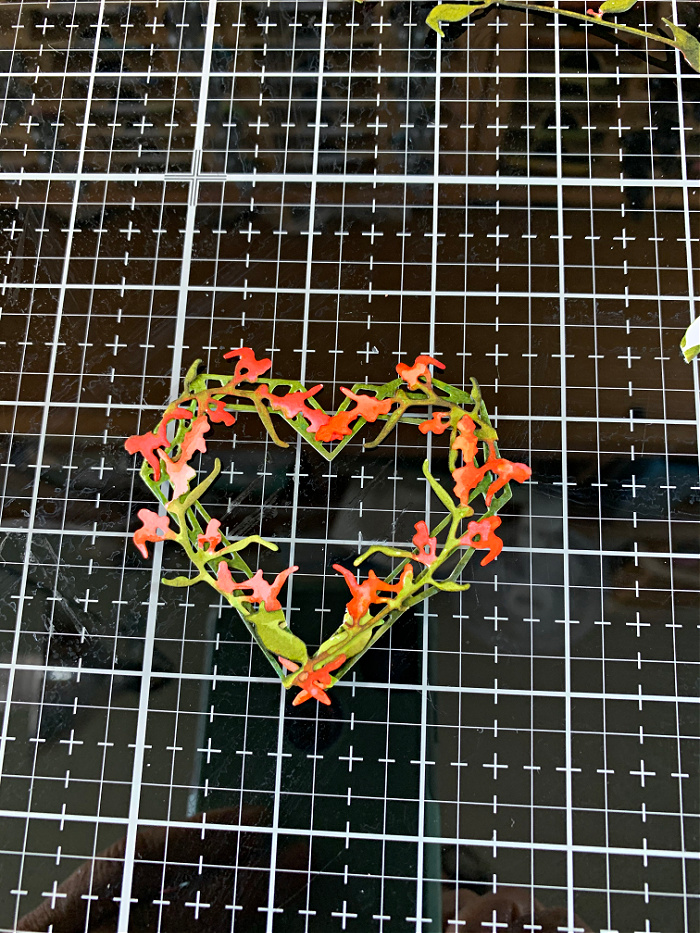 Cut off the excess flower stems from the edges of the heart.
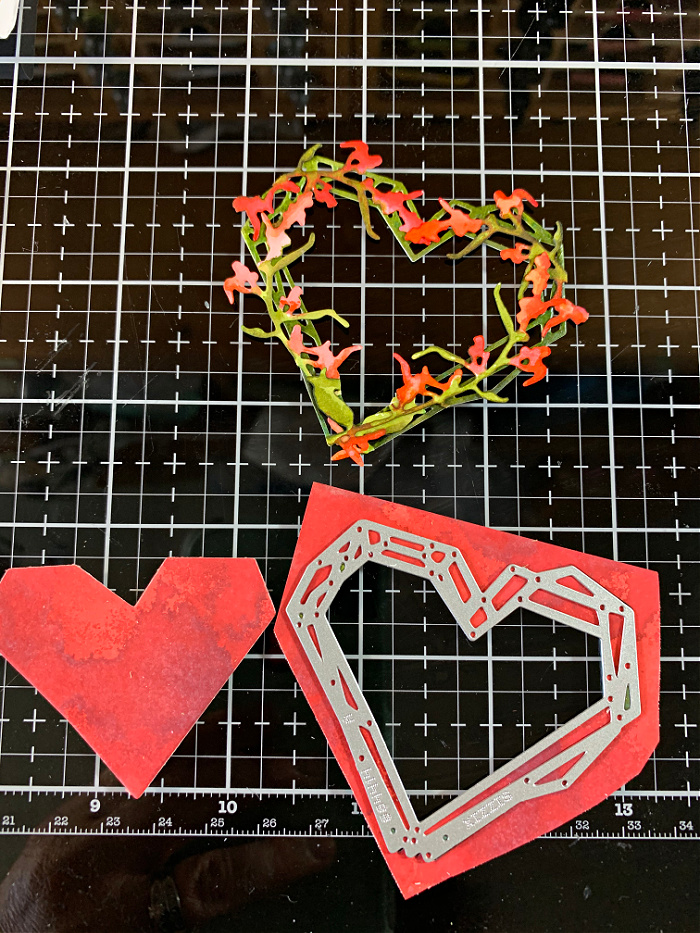
For the center of the heart, cut another Geo Frame Heart from the die set out of cardstock that has been inked with Distress Spray Stain.
I complete the card by creating a background using the Tim Holtz Kaleidoscope 3D texture fade and inking the raised edges with Hickory Smoke Distress Ink. I add a few pieces of Idea-ology and the word “love” from the Tim Holtz Alphanumeric Stretch die set.
I hope you enjoyed seeing how I put this card all together. Thanks so much for stopping by and sticking with me to the end.


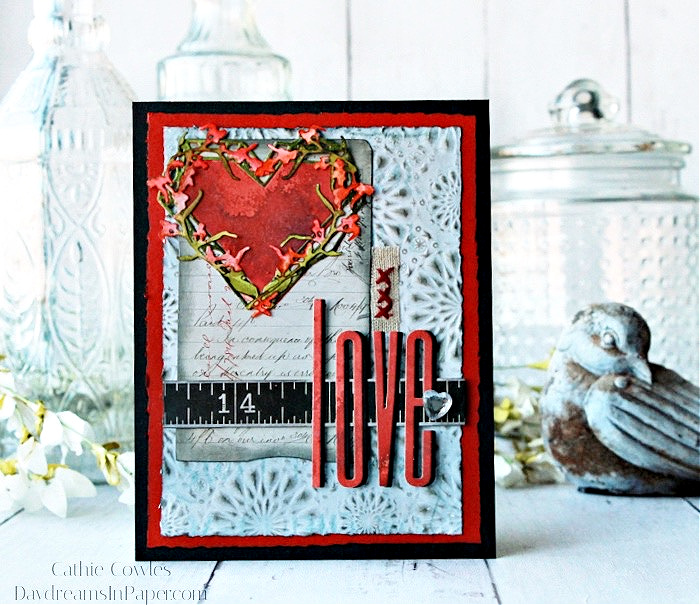
So fabulous using the Geo Frame Heart as a base, it really was perfect for this application…Love it!!!!
very clever use of the dies! Thank you for the step-outs, they helped me se how you did it!