
Hi Friends! Today I’m sharing a Halloween decor piece I created using the Tim Holtz Skull and Crossbones die set. I combined it with stamps, Distress Inks and a bunch of fun Idea-ology pieces. I really like to decorate for Halloween and my kids love how festive the house looks with fun and spooky pieces placed here and there throughout the house. It’s so fun to put one of these together, but I have to admit it takes me a long time. I’m not a fast crafter. I play with different pieces and switch things out many times but I have a blast the entire time. I hope you like my “Toxic” Halloween plaque and that it inspires you to get out your Halloween supplies a little early and get the creepy vibes going.
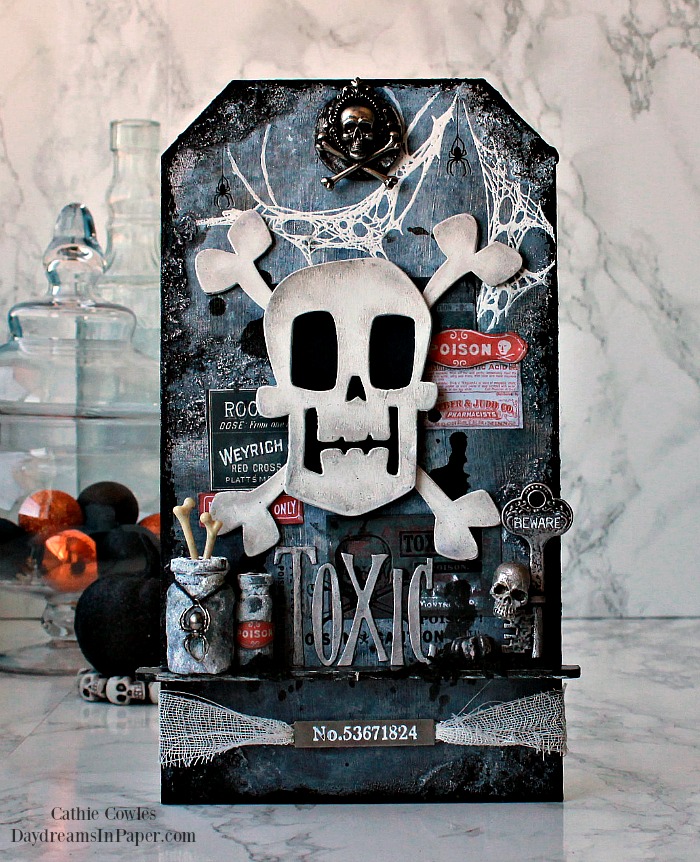
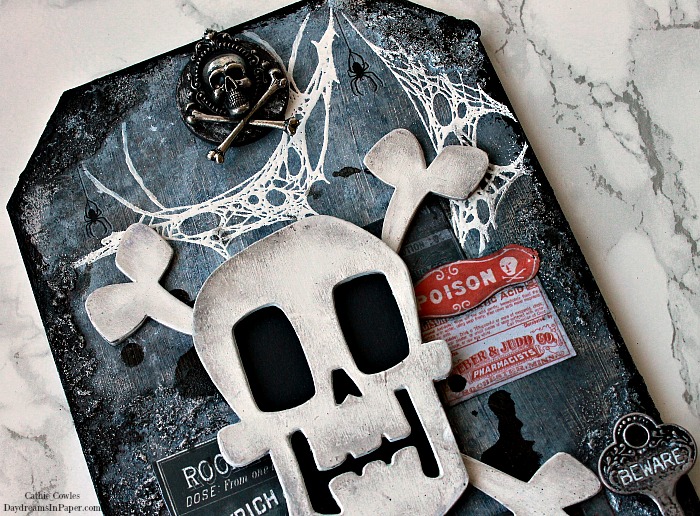
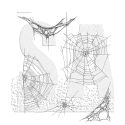
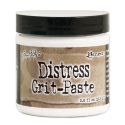
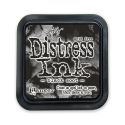
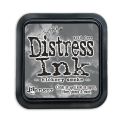
I begin with a Tim Holtz Small Etcetera Tag and cover the entire piece, front and back, with white gesso. When the gesso is completely dry, I gently dry brush Hickory Smoke and Black Soot Distress Paint to the front surface. Next, I stamp on the spider webs with embossing ink and sprinkle Ranger white embossing powder onto the stamped image and set it with a heat tool. I add grit paste to the edges and allow it to completely dry. Next, I dip my fingertip into some Black Soot Distress Paint and apply it over the grit paste in random areas so as not to completely cover the grit paste. I allow that to completely dry and then go over the grit paste areas with Prima Metallique Old Silver wax. Next, I add some splatters using the Tim Holtz Splatters Layering Stencil with Black Soot Distress paint.
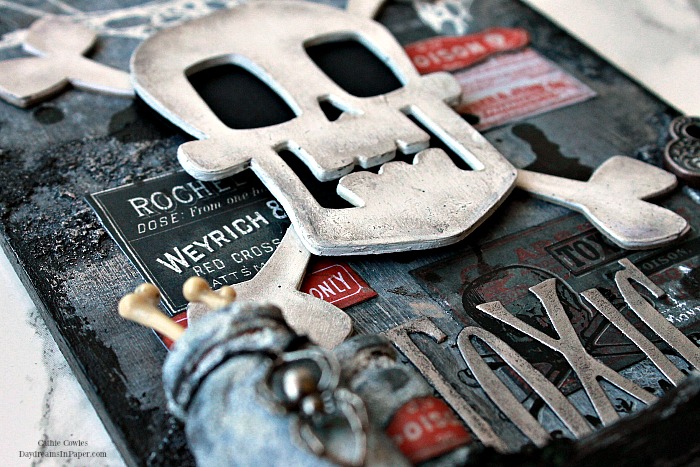
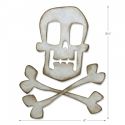
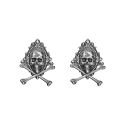
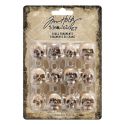
For the background, I adhere some Tim Holtz Curiosities Ephemera to the center of the tag. I cut the Skull & Crossbones out of 0.057″ thick chipboard and cover all the pieces with white gesso. When the gesso is completely dry, I dust the edges with Black Soot Distress Ink and adhere black cardstock behind the skull. I cut the crossbones in half to allow them to stick further out from behind the skull.

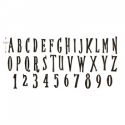
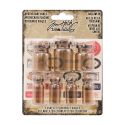
I create the shelf using a piece of Tim Holtz Etcetera Bracket Trims and cover the entire piece with white gesso. When the gesso is dry, I paint the entire piece again, but this time with Black Soot Distress Paint. When the black paint is dry, I sand it down to expose some of the white gesso underneath. The word “Toxic” is created using the Tim Holtz Handmade Alphabet Bigz die set. I cut the letters out of black cardstock and gently apply Prima Metallique Old Silver Wax with my fingertip over each letter. The bottles are covered in grit paste and dusted with Black Soot Distress Ink.
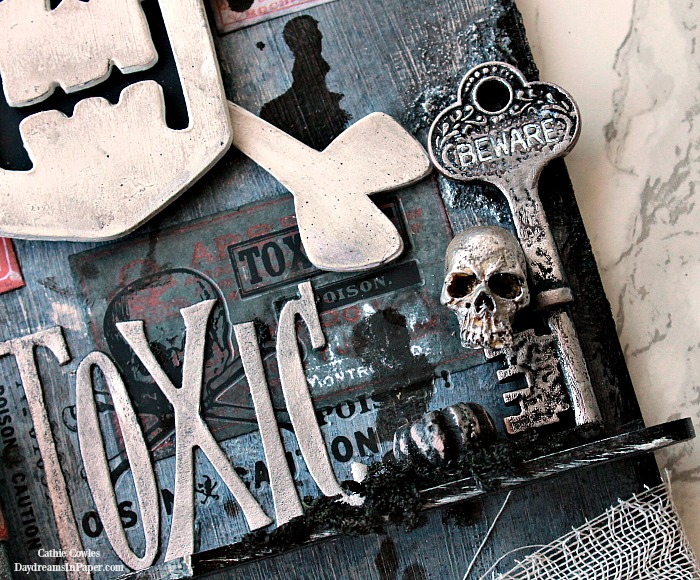
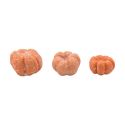
For the skull and pumpkin, I paint them with Black Soot Distress Paint and allow it to dry. When the paint is completely dry, I add old silver wax with my fingertip. I do the same with the key but I’m careful not to go over the word “Beware” with the black paint. When the black paint on the key is dry, I go over the word “Beware” with white paint. When that is dry, I go over the key with old silver wax. I created black moss using regular moss that was colored with Black Soot Distress Spray Stain.
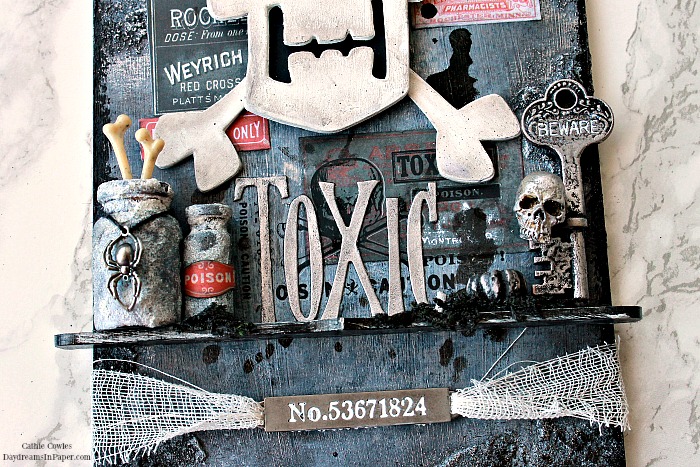
For the bottom of the tag underneath the shelf, I apply white paint to the crevices of the engraved numbers on the metal piece and allow it to dry. I weave a piece of mummy cloth through the threads of the tag and adhere it to the bottom of the tag.
To finish the tag, I add a Tim Holtz Jolly Roger Adornment over the eyelet of the tag.
I hope you enjoyed seeing how I created my “Toxic” Halloween Plaque and that you were inspired to start your Halloween creations. Thanks so much for stopping by!


 |
 |
 |
 |
 |
 |
 |
 |
 |
 |
 |
 |
 |
 |
 |
 |
 |
 |
 |
 |
 |
 |
 |
 |
 |
 |


I accidentally didn’t order this die, but I will. I love how you have used it.
You did an amazing job with this tag!