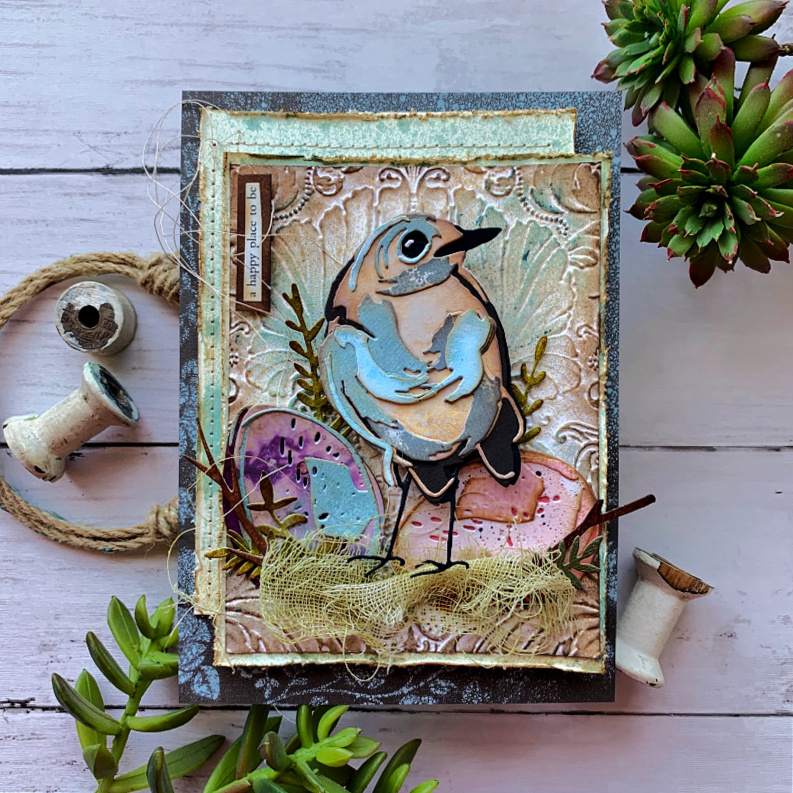
Hi friends! Today I’m sharing a card I created using the new Tim Holtz Sizzix Bird & Egg die set along with the Damask 3D Texture Fades embossing folder. I love the sweet bird in the Bird & Egg die set and wanted to create with it as soon as I could get my hands on it. It looks really complicated to put together but it is so easy that you can put one together in a matter of minutes. Below is a full tutorial on how I created this sweet card. Enjoy!
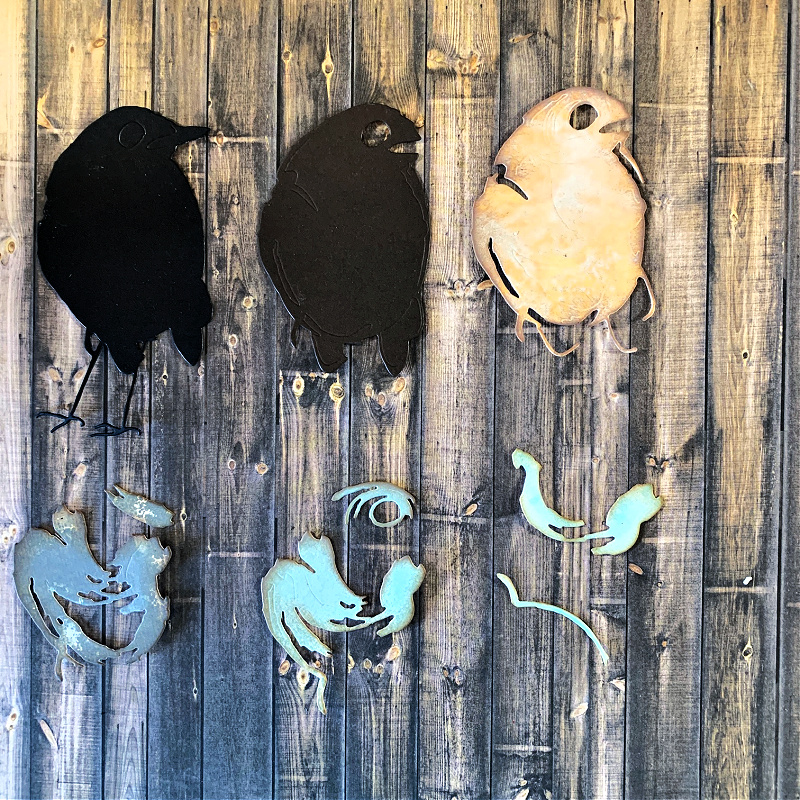
Begin by cutting all the pieces of the bird from inked cardstock or colored cardstock. I find it easiest to lay all the pieces in the order in which they need to be assembled.
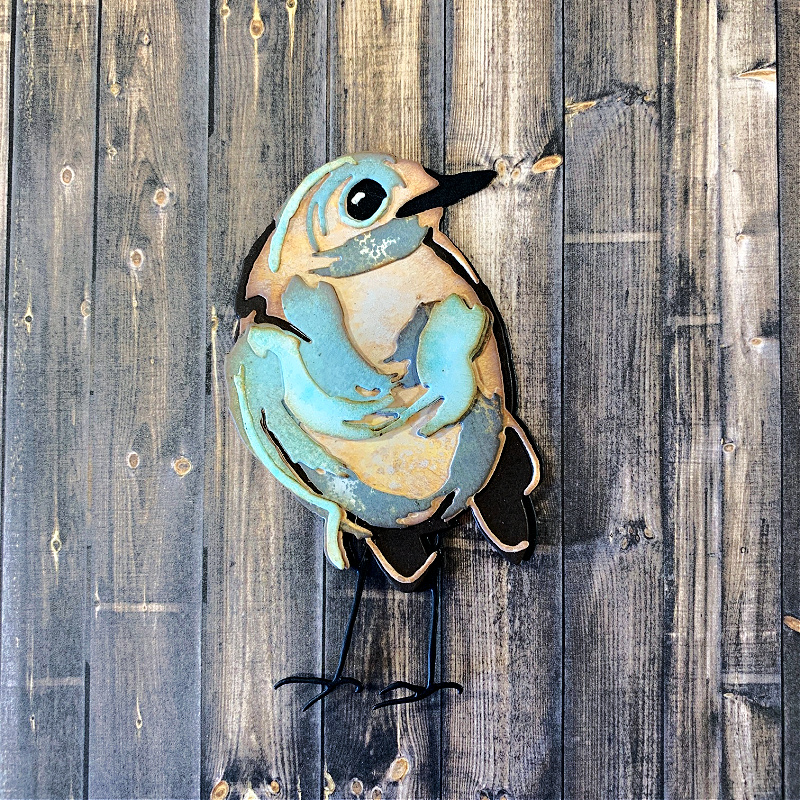
Here is the adorable bird all assembled. Isn’t he the sweetest! Sizzix creates videos on how to assemble all the colorize die sets. You can find the video on how to put the Bird & Egg die set together here: How to Assemble the Tim Holtz Bird & Egg
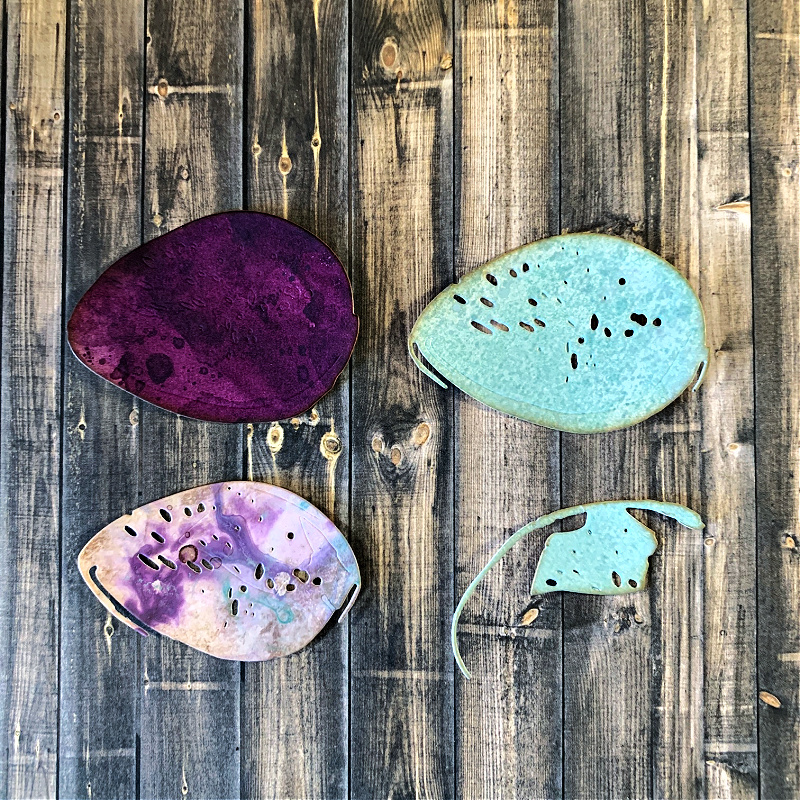
Next, I cut all the pieces to create the egg.
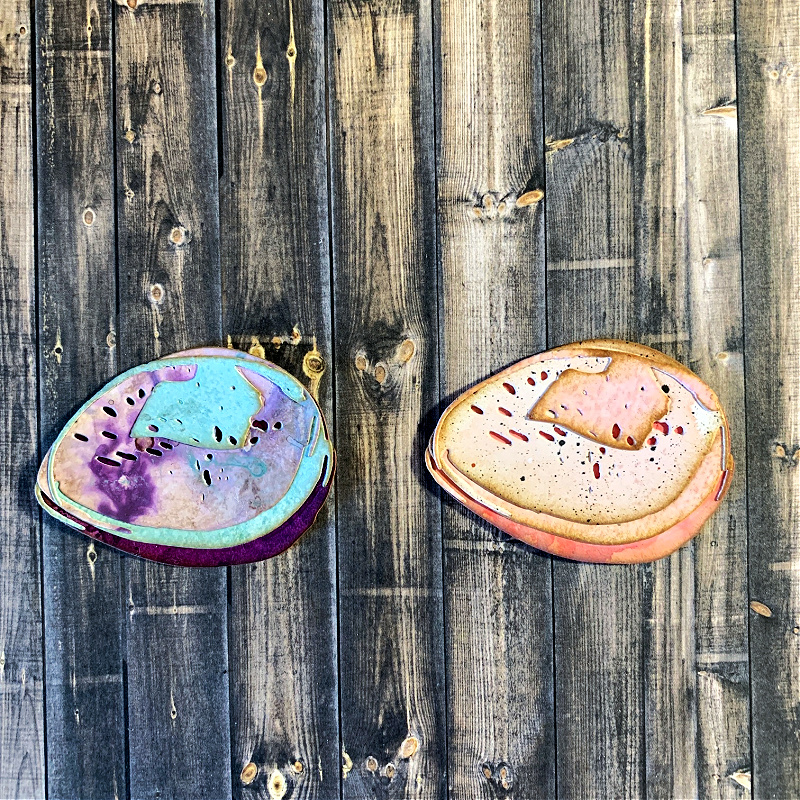
I created another egg in peach hues and assembled both eggs in a matter of minutes because I cut the pieces out of inked backgrounds that I had on hand.
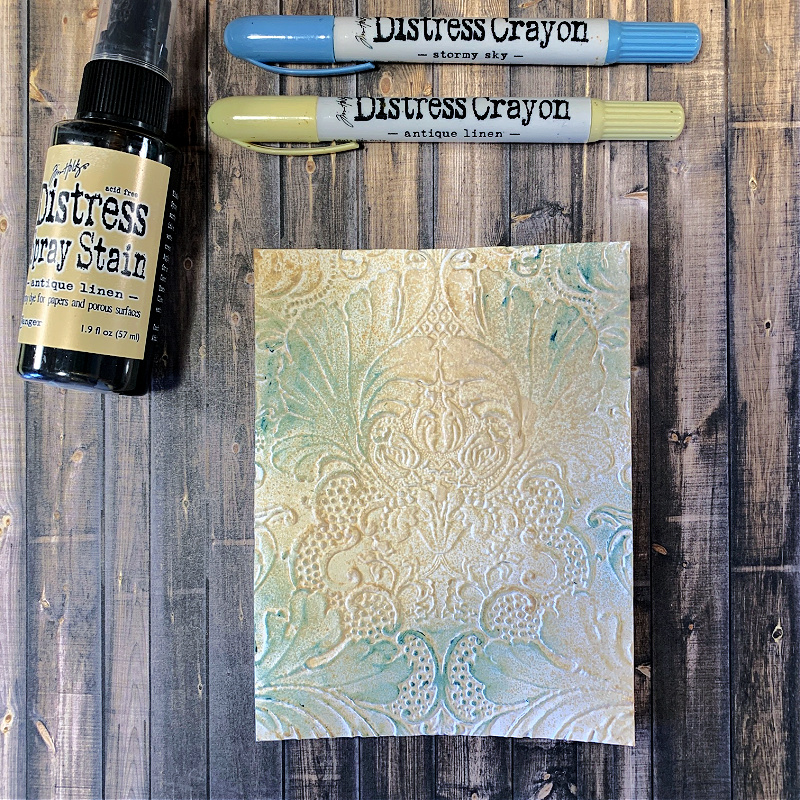
Now it’s time to work on the background pieces. The main panel for the card is one I embossed using the new Damask 3D texture fade. After embossing the design on the cardstock, I sprayed the piece lightly with Antique Linen Distress Spray Stain and dried it with a heat tool. When the spray was completely dry, I rubbed areas of the design with Antique Linen and Stormy Sky Distres Crayon pigment.
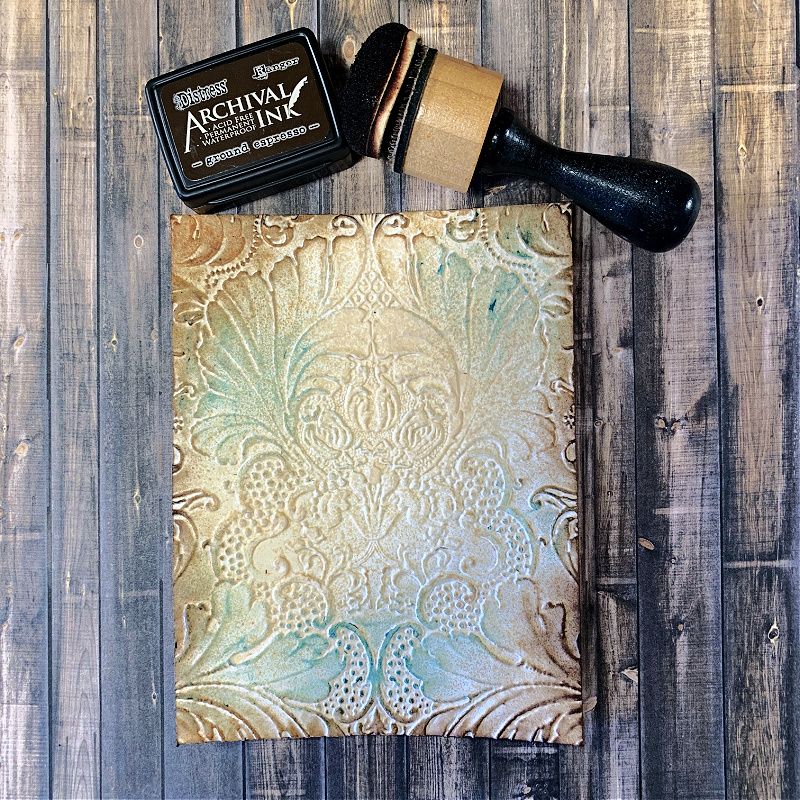
When the pigment is dry, I then ink the edges in Distress Ground Espresso Archival Ink with an ink blending tool.
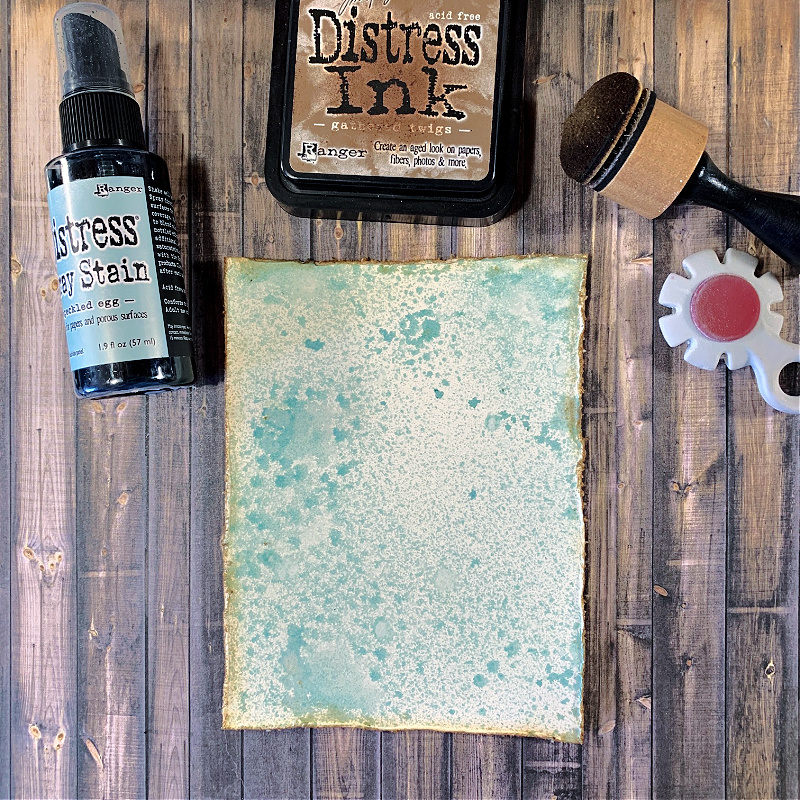
Next, I created a panel piece to put behind my main card panel background. I cut a piece of mixed media heavystock slightly larger than the main panel and spray it lightly with Speckled Egg Distress Spray Stain. When the spray stain is completely dry, I distress the edges and ink the edges with Gathered Twigs Distress Ink.
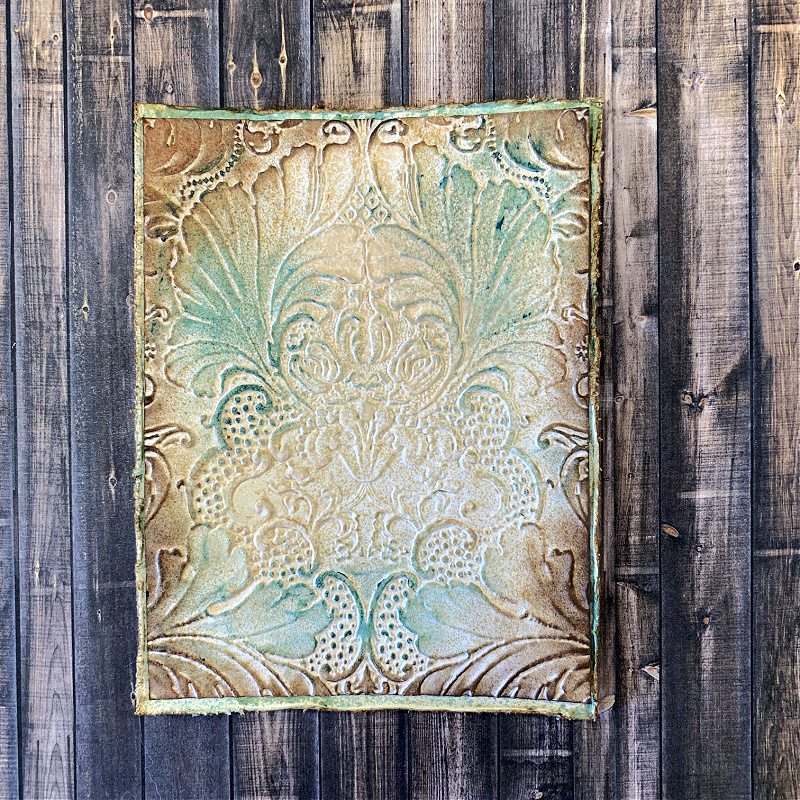
I adhere the main card panel background to the piece I just created with the distressed edges.
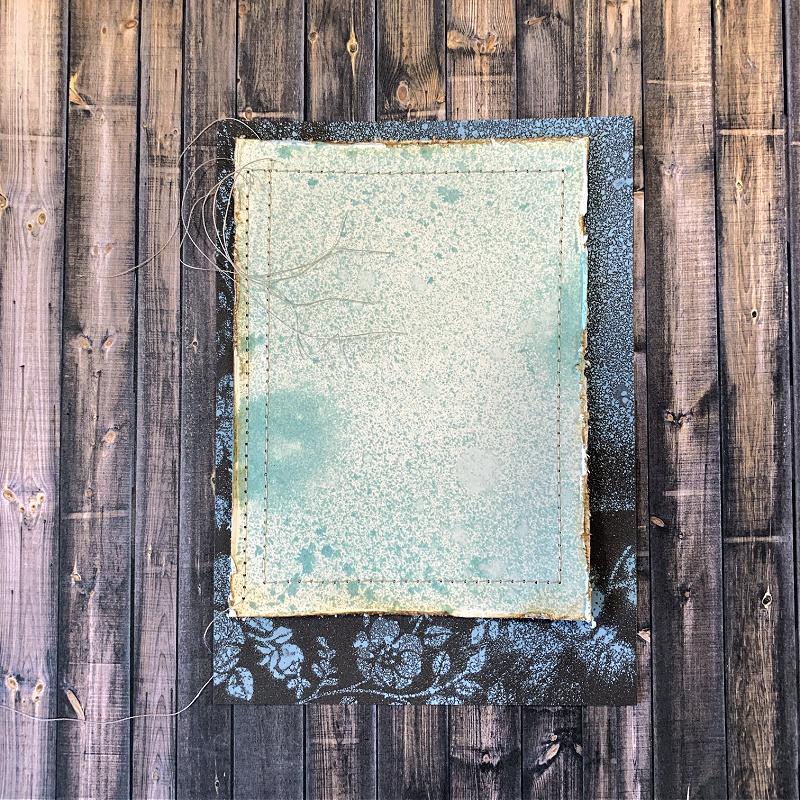
To create the bottom panel of my card I adhered two different background pieces together. The bottom piece is a 5×7 piece of Simon Says Stamp Dark Chocolate cardstock that was stenciled using the Tim Holtz Floral Mini stencil. I laid the stencil on top of the cardstock piece and sprayed the design onto the cardstock with Speckled Egg Oxide Spray. I then set that piece aside to dry. While it was drying, I created another background piece using mixed media heavystock and sprayed it with Speckled Egg Distress Spray Stain. I did a little stitching around the edges leaving the threads uncut for texture and inked the edges with Gathered Twigs Distress Ink. I then adhered the two pieces together as shown above.
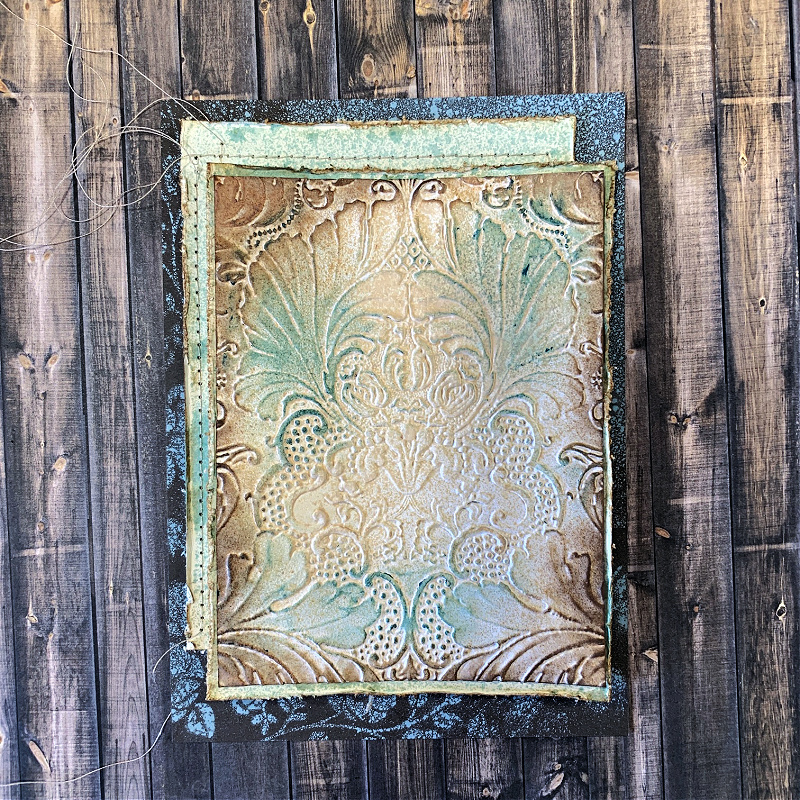
Next, I adhered my main card panel onto the bottom panel and I’m now ready to add the die cut pieces along with some dyed mummy cloth and a few foliage pieces.

To finish the card I adhere the eggs first and then I add the foliage and twigs. After that, I adhere the mummy cloth that was dyed with Shabby Shutters Distress Spray Stain and then the sweet bird as the main focal point adhered with 3D foam tape. To finsih the card off, I adhered a small sentiment strip from the Tim Holtz Clippings Sticker book.
I hope you enjoyed seeing how I put this card together. Thanks so much for stopping by and sticking with me to the end. Have a beautiful day!
Tim Holtz Sizzix Bird & Egg Colorize Thinlits Die Set
Tim Holtz Sizzix Damask 3D Texture Fade Embossing Folder
Tim Holtz Distress Mixed Media Heavystock
Simon Says Stamp Dark Chocolate Cardstock
Tim Holtz Ranger Antique Linen Distress Crayon
Tim Holtz Ranger Stormy Sky Distress Crayon
Tim Holtz Ranger Distress Ground Espresso Archival Ink
Tim Holtz Stampers Anonymous Mini Stencil Set 25
Tim Holtz Ranger Speckled Egg Oxide Spray
Tim Holtz Ranger Speckled Egg Distress Spray Stain
Tim Holtz Ranger Shabby Shutters Distress Spray Stain
Tim Holtz Ranger Ground Espresso Distress Ink
Tim Holtz Idea-ology Clippings Sticker Book
Tim Holtz Idea-ology Mummy Cloth Trimmings
Tim Holtz Tonic Glass Media Mat
Ranger Mini Domed Ink Blending Foam


love Tim’s bird and how you used it. have to play with coloring it. can’t wait for my die to get here. thanks as always for sharing.