
Hi friends! Today I’m sharing a card I created using the new Tim Holtz Sizzix Bold Text and Simple Plaid die sets. There are so many ways you can use the Bold Text die set and in this tutorial I’ll show you how to use the inlay die cut technique which is combining two die sets one over another. This is a great technique if you want to create a flat card for easy mailing. Enjoy!
Let’s begin:
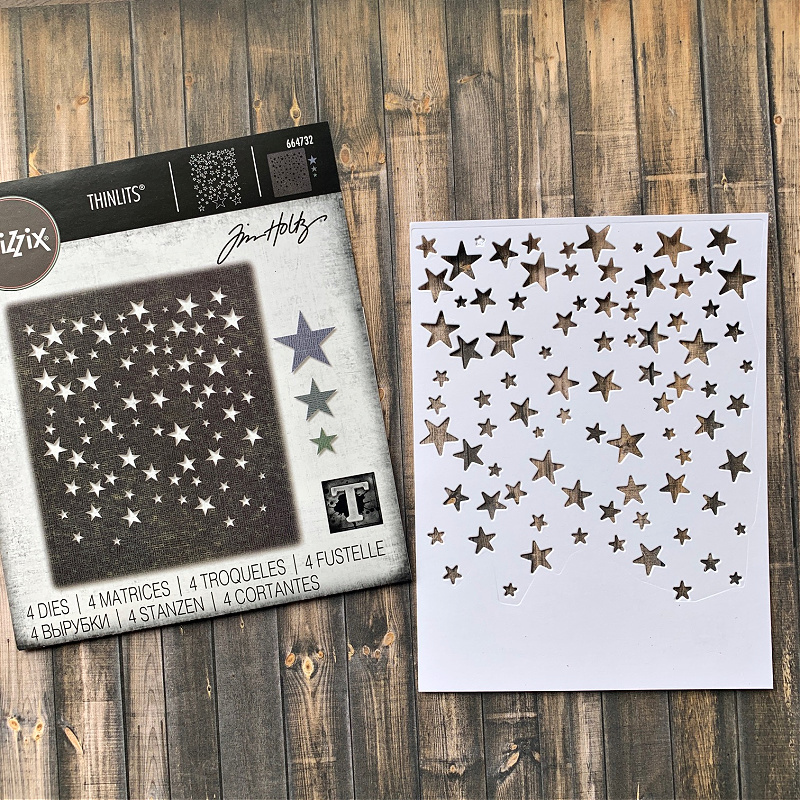
I create the first die cut layer onto a 4.5″ x 6″ piece of mixed media cardstock which fits the Tim Holtz Falling Stars die perfectly.
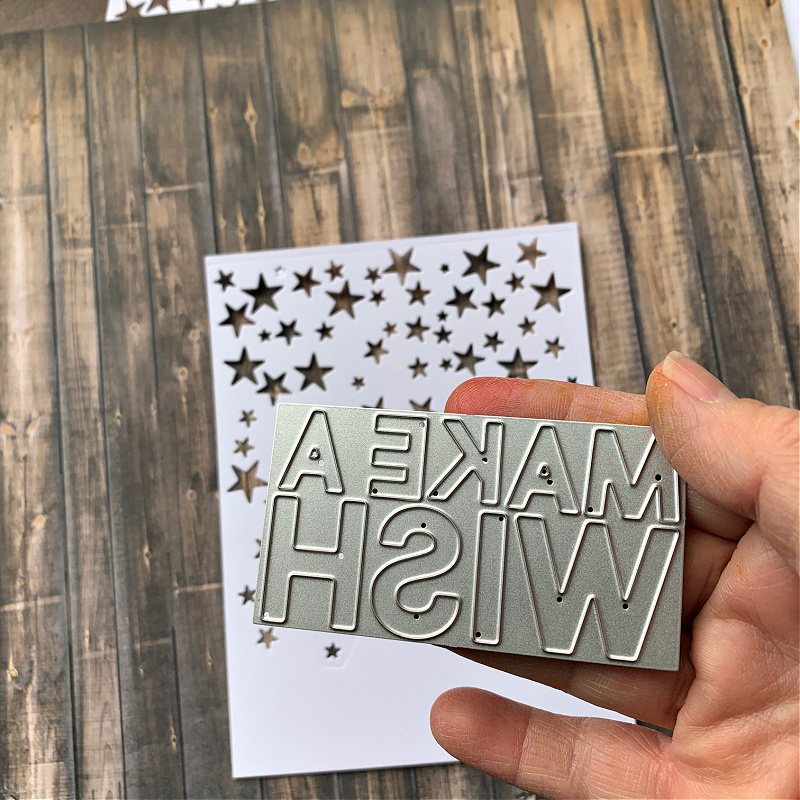
Choose the bold text sentiment you want on your card. I’m using the Make A Wish die.
Lay the bold text die in the area of the card where you want the sentiment to appear and run it through your die cut machine. Caution: Make sure your die isn’t upside down.
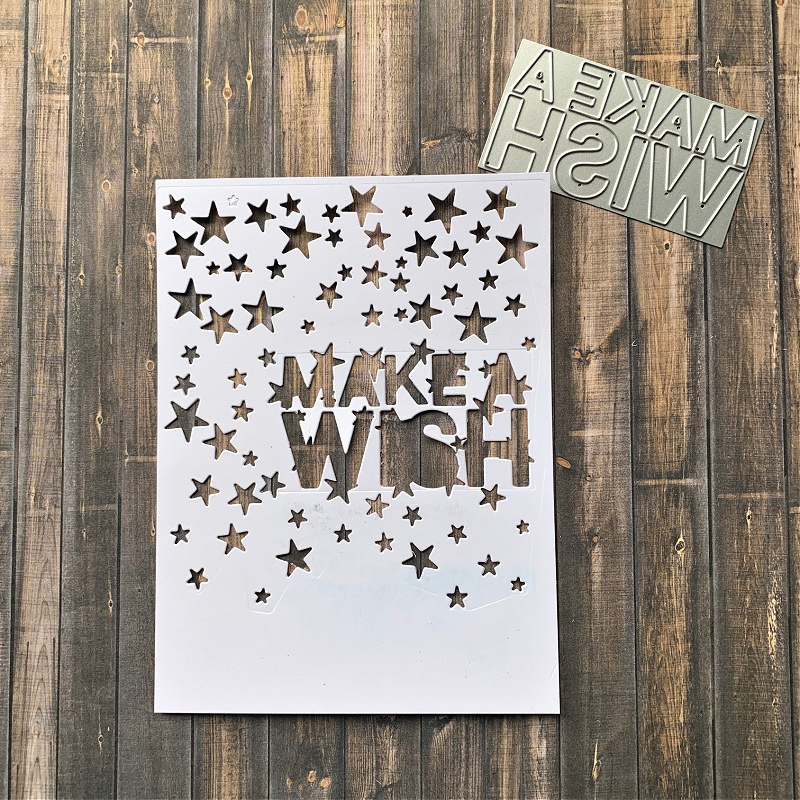
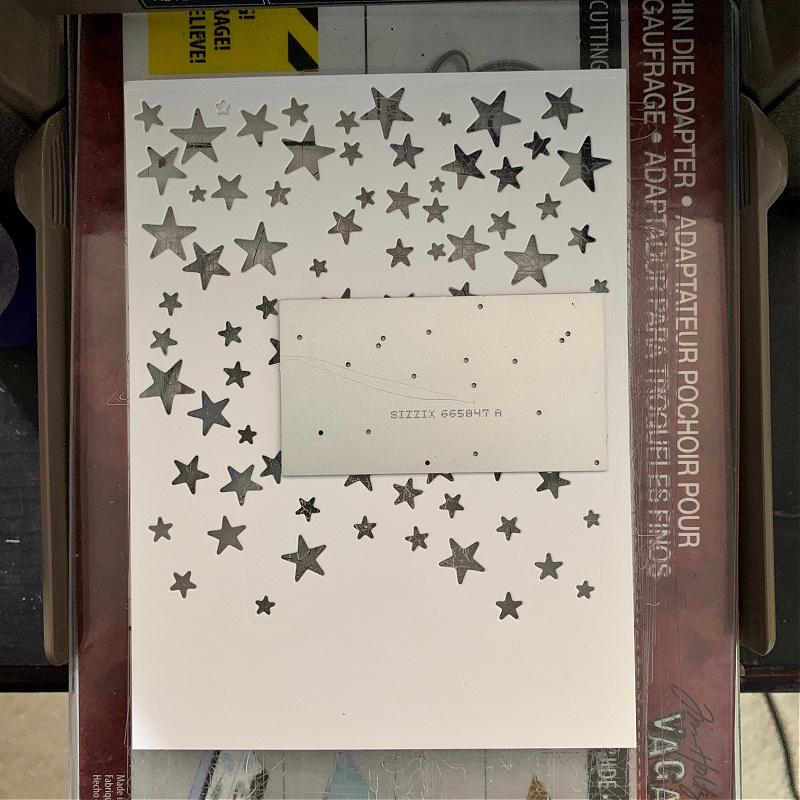
Remove the bold text die and make sure to keep any pieces that fall from the die between the letters. You may need them to make the sentiment seamless as some of the pieces may cut between the stars. Set this aside.

Create the color you want to appear behind the stars. I chose Flickering Candle Mica Stain which was a special holiday release by Tim Holtz and Ranger last Halloween. This will create glistening stars and is so beautiful. If you don’t have this particular mica stain, you could use Fossilized Amber Distress Spray.

Adhere the star background on top of the yellow background as shown above.

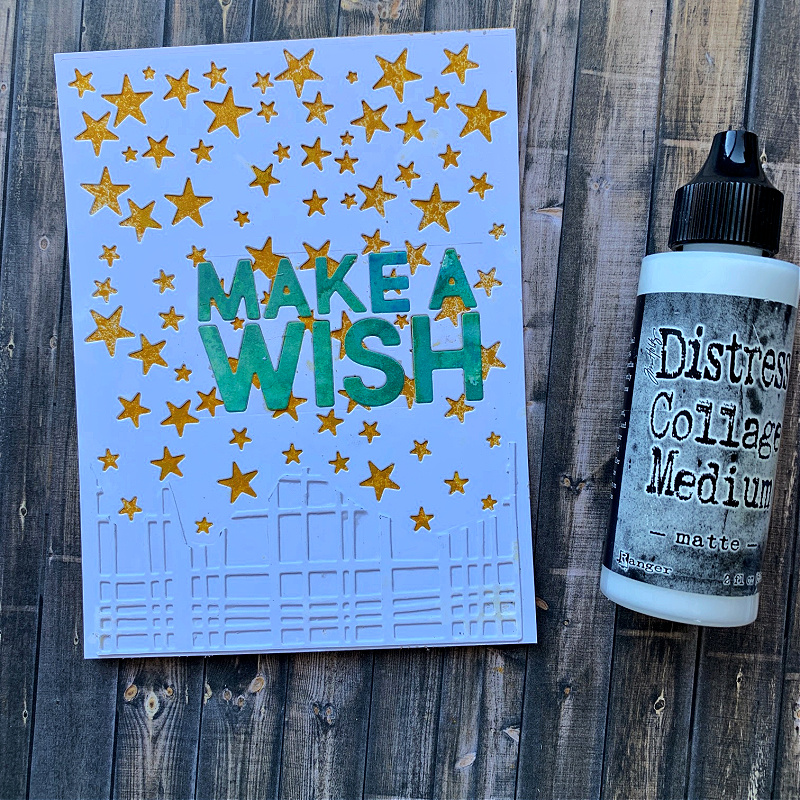
Using the same bold text sentiment, cut out the letters from colored or inked cardstock.

Adhere the letters to their coordinating cut outs as shown above. Also, adhere any other white cut out pieces that you saved after cutting the sentiment from the star background. You will see which white pieces you need to add after you put all the letters in their coordinating place.

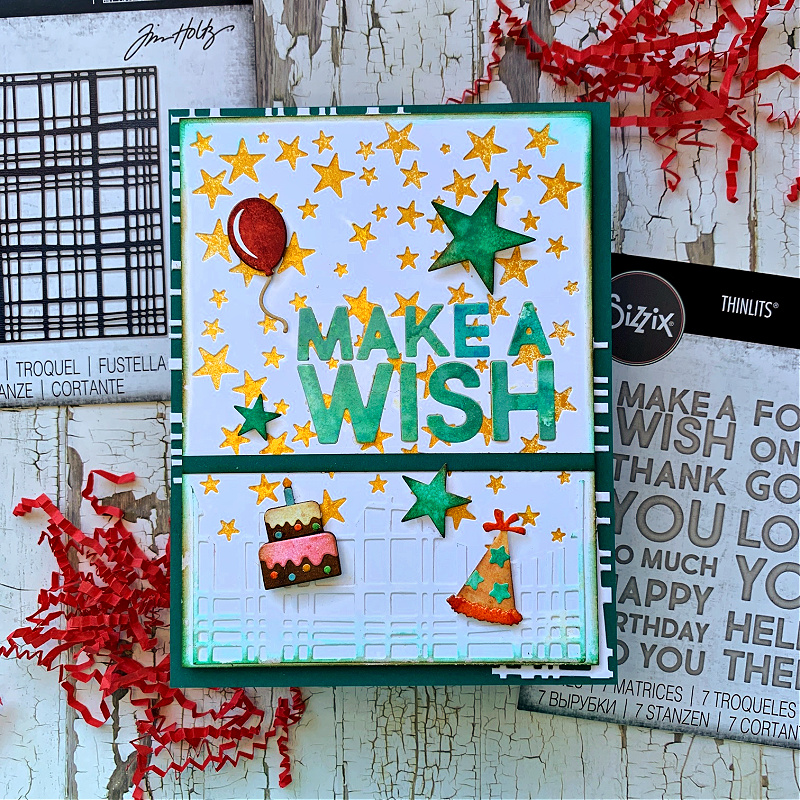
Here is what your card panel will look like when you’ve put all the pieces together. See how it lays flat for easy mailing and look at those glistening stars!!
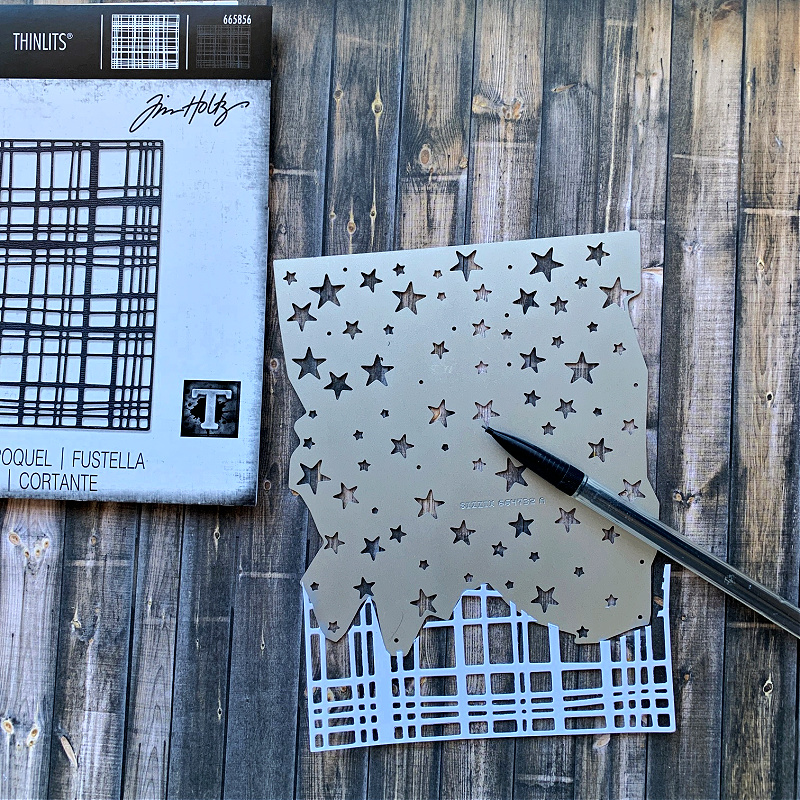
I wanted some texture underneath the stars so I cut the Simple Plaid background die out of mixed media cardstock and laid the Falling Stars background die on top. I traced along the edges of the Falling Stars die over the Simple Plaid die with a pencil.

Next, cut along the penciled line with a scissors.
Adhere the Simple Plaid cutaway to the bottom of the card.
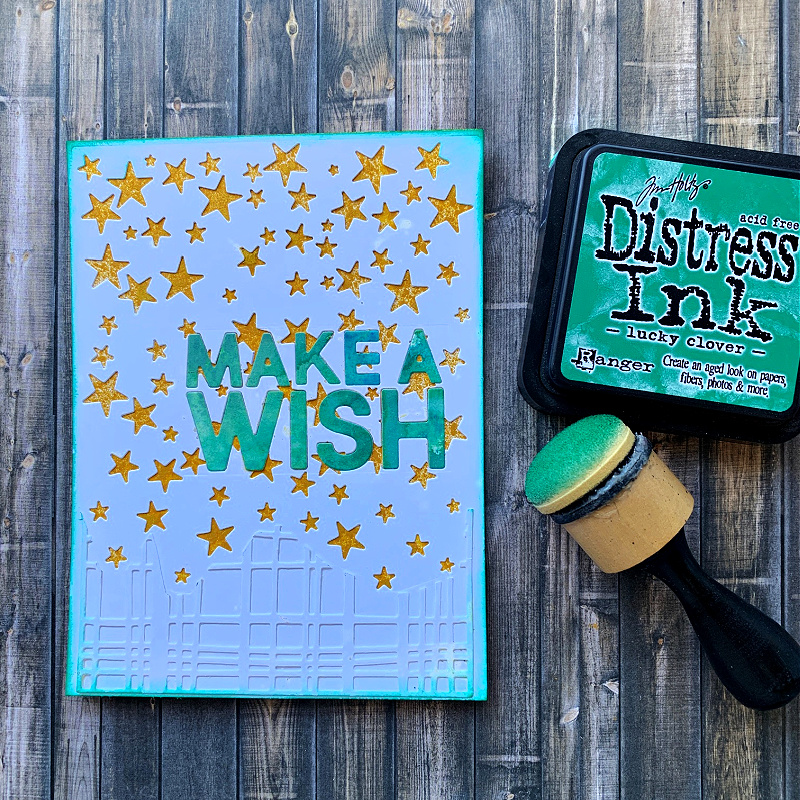
Ink the edges of your card panel and you’re ready to add any embellishments of your choice to finish the card.
To finish my card I adhered some stars from the Falling Stars die set out of the same colors as I cut out the Bold Text sentiment. I created the adorable birthday cake, party hat and balloon from the Tim Holtz Sizzix Birthday Thinlits Side-Order die set along with a thin strip of cardstock toward the lower half of the card and that’s it!
I hope you enjoyed seeing how I put this card together and that you give the inlay die technique a try. Thanks so much for sticking with me to the end. Have a beautiful day!

Supply List:
Tim Holtz Sizzix Bold Text 1 Thinlits
Tim Holtz Sizzix Simple Plaid Thinlits Die
Tim Holtz Sizzix Falling Stars Thinlits Die
Tim Holtz Sizzix Birthday Side-Order Thinlits and Embossing Folder
Distress Mixed Media Heavystock White
Tim Holtz Ranger Salvaged Patina Distress Spray Stain
Tim Holtz Ranger Bard Door Distress Spray Stain
Tim Holtz Ranger Spiced Marmalade Distress Spray Stain
Tim Holtz Ranger Antique Linen Distress Spray Stain
Tim Holtz Ranger Walnut Distress Ink
Tim Holtz Big Shot Foldaway Machine


