
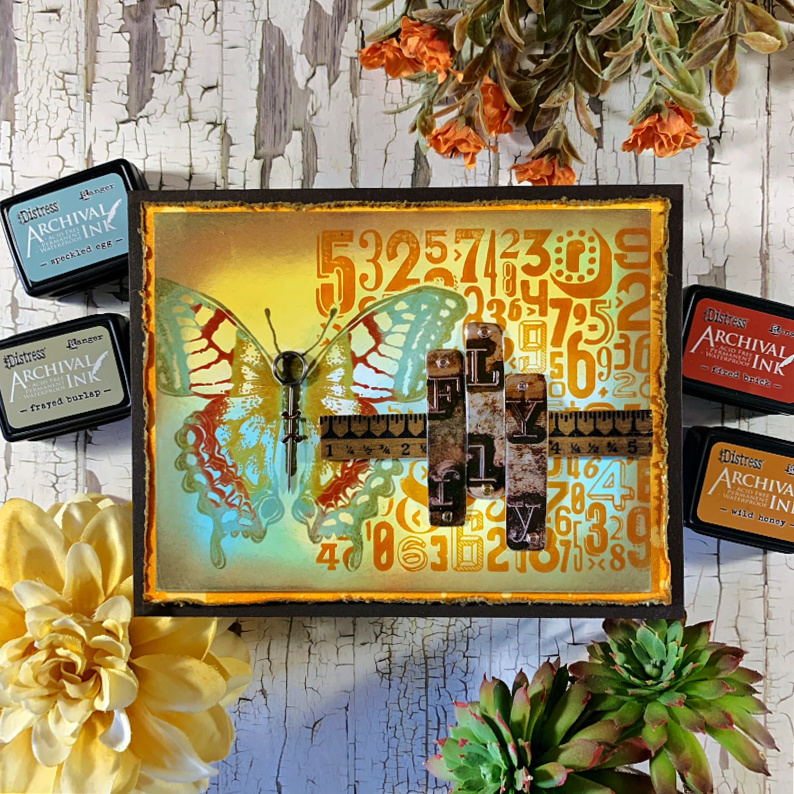
Hi friends! Today I’m sharing with you the new Tim Holtz Ranger Distress Archival Inks. I’m so excited Ranger decided to release more colors of Distress in the Archival line. They are amazing and you can do so many things with these inks that you cannot do with the regular Distress line because they are not reactive to water, glues, and other mediums. I’ve put together a tutorial on how I created this card using colors from the new colors. Enjoy!
Important:
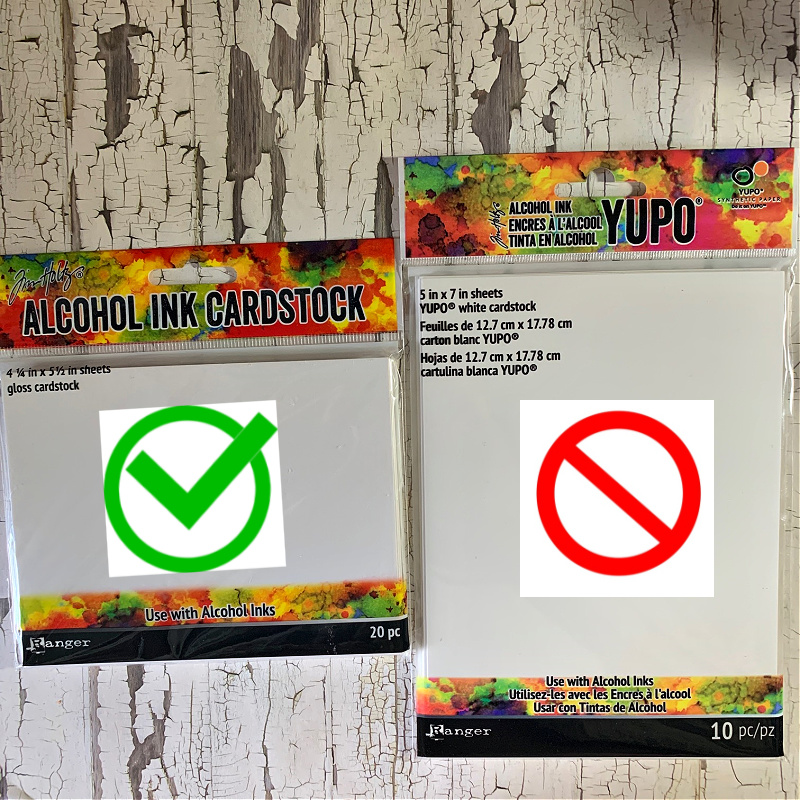
- For this technique you will need Alcohol Ink Cardstock which is different from Alcohol Ink Yupo paper. The alcohol ink cardstock has a glossy finish coating that is designed to work with stamping inks like dye inks and archival inks.
- You will need a stamping tool. Do not remove the paper or the stamp you are currently working on until you are finished inking that image and ready to move on to the next image.
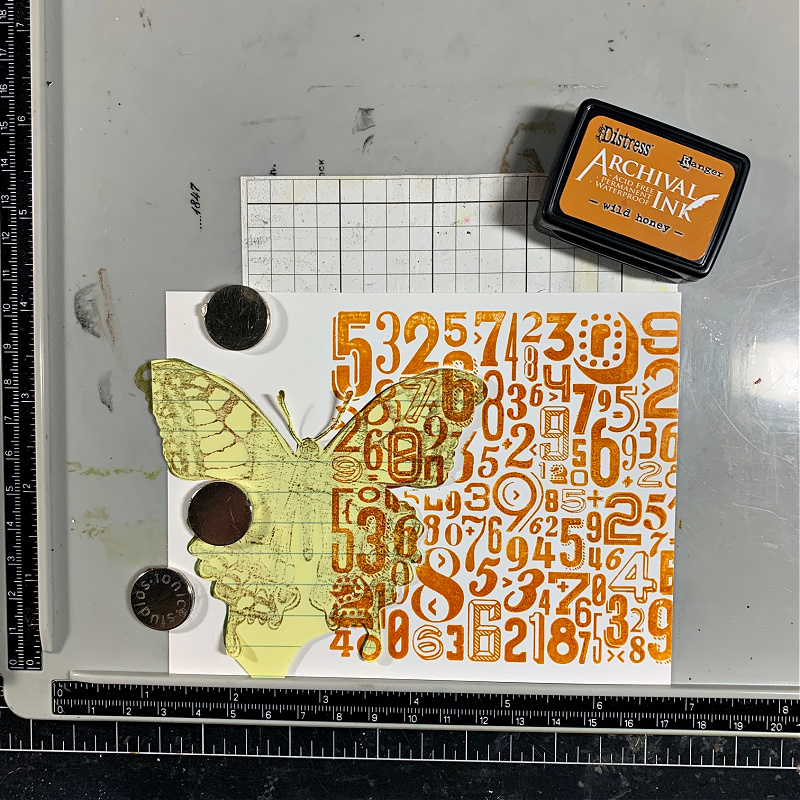
- Begin by choosing the color palette for your project by choosing inks that coordinate well together. Next, stamp the entire image onto the alcohol ink cardstock with the lightest color from your palette. I want the butterfly’s wings to appear darkest on the inside and lighter on the outermost parts. If you want the butterfly to be light on the inside and darker on the outermost edges (opposite of what I’m doing) you will still initially ink the entire image with the lightest color because the darker inks will cover the lighter inks and this will not work the other way around.
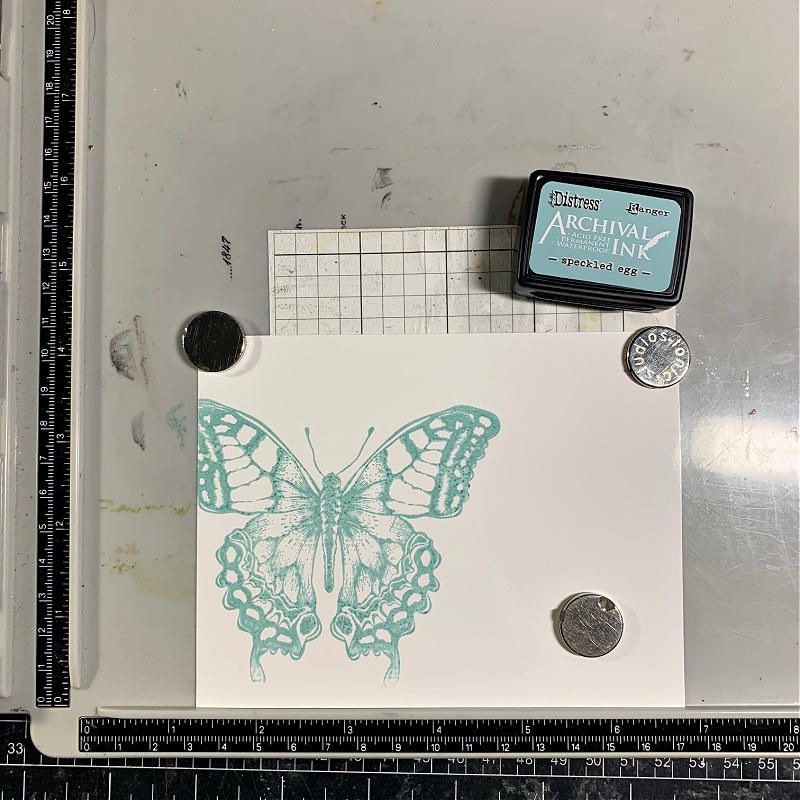
Have an idea what you want your image to look like and where you want the colors you’ve chosen to go on that image. Stamp the entire image onto the alcohol ink cardstock with the lightest color.
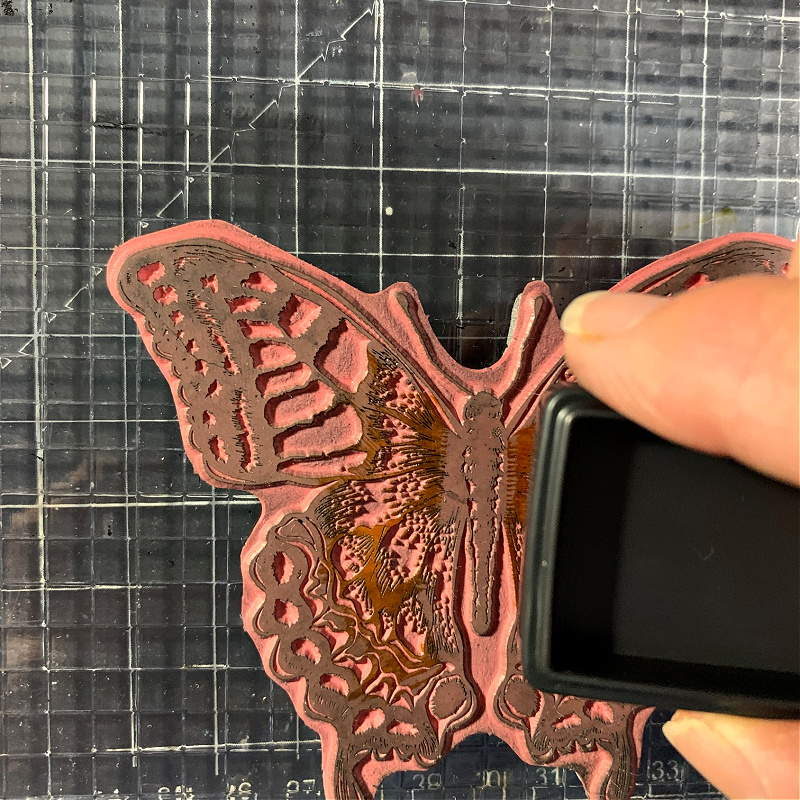
Keeping in mind to work from lightest colors to darkest colors, chose another color and ink up those parts of the image with that color.
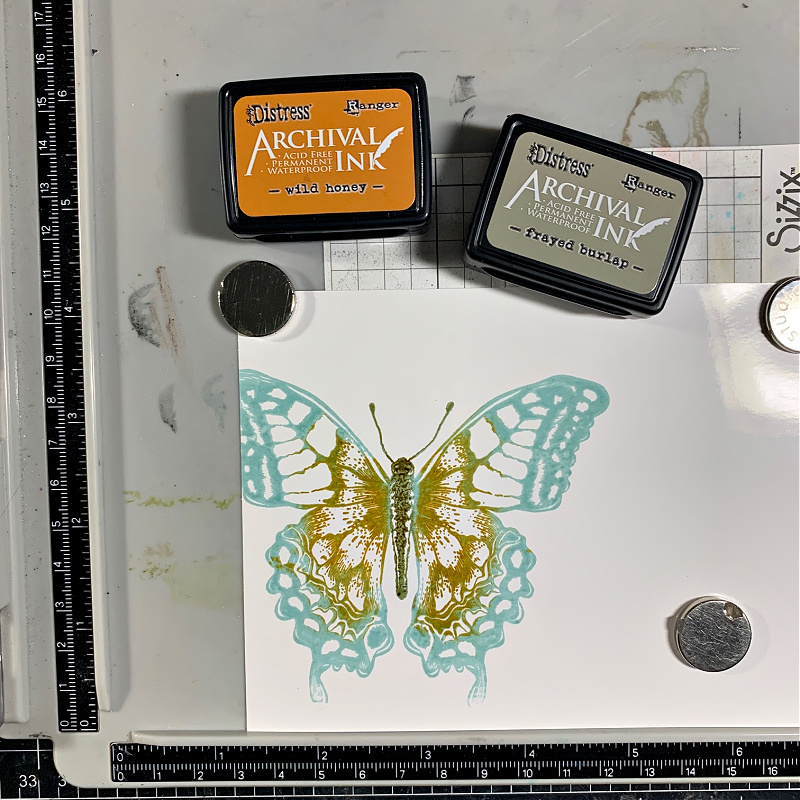
I inked the inside portions of the butterfly’s wings with Wild Honey Archival ink and the body of the butterfly with Frayed Burlap Archival ink. The image above shows you how the colors work together and how beautiful the image is coming together with these amazing inks.
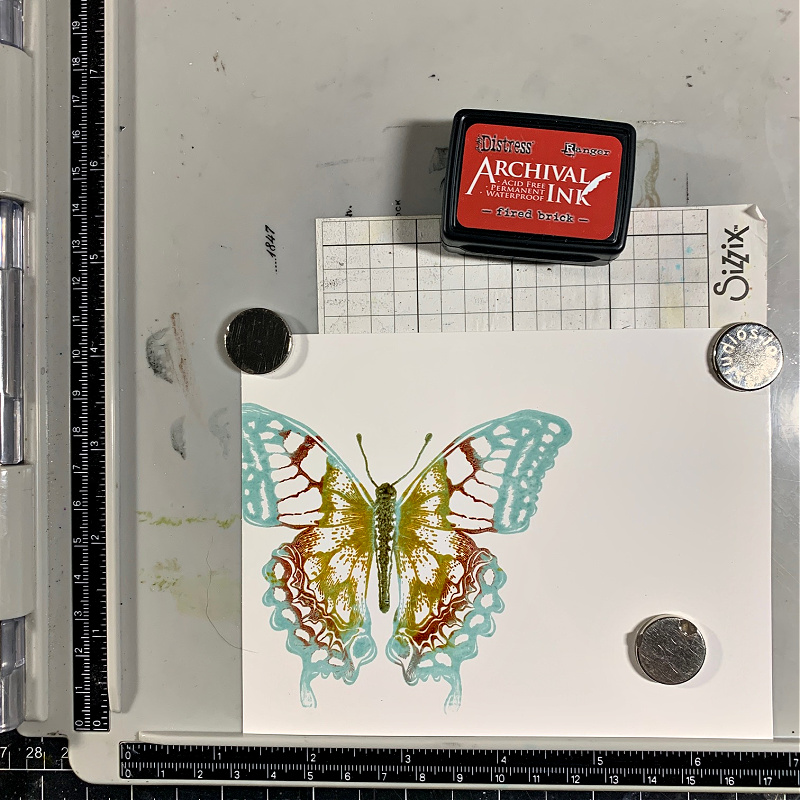
I move further along the wings working my way toward the outermost parts and ink them with Fired Brick Archival ink.
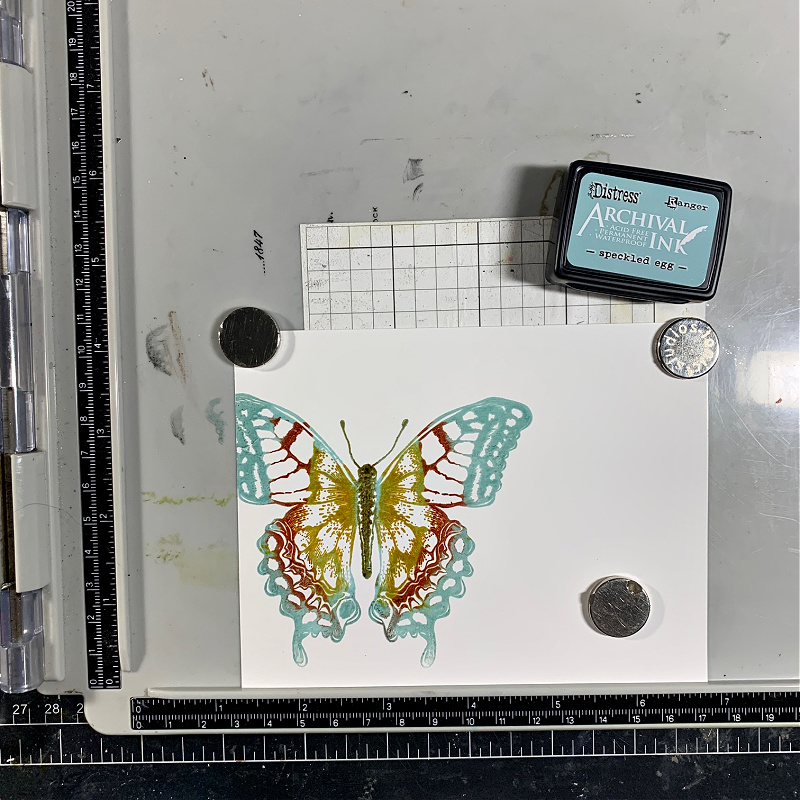
Next, I ink the outer portions of the butterfly’s wings with Speckled Egg.
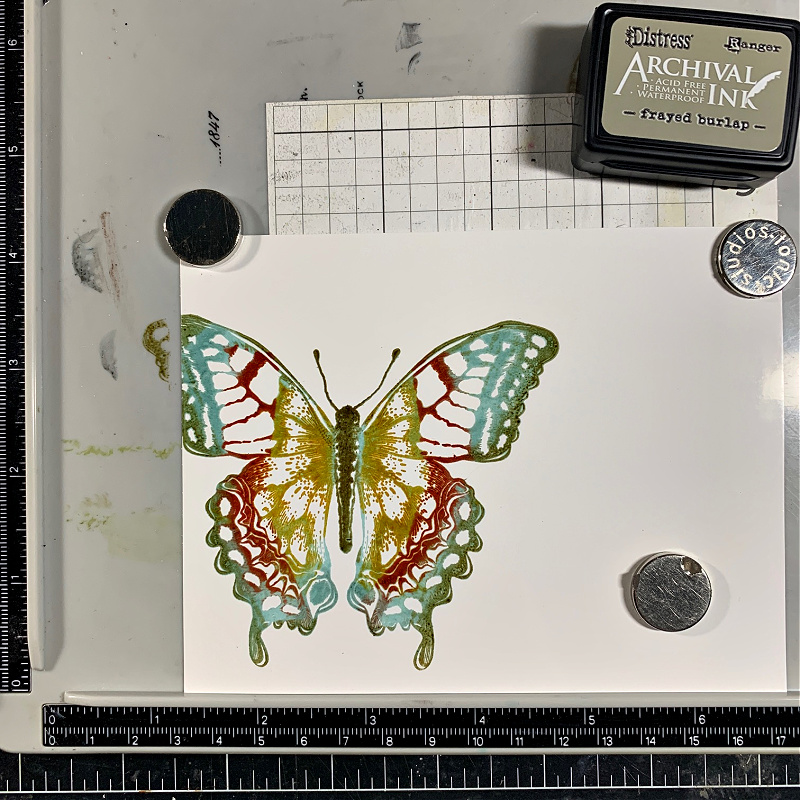
For my last inking, I ink the edges of the butterfly’s wings with Frayed Burlap Archival ink. I’m pleased with how the butterfly turned out so I remove the stamp from the stamping tool, clean it and then move on to the next stamp I want to apply to my card. Make sure to allow the inked image to completely dry before moving on to the next stamp.
I want to add another stamp that will appear under the butterfly so I create a mask for the butterfly and lay it over the stamped image. I ink the numbers stamp with Wild Honey Archival ink and stamp it with the stamping tool. Because this is the only color I want to stamp that image with, I don’t need to worry about working with the lightest color first.
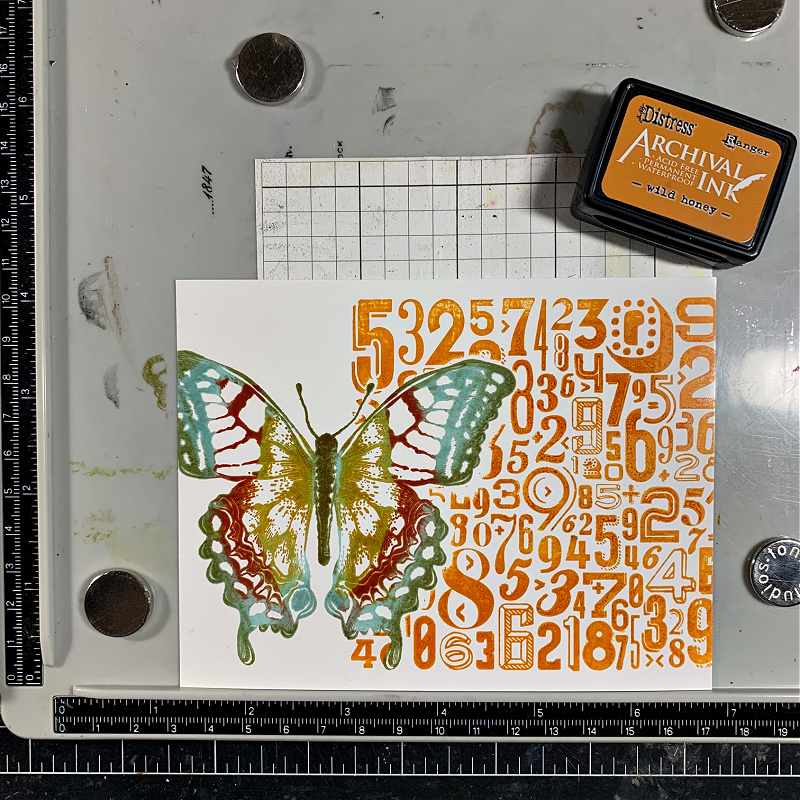
I remove the mask from the butterfly and you can see how pretty it all turned out.
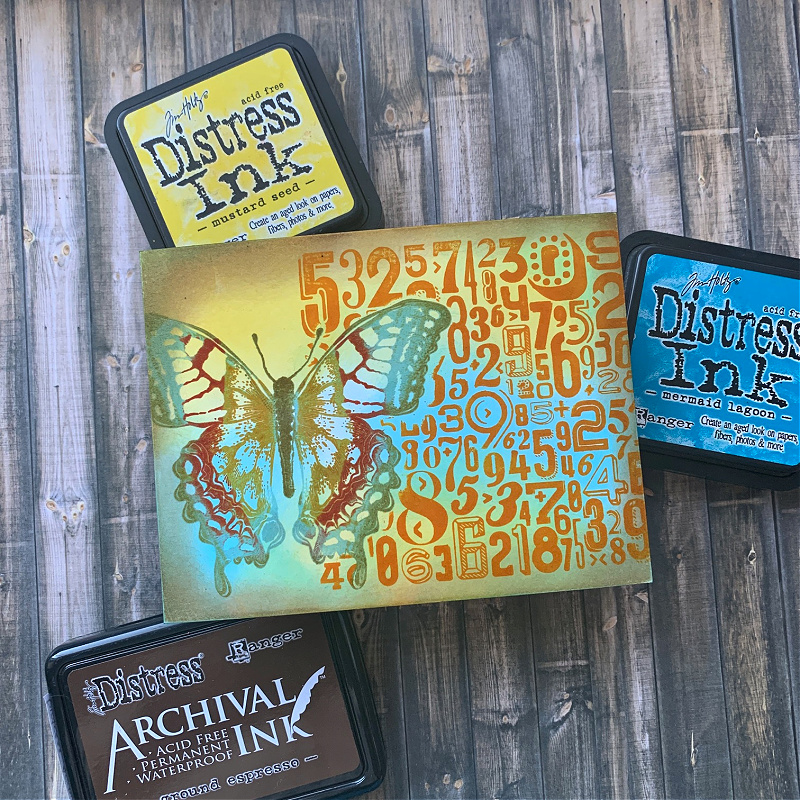
Making sure all the archival ink is dry from my last stamping, I apply regular Distress Ink coordinating colors to the background around my stamped images with an ink blending tool. (Do not use Archival inks for the background colors.) To finish the panel, I ink the edges with Archival Ink with Ground Espresso Archival ink and the card panel is done!
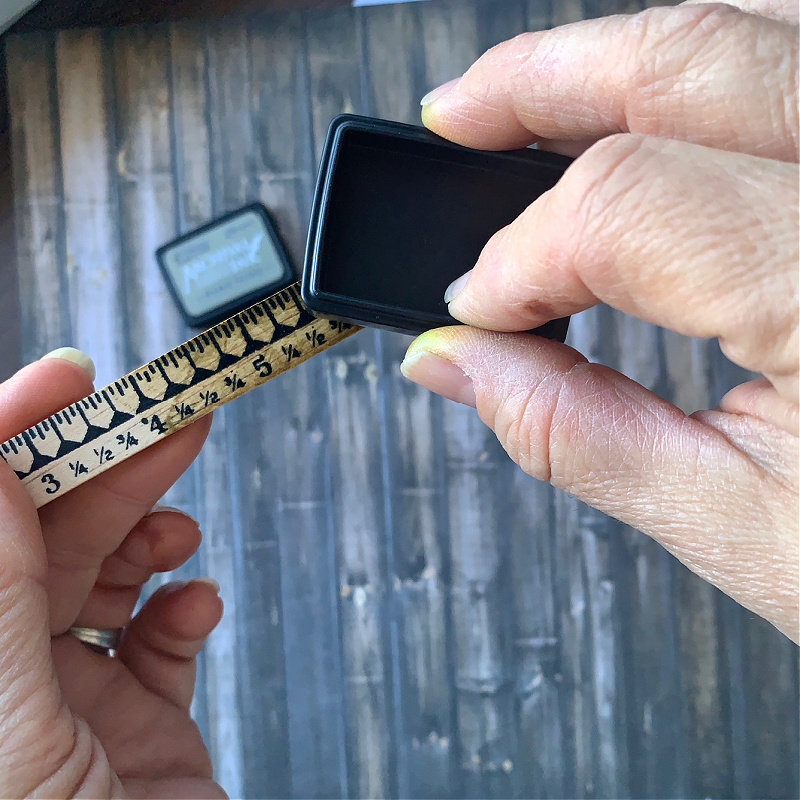
Another great use for the archival inks is to color wood pieces. I used Frayed Burlap and inked the wood ruler piece that I added to the card.
I hope you found this tutorial helpful and that you’ll give this technique a try. Thank you so much for sticking with me to the end and stopping by. I really appreciate the time you spend here with me!
Have a beautiful rest of your day!!
Shopping List
Tim Holtz Ranger Archival Inks
Tim Holtz Ranger Distress Archival Ink Mini Kit 4
Tim Holtz Ranger Distress Archival Ink Mini Kit 5
Tim Holtz Ranger Distress Archival Ink Mini Kit 6
Tim Holtz Stampers Anonymous Perspective CMS213
Distress Inks:
Distress Ground Espresso Archival Ink
Tim Holtz Idea-ology Type Chips
Tim Holtz Idea-ology Findings Ruler Pieces
Tim Holt Idea-ology Memo Pins Split Ring Embellishments
Tim Holtz Idea-ology Mini Fasteners Screws Brads
Tim Holt Idea-ology Jump Rings
Tim Holt Tonic Retractable Craft Pic
Simon Says Stamp Dark Chocolate 100# Cardstock
Tim Holtz Tonic Glass Media Mat
Ranger Mini Round Ink Blending Tool
Ranger Mini Ink Domed Blending Foam


Awesome tutorial. Thanks for sharing.
Wow! Gorgeous! Hugs, treen 💕💕💕
Love it so creative