
Hi Friends! I’m sure you’re all looking forward to cooler weather with beautiful Autumn colors coming into full bloom. It’s a time of change and a time for all things pumpkin spice, and who doesn’t look forward to that! For my card today, I used a technique that I learned from watching one of the Tim Holtz demos he did over the summer. Talk about discoveries!! His classes over the summer were wonderful and filled with so much information. The technique I used for this card can be found in his video linked here. I put together a tutorial so you can see how I put it all together. Some of the steps are completely unnecessary for most crafters but I’m always thinking of those that are just getting started who may want to know how I put it all together from start to finish. I know when I started making cards I wanted to seeing EVERYTHING. Enjoy!
Creating the Main Card Panel
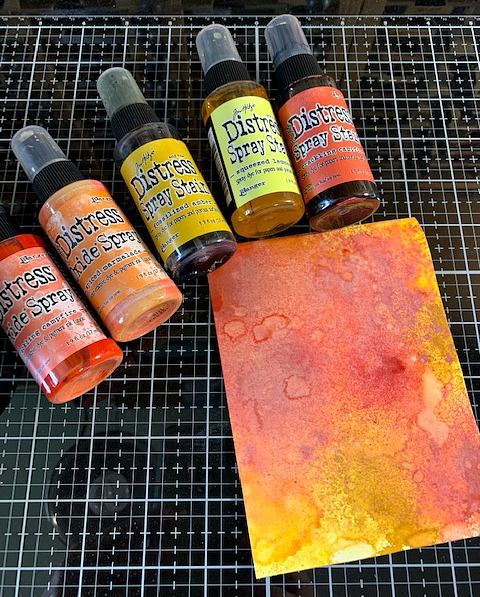
- Spray a piece of mixed media cardstock with Squeezed Lemonade Distress Spray Stain and dry with heat tool.
- Continue adding colors as shown below until you are happy with the results. Make sure to dry each layer before moving on to the next color. It really doesn’t matter what order you do them in. It’s all about having fun.
Add
Adding a Stencil Design
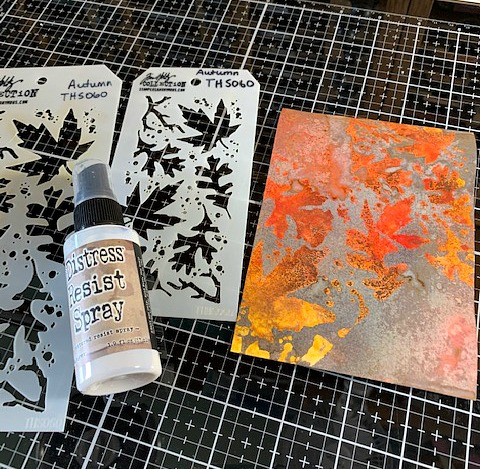
- Lay the stencil over the colored cardstock and spray with Distress Resist Spray.
- Carefully lift off the stencil and dry with a heat tool.
- I did one stencil at a time, first the large design and then the mini.
- When the resist spray is completely dry, spray the entire piece with some brown Distress Oxide sprays. I used Walnut Stain and Ground Espresso. Make sure to add one color at a time and dry each before moving on to the next.
- When everything is completely dry, spritz the panel with Vintage Photo Distress Spray Stain. Allow to completely dry.
- Wipe off the leaves with a dry cloth in random areas to expose the beautiful autumn colors below.
Adding Inks and Stamps
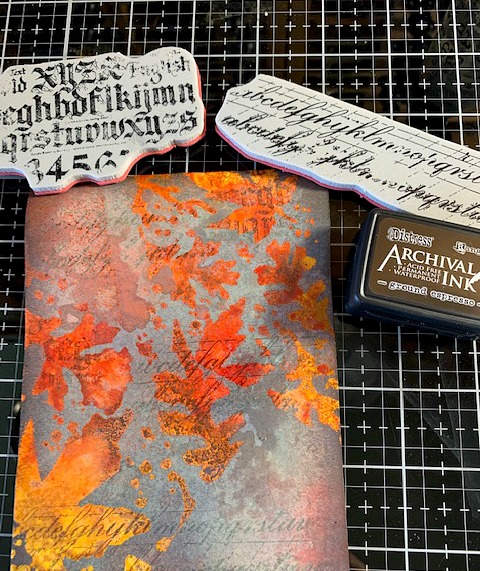
- Add stamps of your choice in random areas using Ground Espresso Archival Ink.
- Lastly, ink the edges with Ground Espresso Archival Ink to add depth.
Adding Layers
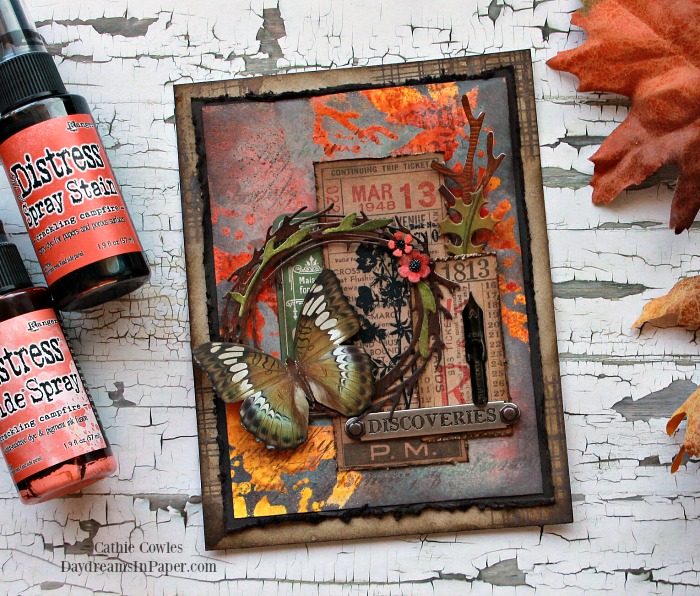
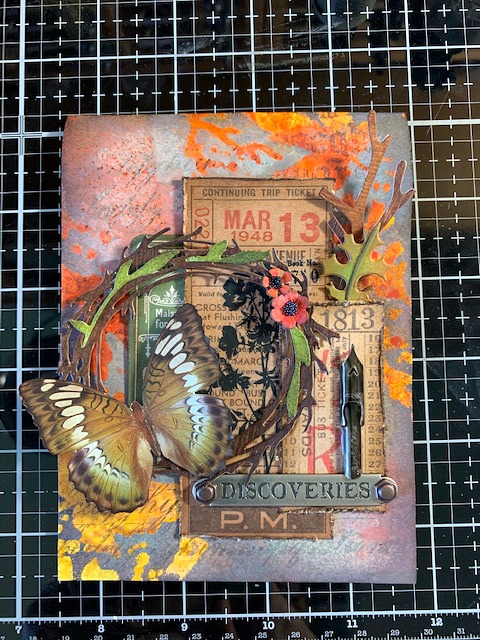
- I first distressed the edges of a couple of Tim Holtz Idea-ology Tickets and inked them with Walnut Stain Distress ink. I did the same with an Idea-ology Collector Layer piece and adhered all three pieces to the center area of the main panel.
- I added a couple of twigs and a maple leaf die cut and a Tim Holtz metal word band and pin nib along with the Funky Wreath with a couple of flowers.
- Lastly, I added a butterfly from Tim’s Botanical Layers collection.
Creating Background Panels
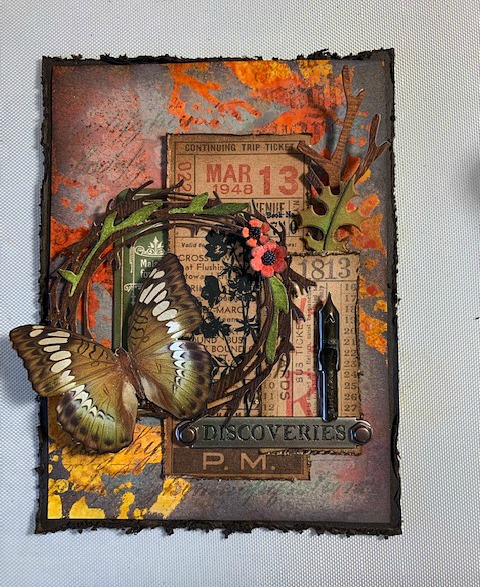
- Now that the main panel of the card is finished, I want to create layers of background panels. The first layer is a piece of Simon Says Stamp Dark Chocolate cardstock that I distressed with a paper distresser. I adhered that to the back of the main card panel as shown below.
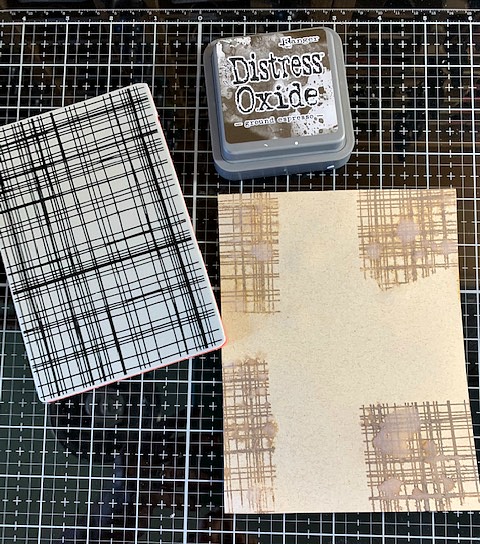
- The bottom panel is created using Desert Storm cardstock that I inked with the plaid design from Tim Holtz’ Lumberjack stamp set.
- To create this panel, ink the stamp with Ground Espresso Distress Oxide and spritz the stamp with water before stamping the image onto the cardstock.
- Complete this process in random areas along the edges of the cardstock. There’s no need to stamp the center of the panel since it will be covered by the main card panel.
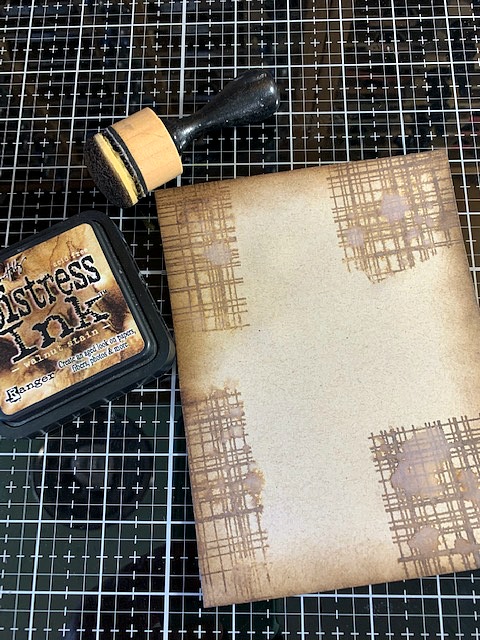
- Dry with a heat tool.
- Ink the edges of the panel with Walnut Stain Distress Ink and dry.
- Adhere the main card panel to this bottom panel.
I hope you enjoyed seeing how I put this card together. Thanks so much for sticking with me to the end. I really appreciate you spending your time with me. Have a beautiful day!


This card is an absolute stunner! As someone new to mixed media, I am SO appreciative of you sharing your steps to creating this – thank you so much.
Hi Kerry! Thank you for your kind words and I’m so happy you found the steps helpful. You made my day! ♥