
Hi friends! If you’ve seen my last blog post, I started a new series called Distress Mixology. In that blog post I explain what I’m trying to accomplish by doing this series. If you’re interested you can find that post here.
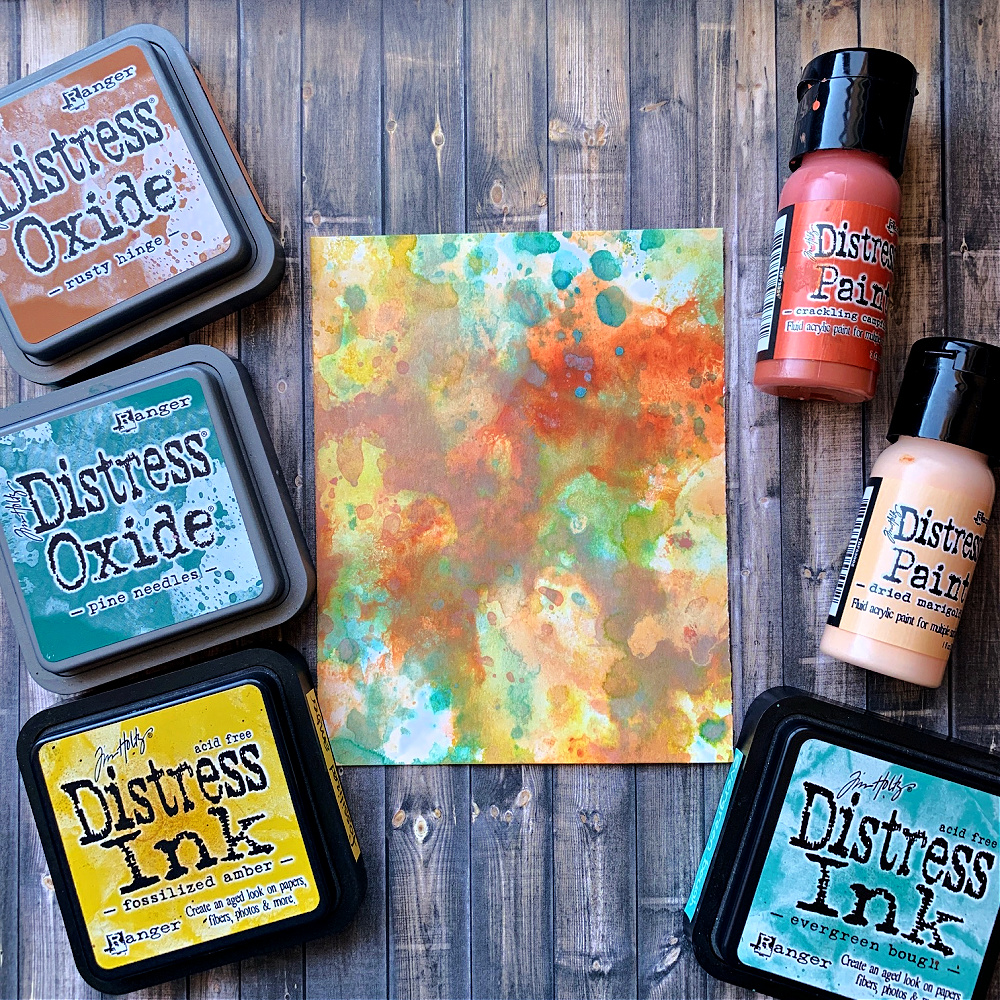
Today I’m sharing what I created using the colors chosen for Distress Mixology No. 1. Some of the color swatches will be used as backgrounds for later projects but the one I chose for my first Distress Mixology No. 1 make was the one where I used a mix of paints, inks and oxides.
.
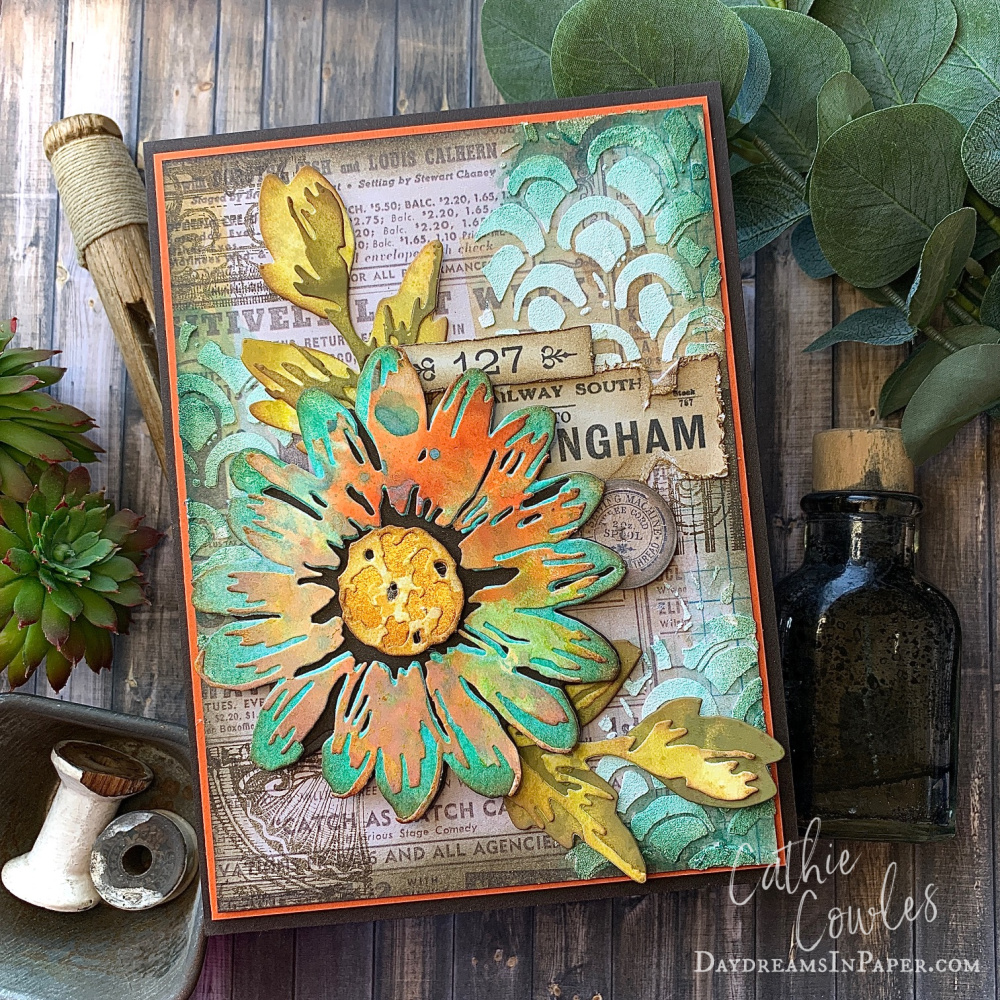
I love the muted areas and swirls of paint in the distant background with the burst of colors from the Distrtess inks. I decided to create a beautiful flower with this mixology swatch and I’m very happy with how it turned out. Below is a full tutorial which I hope you enjoy.
Creating the Blossom
.
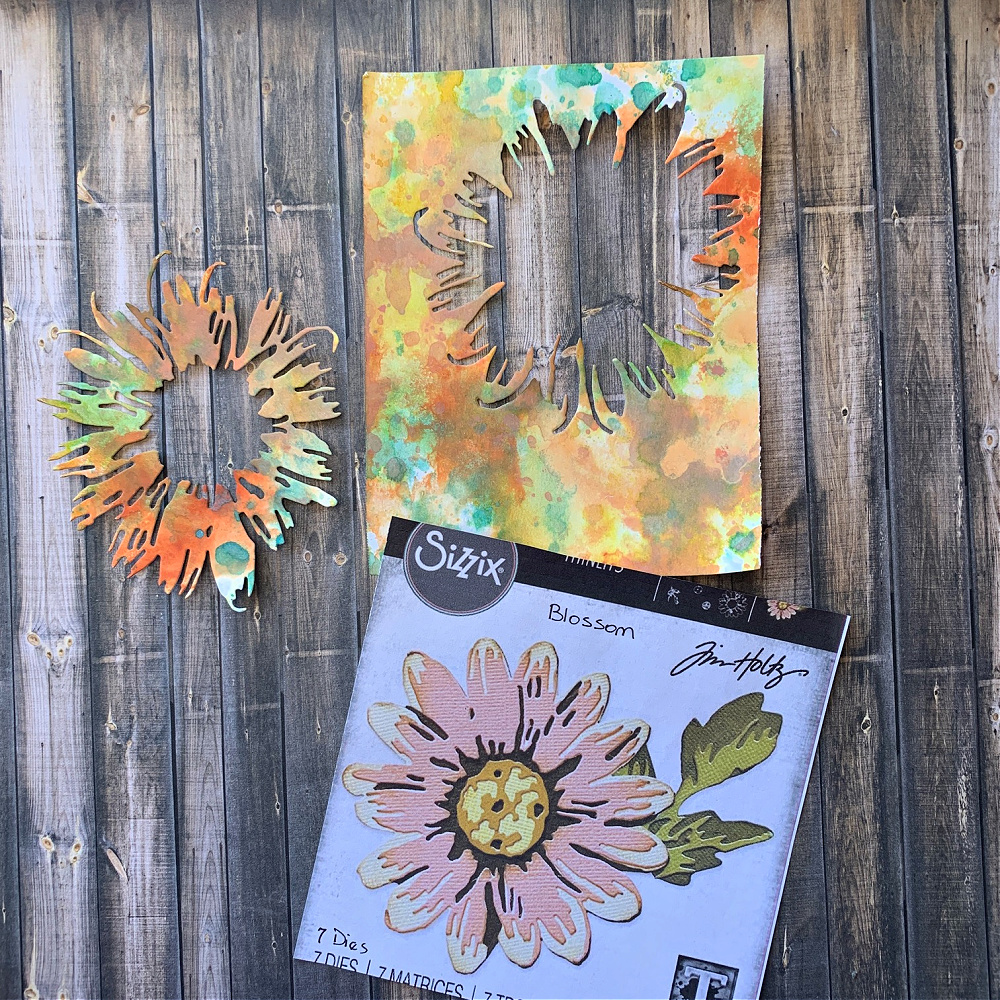
The new Blossom die was perfect because of its size. I knew this die would enable me to capture a lot of the beautiful colors in both muted and vibrant tones.

.
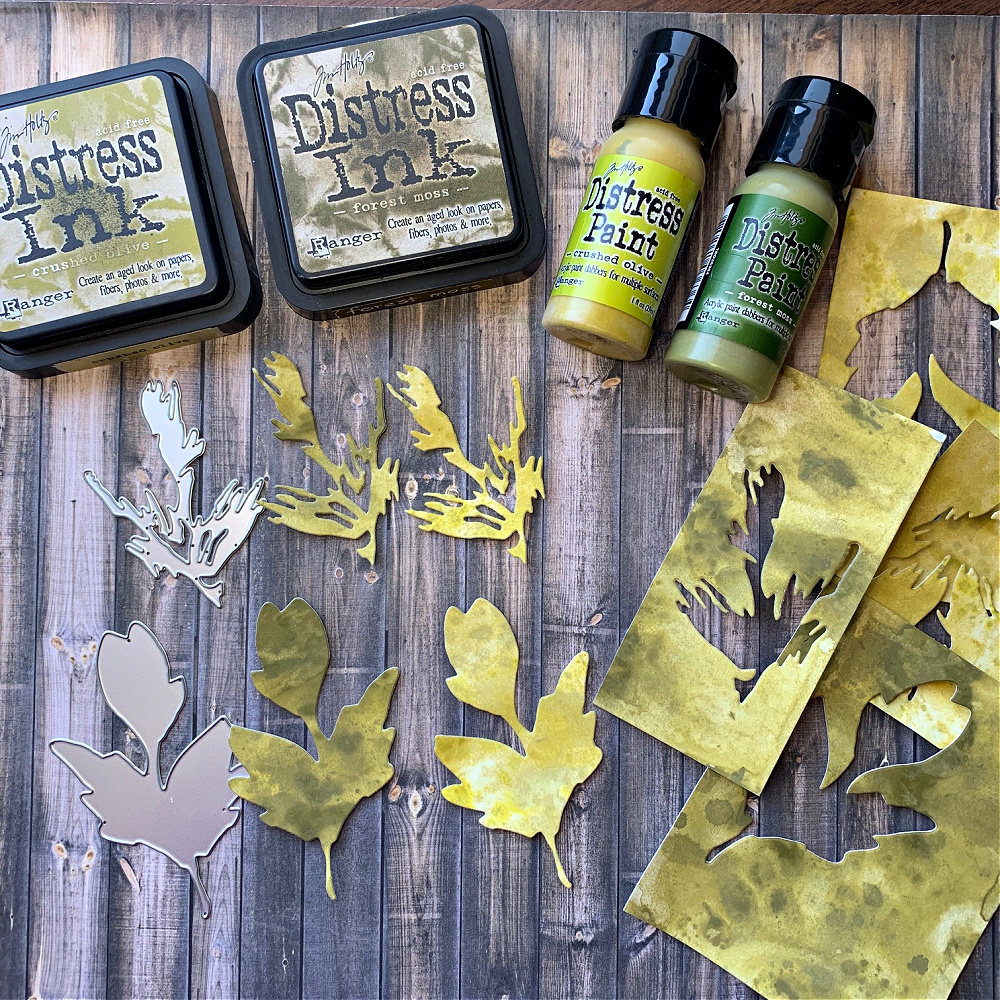
I spend a day here and there creating colors with inks and oxides and keep them in a plastic photo case so I have them at the ready when creating projects such as this. I pull some of the colors from this case to create the leaves, center and outer petals of the Blossom die.
.
This is an example of some of the pieces of inked cardstock I have in my plastic photo case ready to create on the fly. This cardstock is inked with Crushed Olive and Forest Moss Paint and then dabbled with the same colors in the Distress Inks.
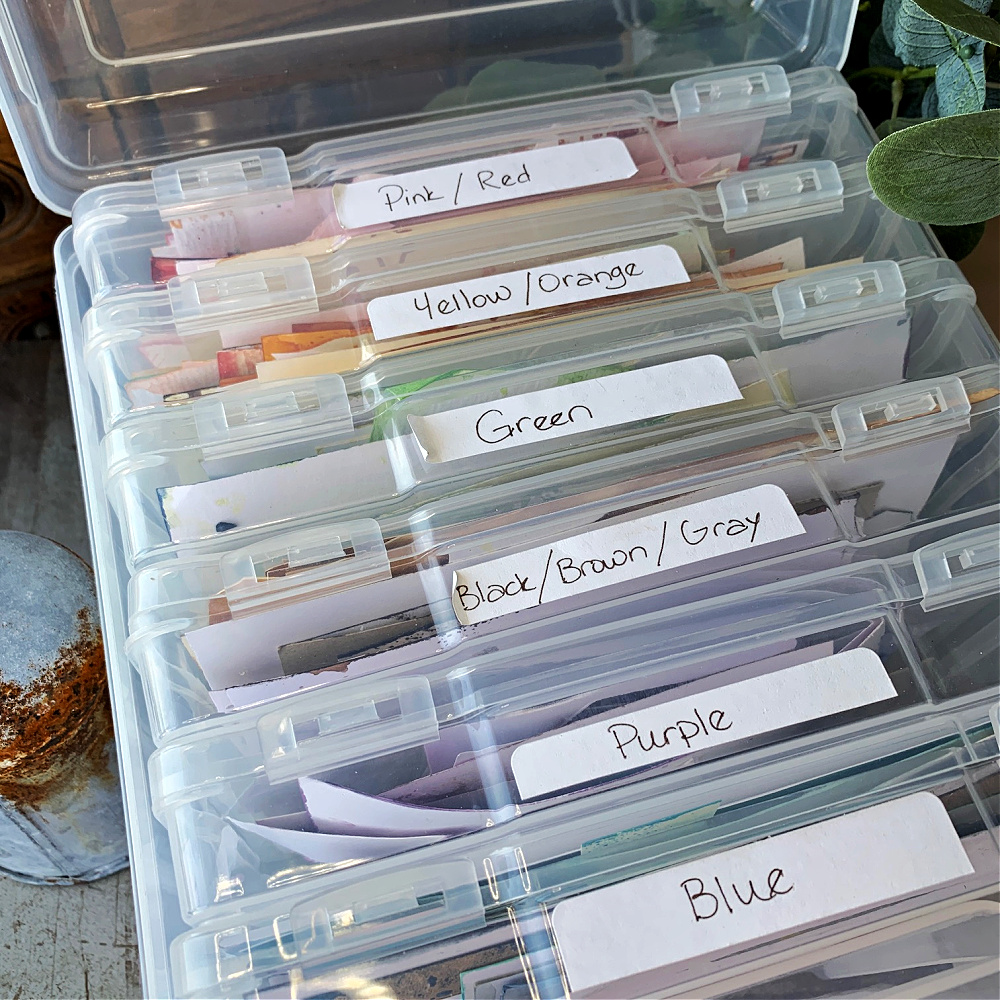
Storage for Inked Cardstock
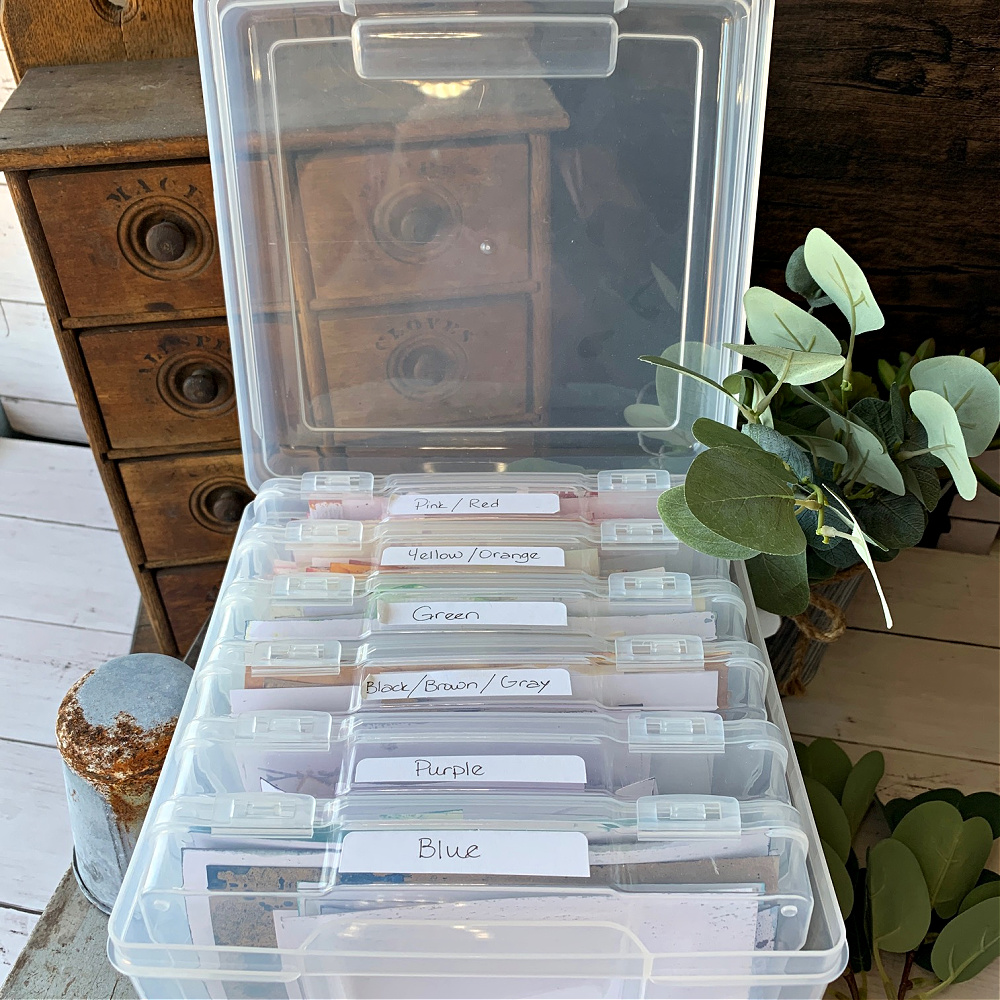
Here is the plastic file or photo case I use for which I’m referring. I don’t remember where I purchased it but if you want to search for it, It’s called a clear photo storage case and each case is 5′ x7′. This case holds seven storage compartments.
.
.
This plastic case is perfect for storing all my inked cardstock pieces. When I’m working with die cuts, I can pull what I’m looking for from this file and it really speeds up time spent creating. This is especially handy when I have deadlines or if I need to put together a quick card for a relative or friend’s birthday, etc.
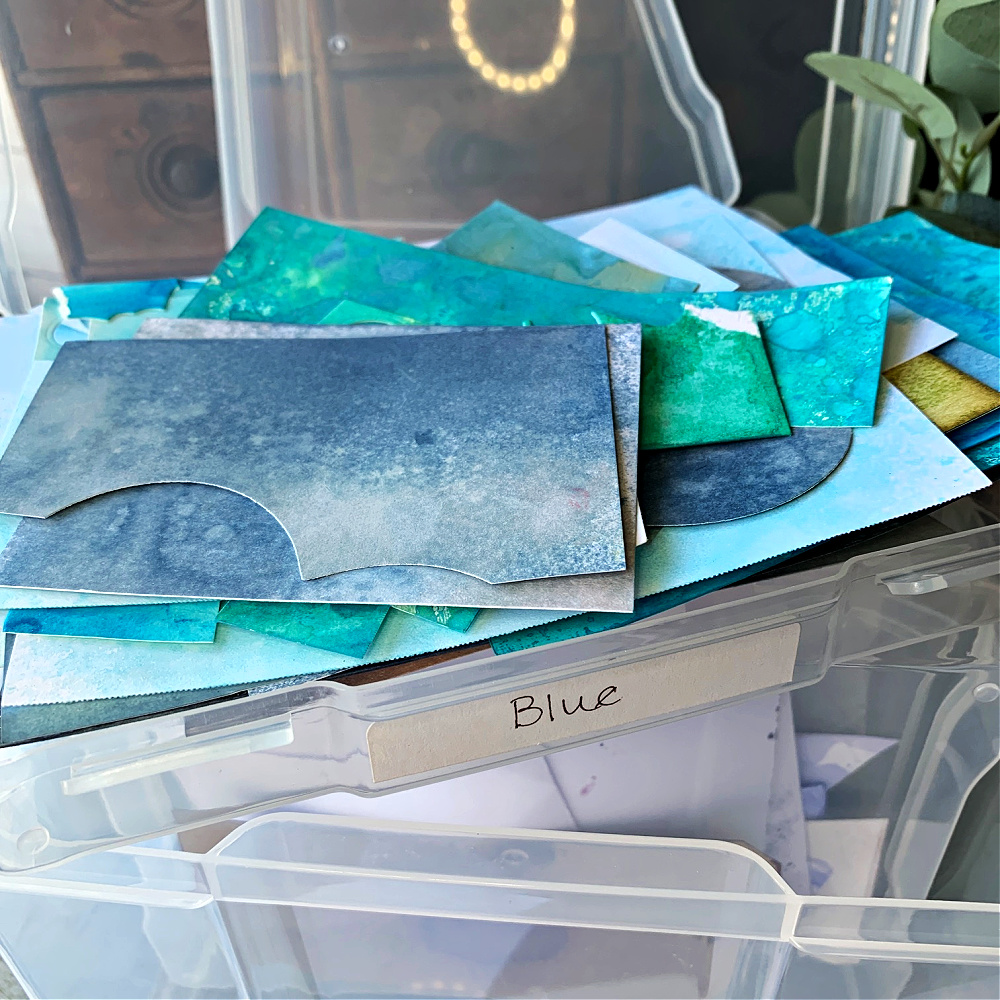
Each compartment holds quite a bit of cardstock and opens from the side as seen in the last photo. If I’m looking for the color blue for a project, all my blues are together and I can sift threw them to find just the right shade of blue I need.
Creating the Background
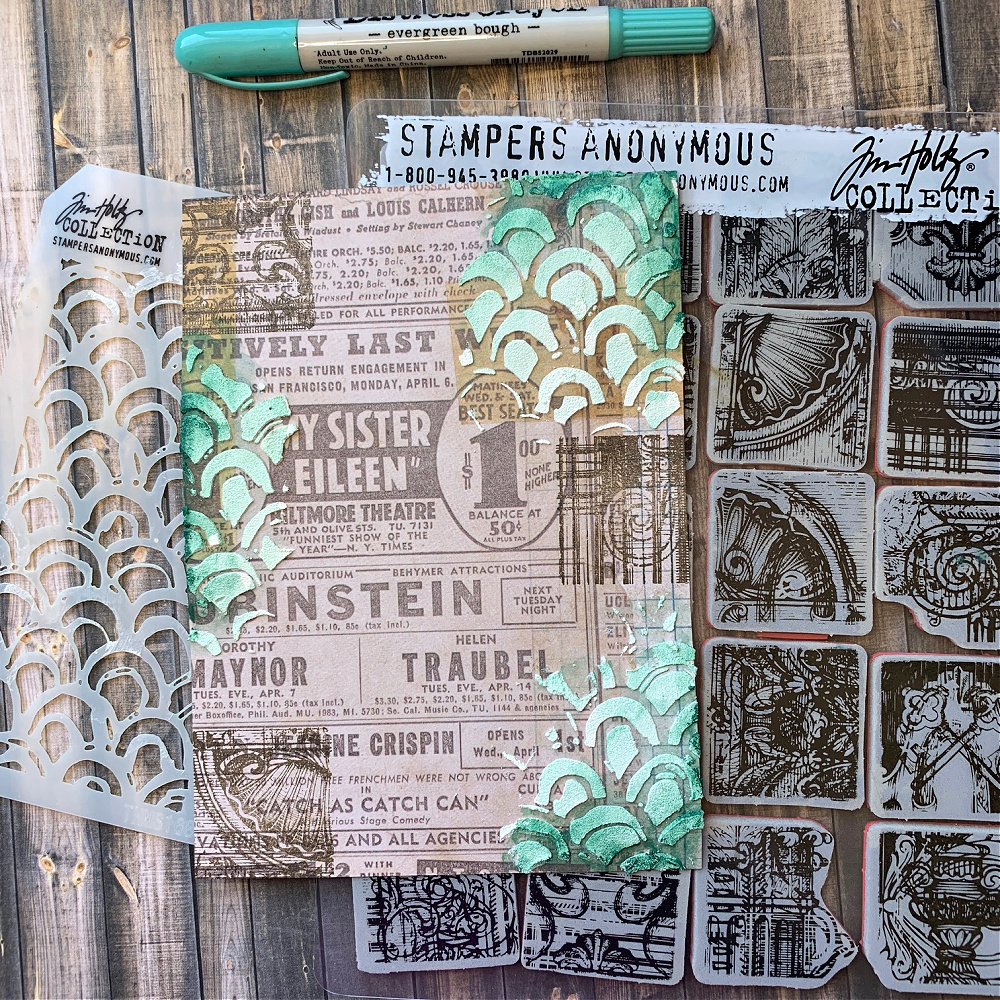
To create a quick background I use a piece of cardstock from the Tim Holtz Memoranda Paper Stash cut to 4.5″ x 6.5″. I stamp a few of the images from the Creative Blocks stamp set (CMS464) in random areas and then stencil on the mini Brush Arch stencil with Distress Grit Paste. When the paste is dry, I color it with Evergreen Bough Distress Crayon. When everything is dry, I ink the edges with Ground Espresso Distress Archival Ink.
Putting it All Together
.
To finish the card, I adhere the main card panel onto a piece of burnt orange cardstock which is adhered to a piece of Simon Says Stamp Dark Chocolate cardstock. Next, I adhere the blossom and leaves to the card panel as well as a few pieces of Tim Holtz ephemera. You can find a link below for all the supplies I used to complete this project.
I hope you enjoyed seeing how I used my first Distress Mixology sample to create this beautiful card and that you’ll stay tuned for Distress Mixology No. 2.
Thanks so much for sticking with me to the end! I appreciate the time you spend here with me. Have a wonderful day!!

Tim Holtz Sizzix Blossom Thinlits Die
Tim Holtz Idea-ology 12 x 12 Paper Stash – Memoranda TH93550
Tim Holtz Stampers Anonymous Creative Blocks Stamp Set CMS464
Tim Holtz Stampers Anonymous Stencil – Brush Arch Mini – Set #55
Tim Holtz Idea-ology Ephemera Pack – Thrift Shop
Tim Holtz Idea-ology Ephemera Snippets – Number Strips
Simon Says Stamp Burnt Orange Cardstock
Simon Says Stamp Dark Chocolate Cardstock
Tim Holtz Ranger Distress Paint – Crushed Olive
Tim Holtz Ranger Distress Paint – Forest Moss
Tim Holtz Ranger Distress Ink – Crushed Olive
Tim Holtz Ranger Distress Ink – Forest Moss
Tim Holtz Ranger Distress Ink – Vintage Photo
Tim Holtz Ranger Distress Archival Ink – Ground Espresso
Tim Holtz Ranger Distress Crayon – Evergreen Bough
Tim Holtz Ranger Distress Grit Paste
Tim Holtz Ranger Distress Palette Knife


Beautiful card. Thank you for explaining how it was created.