
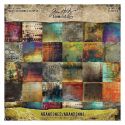
Hi Friends! I hope you’re enjoying the beautiful cool weather and changing colors of the season. Here in Arizona, it’s still warm and the leaves where I live won’t change for another couple of months. It’s my favorite time of the year. Today I’m sharing another Halloween card. This card features the new Tim Holtz Stampers Anonymous Life of the Party stamp set combined with a few other Tim Holtz elements. I love to pull out older sets and combine them with the new ones because they work so well together. This enables me to create more and more Halloween scenes as the years go by. My tutorial today is a technique on how to create a spooky fade-in background. It’s a simple technique and requires only a few steps. I hope you enjoy this technique and that you’ll give it a try. Enjoy!

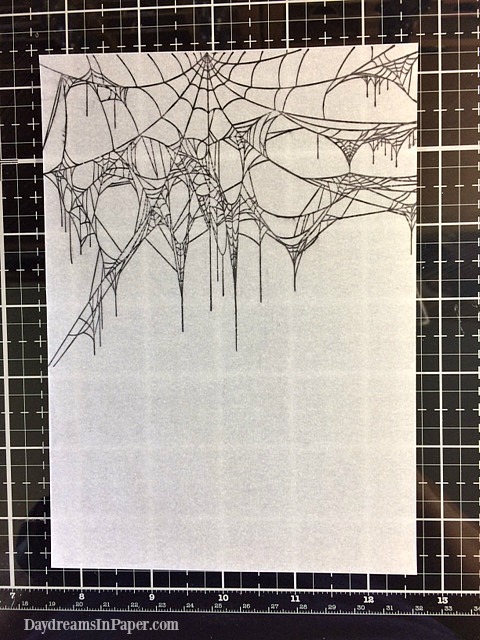
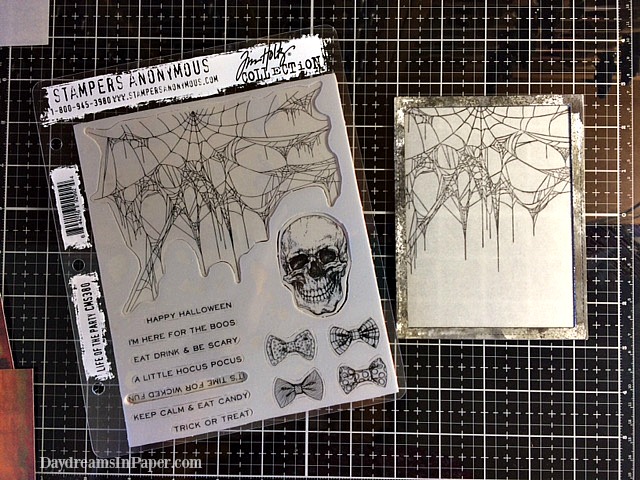
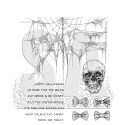
I begin by cutting a piece of velum paper 4-1/4″ x 5-1/2″ and stamp the webs from the Tim Holtz Stampers Anonymous Life of the Party stamp set (CMS380) with Black Soot Archival ink at the top of the piece.
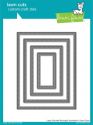
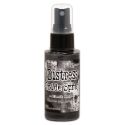
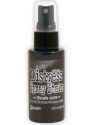
I create a frame for the webs by combining Lawn Fawn’s largest Stitched Rectangle Stackable die with the largest Tim Holtz Stitched Rectangles die. To color the frame, I sprayed a bit of Black Soot Distress Oxide spray onto a glass mat and ran the frame through the pigment. I completely dried that layer with a heat tool and cleaned the glass mat. Next, I sprayed the glass mat with Black Soot Distress Spray Stain and ran the frame through the ink to pick up a deeper color of black and dried that with a heat tool. I then adhered the piece of velum inked with webs to the back of the frame.
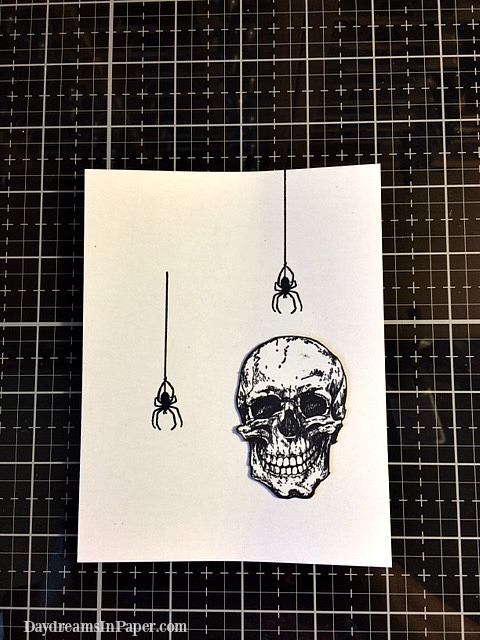
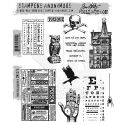
To create the fade-in background piece, I cut a 4-1/4″ x 5-1/2″ piece of Neenah Solar White cardstock. This is the piece that will lie beneath the velum and fade through. I ink the skeleton on the cardstock where I want it to fade-in through the webs on the velum. Next, I stamp on some hanging spiders from the Tim Holtz Stampers Anonymous Mini Halloween stamp set (CMS275). All the images are stamped on using Black Soot Archival ink.
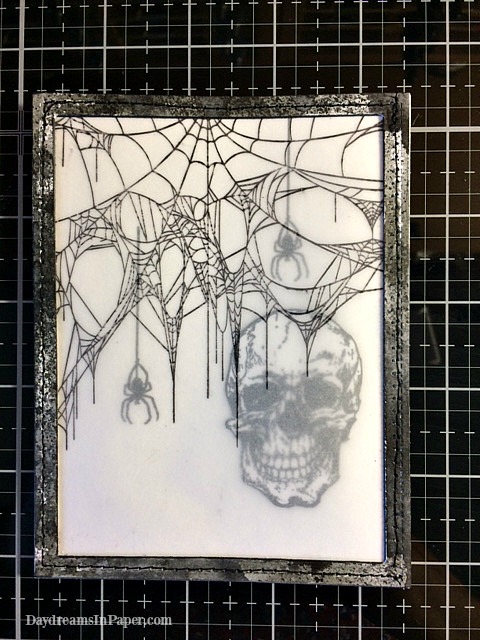
To finish the look, I attach the skeleton background piece under the velum to create the effect of a skeleton and spiders fading in through the webs.
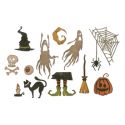
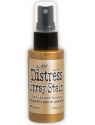
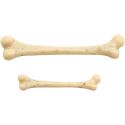
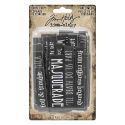
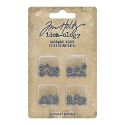
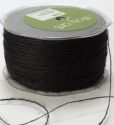
To complete the card, I sew together a piece of Tim Holtz Abandoned paper to a 5″ x 7″ piece of Simon Says Stamp black cardstock that has been sprayed and splotted with Tarnished Brass Distress Spray Stain. I sew around the edges of the skeleton fade-in frame and wind some May Arts black twine with a spider and bones around the frame. I then adhere it to the upper center of the card with 3D foam tape to give it some dimension. I add one of the Tim Holtz Halloween Quote Chips smeared with a bit of Tarnished Brass Distress Crayon and adhere two Idea-ology Hardware Heads to the ends of the quote chip.
I hope you enjoyed seeing how I created a fade-in background for my card and that you give this technique a try. Thanks so much for stopping by and sticking with me to the end. I really appreciate you spending your time with me.

 |
 |
 |
 |
 |
 |
 |
 |
 |
 |
 |
 |
 |
 |
 |


This is such a cool technique! Thanks for sharing, the card looks amazing!