
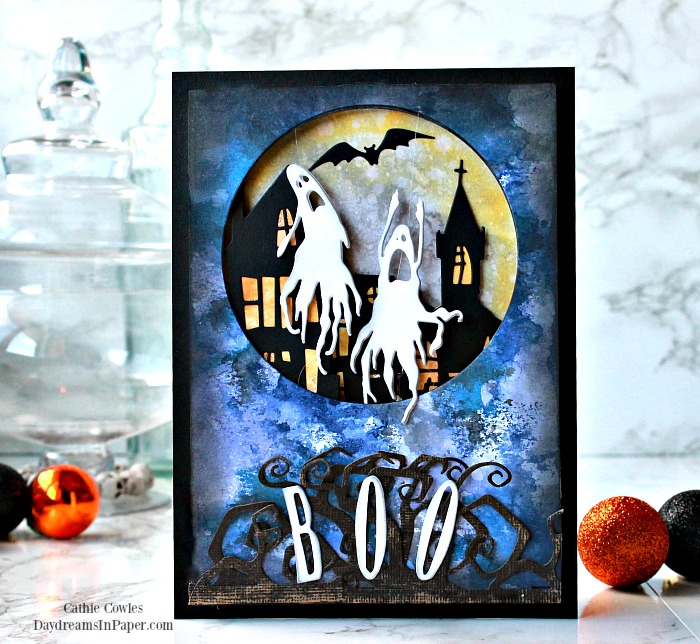
Hi Friends! Today I’m sharing a card I created using a fun trick to create what looks like flying ghosts. It’s sort of like a shaker card but there are no enclosures with bits and pieces. What makes it similar to a shaker card is that you shake the card to move the ghosts. Follow along below and I’ll show you how.
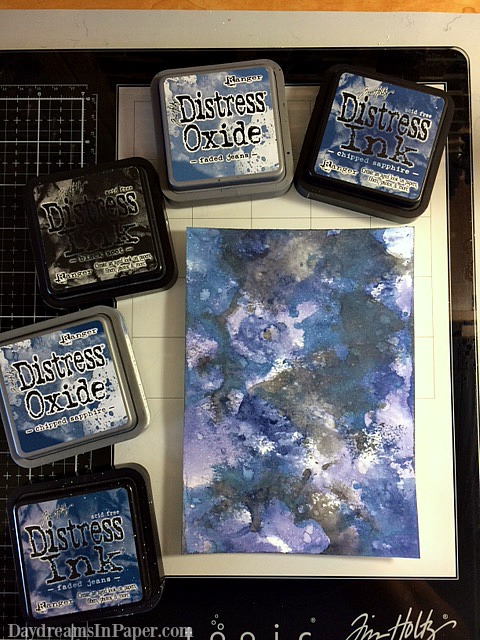
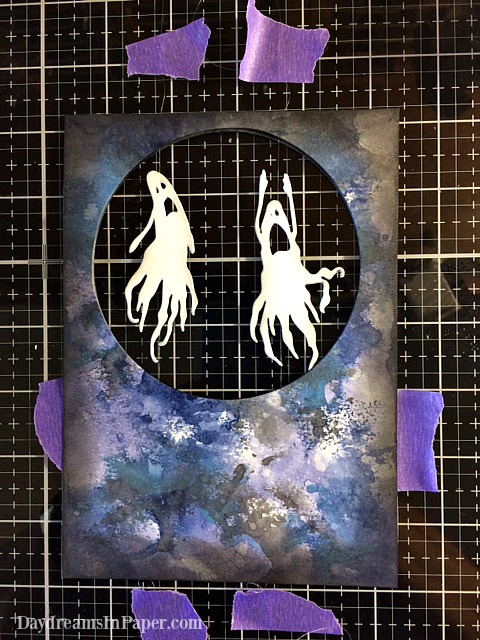
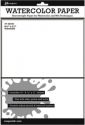
Begin by creating your main background panel. For my card, I used Distress Oxide and Distress Inks to create a spooky night sky on watercolor paper. Smoosh each color one at a time on a glass media mat, spritz with water and pick up the color with a damp piece of watercolor paper. Do each color one at a time, drying each color before moving onto the next.

When the your panel is completely dry. Ink the edges with Black Soot Distress Ink.
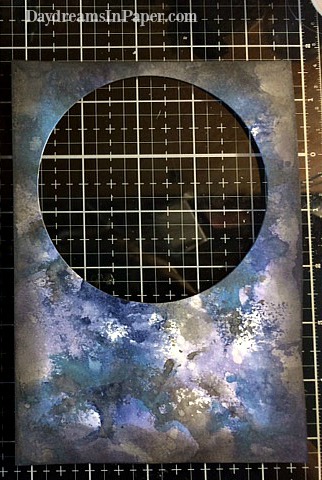
Cut out an area where you want your ghosts to “fly”. I used a Tim Holtz Stitched Circle die for my “flying ghosts” space.
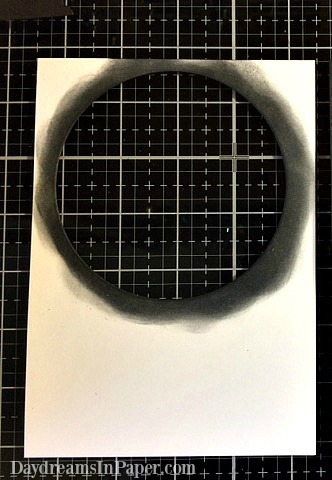
Cut another panel out of heavy cardstock the exact same size, with the circle in the exact same spot as the water color panel. Ink the the edges with Black Soot Distress Ink if you’re using white cardstock. Or, even better, use black cardstock so you won’t have to ink the edges. You will not see this panel in the finished card. The inside edges will only be slightly visible which is why it’s important to make them black if you’re using white cardstock. Set these two panels aside for now.
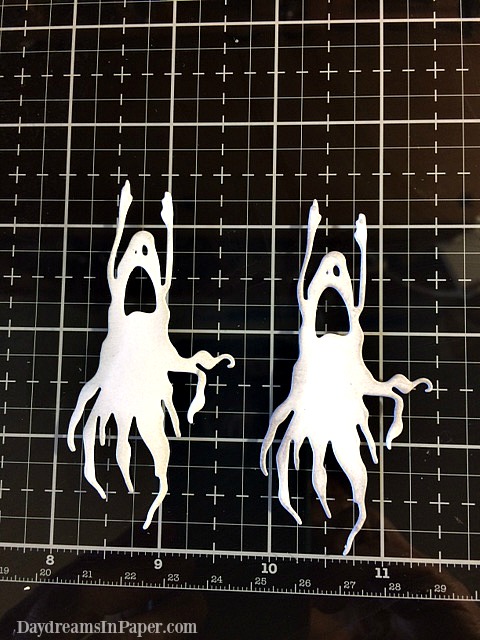
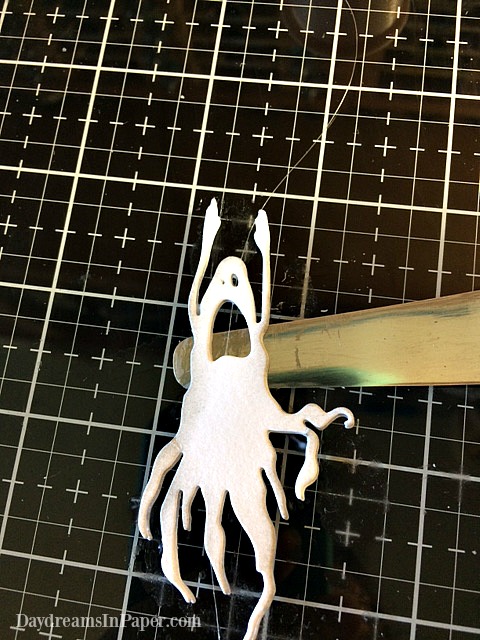
These ghosts are from the Tim Holtz Frightful Things die set. Cut two of the ghosts out of heavy watercolor cardstock and ink the edges both on the front and back.
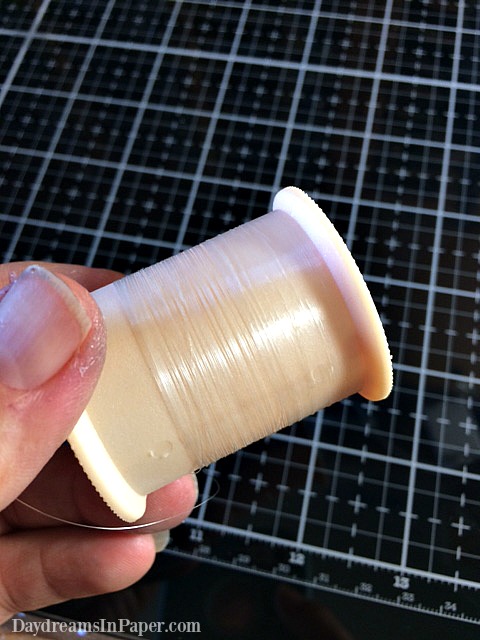
Now, here’s the trick. I use invisible or clear thread that’s used in quilting to make the ghosts “fly”.
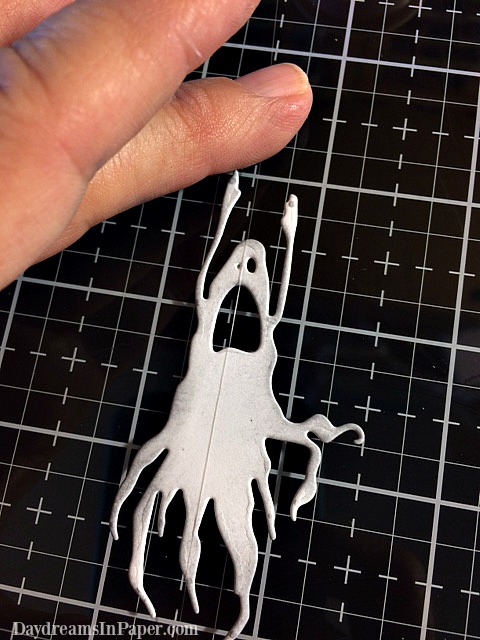
Place one of the ghosts on a glass media mat and place a long piece of invisible thread tightly over the top of the ghost. Make sure your thread is long enough to overlap about three inches past the top and bottom of your card panel. Secure the thread with tape to keep the thread taut.
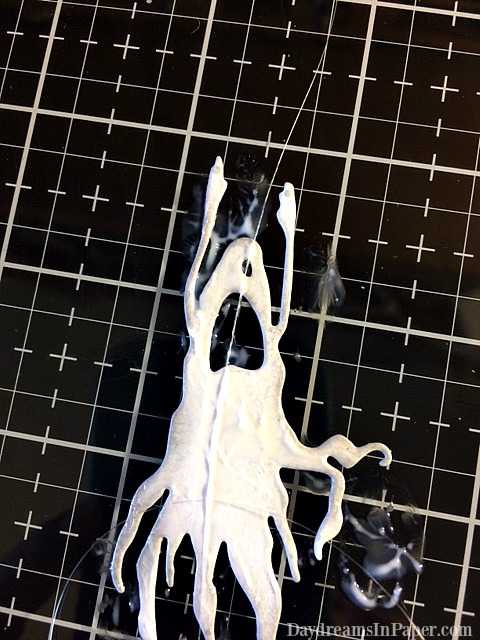
Next, cover the ghost with multi matte medium.
Place the second ghost on top of the bottom ghost so the thread is in between the two. Press with a paper towel to adhere the ghosts together. The paper towel will also pick up any excess glue that seeps out the edges. Gently remove the ghost from the glass media mat with a palette knife.
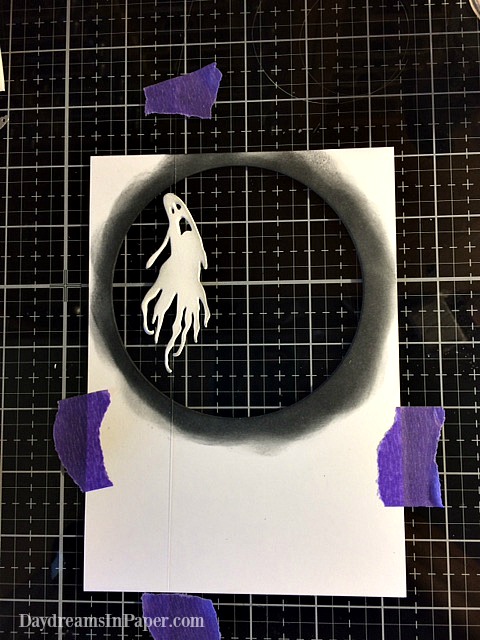
Place the bottom panel of your card on a glass mat and tape it down. Next, place your first ghost in the area you want it to float in the circle by taping the thread to the glass mat to keep the ghost from moving when you adhere the top panel. Don’t pull the thread too taut for this step as you want there to be a little lag in the thread so the ghosts can move around.
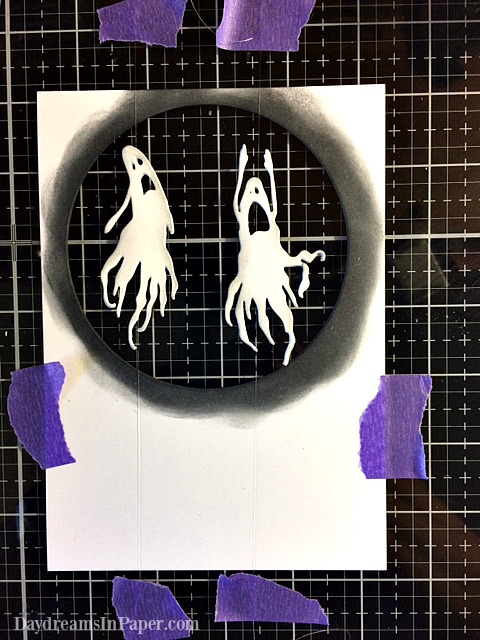
Add the second ghost the same way as the first.
Adhere 3D foam tape to the edges of the bottom panel so the ghosts have room to move around when you add the background behind the ghosts. (Sorry I forgot to take a photo of this step, but I think you get it.) Now add the top panel.
In the video above, you can see how the ghosts look has though they are “flying” because of the invisible thread.
Here is a video close-up of the ghosts on the finished card.
I hope you enjoyed seeing how I created the flying ghosts on my card. Thanks so much for stopping by. I really appreciate it!!!


 |
 |
 |
 |
 |
 |
 |
 |
 |
 |
 |
 |
 |
 |
 |
 |
 |
 |
 |
 |


fun card. one I will have to try for this Halloween season. thanks as always for sharing.
Love the card, LOVE IT. but I need a video, can’t possibly follow this. I’ve been unable to craft in years and am just stepping in again. But great job.