
Hi Friends! I don’t know if you are as mesmerized by the Autumn moon as I am at this time of year, but here in Arizona we have some of the most amazing Autumn moons I’ve every seen. The colors of orange and yellow with highlights of amber are so vivid and vibrant it gave me the inspiration for these cards. If you look closely at each card, I’ve done two different backgrounds. I’ll show you step-by-step how I created each one. For the Haunted Houses, I used the new Tim Holtz Haunted die from this year’s release and if you have last year’s Ghost Town, I’ve created a card using that die as well. Enjoy!
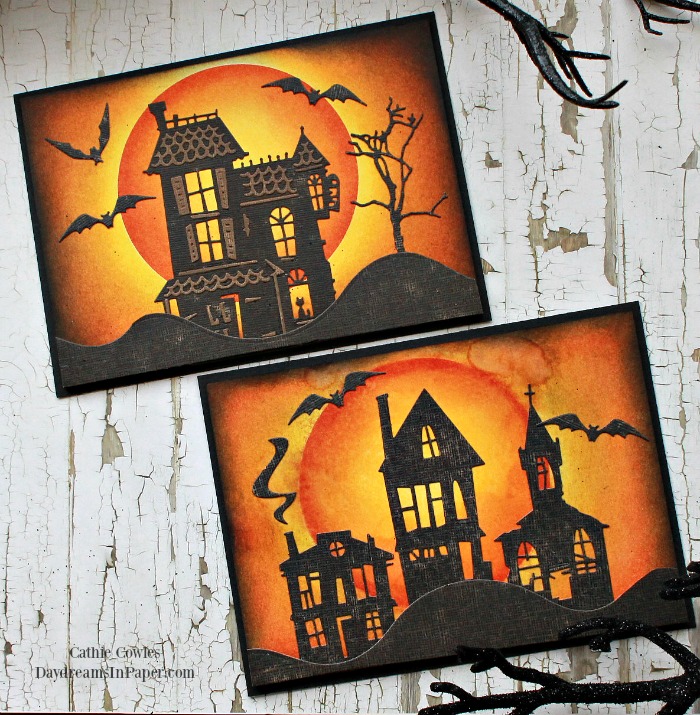
I’ve created two different types of backgrounds for my cards. The first background is a more crisp moon. One that you would see in a clear night sky. The second background is one where the moon looks misty or possibly a moon that you would see on a cloudy night.
Creating an Autumn Moon Background – #1
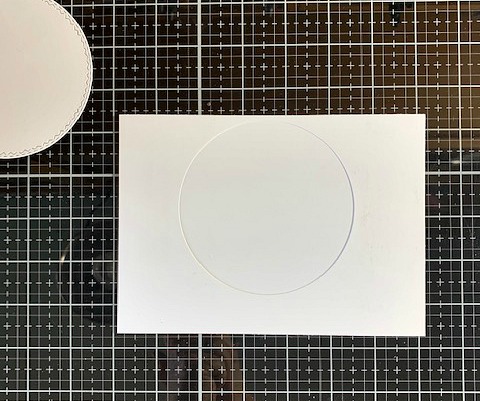
Step 1: Cut two 5″ x 7″ pieces of mixed media paper. Cut a circle out of one of the pieces where you want the moon to appear.
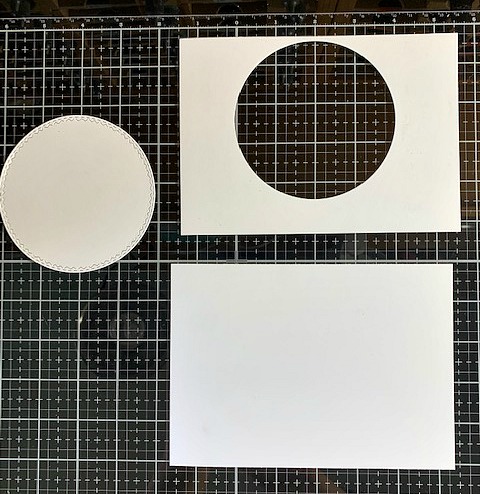
Step 2: Place the piece of mixed media paper that has the cut out circle and place it over the top of the mixed media paper without the circle as shown above.
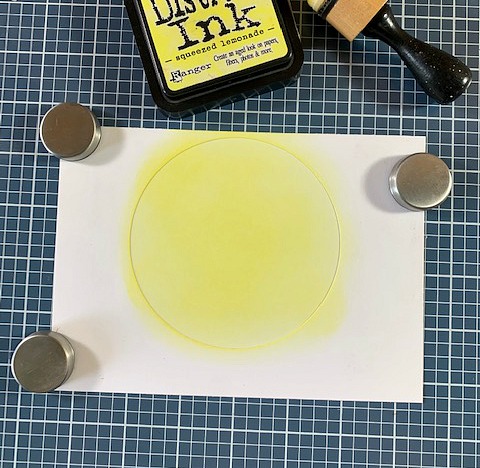
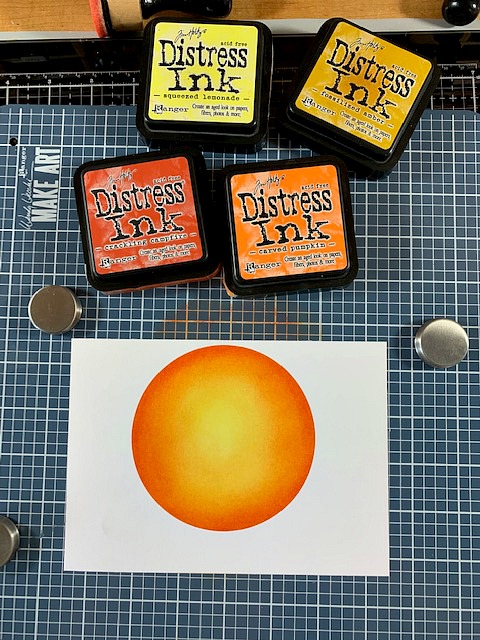
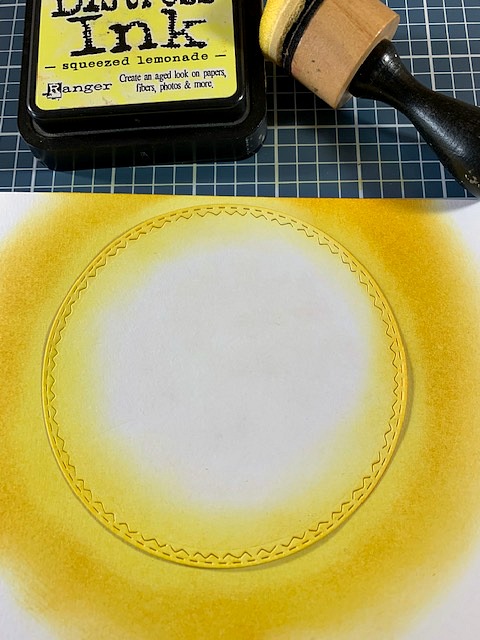
Step 3: Securing the two pieces down on your work surface, blend over the cutout circle with Squeezed Lemonade Distress ink using an ink blending tool.
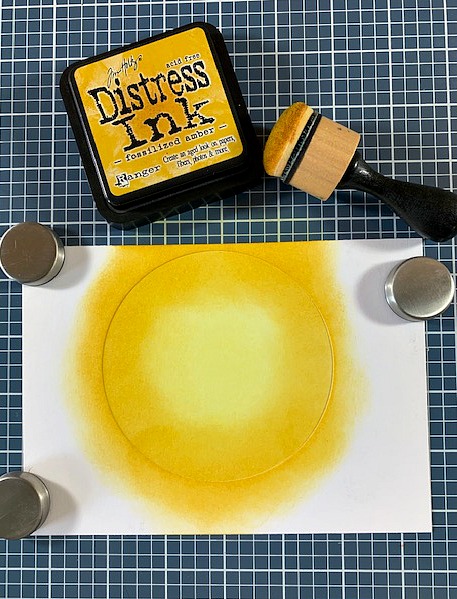
Step 4: Next, blend Fossilized Amber Distress Ink to the outside edges of the Squeezed Lemonade layer by blending from the outside of the circle toward to center. Make sure not to extend the ink all the way to the center of the moon. The center of the moon should remain very light in color.
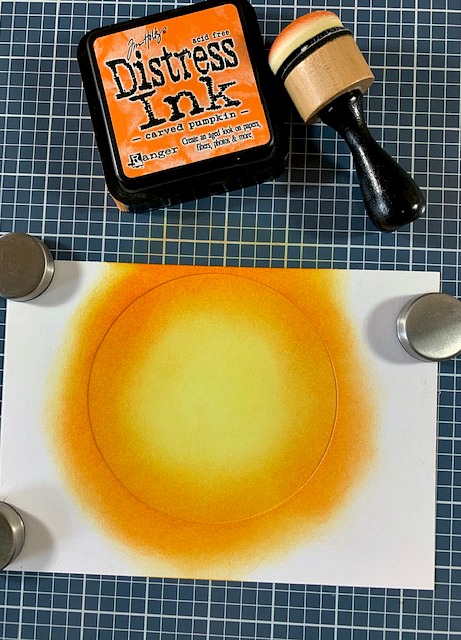
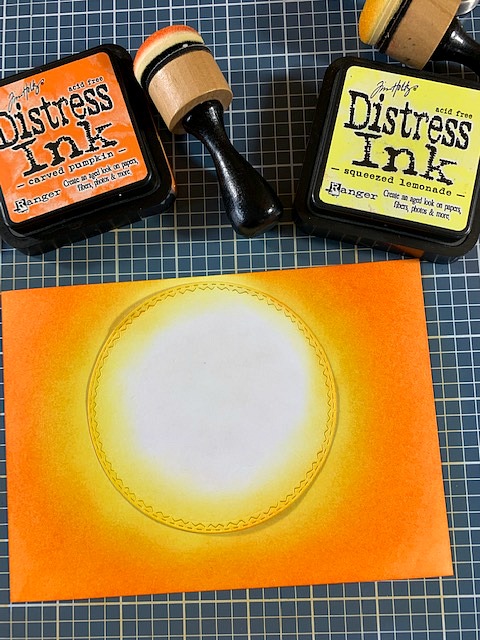
Step 5: For the next layer, add Carved Pumpkin Distress ink using the same process as the step above. Add the color from the outside of the circle working toward the center but remember not to over extend past the color you previously added.
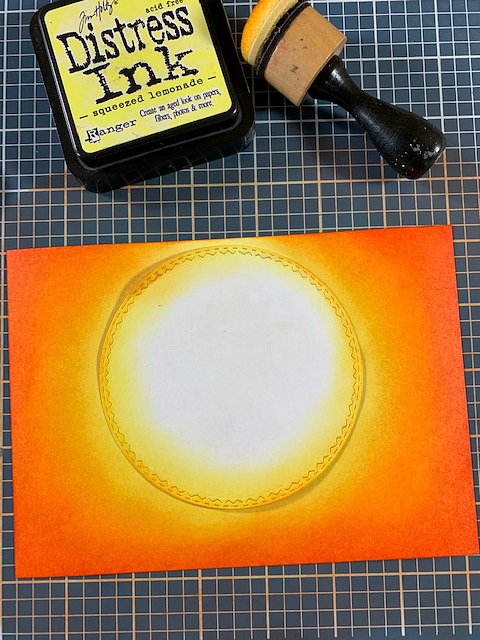
Step 6: The last layer of color is Crackling Campfire. This is the color that makes the moon POP. Add only a thin layer along the outside edges of the circle making sure not to extend too far into the center of the moon.
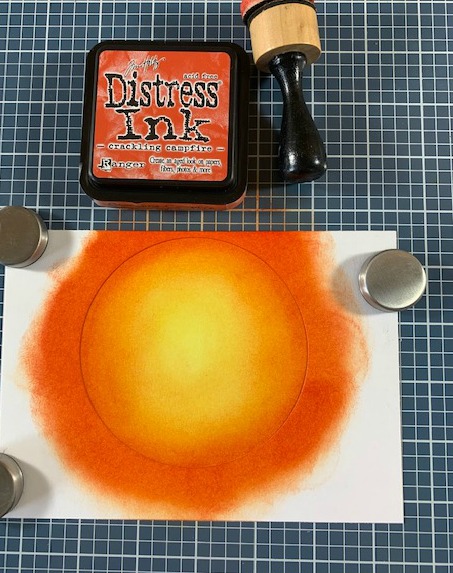
Step 7: Before removing the top mixed media cutout circle piece, blend all the colors together by going over the entire moon with Squeezed Lemonade. Always remember you can blend colors together by going over them with the lightest color. This will remove any harsh lines within the moon.
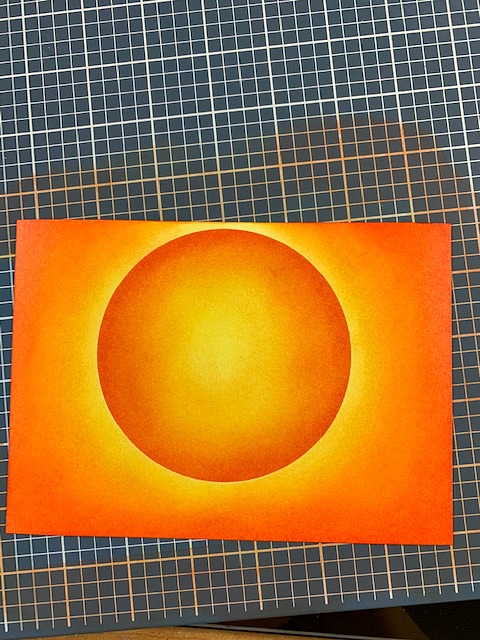
Next, remove the cutout circle mixed media paper piece and your moon should look like the one below.
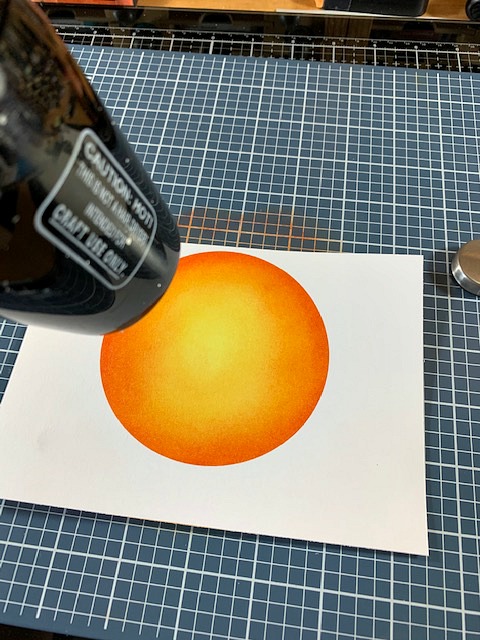
Step 8: Dry the entire moon with a heat tool before moving on to the next step.
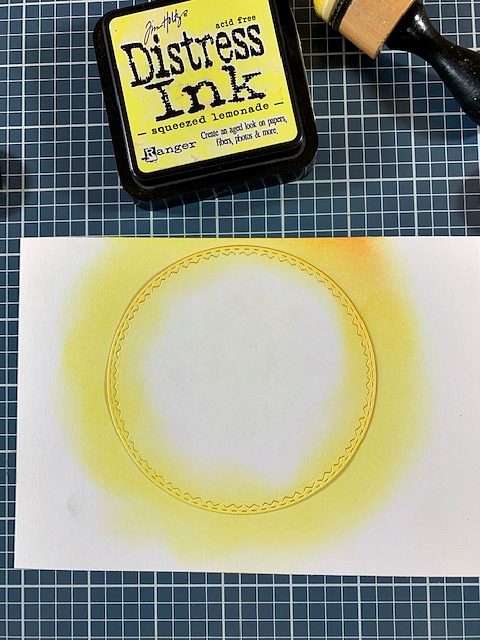
Step 9: Take the circle that you cut out from the mixed media paper in Step 1 and place it over the moon you just created. Using an ink blending tool, apply Squeezed Lemonade Distress Ink along the outside edges of the circle.
Step 10: Next apply a thin line of Fossilized Amber Distress Ink around the outside edges of the Squeezed Lemonade layer as shown below.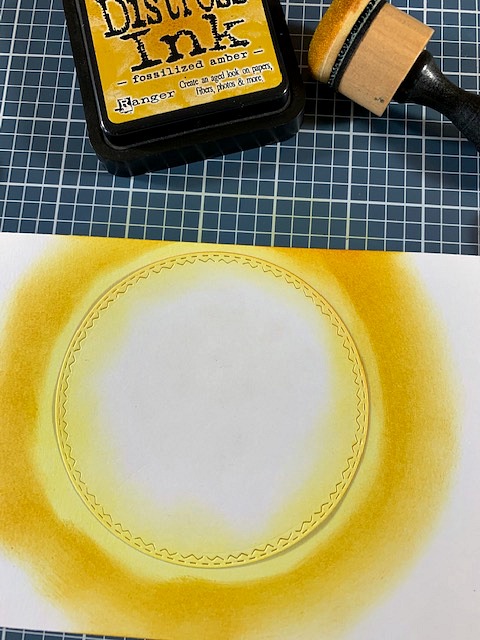
Step 11: Blend the two colors together using Squeezed Lemonade Distress Ink. Remember to do all your blending with the lightest color of ink.
Step 12: Next, apply Carved Pumpkin Distress Ink from the Fossilized Amber layer all the way out to the edge of the paper using an ink blending tool. Then blend the two overlapping layers with Squeezed Lemonade Distress Ink.
Step 13: Apply Crackling Campfire along the outside edges of the mixed media paper blending toward the center. Make sure not to cover the Carved Pumpkin layer. Now blend everything together using Squeezed Lemonade Distress Ink.
Step 14: Remove the circle die cut piece that was placed over the moon.
Step 15: Begin adding Black Soot Distress Ink to the outer edges of the card moving gently toward the moon. Make sure not to go too far.
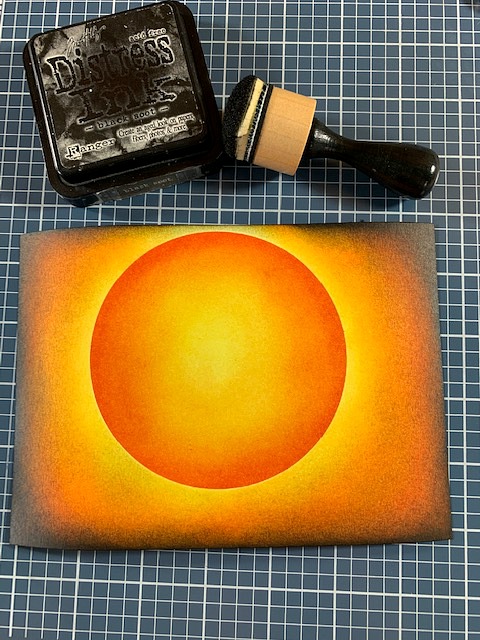
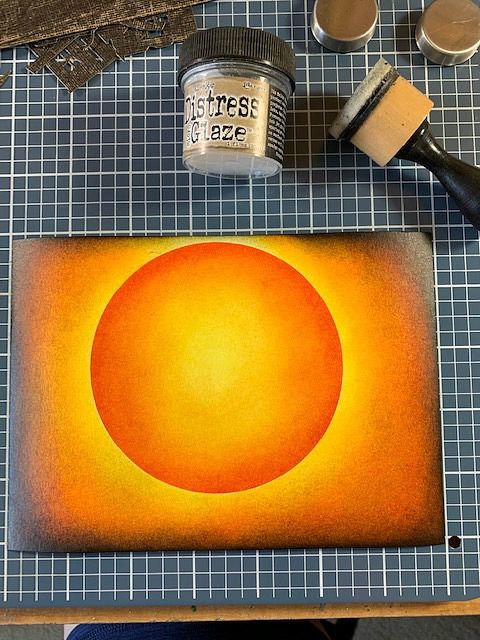
Step 16: Dry the entire piece with a heal too and when the ink is completely dry, gently apply Distress Glaze over the entire panel.
Creating an Autumn Moon Background – #2
Step 1: Complete Steps 1-7 of the Autumn Moon Background #1 exactly the same for this background. Then before moving on to Step 8 of background #1, spritz the moon with water right along the outer edges of the moon. Dry completely with a heat tool before moving on to the next step.
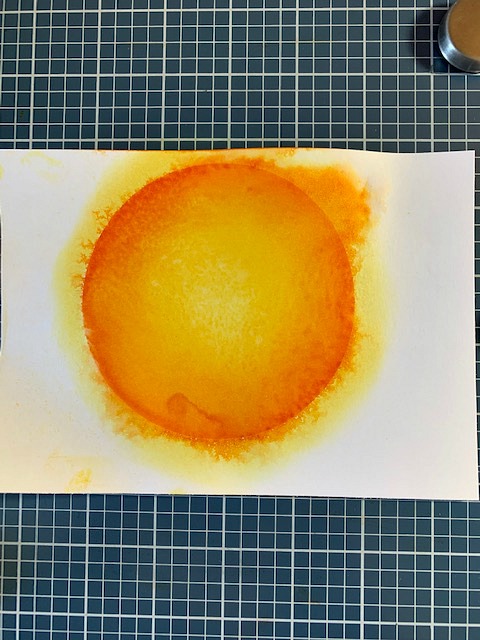
Step 2: Complete Steps 9 – 14 from Creating the Autumn Moon Background #1. Cover the moon with the circle die cut piece. Before adding Black Soot Distress Ink around the outer edges of the card panel, spritz the panel with water. Remove the circle die cut piece over the moon and dry the entire card panel with a heat tool.
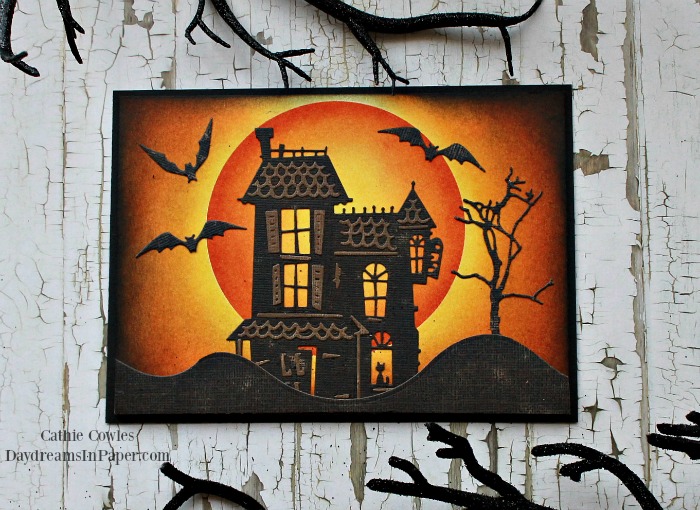
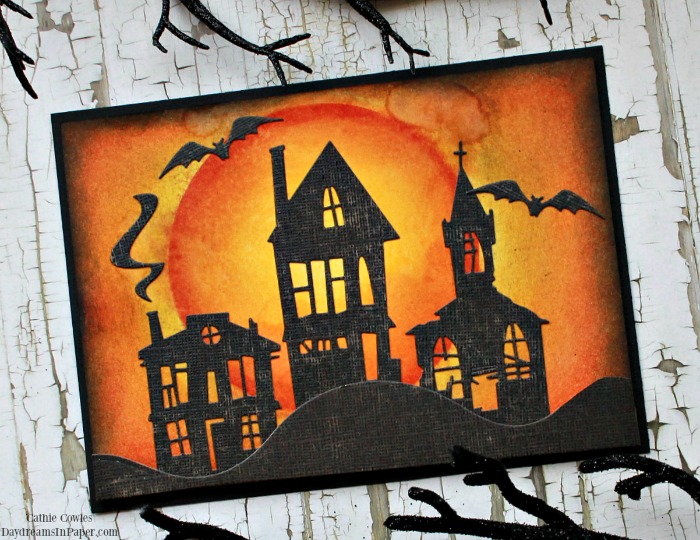
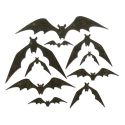
Your backgrounds are now ready for a spooky Halloween scene of your choice. I decided to keep it pretty simple with the Tim Holtz Haunted and Ghost Town dies. I added a few bats, a tree and a rolling hill to the bottom of the card that was cut from the Tim Holtz Home for the Holidays die set.
I hope you enjoyed seeing how I created these two backgrounds. Thanks so much for stopping by and sticking with me to the end. I really appreciate you spending your time with me. Have a great week!


 |
 |
 |
 |
 |
 |
 |
 |
 |
 |
 |
 |
 |


