
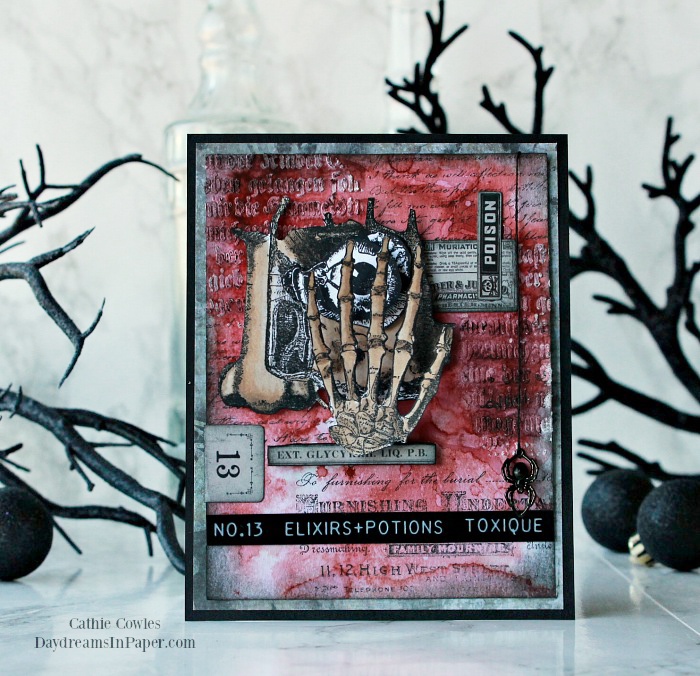
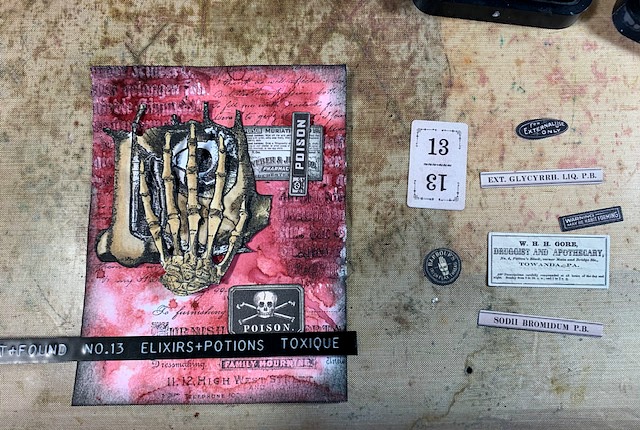
Hi Friends! Today I’m sharing a card I created using the new Tim Holtz Dearly Departed and Anatomy Chart stamp sets and mini Script stencil. I love making Halloween cards from cute to creepy. I realize that the creepy vibe isn’t for everyone but I hope to change your mind with this card. I created a vibrant background of Aged Mahogany Distress Ink and Crayons and a mixture in the background of stamps, a stencil and the perfect sized ephemera to complete it. I hope you enjoy seeing how I put this card all together. Oh, and don’t overlook the creepy hand that wobbles over the eye. It’s what makes it all the more creepy (but fun) when you see it in action. Enjoy!
Creating the Card Panel
- Cut a 4-1/4″ x 5-1/2″ piece of mixed media cardstock.
- Smudge a bit of Aged Mahogany Distress Ink onto a craft mat and spritz with water.
- Spritz the mixed media cardstock with paper and run it through the ink and water mixture on your craft mat.
- Continue this process, drying each layer in between, until you are happy with the outcome. Dry completely.
- Stamp a couple of the script stamps from the Tim Holtz Dearly Departed stamp set onto the background with Black Soot Archival Ink.
- Apply the Script mini layering stencil onto the panel in random with Grit Paste. Allow to completely dry.
- Apply Aged Mahogany Distress Crayon over the stenciled areas and smudge in with finger tip. Apply a tiny bit of water to move the pigment easily. Allow to completely dry.
- Ink the edges with Black Soot Distress ink using an ink blending tool.
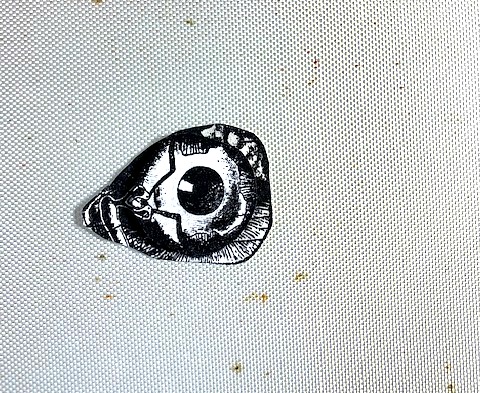
- Stamp the fractured eye from the Tim Holtz Departed stamp set and the skeleton hand from the Tim Holtz Anatomy Chart stamp set, color and cut out with snippet scissors.

Creating the Dimensional Inner Eye
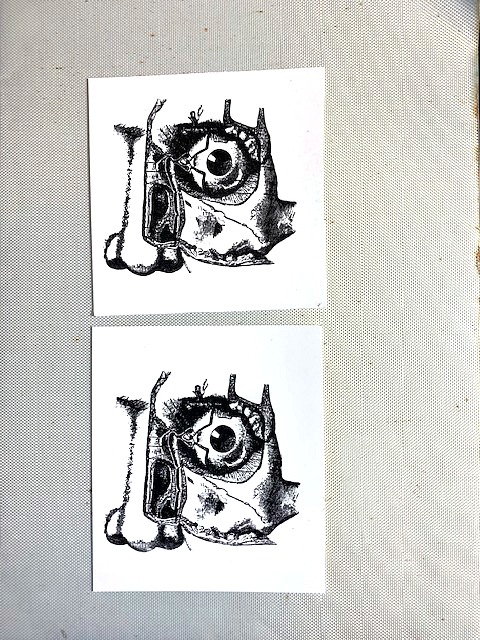
- Stamp two images of the fractured face with Black Soot Archival Ink.
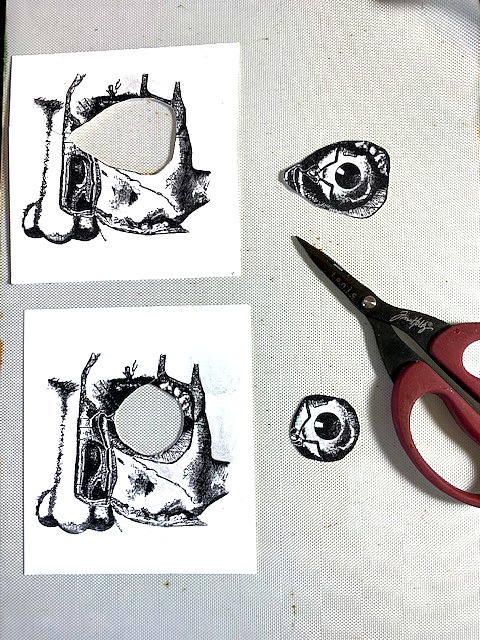
- Using a pair of snippet scissors, cut out the outer eye socket and eye ball as shown below.
- Adhere a piece of 3D foam tape to back of the eyeball.
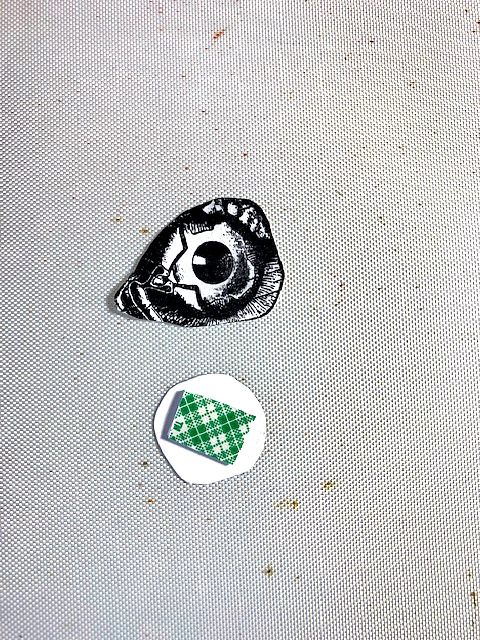
- Peel off the protective covering over the foam tape and place the eyeball over the eye socket so the images match as shown below.
- It’s hard to see the dimension in the above photo but it’s there. You can see the dimension created in the image below.
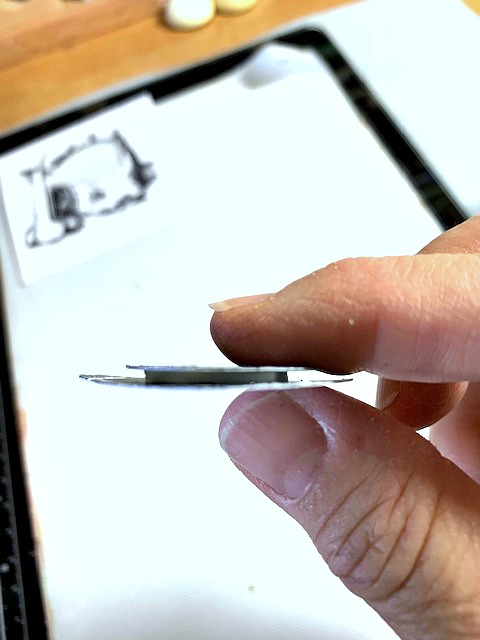
- Adhere a piece of 3D foam tape to the underside of the eye socket piece you just created and adhere it to the fractured face matching it up with the image on the face.
- Here is a side view of the face so you can see the dimension.
Adding Ephemera and Idea-ology Pieces
- Choose some fun, coordinating pieces of ephemera from the Tim Holtz Halloween Snippets ephemera pack and ink the edges with Black Soot Distress Ink.
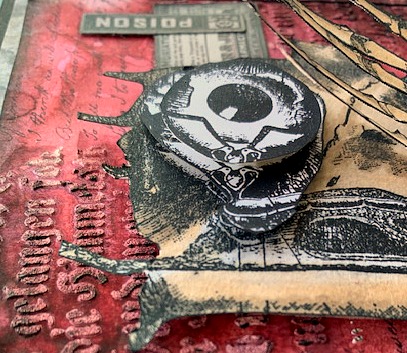
- Adhere the fractured face to the card panel.
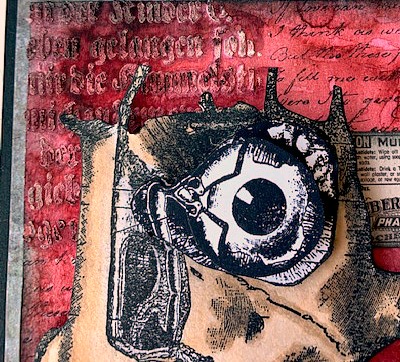
- Adhere a piece of 3D foam tape under the palm of the skeleton hand.
- Adhere a mini wobble to the 3D foam tape that you adhered to the palm of the skeleton hand and cut away any excess that hangs over the edges. Peel away the adhesive covering and adhere the hand in front of the face over the eye area.
- Adhere a few pieces of ephemera in random areas and a strip of Tim Holtz Halloween Label Tape to the bottom half of the card. Cut away the excess off the edges.
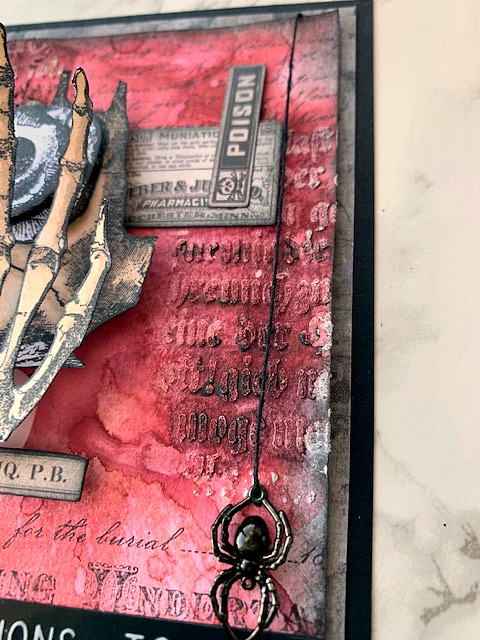
Adding the Spider
- Ink the metal spider with Mushroom Alcohol Ink and allow to completely dry.
- Place the card panel on a cutting mat and poke a hole so you can thread some burlap string around the front and back of the card to mimic a spider web.
- Make sure to poke the hole where you want the spider to set.
- Thread the string through the hole from the back, add the spider and pull the string over the top of the card and tie the string together behind the card panel.
To finish the card, I adhere the main card panel to a 4-1/2″ x 5-3/4″ piece of coordinating Tim Holtz cardstock from his Departed paper stash. Next, adhere the entire piece to a 4-3/4″ x 6″ piece of Simon Says Stamp Black cardstock and this completes the card!
I hope you enjoyed seeing how I put this card together and that it inspires you to make a fun yet creepy Halloween card. Thanks so much for sticking with me to the end. Have a great week!


this is awesome – I love that the creepy hand moves!!
A really fabulous card Cathie, I love the background, the layered eye looks pretty amazing and the wobbly hand is just the icing on the cake. I love spooky and I love this!