
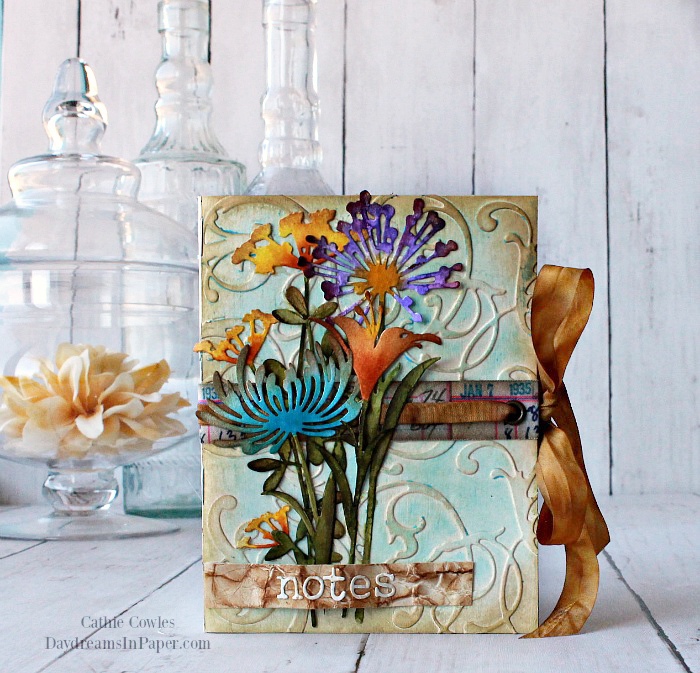
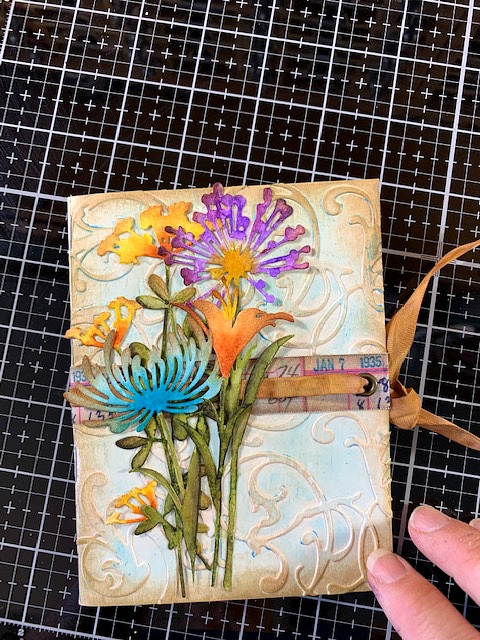
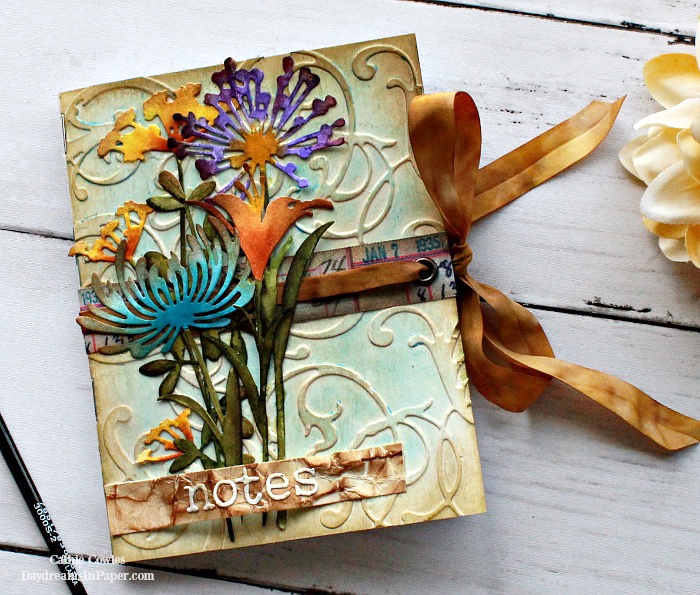
Hi Friends! I’m here today with another fun project. Do you love small notebooks? I love to job down thoughts and reminders and having a small notebook is so fun. I haven’t created one in a while and since I’m in need of one, I thought I’d put one together. I used Tim Holtz Wildflower Stems, Adorned and Tiny Type die sets to create the cover of my notebook. I wanted something pretty and dainty and I think it turned out beautiful. The flowers are colored with a mixture of Distress Ink reinker and water, which I love. I know there are a lot of watercolors out there, but I love the bright and bold colors from inks I already own. I’ve put together a tutorial for you below. Enjoy!
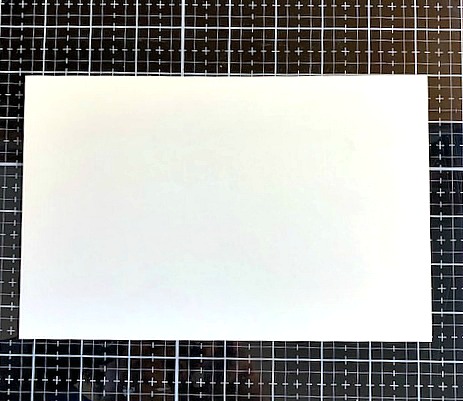
To create the cover for the notebook, cut a piece of 8-1/2″ x 11″ piece of mixed media cardstock in half.
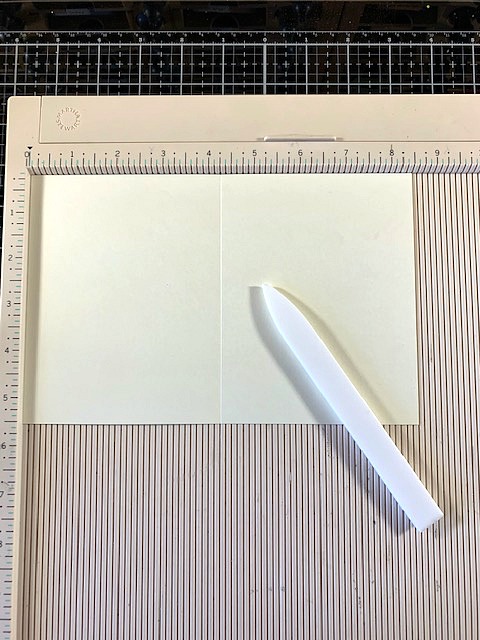
Score the cover down the center at 4-1/4″.
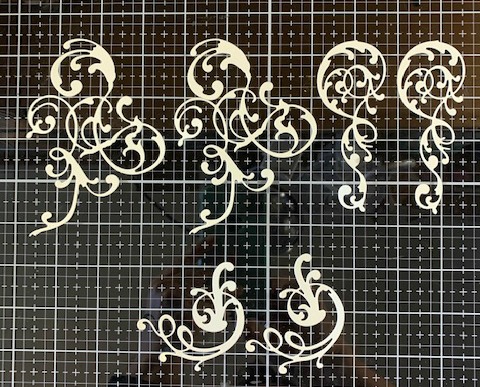
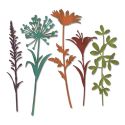
Cut two of each of the designs from the Tim Holtz Adorned die set out of mixed media cardstock.
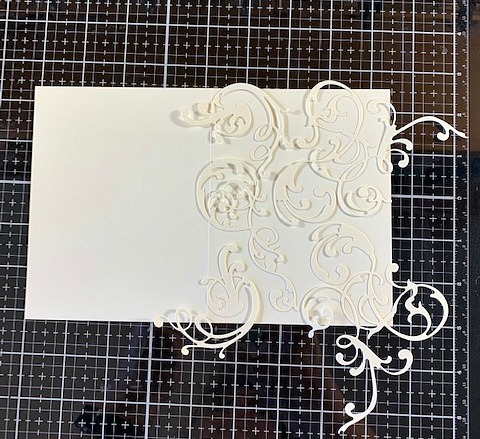
Brush collage medium over the front cover of the notebook and place the die cuts in random areas over the cover.
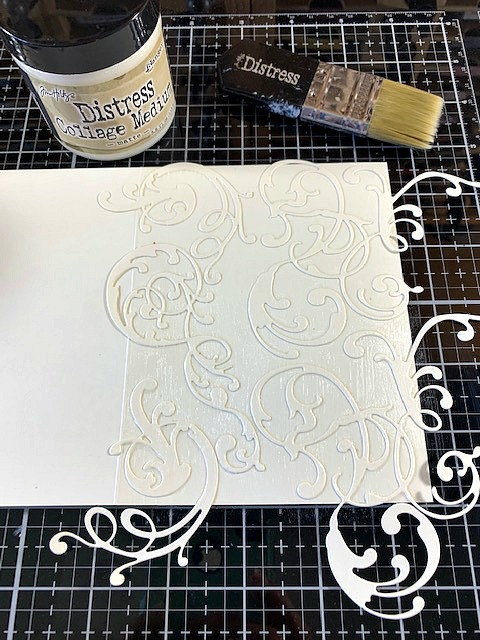
Brush a top coat of collage medium over the dies making sure to only apply the glue to the edge of the front cover where it means the back cover.
Fold the cover in half and allow the collage medium to completely dry. You can speed up the process with a heat tool or allow it to air dry.
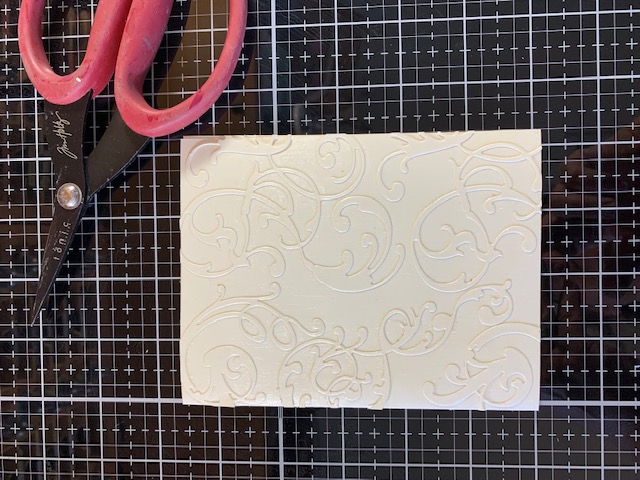
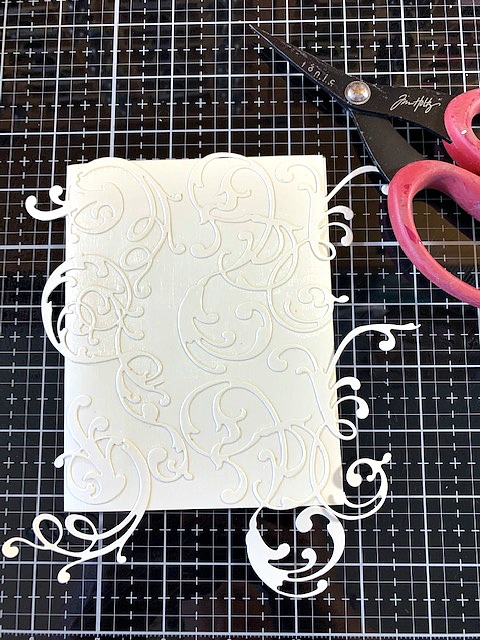
When the glue is completely dry, turn the cover over and cut the excess die cut pattern from the edges with a scissor.
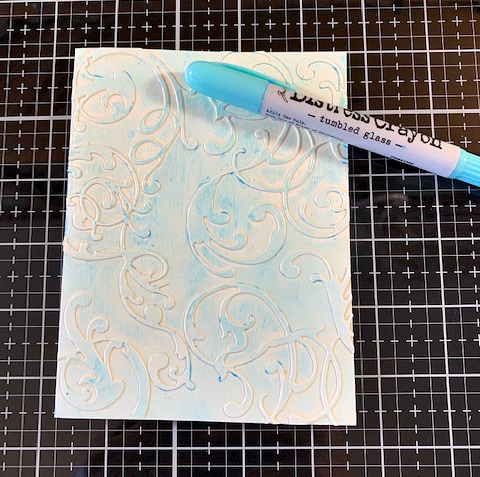
Apply Tumbled Glass Distress Crayon over the entire cover. Dip your fingertip into a tiny amount of water and gently rub the pigment in with your fingertips. Allow to completely dry.
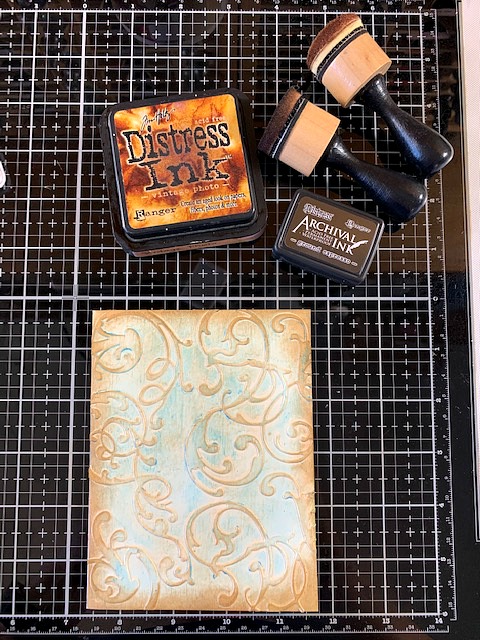
To give the cover an aged look, ink the edges with Vintage Photo Distress Ink, moving the ink toward the center, and ink the tips of the edges with Ground Espresso Archival Ink.
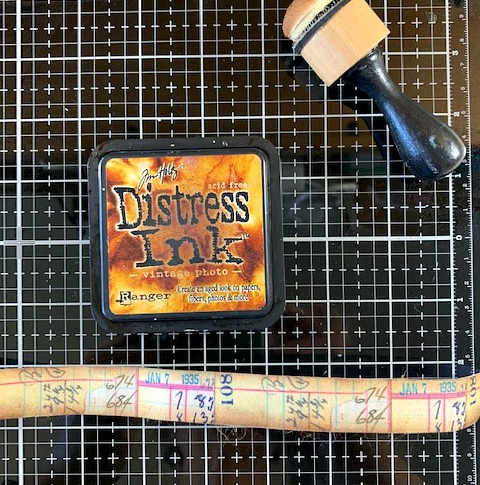
For the ribbon around the notebook, measure the length of the cover while it’s open (front and back) and add 2 inches. Cut a piece of fabric tape to that measurement and ink the edges with Vintage Photo Distress ink.
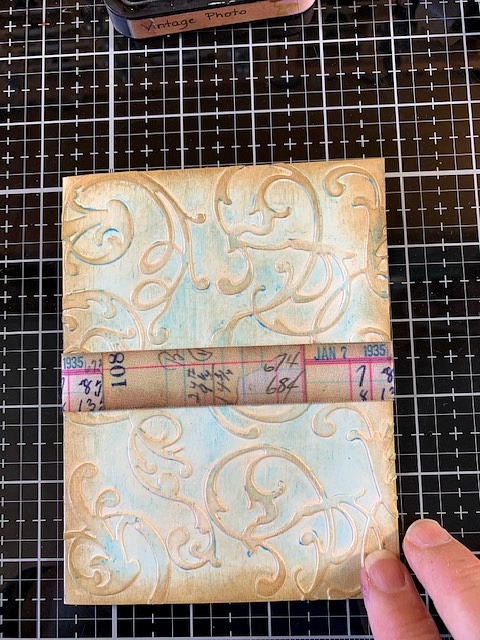
Adhere the ribbon all the way around the cover (front and back) tucking the excess around the front and back.
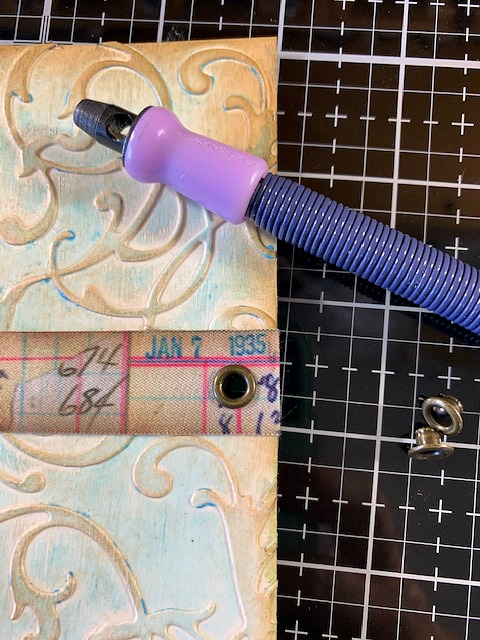
To add an eyelet, find the center of the ribbon from top to bottom just next to the edge and using an eyelet punching tool punch the hole and adhere the eyelet. Before adding anything more to the cover put the notebook together with the pages. Too see how I add the pages to my cover, you can check out my tutorial here.
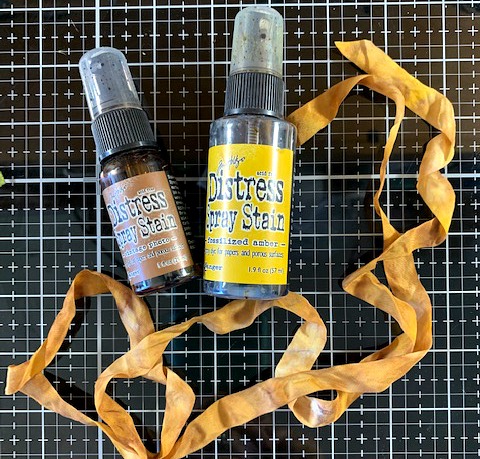
Color a long piece of seam binding with Fossilized Amber and Vintage Photo Distress Spray Stains. I find it’s best to do one color at a time, starting with the lightest and making sure to dry each color before moving on to the next.
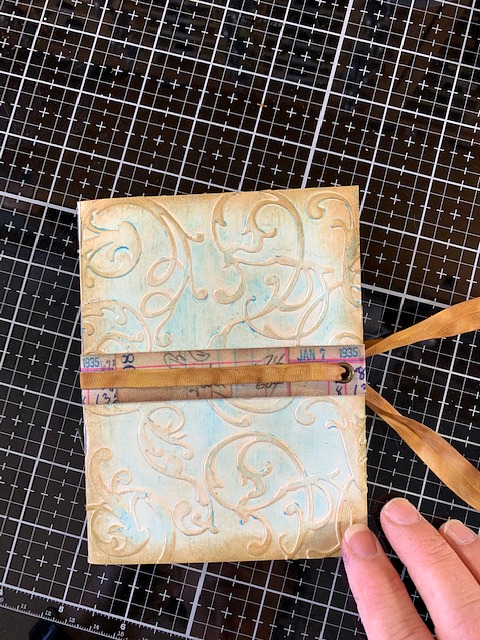
Adhere a thin piece of double sided tape along the seam binding and adhere to the cover. Pull the binding through the eyelets and tie in a bow to secure the notebook closed.
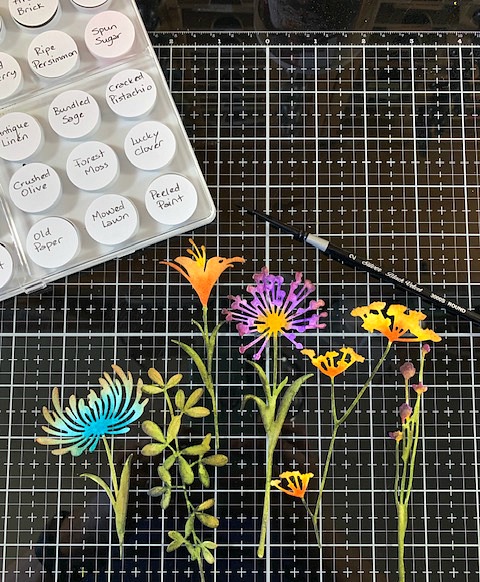
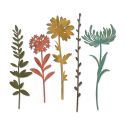
Cut out several Wildflower Stems out of watercolor paper. I colored mine with Distress Ink reinkers. I have a palette that I use along with some water and a fine paintbrush. If you don’t have the reinkers, you can smoosh the ink pad of that color onto a craft mat and pick up the color with a paintbrush.
Adhere the wildflower stems to the cover.
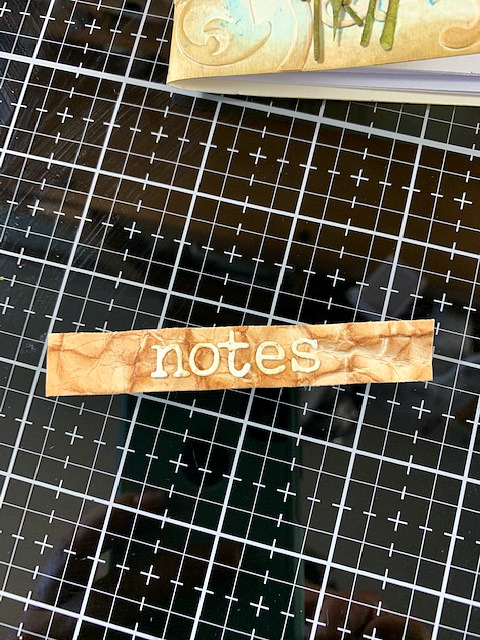
Create a small banner out of crinkled cardstock that has been inked with Vintage Photo Distress Ink. (I learned how to make this by watching Tim Holtz’ Saturday classes. You can find the class that contains this technique here.) I created the word “notes” out of the Tim Holtz Tiny Type lower case die set and cut each letter out of mixed media cardstock.
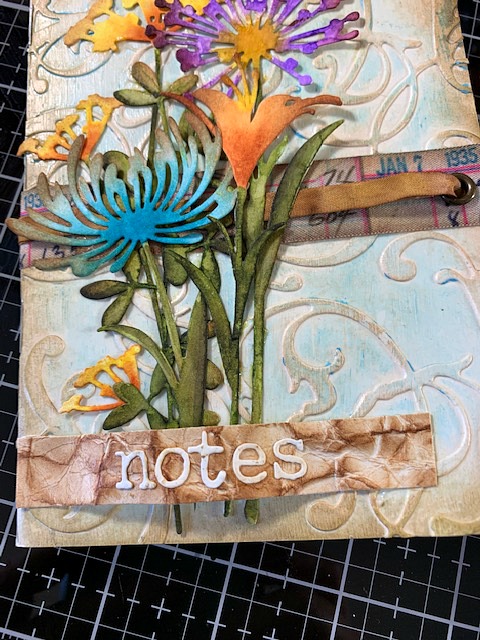
Adhere the banner to the bottom of the wildflower stems and you’re done.
I hope you enjoyed seeing how I put this notebook together. Thanks so much for stopping by, I really appreciate you spending your time here with me. All products can be found in the links below. Have an awesome day!


 |
 |
 |
 |
 |
 |
 |
 |


