
Hi Friends! I hope you are all doing well and staying healthy. Today, I’m sharing a card I created for my mom for Mother’s Day. My inspiration came from her love of daisies and that yellow is her favorite color. I decided to use a Tim Holtz stamp from the new Flower Shop stamp set. It’s a collection of three flowers and a beautiful script background stamp. My tutorial today focuses on coloring the flower and a simple masking technique that you can use to finish off the background around the flower after you’ve colored it. Enjoy!
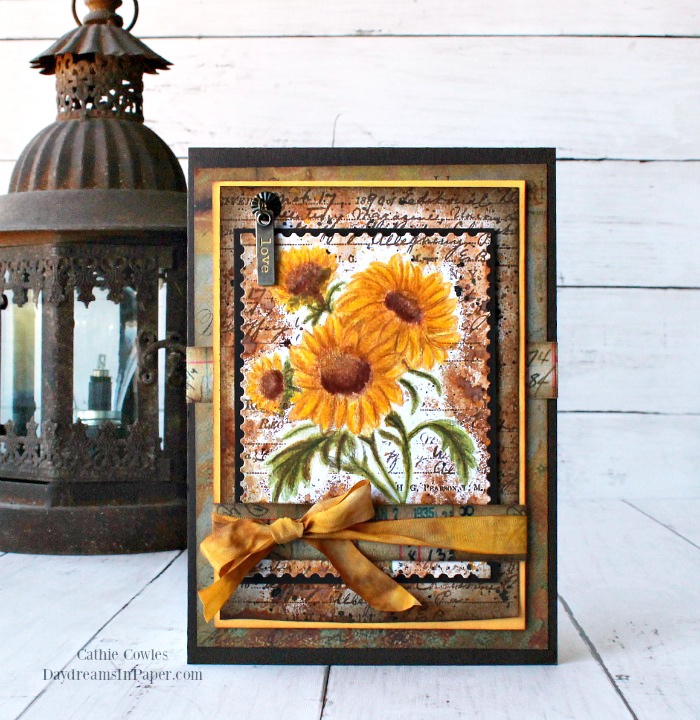
First, stamp the image onto mixed media paper with Gina K. Designs Amalgam Ink.
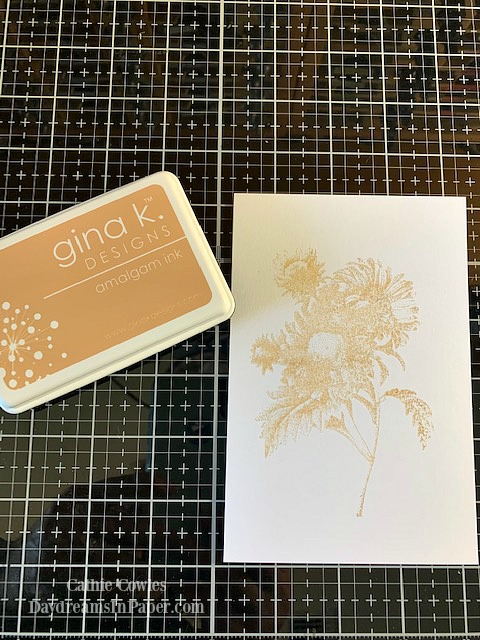
First, color the image with Distress Inks and a water brush and completely dry. Add in shading and detail with colored pencils.
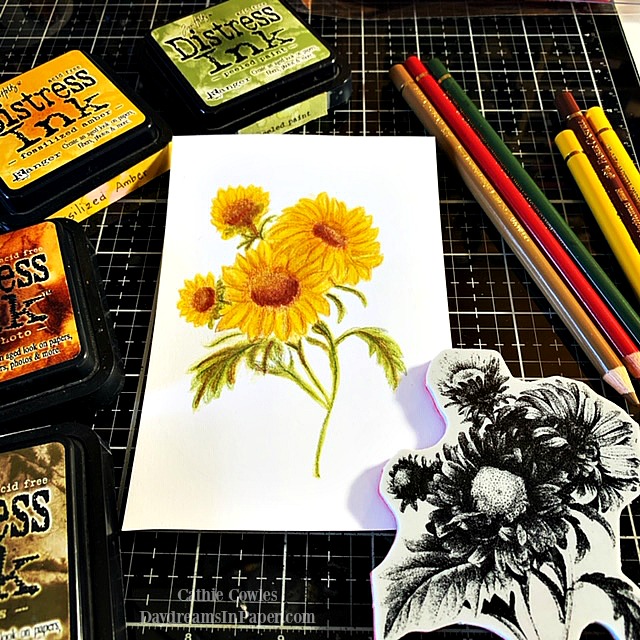
Create a mask with stamping mask paper. This will require some fussy cutting, but it’s not too bad. It took me only about 5 minutes. Carefully peel off the back sheet of the masking paper and place the mask over the daisy image.
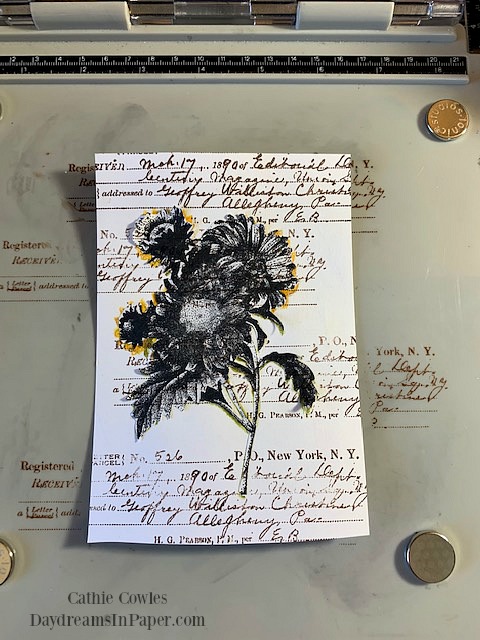
Place the masked image panel on a stamping platform and stamp the script background strip in a random pattern using Vintage Photo Archival Ink.
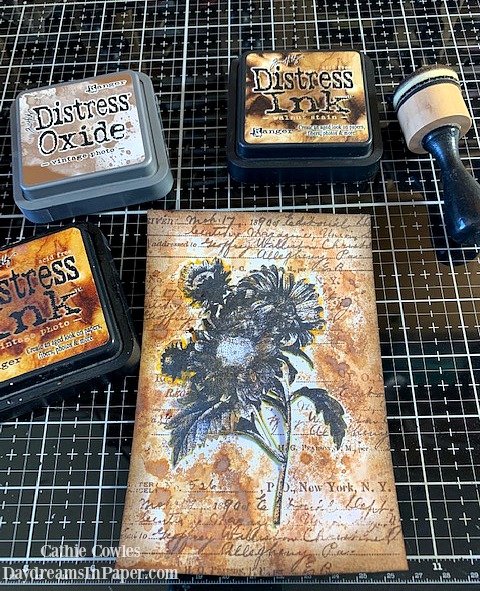
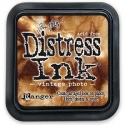
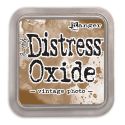
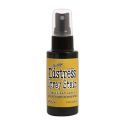
On a craft mat, smudge some Vintage Photo Distress Oxide and spritz it with water. Gently spritz the card panel and dot it in the oxide and water mixture. Dry with heat tool and continue this process a couple more times. Dry the panel completely and repeat this same process using Vintage Photo Distress Ink. When the panel is completely dry, ink the edges with Walnut Stain Distress Ink using a blending tool.
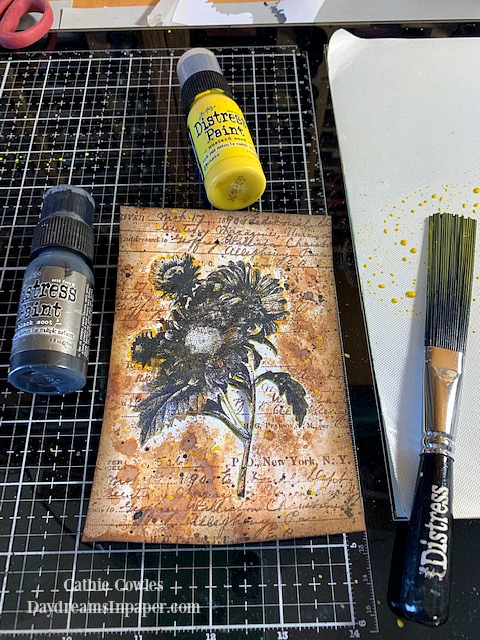
On a craft mat, mix Black Soot Paint with water and flick the mixture over the panel with a splatter brush. Dry completely with a heat tool. Complete this same process using Mustard Seed Distress Paint.
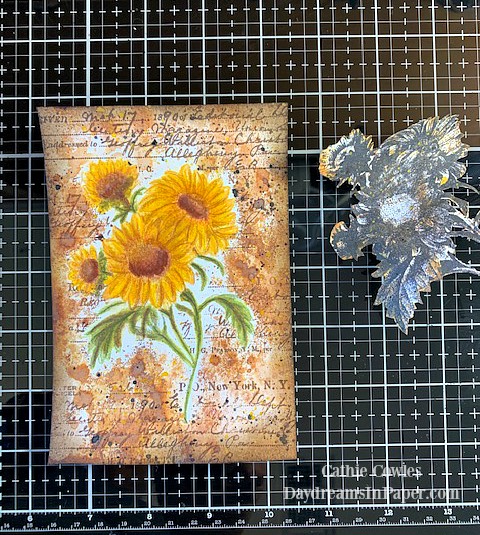
Carefully, remove the mask.
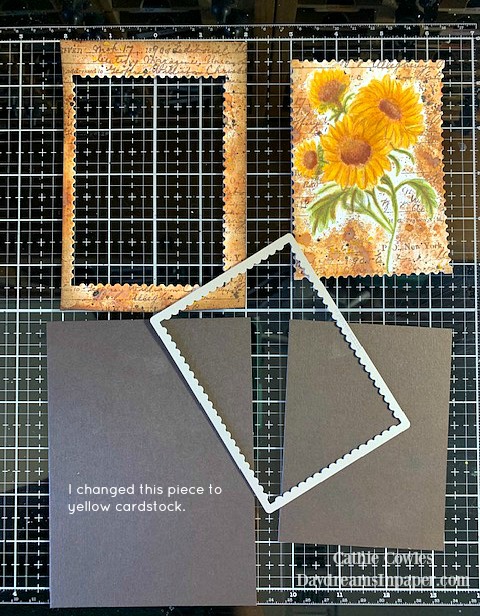
I wanted to create a little bit of an offset design for the front card panel. To do this, I cut the image out on the farther left side with the Tim Holtz Stacked Postage die. After putting everything together, I decided to change the larger brown piece of cardstock with yellow. It made the image stand out a bit better and really made it pop. Before adhering everything together, I inked each piece (except the smaller brown cardstock piece) with Vintage Photo Distress Ink.
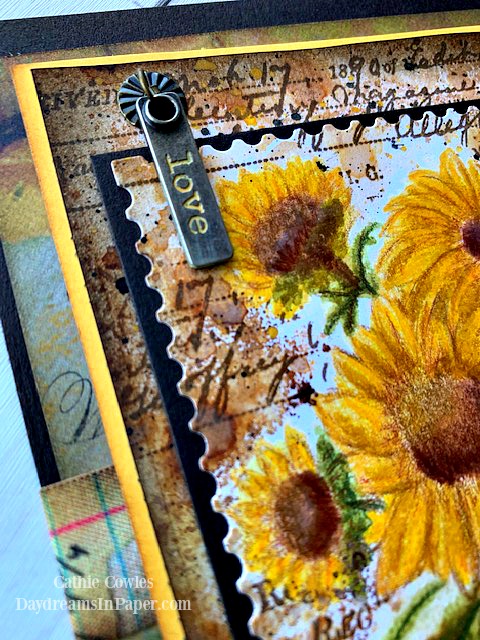
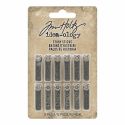
I added a couple pieces of Idea-ology to the top of the card. The “love” story stick was colored with Scattered Straw Distress Paint. Just wipe a bit of paint over the piece, wait about 30 – 45 seconds and wipe with a damp cloth or baby wipe.
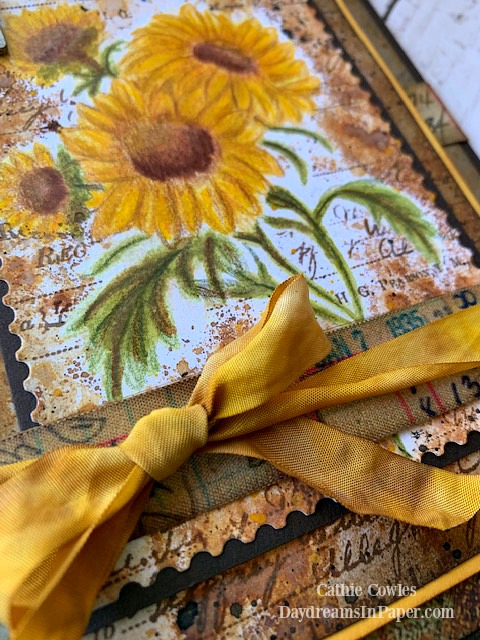
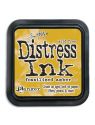
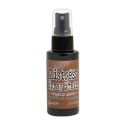
I created a bow out of seam binding and colored it with Fossilized Amber and Vintage Photo Distress Spray Stain.
To complete the card, I attached the main card panel onto a piece of coordinating Tim Holtz Abandoned cardstock, wrapped a piece of Idea-ology Fabric Tape around it and adhered that panel onto a piece of Simon Says Stamp Dark Chocolate cardstock.
I hope you enjoyed seeing how I put this card together. Thanks so much for stopping by. I really appreciate you spending your time with me.


 |
 |
 |
 |
 |
 |
 |
 |
 |
 |
 |
 |
 |
 |
 |
 |
 |
 |
 |


